Badge #5, Pt 2: Apophyll Island
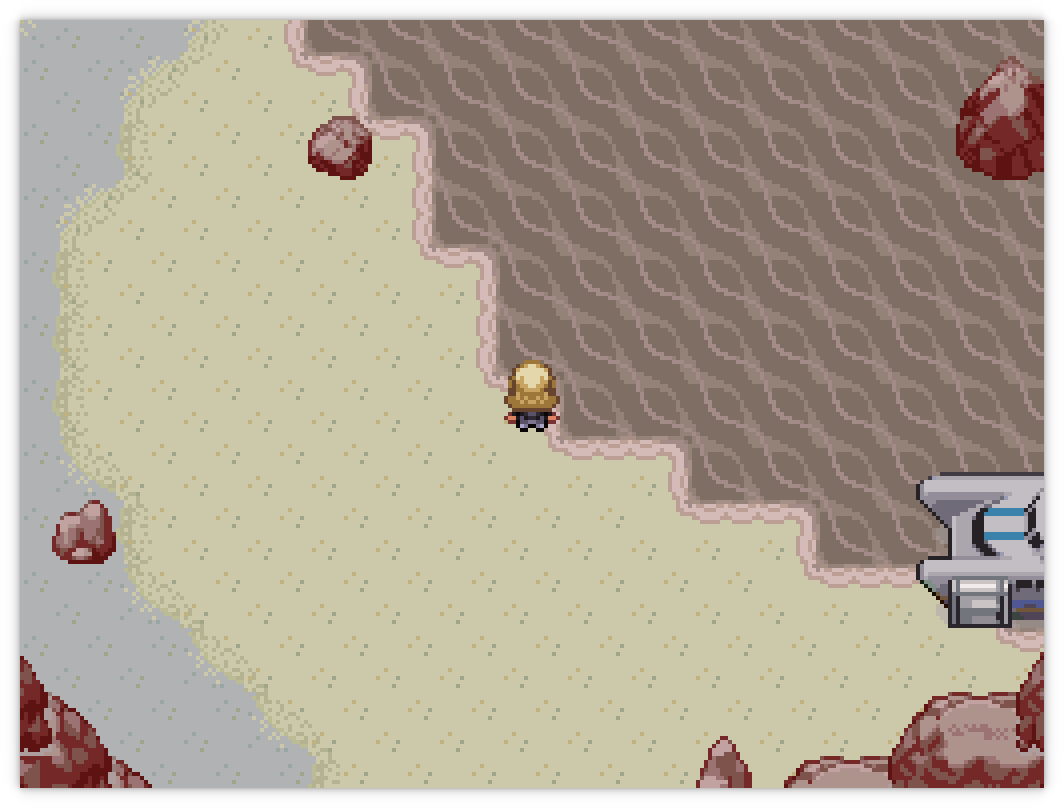
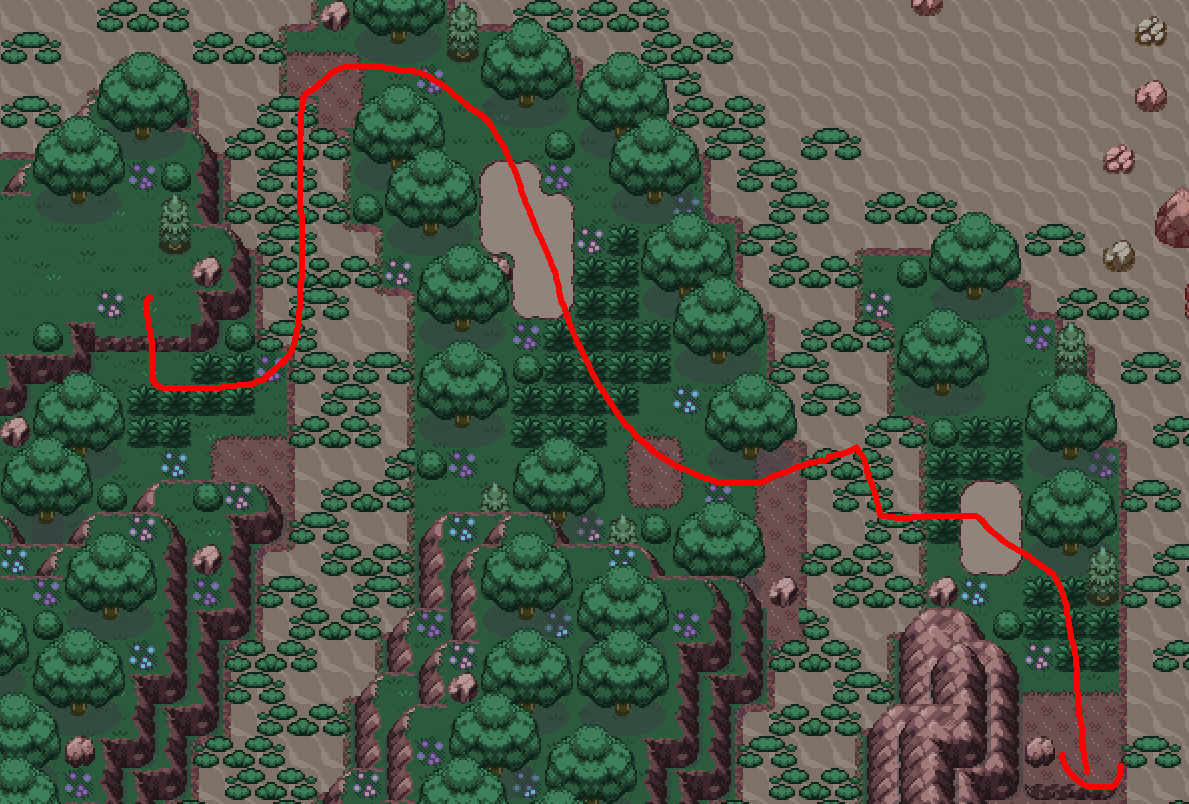
Welcome to Apophyll Island! It's a sandy ashen island around a volcano, with nothing but endless waves of pollution lapping at your feet. This is one of the Reborn Region's natural wonders.
You can fight some Pyukumukii on the beach, or you can be more productive and get get a Meditite in the main academy building. There are four NPCs standing in front of bookshelves across the academy top floors. If you talk to all four, they will spout some quack shit about zen and auras or similar; then talk to the lady standing on the top left rafter (go out through the left upper doors in the main buildings) who will give you a Meditite.
Finally, talking to the hiker in the main entranceway of the academy lets you buy some themed TMs. If you leave the academy then follow the path to the north, you will find Apophyll Cave, which has a decent number of minable rocks for you to get evolution stones and heart scales from. If you climb up to the next level you will find a Klawf hanging out, which you can catch if you have a Pokésnax. Finally, there is a move tutor that teaches some very good Fighting moves on the lowest level.
Kiki Time
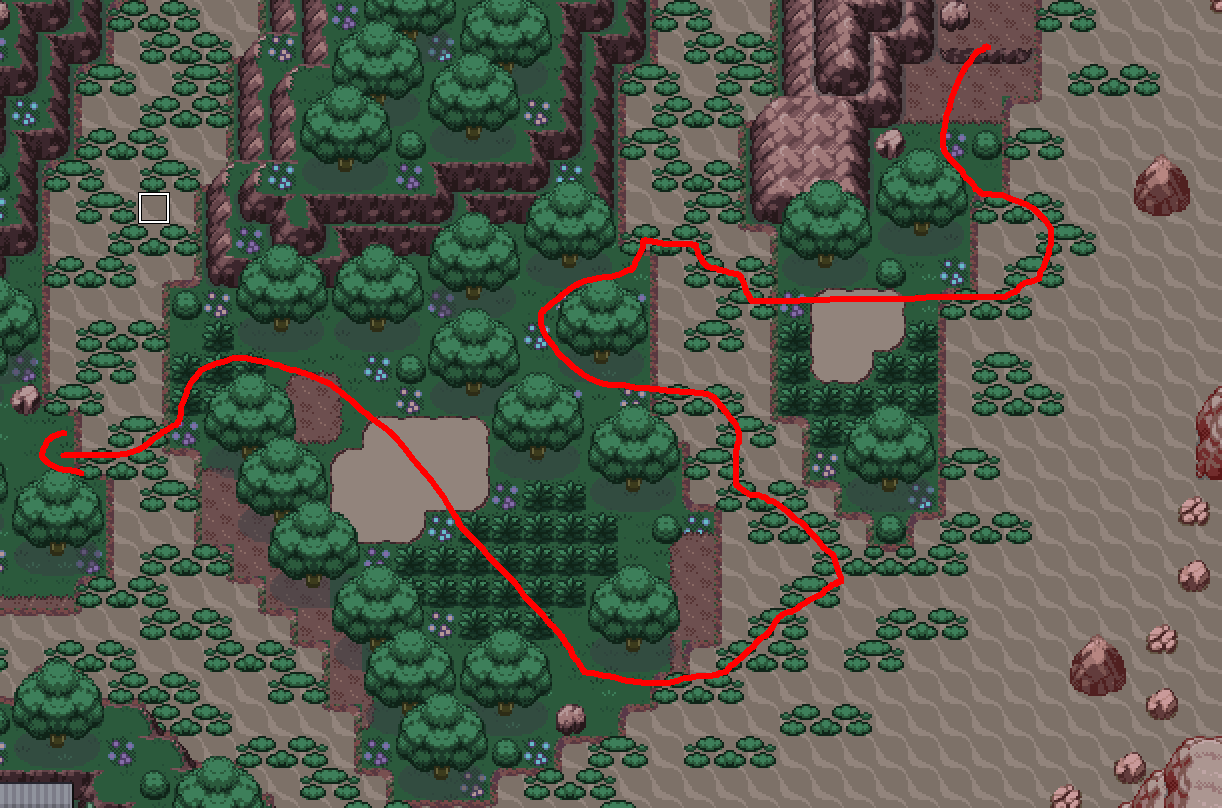
Let's just advance the plot; walk straight south from the academy to find a summoning circle. Talk to the suspiciously pink woman (Kiki) to warn her about the PULSE machine that's being set up on her island. Go back to her room (the very furthest back room of the academy) and talk to her again for another cutscene. She explains her philosophy about being calm before refusing to give you the next TMX that you need to progress.
From here, you have a choice to battle either Victoria or Cal (who's disappeared up the mountain) Practically speaking, you're going to fight Victoria, because trekking to the top of the mountain is a lot of work—especially since you need to do it anyway in a little while to advance the plot. This can be a decently hard fight and I got stuck here for a little while until I played around with my strategies.
- Don't even think about using Ghost types. She has Dark moves that perfectly counter anything you can bring.
- On the contrary, Flying types will be very useful. Talonflame or Fearow both work very well, and are easily available.
- Fairy types likewise do very well; something like Altaria, for example.
- Sucker Punch handily deals with her Raichu and Gallade. Just make sure to get a one-hit if possible.
- Really, the best piece of advice is to just keep switching strategically. Predict the AI. This is good advice for nearly all the future battles in the game.
- The field for this one causes lots of extra critical hits, so being bulky won't help you here.
Apprentice Victoria
| Sprite | Name | Level | Ability | Held Item | Moves | EVs |
|---|---|---|---|---|---|---|
|
|
Urshifu-Single Strike | 45 | Unseen Fist | Expert Belt |
|
0/0/0/0/0/0 |
|
|
Lurantis | 45 | Sharpness | -- |
|
0/0/0/0/0/0 |
|
|
Mienfoo | 45 | Regenerator | Muscle Band |
|
0/0/0/0/0/0 |
|
|
Raichu-Alola | 45 | Surge Surfer | -- |
|
0/0/0/0/0/0 |
|
|
Gallade | 45 | Sharpness | Shell Bell |
|
0/0/0/0/0/0 |
|
|
Incineroar | 45 | Intimidate | Telluric Seed |
|
0/0/0/0/0/0 |
Your next challenge is to battle Kiki herself to "graduate". This is essentially a mini-gym battle, being on a custom field and also a 6v6 battle. A few tips:
- Go back to the Slums and find a Primeape; with Rage Fist and the awesome Fighting/Ghost type after evolving into Annihilape it destroys her team easily.
- If you picked Fuecoco as your starter, it also puts in major work here.
- Really, any Ghost, Fairy, or Flying type does well here. It's the same as the previous battle only a lot easier.
Sensei Kiki
| Sprite | Name | Level | Ability | Held Item | Moves | EVs |
|---|---|---|---|---|---|---|
|
|
Machamp | 45 | No Guard | Leftovers |
|
0/0/0/0/0/0 |
|
|
Toxicroak | 45 | Poison Touch | -- |
|
0/0/0/0/0/0 |
|
|
Tauros-Aqua Breed | 45 | Intimidate | Telluric Seed |
|
0/0/0/0/0/0 |
|
|
Gallade | 45 | Sharpness | Telluric Seed |
|
0/0/0/0/0/0 |
|
|
Lucario | 45 | Steadfast | -- |
|
0/0/0/0/0/0 |
|
|
Medicham | 43 | Pure Power | Telluric Seed |
|
0/0/0/0/0/0 |
Cue a few cutscenes... Kiki doesn't have Strength. Rats! It's time to go to Azurine Island instead. Get back on the boat and sail over there.
Azurine Island
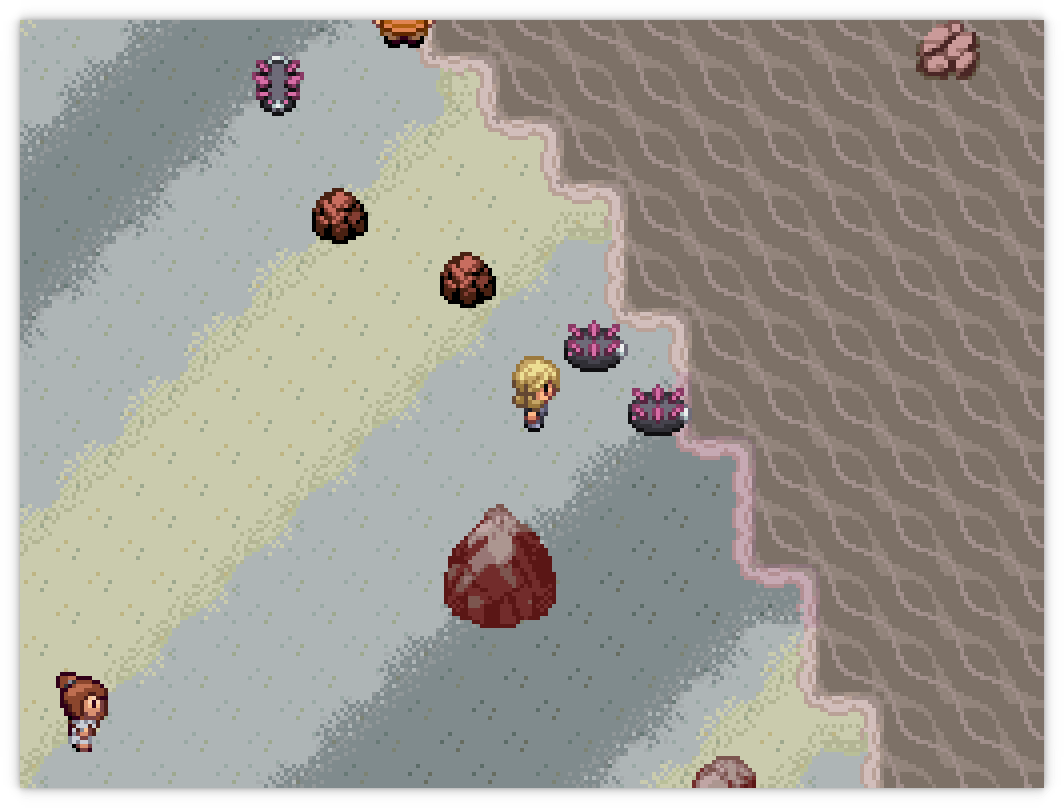
Welcome to Azurine Island! About half of the items on the floor here are real, and the other half are Foongus or Amoonguss. The green lilipads in the water are walkable and form the basis of the route you need to follow. There are also standing Flamigo everywhere blocking your way. This is a fairly straightforward area, but I drew some arrows anyway.
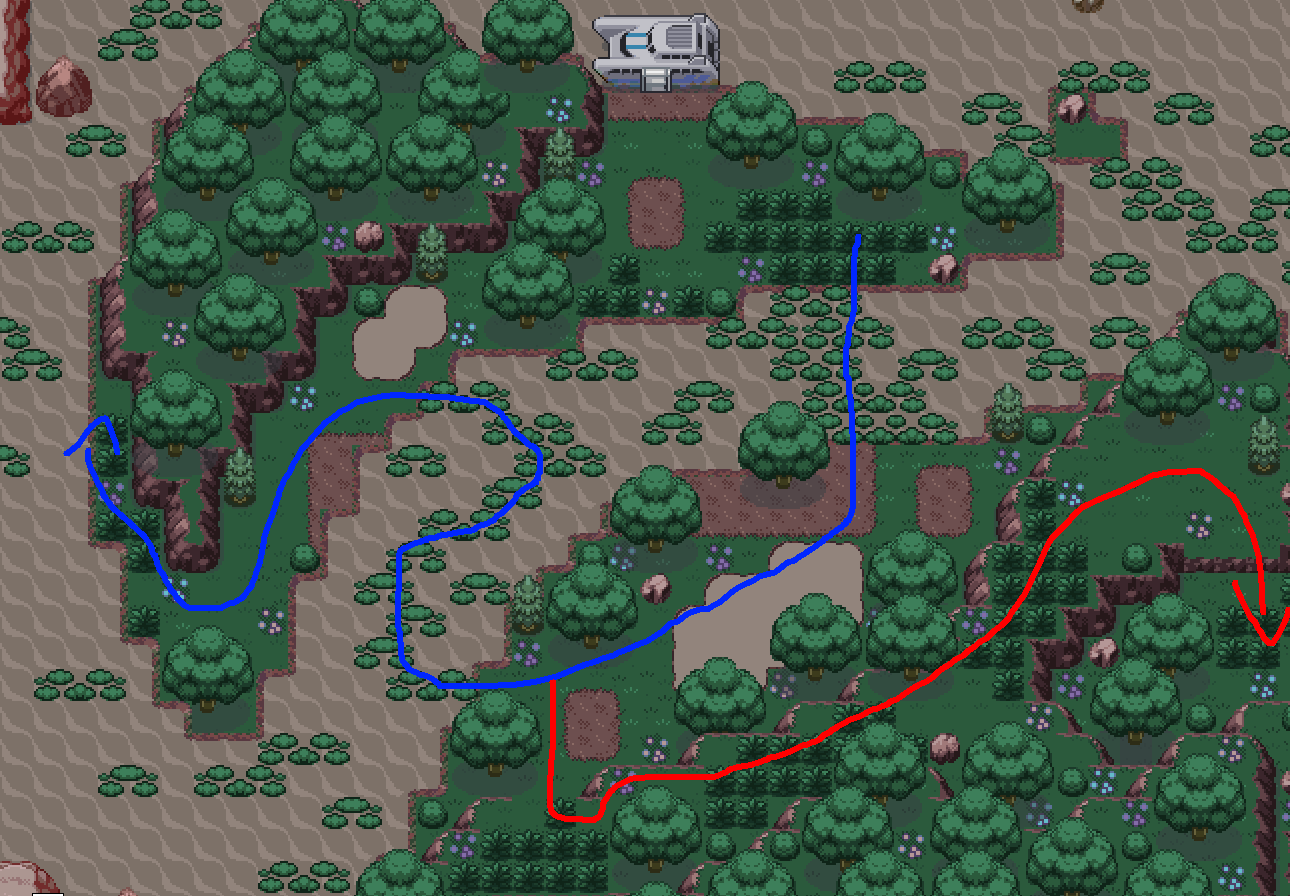
Follow the blue arrow to find TM83 Infestation, and then the red arrow to a ledge that you need to jump down from.
Again, follow the red arrow to another ledge.
Follow this set of red arrows to find... a Light Shard? Uh oh. Then a battle with the silly duo of Eclipse and Aster, who give you the hint you need to know about how to find the hidden door in the building you've just found (I'm not drawing another arrow. There's only one route.) It's the machine at the back left of the building. There's inexplicably a TM vendor on this island on one of the plant bridges, selling some really good themed TMs.
Waltz your way in, heal your team, and go straight upwards to fight Taka again and rescue the Sex Pest. This fight can be very difficult, so some tips:
- Here are some facts: Chatot is fast, Chatot hits hard, and Chatot will confuse your Pokémon. This thing is a little bastard and you must kill it as soon as possible.
- A fast Electric type or a bulky Rock type is essential to kill it as soon as possible.
- His Mabostiff is bulky, has a decent moveset, and will kill you. Wipe it out with a strong Fighting or Water type that can take the hits back.
Meteor Admin Taka
| Sprite | Name | Level | Ability | Held Item | Moves | EVs |
|---|---|---|---|---|---|---|
|
|
Klefki | 45 | Prankster | -- |
|
24/0/0/0/0/24 |
|
|
Exeggutor-Alola | 45 | Harvest | Sitrus Berry |
|
24/0/0/0/0/24 |
|
|
Gligar | 45 | Hyper Cutter | -- |
|
0/76/0/0/0/0 |
|
|
Chatot | 45 | Soundproof | Sitrus Berry |
|
24/24/24/24/24/24 |
|
|
Tangrowth | 45 | Regenerator | Focus Sash |
|
0/0/0/0/0/0 |
|
|
Mabosstiff | 45 | Guard Dog | -- |
|
0/0/0/0/0/0 |
After some more bad cutscenes, accept Cain's offer to walk back (yuck) and you'll be transported back to Apophyll Island.
Return to Apophyll Island
Once you return to Apophyll Island, heal your team in the academy and head to the right and downwards to the entrance to Pyrous Mountain 1F. Once inside, Victoria will be your partner throughout the dungeon.
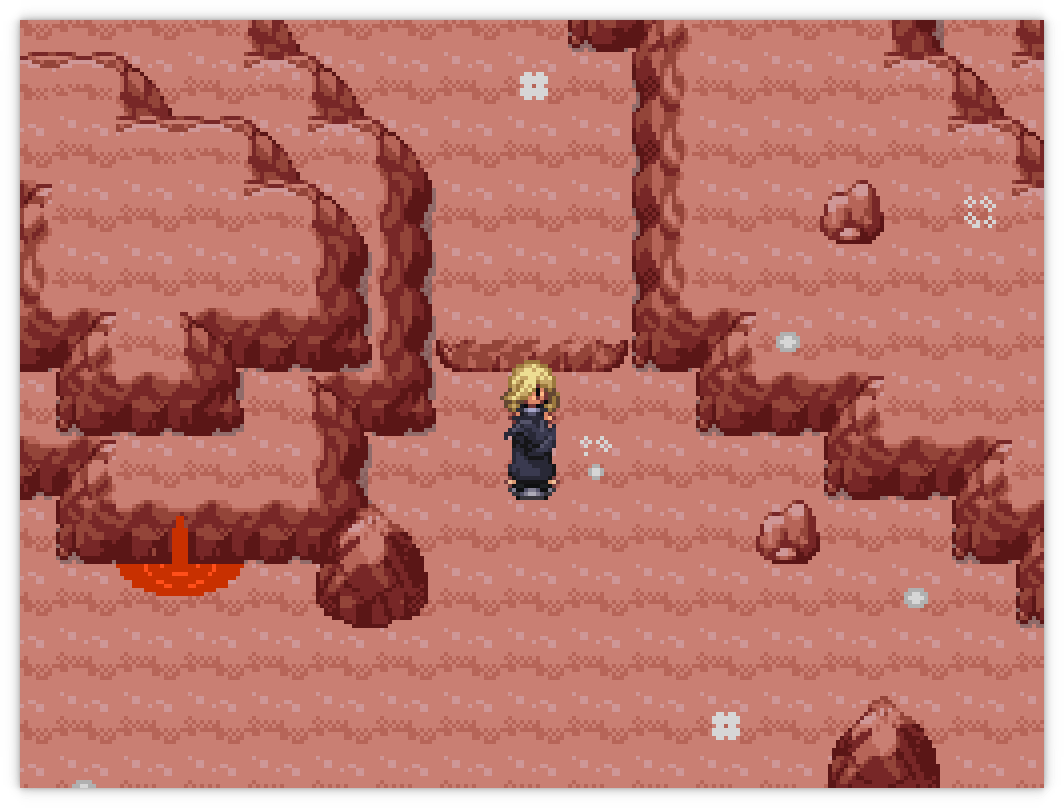
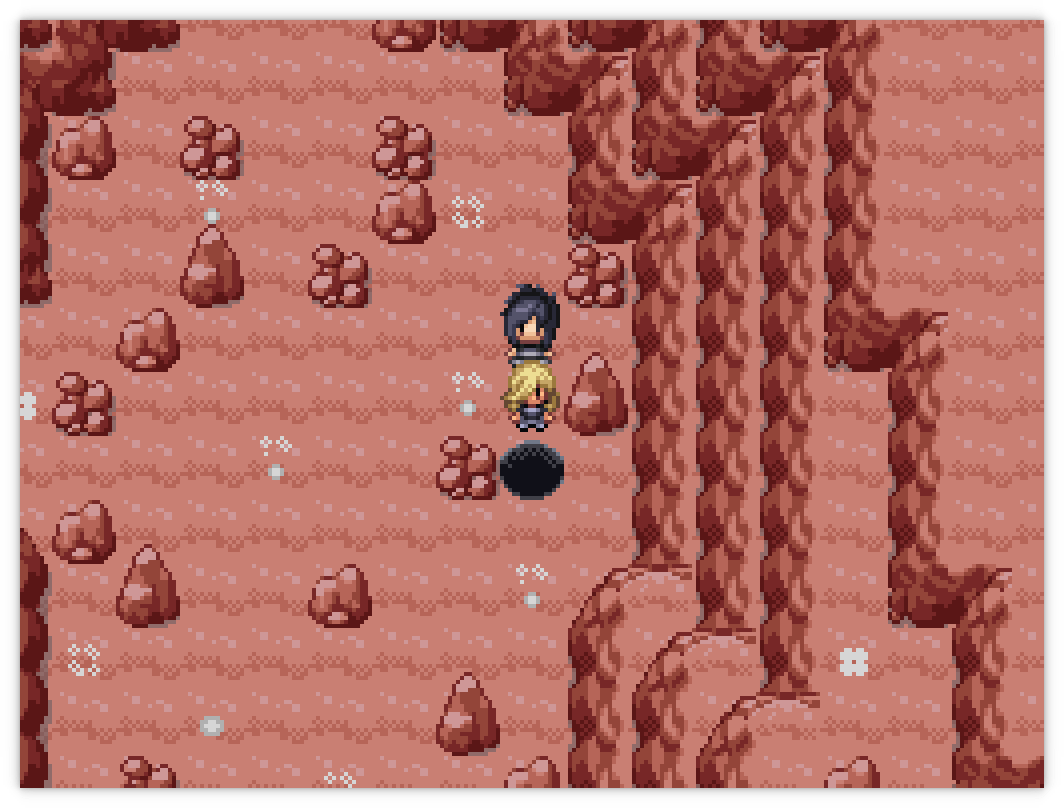
There's four paths here; the left-most one has some breakable rocks that spawn a Magcargo. The middle left one is blocked off by a ledge. The middle right is blocked off by a lava lake. That leaves the right-most path! The goal through here is to drain the various lava lakes into lower levels of the map by breaking rocks... sort of.
Take the right-most path down to B1F. The path to the right here is also blocked off by a lava lake... so take the path down and to the left to floor B2F. You'll find a breakable rock down here which will let the lava drain from B1F. Go back upstairs and into the former lava lake; the bottommost stairs takes you to an area with a Heatmor and a Fire Stone. The rightmost stairs leads to a Strength rock (make a mental note here)... and the conspicuous hole in the ground leads to a Flame Orb and the Move Tutor for Flame Burst.
Break the breakable rock on B1F (to the right of the forked path with the two grunts) and go back upstairs where the lava lake has now receded.
Walk past the hole on 1F up to a double battle; go up the ladder to 2F then walk along the only path for another double battle. The path here is blocked by a lava lake but if you walk along to the right you will find a set of ledges that you can jump down. Past this is a ladder to the left side of 2F. Break the glowing rock to drain the lava from 3F, then go down the ladder to 1F in the same area to find yourself behind the ledged area on that floor. Finally, break the lava rocks on 1F and B1F to drain the lava fully from all floors. Climb the entire mountain again and walk towards Cain for a scene; you'll be put in a special battle with Sirius and his Level 75 Garchomp (as his only Pokémon).
The easiest way to beat the fight with Sirius legitimately is to use your Prankster Murkrow to get Perish Song out turn 1, and then sac three Pokémon. Losing this battle will stop you getting the good ending eventually, and you'll have to replay the whole game. (You also gain a whole load of relationship points here, if you care about it).
After beating him (or losing, if you disregarded my repeated advice, this is one of those rare losable fights), you get another cutscene and Kiki fucking dies. This is an adult game for adults!!!!! Then, another long cutscene; and it's time to go to the Byxblysion Wasteland. There's another PULSE there.