Badge #2, Pt 1: Obsidia Ward
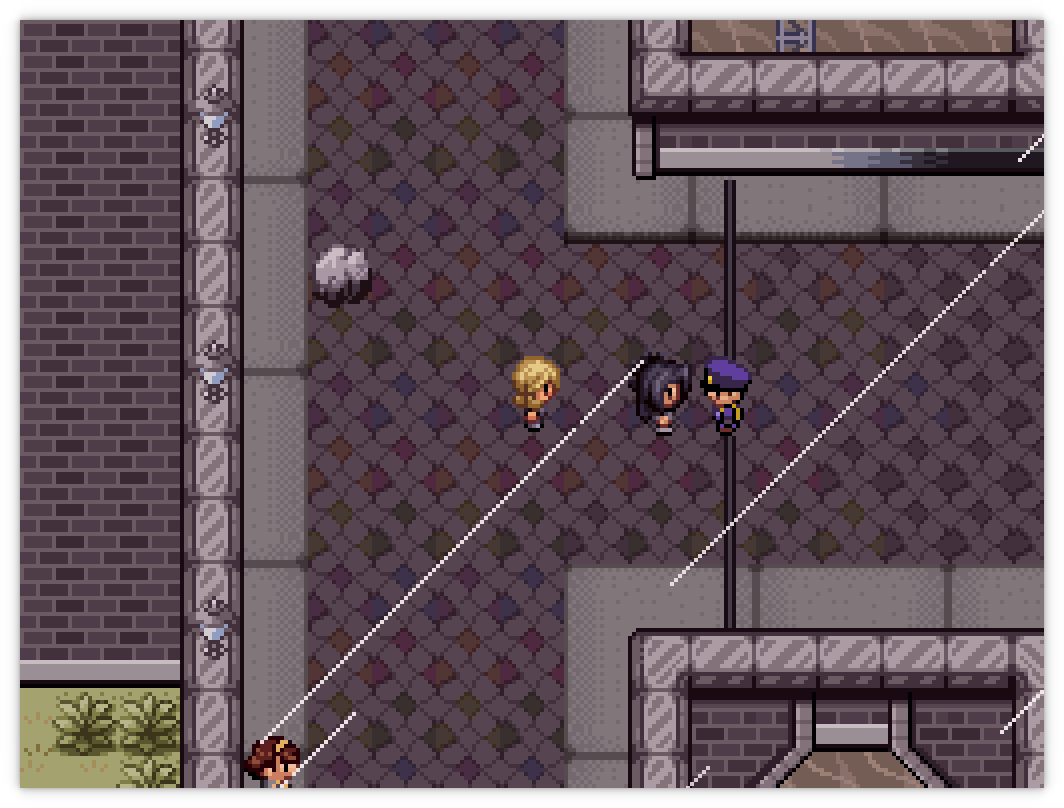
Before entering Obsidia, set the weather to Sunny and make your way to the stairs in front of the Grand Hall, where there is an ice cream vendor. Buy a Chocolate Ice Cream from her then continue up the bridge to the east. Remember to clear the bridges around Opal of any new trainers first, then talk to Victoria at the east for a bit of exposition which will then unlock Obsidia Ward.
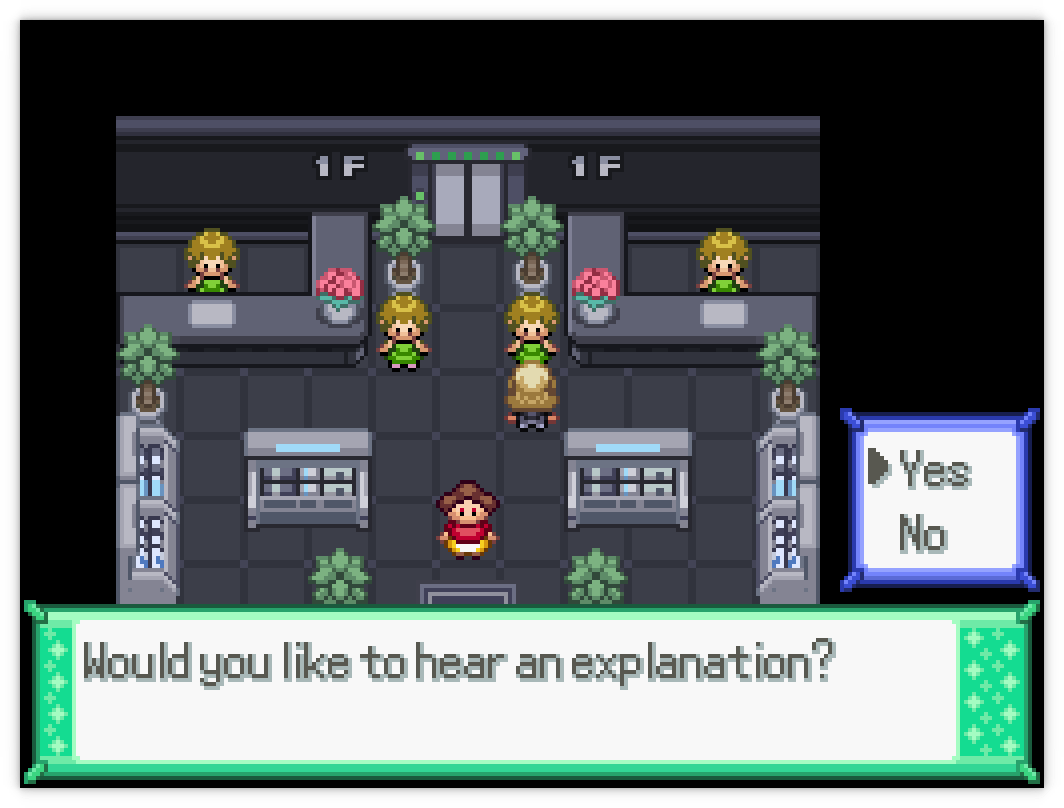
If you enter the sweets shop with a Swirlix on the outside, you can talk to a little girl in front of a vending machine at the back of the shop. Give her the chocolate ice cream and then "buy" a vanilla ice cream from the vending machine to get a Vanillite.
Backtracking a bit, go up the second alley from the left to a small area. On the right is the Pokémon Centre, and the daycare; don't visit that yet as we'll come back to that in a little while. On the left is two houses; the one closest to the alleyway has someone asking to trade their Castform for a Furret. It's a mystery to me why you would want either of these, but if you are so inclined you can catch a Sentret before the next gym, evolve it, and return here.
To the left and up is a house with a staircase down into the Obsidia side of the Underground Railnet. It's blocked off by a gate, and the switch is very inconveniently on the other side of it. Drat! However, there is one very valuable encounter here: Klink. Klink (and, by extension, Klinklang) is one of the best Pokémon available in the main game because its signature moves (Gear Grind and Shift Gear) get a boost under the Factory Field, which is used in a lot of story segments.
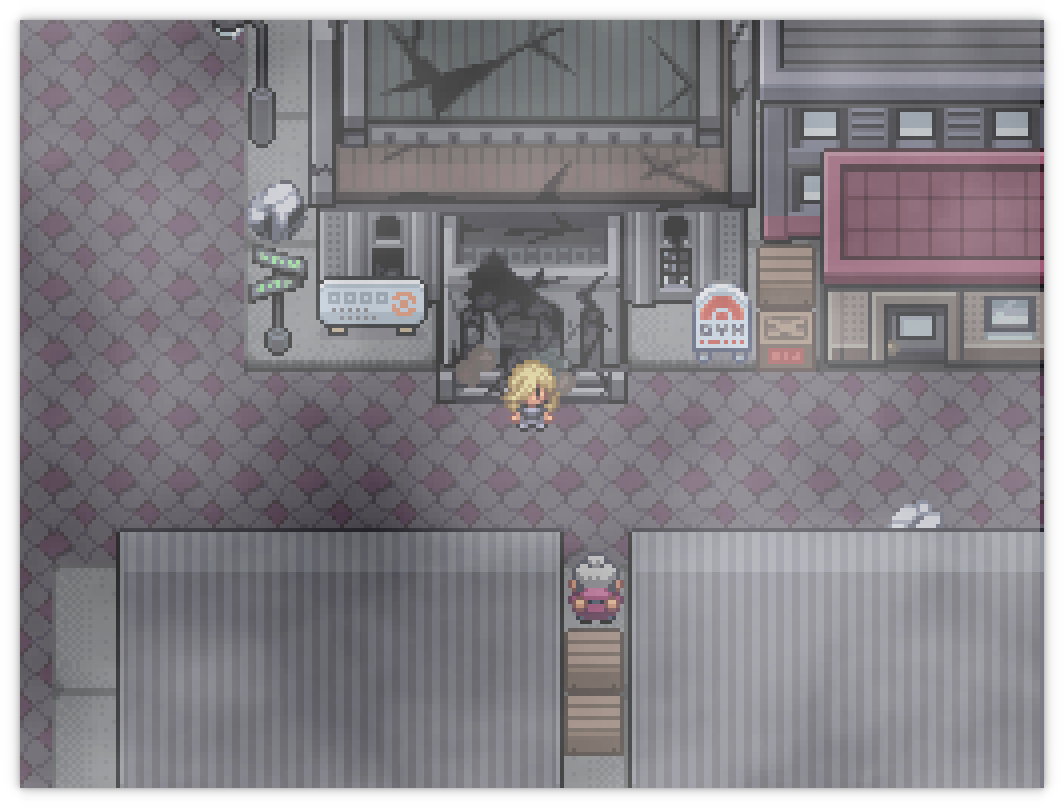
Return to the right of Obsidia and talk to Sheldon to advance the plot forwards. She tells you that you will need Cut to go inside the park-turned-forest and stop Team Nazi from destroying the entire ward; you can get Cut from somebody called Amaria in the Coral Ward. The only problem: the Coral Ward is blocked off; there's a cuttable tree blocking the right path, and the indirect route is has been destroyed by earthquakes. We're going to have to go around. Your only route is through the Obsidia Slums, which is available through a narrow alleyway at the southwest of the map.
Obsidia Slums
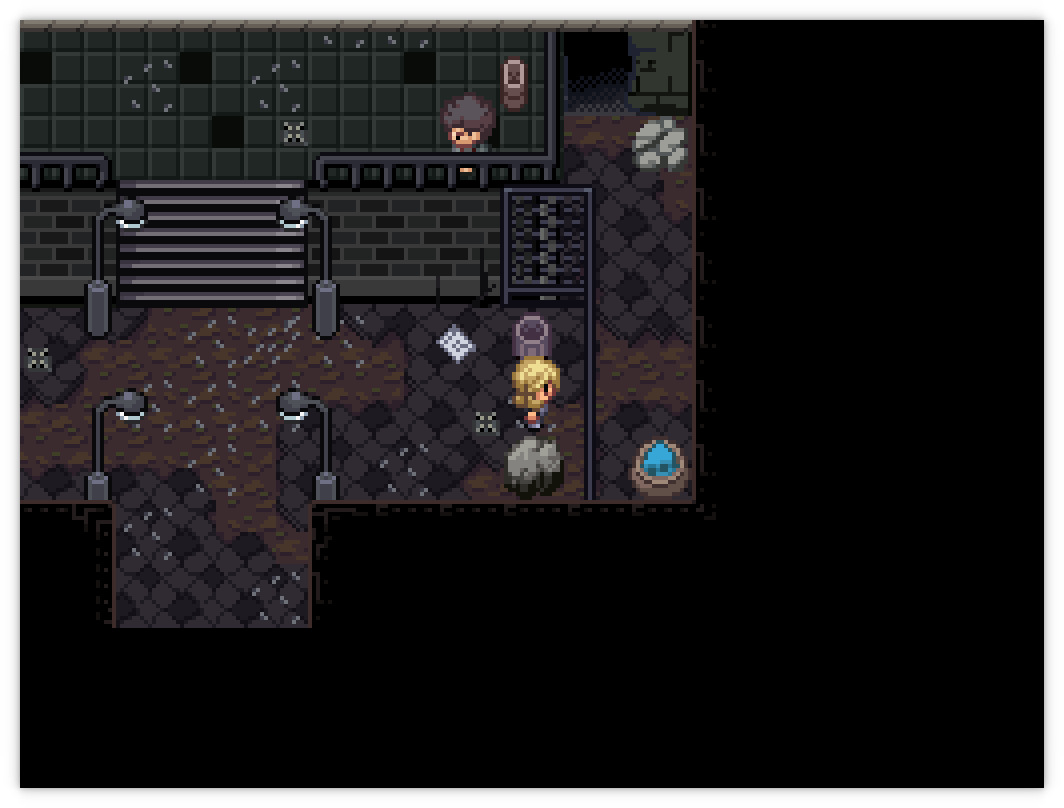
To your left is a bin with a single Potion in it. To the left is a fence, and behind that fence is an Egg! You can't get to it yet; your only option is to go upwards. Carry on straight left and go straight up to find... an elevator door. It's locked. There's a gate next to it blocking off access to the upper areas of the slum. Again, your only option here is to go left. Next to the guy running in place is a hidden Pokésnax.
Further left, there's another elevator door blocked by guy, and a Light Shard. These are special shards that fully restore your team when interacted with, and are usually placed right before an important story battle. Heal your team using it, and then continue upwards to meet with Victoria! She'll challenge you to a fight. This can be a tricky fight; I wiped out to her twice in a row in my first playthrough.
(If you skipped talking to Sheldon and Victoria, she won't be here—so just flip the switch in the room to the right yourself.)
- All her Pokémon have boosting moves in their moveset. If they get to +3 or +4, it's over; so consider resetting and catching something else to slot in.
- Again, Growth Roselia (now with Mega Drain) muscles straight through her team at +1, with the exception of Torracat.
- You can just skip this battle if you hit the hidden switch on the fridge to the upper left. If you skipped the dialogue with Sheldon earlier and went straight to the slums, Victoria won't be here and you have to do this anyway.
Apprentice Victoria
| Sprite | Name | Level | Ability | Held Item | Moves | EVs |
|---|---|---|---|---|---|---|
|
|
Kirlia | 23 | Trace | Wise Glasses |
|
0/0/0/0/0/0 |
|
|
Pichu | 23 | Static | Eviolite |
|
0/0/0/0/0/0 |
|
|
Kubfu | 24 | Inner Focus | -- |
|
0/0/0/0/0/0 |
|
|
Torracat | 25 | Intimidate | -- |
|
0/0/0/0/0/0 |
After beating her, an observer to the left makes some misogynistic comments before being bullied into opening the gate up above you. If you wish, you can go down the broken escalator to a small subsection of B1F, where a Great Ball will be waiting on the floor for you. You can also catch a Pancham here—a great earlygame Pokémon. In my first run, I found Pancham/Pangoro helped out a lot with some trickier sections. This subsection is cut off from the rest of the basement so go back up and through the entrance now exposed by the open gate.
And now we come to a true staple of Pokémon Reborn. This one small feature is what this game is really known for. It's one of the most pervasive design decisions in the game, and dramatically affects every part of it, from the story, to the difficulty, to the level design. Countless Reborn players have banged their head on the wall in frustration, seemingly being softlocked with no possible way forward—no matter how hard they try. This is in my mind, what Pokémon Reborn is all about. No, I don't mean the field effects; I mean the fucking jumping puzzles. They have a few "simple" rules:
- You can either move exactly one tile along the two axis, or jump exactly two tiles along the two axis.
- You can't jump through obstacles. (Duh.)
- Some platforms are wobbly, which causes you to stop in place for a second. (Later on it has other effects, but not here in the Slums).
The solution here is really simple; jump down once, move to the left, jump down twice. Great! Keep going along for a trainer guarding a hidden Rawst Berry in the topmost rock, and then go through the door to continue. In the next room, if you continue straight downwards, a crate will skedaddle away!
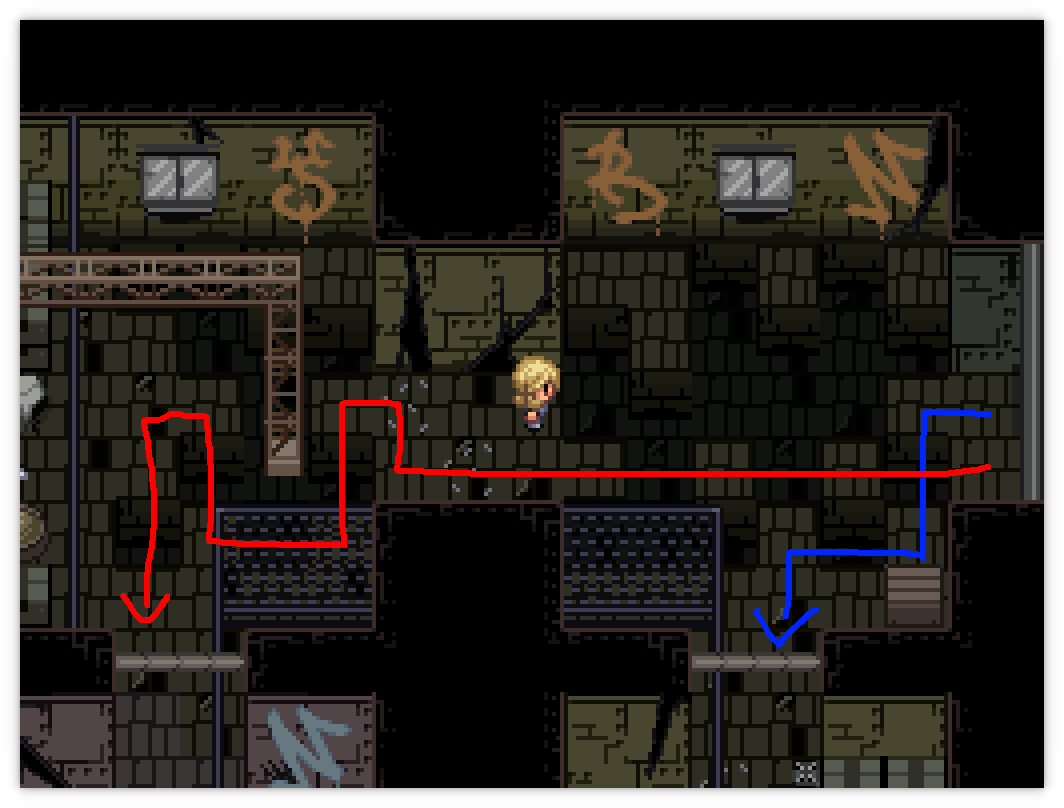
On the other side, immediately to the left is another jumping puzzle. You want to follow that first. There are two possible routes; the red arrow route and the blue arrow route. The blue arrow route leads to a hidden Extra-Small Exp Candy in the box to the right but nothing else. The red arrow route leads to the same room as the blue arrow route, but you can jump straight across to find a Moon Stone, and an entrance to another floor. Go through it for a small cutscene with Sephiroth the Moral Doctor; you can steal some Zinc from his office, and a small Exp Candy from the conspicuous area behind a fence at the bottom of the room. Besides that, there's nothing really of value in this area.
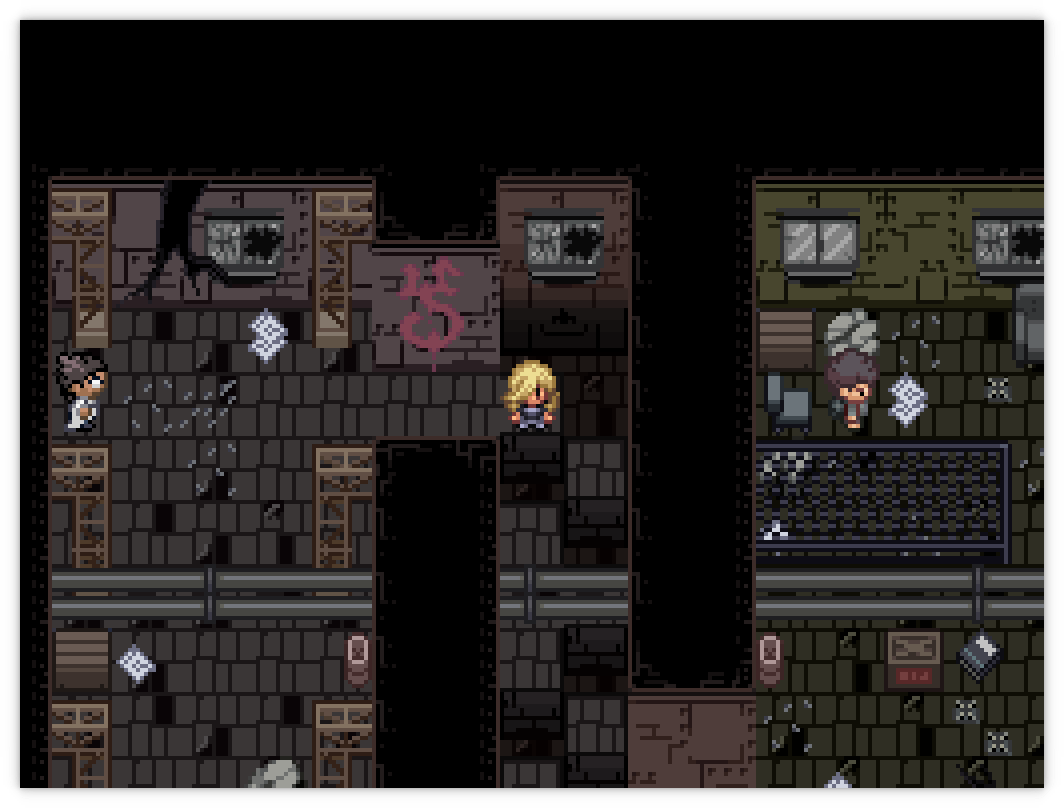
Go back across the jumping puzzle and down where the moving crate went. You'll exit out onto the roof of the Slums, with a light shard nearby. Take it to heal your team, and re-enter the Slums to find a corridor; the left side has a TM but is blocked off. The right side has a lift door constantly opening and closing; you can enter it to find a Mankey fiddling with the controls. Interact with it and it'll skedaddle, letting you interact with the lift. You can go down to floor 1, which will unlock a shortcut from the ground floor to the roof and the basement; or you can go down to floor B1F which will let you advance forwards.
This floor is a bit annoying to navigate due to all the debris. First of all, at the far left side of the room is another lift door. Interact with it to have another crate scurry away, and then enter it to access both TM60 Quash on floor 2F and a Net Ball behind the youngster previously blocking you on floor 1F. (Make sure to talk to him as well, he'll move out of the way and let you access the lift freely.)
Return to B1F and walk upwards into the big void door in the centre of the room. Inside is a light shard, the crate that keeps running away, and a single trainer to fight. (Use the light shard after you fight the trainer.) Navigating through the debris and floor cracks, you'll find a door at the very top... which leads to a fight with the source of the moving crates.
Pokemon Gang
| Sprite | Name | Level | Ability | Held Item | Moves | EVs |
|---|---|---|---|---|---|---|
|
|
Scraggy | 15 | Intimidate | -- |
|
0/0/0/0/0/0 |
|
|
Scraggy | 16 | Moxie | -- |
|
0/0/0/0/0/0 |
|
|
Scraggy | 17 | Shed Skin | -- |
|
0/0/0/0/0/0 |
|
|
Scrafty | 25 | Moxie | -- |
|
0/0/0/0/0/0 |
You can then pass through a gate onto the right side of the previous building, which lets you out into the right-most half of B1F. Before going up the escalator to floor 1F again, travel through the right side of the screen here. Yes, that's a door!
If you travel through these rooms, you will find... your way blocked off by two breakable rocks. You can talk to the trainer for some lore; there's a Pokémon that comes through here occasionally, but only when it smells food. You can't go through the door, but if you could, it would lead you to another (and the coolest) section of the Underground Railnet. Make a mental or physical note of this for later, as we'll want to come back to the slums a handful more times.
Return back to the escalator and use it to access the right side of the Slums. Walk down and talk to the guy nearest the gate and he'll open it up so that you don't have to go the long way around next time. Before returning, immediately to your left is another "hidden" doorway that you should go through... and another jumping puzzle. This one is slightly more annoying as you can't easily see the lower platforms, so follow this route:
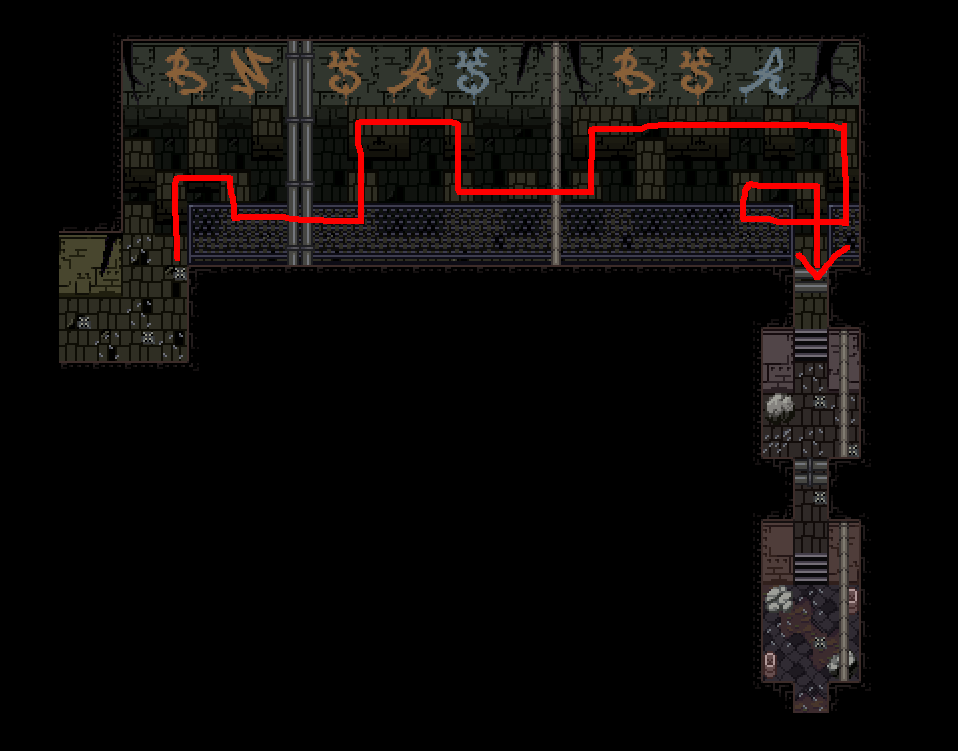
Walk down the path from the puzzle and down into the previously fenced off corridor that was inaccessible from the main entrance. At the bottom is an Egg! This egg contains one of several Pokémon, which if you're using the recommended settings can be directly chosen (otherwise, it's random, and you can't savescum it).
- Ducklett, for water or flying
- Bronzor, for steel, monowoke, or psychic
- Drowzee, for psychic
- Cacnea, Drowzee, or Morpeko at random
Pick up your egg and head back to the gate room, then up from the gate to the right-most exit of the slums. There's a Spoink hiding underneath the pipework in the last corridor; if you interact with it, you'll be able to catch it later. With that, you can head down to the pathway to the Coral Ward.
Obisida Park
Welcome to the Coral Ward! It's dilapidated even by Reborn City standards, with a ruined gym standing right in the middle of it; it's also shrouded in a constant mist, so all battles here will take place under Misty Terrain. There's nothing else interesting here yet, so heal your team at the Pokémon Centre and go to the topmost pier to talk to A maria. Enjoy a cutscene with the Sex Pest (it turns out he's a gym leader, so forcing himself on you in the Grand Hall was even worse) and then a fight.
Sex Pest Cain
| Sprite | Name | Level | Ability | Held Item | Moves | EVs |
|---|---|---|---|---|---|---|
|
|
Grimer-Alola | 24 | Poison Touch | -- |
|
0/0/0/0/0/0 |
|
|
Flittle | 24 | Frisk | -- |
|
0/0/0/0/0/0 |
|
|
Popplio | 22 | Torrent | -- |
|
0/0/0/0/0/0 |
|
|
Nidorino | 25 | Poison Point | -- |
|
0/0/0/0/0/0 |
Amaria then gives you the TMX for Cut, and tells you that she was here trailing a Team Meteor agent... Before you leave, set the weather to Rainy in your Pokégear and go to the southmost docks to catch a Lotad (if you have a Pokésnax).
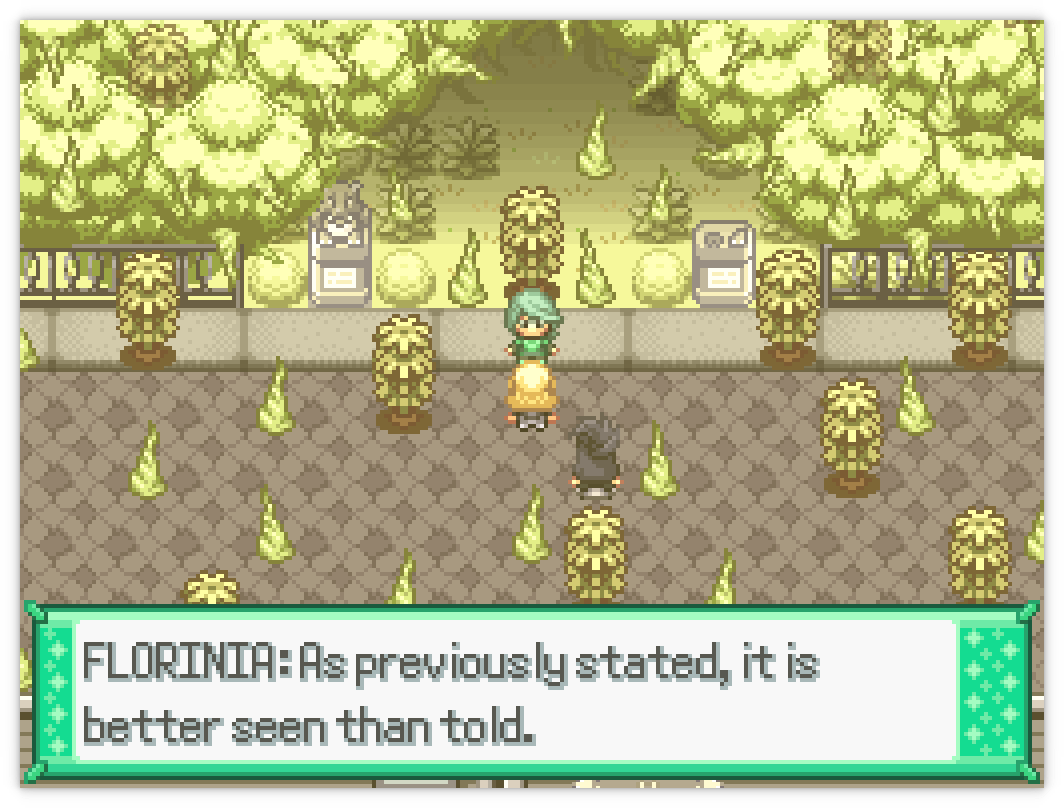
There's nothing else to do here, so go back up to Obsidia and use Cut on the trees leading up to the path of the park. Talk to Amaria and Victoria for some backstory, then to Sheldon who will let you cut the tree down whereupon you can enter Obsidia Park. Once you enter you all split up, with Sheldon and Amaria taking the centre route, Victoria taking the right-most route, and leaving you to take the left-hand route.
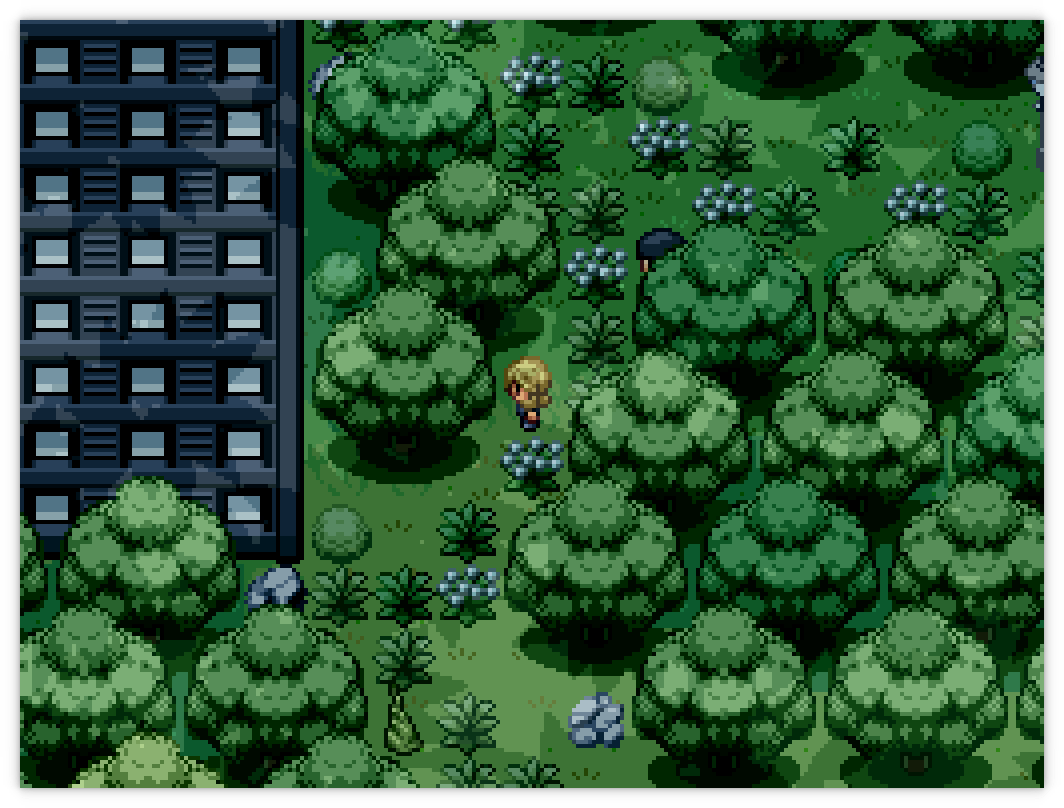
Obisida Park feels much more mazy than it actually is but there's only one available path each time. You just need to do a bit of backtracking.
- Obviously, go straight left at first. The other two routes are blocked off. It curves upwards into a battle with a Meteor grunt. Slightly left to here is a cut-out with a single Pokéball.
- Go right to the fork in the path; your only option is to go down. Cut the tree down to re-open the centre path and then loop all the way back to go back up into the centre route. (Yikes!)
- Cut down the tree above the right route, then loop back around to go along the right-most route. Go all the way to the right, up around the root, and back to the left to find another cuttable tree. Loop back around and go back up into the centre root.
- This time, you travel to the left to find another cuttable tree; this opens up the fork that was previously blocked off. Loop around back to the original left route, up through the fork, and cut down another tree. This time you don't need to loop all the way back around; you can simply go to the next cuttable tree slightly to the right from here.
- Keep going to the right to find another Meteor Grunt, and another section of the paved path. You can travel along that and upwards to get a cutscene with Sephiroth and Victoria; hold down text skip here. She gets taken away by a Crobat (Rats!). Cut down the tree you were heading for before you were so rudely interrupted and loop back down to the now-unblocked paved path.
- As you go left again, you'll find a double battle with two grunts. Dispatch them, and you'll find another two cuttable trees; one opens a path up backwards, and the other (below a lamppost; it is accessible) opens the route up to the boss.
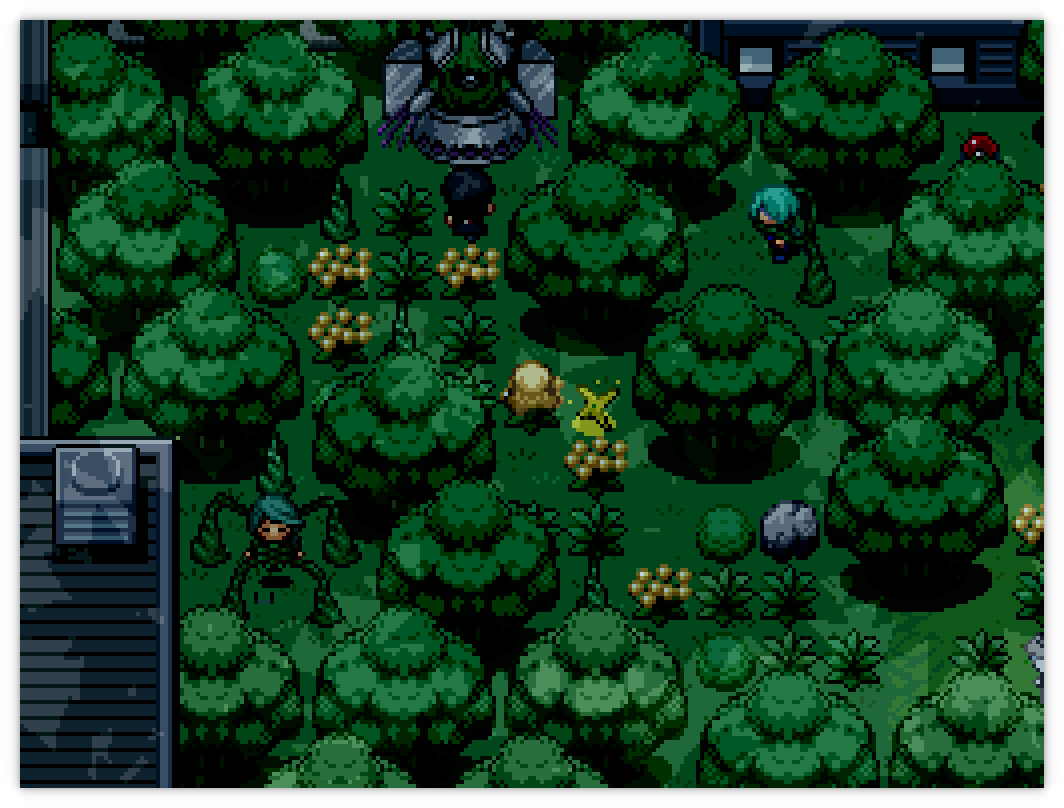
As you go up to where the boss is, you can see Amaria and Sheldon have been captured by the plants (how? you have fucking level 80 Pokémon‽) and there's an ominous machine ahead. Use the Light Shard and walk forwards towards the boss for a cutscene with ZEL. Then, a boss battle with PULSE Tangrowth—the first PULSE Pokémon in the game!
- If you have a Fire type with Incinerate, as mentioned before, this fight is comically easy. It can't hurt you in any way that matters, and Burning Forest-boosted attacks chunk it.
- If not, Technician Kricketune with Bug Buzz 2HKOs it and takes no real damage in the process.
- Icy Wind Vanillite can solo it, depending on if you have damage rolls enabled.
- Failing that, Roselia can OHKO it after three Growth boosts and a Mega Drain.
Meteor Admin ZEL
| Sprite | Name | Level | Ability | Held Item | Moves | EVs |
|---|---|---|---|---|---|---|
|
|
Tangrowth-PULSE C | 25 | Filter | -- |
|
0/0/0/0/0/0 |
The Park recedes, and you are freed! Sheldon invites you to her gym—the second gym—but we're not done here quite yet. Go into the house that's now available at the top of the park for TM54 False Swipe.
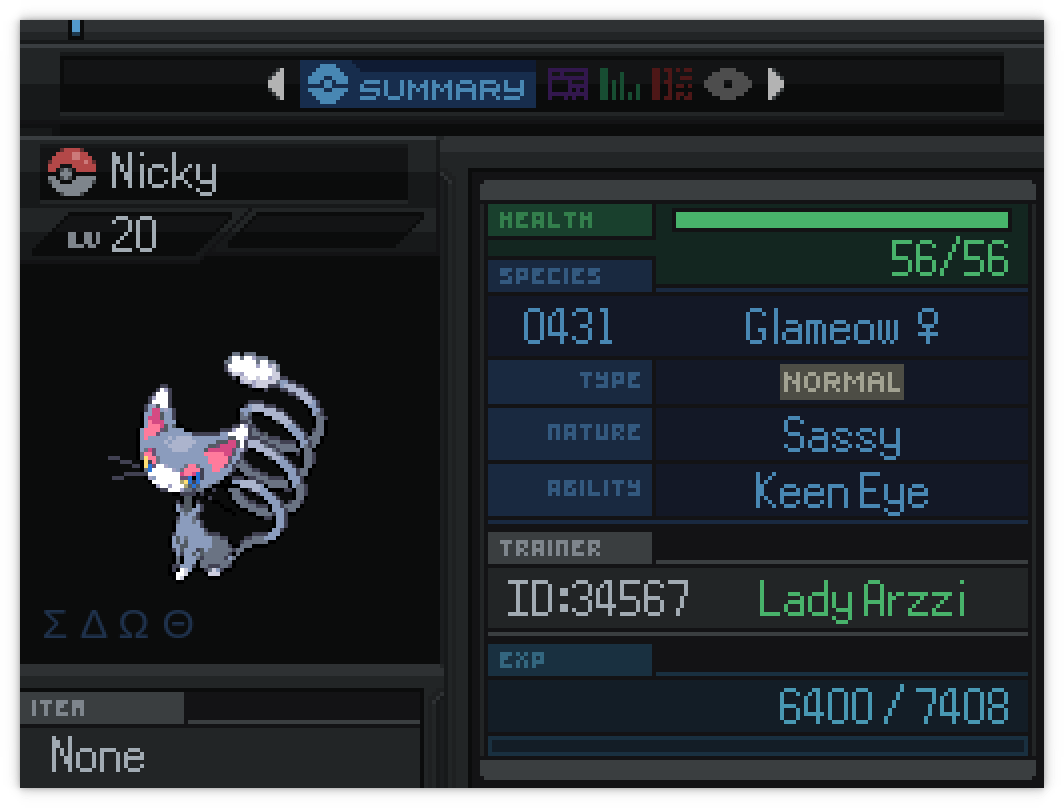
Next, we'll do this from bottom to top. Walk down along the road near the gate to the Coral Ward, enter the salon, and talk to the person immediately above the door. She asks you to go and commit industrial espionage against the other salon; you can find it as the left-most building before the exit to the bridge. Go inside, talk to everyone (you don't have to do do anything they ask), and return to the other salon to get a Glameow. Purugly has had a decent buff in this patch.
For a bonus event, go back to the other salon and talk to the lady on the far right. When she asks you for a Pokémon, show her the Glameow you just acquired. She'll fight you with a Level 45 Tsareena; which you will inevitably die to. You can put this off for a few badges, or throw your team at it and hope it sticks.
If you caught a Patrat in the Opal Ward grass (or if you go back there now and catch one), you should evolve it into Watchog. Head for the middle building in the Coral Ward (next to the Pokécentre) and trade it to a hiker for a Level 25 Nosepass with an awful name. Return back up through Obsidia Park and onto the broken path to make it to the north-most part of South Obsidia Ward. There's several skyscrapers here but the only relevant one is the one closest to the gate to the Onyx ward.
If you talk to the lady on the right, she'll walk you through how the Obsidia Department Store's membership system works and then give you a membership card. You can find out how to get every sticker in the appendices page for the sticker quests.