Badge #5, Pt 1: Blacksteam
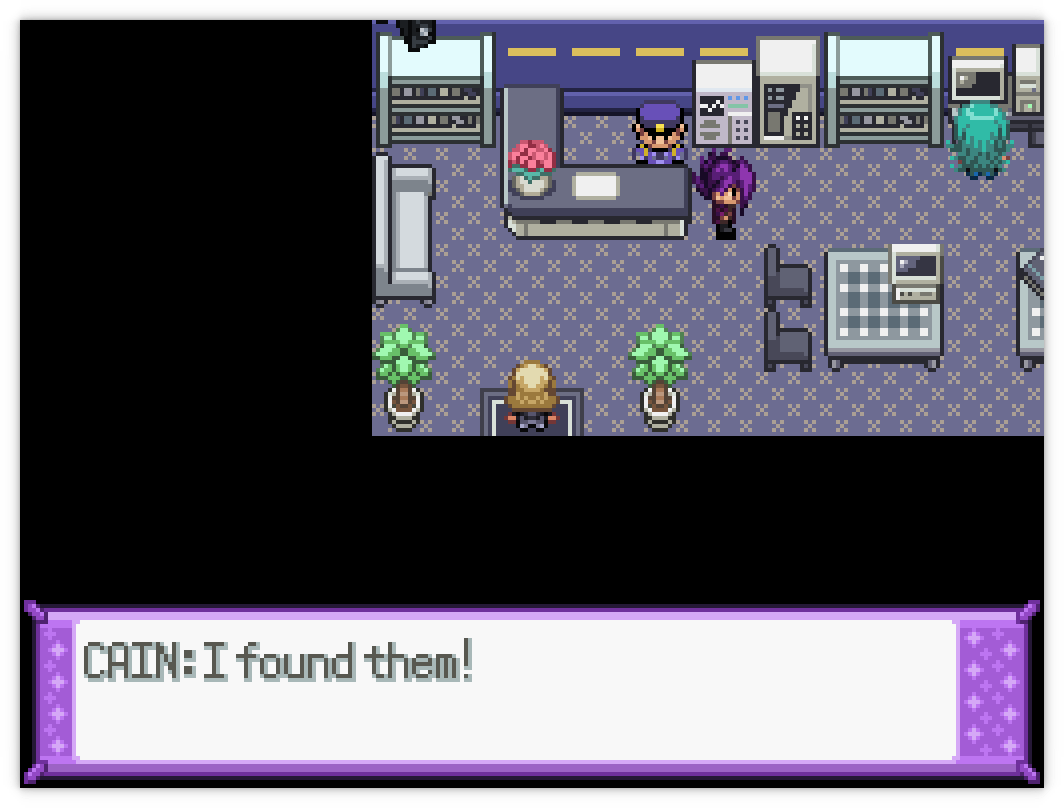
Before doing anything, we need to trigger a cutscene at the Jasper<->Peridot gate; if you walk into it, Cain will jump out at you and drag you into the piggy station. You need to go to a factory in Peridot Ward, so make a mental note of that for now.
Cleaning Up Rocks
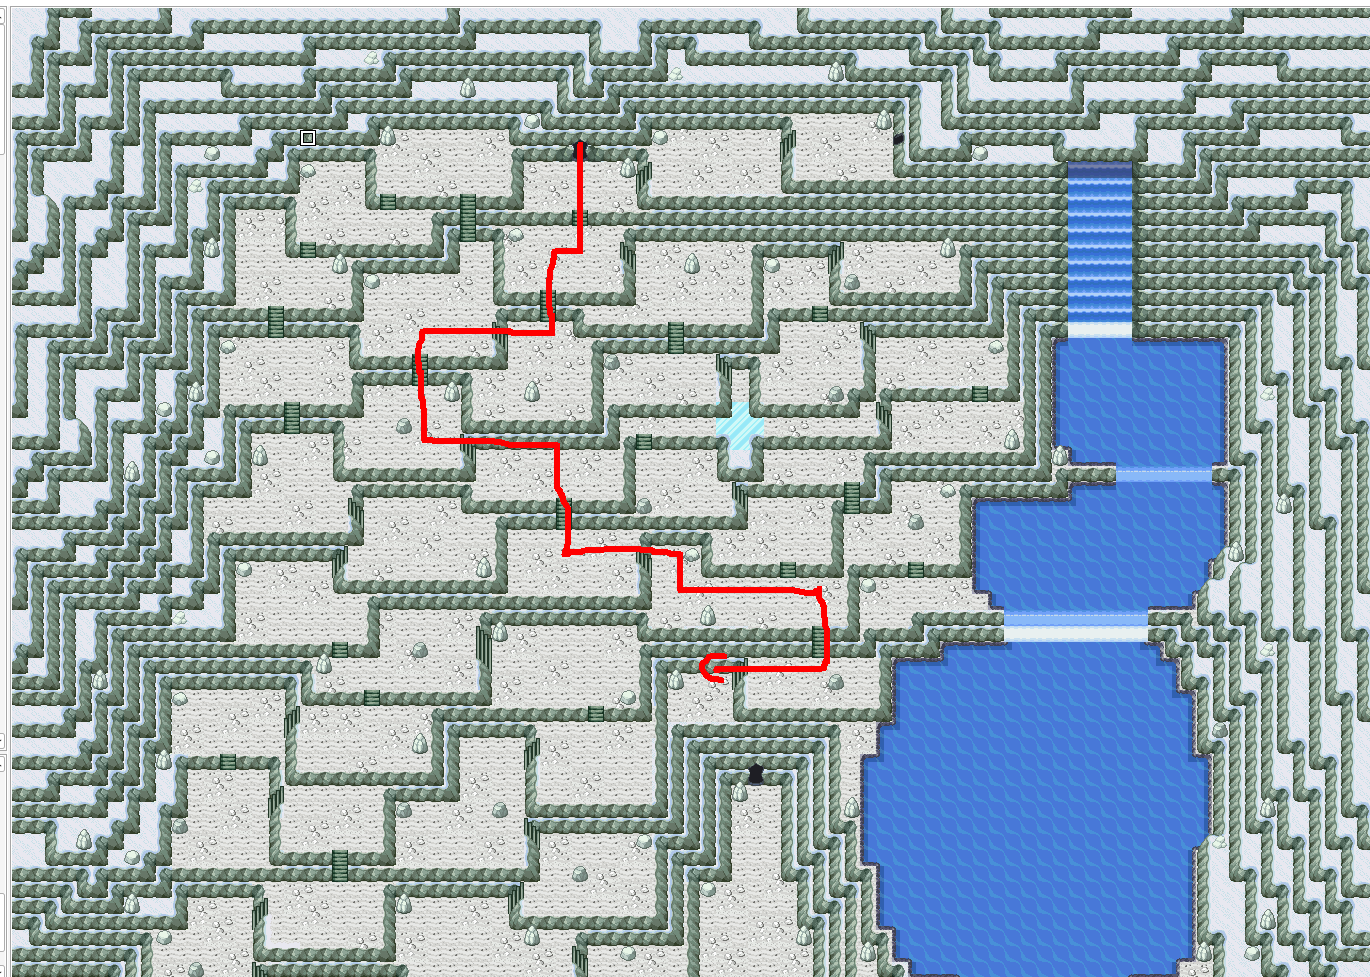
It's time to collect all of the events that we've missed! There's a lot, so bare with me here. First, we want something very very important: the Mining Kit. This will be your primary source for shards for tutor moves, heart scales for the relearner, and evolution stones.
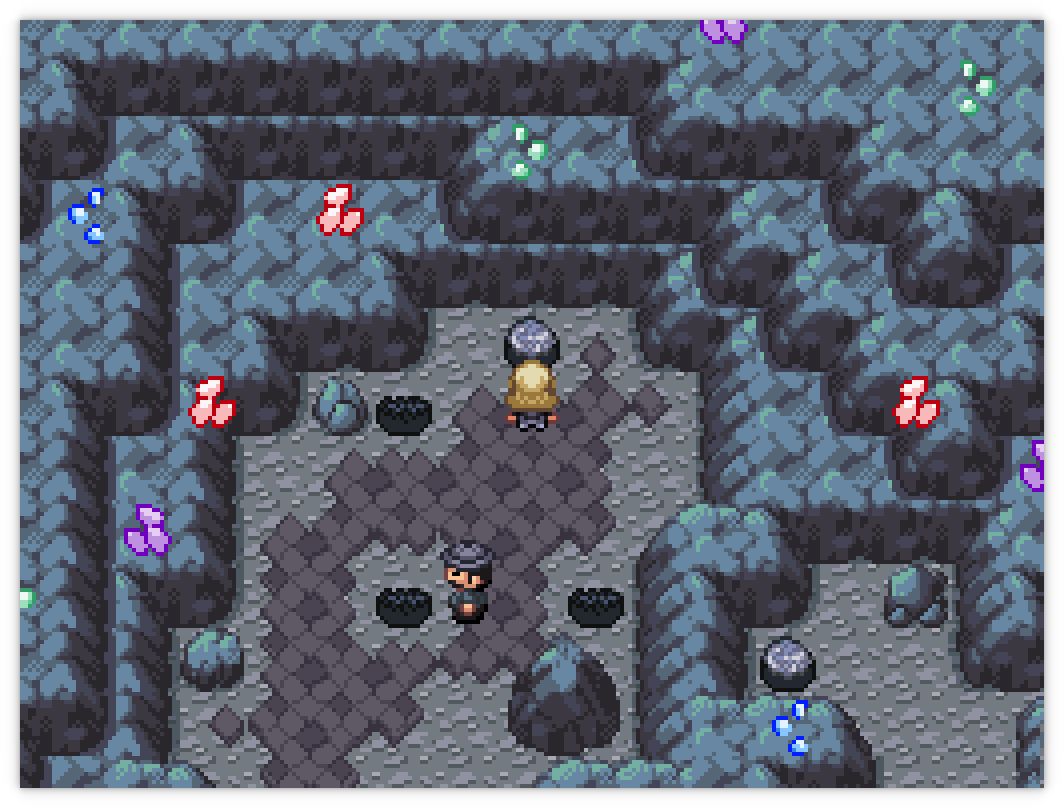
Armed with Rock Smash, return to the crystal caverns in North Obsidia and go down the ladder to the second floor. You want to go to the right and smash the rock that is blocking the way to the exit to the north. Talk to the hiker within to receive the Mining Kit. After the 8th Badge, you will be able to mine the shattered remnants of rocks too, but for now you can only mine them once.
Next up is your return to the Obsidia Slums; there's a few areas here that we want to explore. First up is the Slums Playground, which is a secret area hidden between the two escalators on the left side of B1F. You can unlock the door if you have the Dull Key (which you can pick up in the Railnet near the exit to Obsidia) and then proceed into a jumping puzzle room.
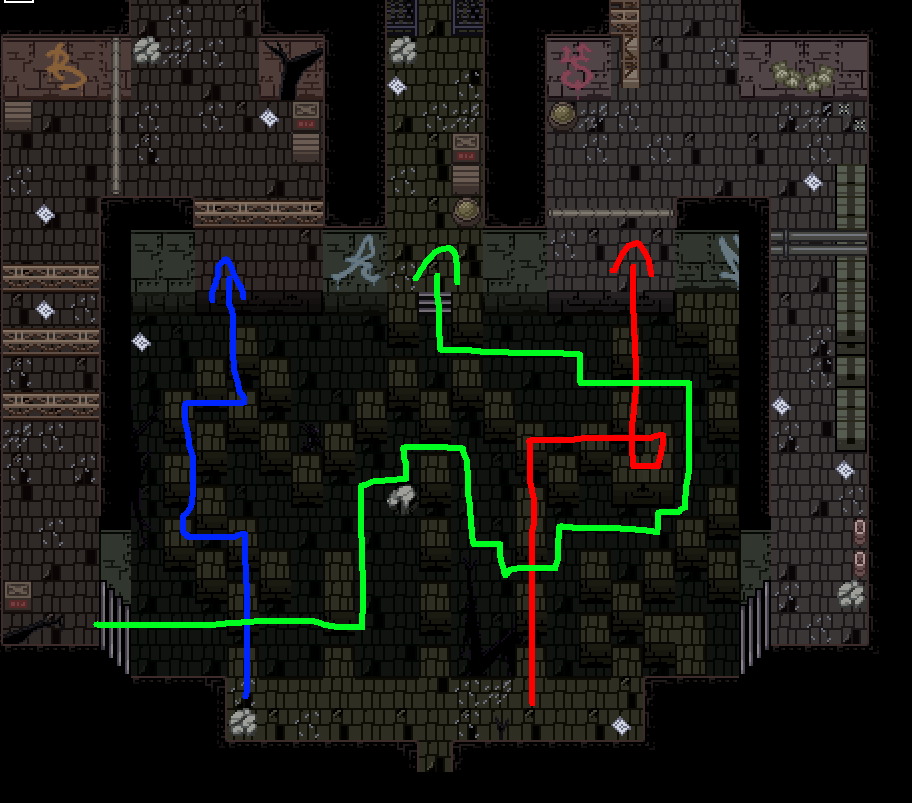
Follow the red arrow to find... a Level 45 Pangoro. Activate the switch on the wall and then head down the right set of stairs to get a Sun Stone. Go back and follow the blue arrow to find... another Level 45 Pangoro. Again, activate the switch on the wall. Go down the stairs and follow the green arrow to find... a level 50 Pangoro! After beating him, the Scrafty you beat a handful of chapters ago will jump in and beat up the Pangoro gang, and one of his Scraggy underlings will join you.
When you're done, you can go back to the other hidden door on the other side of the basement floor and travel down to the area with the two smashable rocks. Break them open to end up in a lower section of the Underground Railnet! Go to the right to pick up a Light Ball, and then smash open the wall directly in front of the entrance. The other path is blocked by a train, but we'll be back there very soon. Enter it to find a narrow hallway that ends in another Rock Smashable wall... which opens out into another small corridor. Press the switch on the wall and proceed to the left.
Flash

This is a dark area but that's okay because we're going down here to find Flash. Go straight to the left until you bump into a wall and you'll find a set of stairs below you. Go down these stairs, along a corridor, and down the stairs again to the lowest floor. Align yourself with the bannister of the stairs, walk straight up til you hit a rock, and then move one tile right. Go up again to find a Rock Smashable wall; break it open to find TMX8 Flash. If you have Easy HMs on, every dark cave will now be permanently illuminated; otherwise, you'll need to teach it to a Pokémon and use it from the party menu.
With the ability to actually fucking see, you'll find a Dusk Stone and another breakable wall that has the field notes for the Cave field within it. If you headbutt the middle pole, you can farm infinite Arons. If you walk all the way back up the stairs, you'll find somebody who fell into the Railnet when the vines attacked Obsidia. Talk to him and he'll escape back to the surface. (He has your next sticker, by the way.) Finally, there's a breakable wall up to the top that has an Ability Capsule in it.
You can leave the slums now; there's nothing interesting here anymore (and there never will be again). Make your way back to the Obsidia Pokécentre and talk to the guy you just rescued (to the left of the counter) to get the Aron sticker. Next stop is the Onyx Ward.
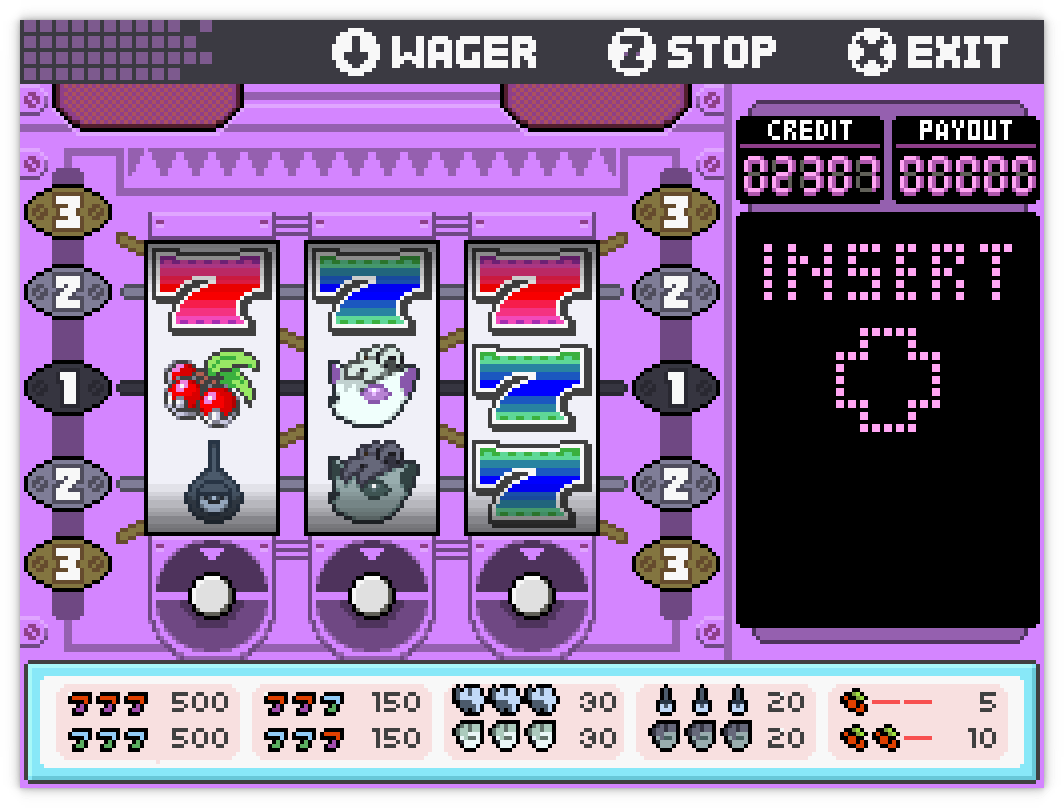
Now that you have the Coin Case (well, you had it a while ago), you can go into the arcade and start gambling. Interacting with a slot machine will open the slot machine minigame; as far as I can tell, you literally cannot lose with these. Just wager the max amount every time and you'll make a thousand coins in ~10 mins. Talking to the various NPCs might give you some extra coins on top of that as well. The Voltorb Flip minigame is safe by design but a bit tedious; the roulette minigame is a money sink.
On the second floor of the school you can find the student who was stuck at a computer playing a certain popular game. Tell him about the now-exploded North Obsidia stairs and he will move out of the way, letting you insert a Data Chip into his computer to catch a Porygon. Speaking of North Obsidia, there's now a summoning circle surrounding somebody selling Link Cables for just ten thousand dollarpounds. These let you evolve Pokémon that normally would require a trade evolution instead, as long as you fulfil the other criteria for the evolution such as holding another required item. These guys will disappear after the 13th Badge, but you can buy the Link Cable a bit cheaper at the Department Store then.
The next two locations are all the way back in the Beryl Ward; first, walk across the bridge to the Abandoned Power Plant. I'm sure you already tried going down there, but rock smash the rock in front of the cave entrance next to enter Citrine Mountain 2F. The bulk of the mountain is blocked off by a Strength rock (you don't have that, yet), but if you follow the red arrow you will find Corey's Toxicroak! If you walk further down and enter the cave exit, you will find a Smoochum being attacked by a Level 65 Beartic.
With Flash you can now explore Beryl Cave, located above the cemetery to the north. Within the cave you'll find a set of two Nuzleaf cages (huh?); the left one contains a lever that will open the door to the right one. Within you'll find Corey's Nidorina! This is a great Pokémon for some of the upcoming battles; you'll also find a hidden Link Cable directly next to it.
Exiting out at the very bottom of Beryl Cave, you'll be spat out in a secret area within the Rhidochrine Jungle (you might have seen this on some screenshots earlier). A bunch of Nuzleaves are hanging about and a Shiftry is standing in front of a totem pole. If you interact with the Shiftry, it'll clear out once you beat it in a battle. Now you can interact with the Totem Pole for two possible interactions:
- If you have an ill-fated doll, you will battle either an Elgyem, a Baltoy, or a Golett.
- If you don't, and the weather is clear, you will fight a Natu instead.
Joining A Gang
If you don't plan on getting the good ending, you can ignore this entire part of the walkthrough until Chapter 12, but you miss out on a bicycle and a small handful of exclusive Pokémon available until then.
Whilst we're loitering in Obsidia, it's time to join a gang! There's two gangs here in Reborn City; the Aqua Gang and the Magma Gang! It's up to you which one you want to join, as the story is very similar in both. The Aqua Gang are found in the Lapis Ward alleyway, just to the right of the orphanage; the Magma Gang are found in the North Obsidia Ward alleyway, to the right of the nightclub. (You should talk to the person outside the Nightclub too, if he's there.)
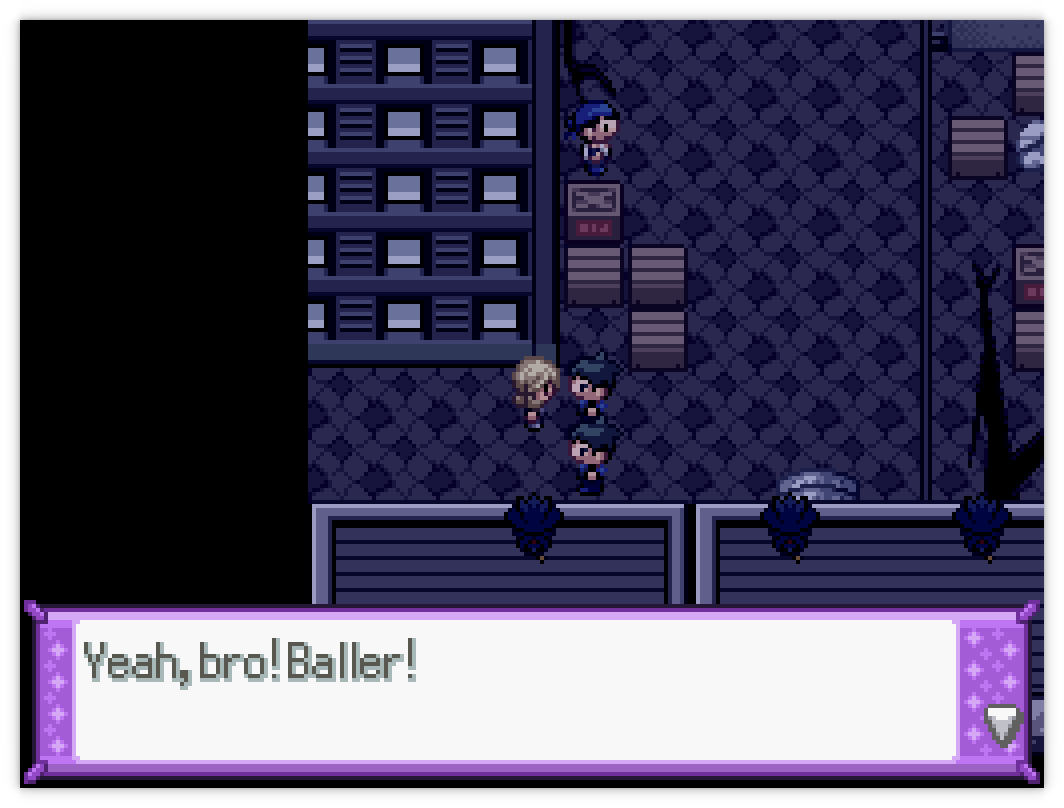
Each alleyway is guarded by two grunts; talk to them twice to start a double battle. After beating them, you'll be inducted into the gang and can get the unique TM within: TM41 Torment for the Aqua alleyway, and TM46 Thief in the Magma alleyway. Introduce yourself to the gang leader to find out about your first task; you'll be meeting up at an abandoned house in the Lapis Ward.
Enter the house directly to the the right of the flower shop in Lapis Ward; a bit away from the wall overlooking Peridot. Talk to the leader for some info on who your target is. Next, go into the house directly below the Pokémon centre (you might have been here before and shooed out) and travel straight through to the back of the room. Your target are the Pokéballs on the table; the left-most one contains an evolution stone ( a Water Stone for Aqua, and a Fire Stone for Magma) and the middle one contains a Pokémon ( Ponyta for Aqua, Buizel for Magma). Talk to your leader again and then return back to your home alleyway.
Talk to the gang leader twice to get the next quest: the Gang Raid quest. Find the other gang's hideout, beat the hell out of their leader. Now you have free access to both alleyways. You can go back and talk to your gang leader to get either a Carvanha or a Houndour as a gift, each with a special egg move.
Before returning to the Aqua Gang alleyway in Lapis Ward, set the time to night and the weather to windy. Save in front of the Murkrow inside the alleyway, catch it, and soft reset with F12 if it doesn't have Prankster. Yes, you need prankster. If it doesn't have Perish Song, either use the Move Relearner or reset until it does (because it's one of the three options).
Finally, go back into the house you raided and talk to the old woman; exit after being truthfully accused of thievery. The piggy will come outside and give you a Bike Voucher, which you can use in the bike shop below to get a cool bike.
Blacksteam Factory

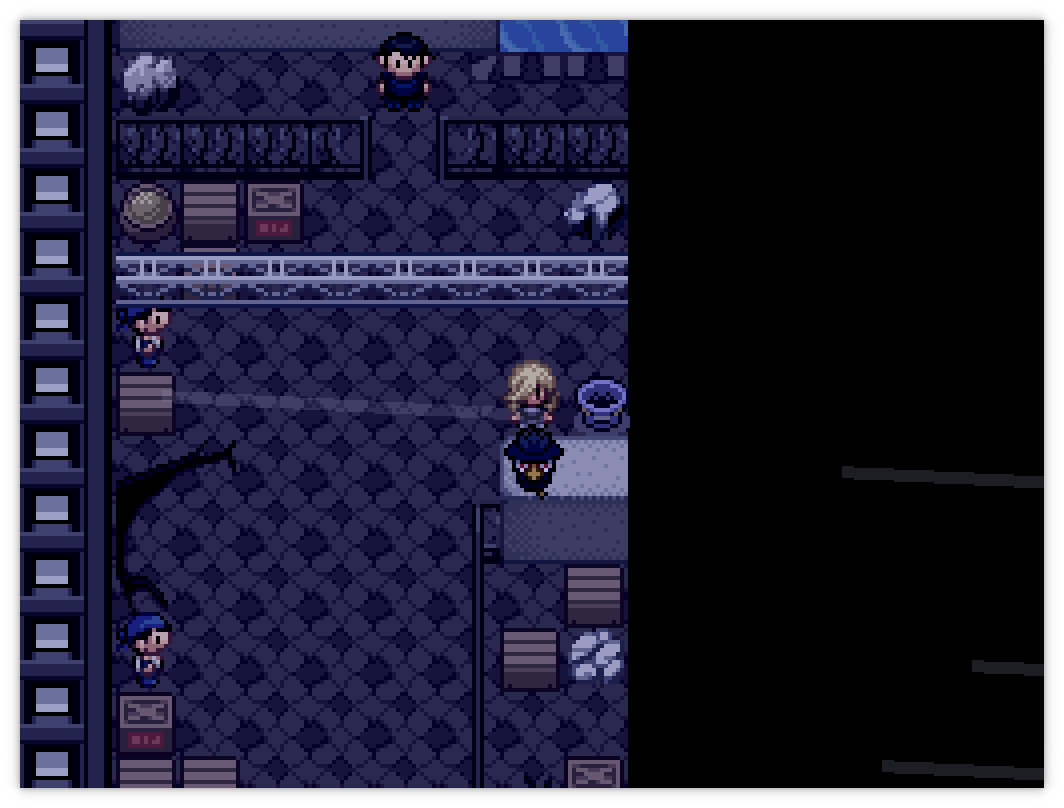
It's time to actually continue the story. Make your way to the second factory building at the far left of the Peridot Ward. First, talk to Ace and pick a nature to get a mint. Talk to Amaria for a cutscene, and then proceed inside to fight a double battle (next to her terribly named and overpowered gym battle team).
Go down the stairs to get another medium length cutscene, whereupon you'll be knocked into a trapdoor and fall into a room with a very tedious puzzle. If you've done it before, then you should be able to skip it with an NG+ shard. I had to do it again anyway, for the walkthrough. You're welcome.
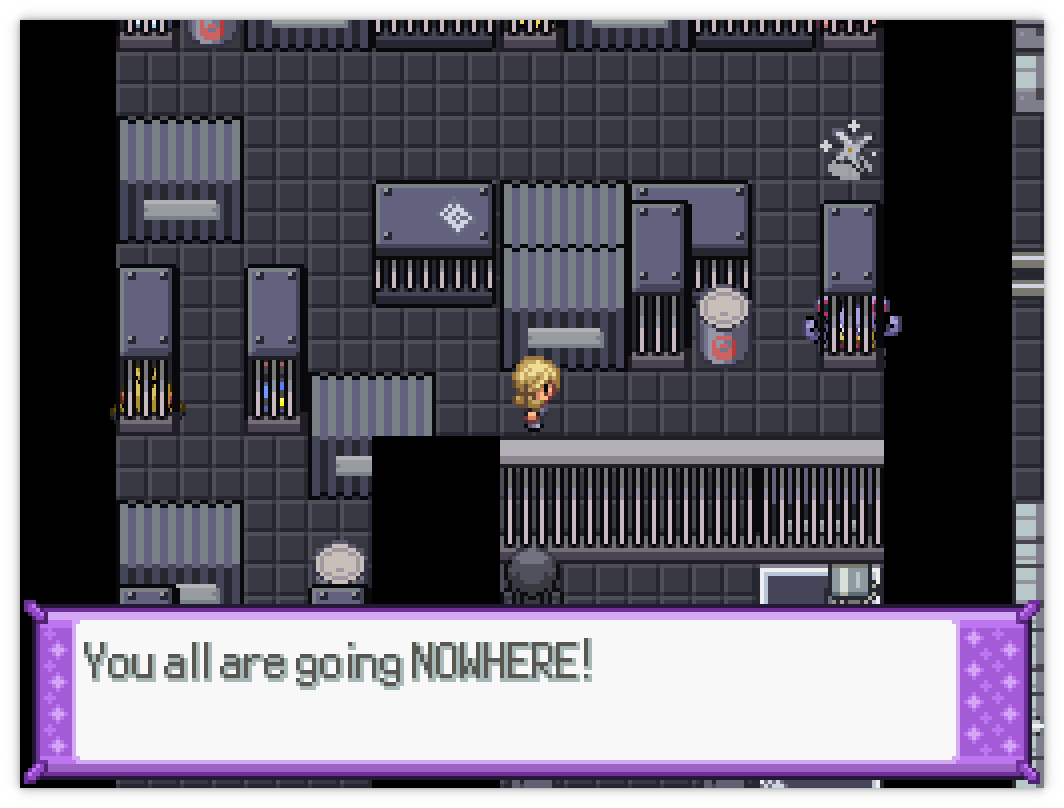
The goal here is to melt the bars by using the various caged Pokémon in a specific order. The steps are basically a loop of "make noise, teleport pokemon, make noise again, make guard fall asleep, use pokemon". So, let's do this in order. The most important Pokémon here are the Loudred (in the far right), the Abra (top centre), and the Jigglypuff (bottom right).
Puzzle solution
-
First, to heat up the bars, interact with the Pokémon in this order:
- Loudred
- Abra
- Cyndaquil (bottom left)
- Loudred
- Jigglypuff
- Cyndaquil (centre cage)
-
Next, to cool down the bars, interact with the Pokemon in this order:
- Loudred
- Abra
- Cyndaquil (centre cage)
- Abra
- Vanillite (top left)
- Loudred
- Jigglypuff
- Vanillite (centre cage)
-
Finally, to actually break the bars, interact with the Pokémon in this order:
- Loudred
- Abra
- Vanillite (centre cage)
- Abra
- Roggenrola (bottom right)
- Loudred
- Jigglypuff
- Roggenrola (centre cage)
Optionally, you can also get a Ditto after this. Talk to Abra, then Roggenrola, then Abra, then Vanillite, then Abra, then Makuhita. Talk to the Makuhita in the former Vanillite cage for Ditto to pop out. Once out of the cage, talk to the Grunt for an optional battle. The path forks into two here; to the left is a set of stairs that leads to the basement, where you will find a PULSE read-out and TM49 Echoed Voice, as well as a data chip in one of the green-ringed computers at the top of the room.
After that, continue onwards to the right path and up the stairs. Here the first room at the top contains a Super Potion and the second room contains a computer that will unlock the front gate (meaning you can now exit and go to a Pokécentre, if needed.) To the south is a passage leading to a pair of gates. The computer in front of the gates unlocks the first gate, leading to a light shard; go up the stairs to the second floor to continue.
Again, there's a few possible exits here. The lower left room contains a Light Shard, the lower right room contains a large EXP Candy; the upper left room contains a Thunder Stone and the upper right room contains a computer that will unlock the second door downstairs. Once you go in there, you will find another cutscene and then a boss battle with ZEL and PULSE Muk.
Meteor Admin ZEL
| Sprite | Name | Level | Ability | Held Item | Moves | EVs |
|---|---|---|---|---|---|---|
|
|
Glaceon | 44 | Ice Scales | Never-Melt Ice |
|
0/0/0/0/0/0 |
|
|
Espeon | 44 | Magic Bounce | Twisted Spoon |
|
0/0/0/0/0/0 |
|
|
Umbreon | 44 | Magic Guard | Lum Berry |
|
0/0/0/0/0/0 |
|
|
Tangrowth | 45 | Regenerator | -- |
|
0/0/0/0/0/0 |
|
|
Muk-PULSE | 42 | Protean | Leftovers |
|
0/0/0/0/0/0 |
This thing is insanely bulky on the special side, so focus on physical attacks. It also has Gen 7 Protean, so be aware of its type every time. Once you put the Muk out of its misery, talk to Amaria to get the Harbour Key which will give you access to Apophyll Island. There's nothing left for us here in Reborn City for quite a while, so head to the Coral Ward and open the unopenable warehouse to proceed.