Elite 4 & Champion: Battle of Berlin
Welcome to the final stretch! (Of the main game. There's still 15-ish hours of postgame content yet). Take a breather. Catch some more Pokémon. You have six battles ahead of you, on six different fields, with no healing inbetween unless you use your healing items. Best to buy the full restores from the Pokécentre here. If you get wiped, you can fly to and from here on the map screen like normal and you don't have to go back through Victory Road.
The "twist" here is that all of the Elite 4 leaders use dual types instead of single types. They're also all on favourable field effects and have full level 100 teams. Whenever you're ready, enter the League building and pass through the eighteen badge gates to progress.
The Gauntlet
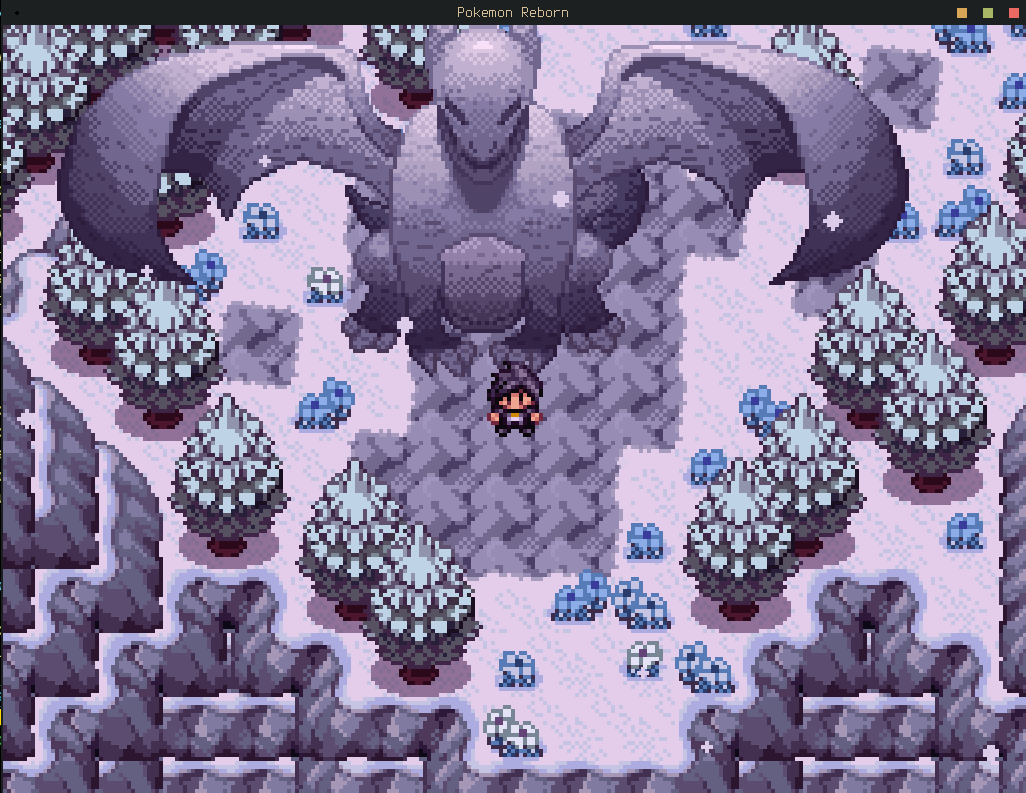
Here's the four battles of the Elite 4 you'll face. First up is Heather, who is a dual Poison and Flying type trainer. Her battle is on the Mountain Field. Flying/Poison isn't an especially good dual type defensively; you should be able to muscle through her with most Pokémon, but Electric and Psychic types can help.
Elite Four Wind Maiden Heather
| Sprite | Name | Level | Ability | Held Item | Moves | EVs |
|---|---|---|---|---|---|---|
 |
Crobat | 100 | Infiltrator | Focus Sash |
|
0/4/252/252/0/0 |
 |
Nidoking | 100 | Rivalry | Life Orb |
|
0/4/0/252/252/0 |
 |
Corviknight | 100 | Pressure | Leftovers |
|
0/252/0/0/0/88 |
 |
Kilowattrel | 100 | Wind Power | Flyinium-Z |
|
0/4/0/252/252/0 |
 |
Gengar | 100 | Levitate | Life Orb |
|
0/4/0/252/252/0 |
 |
Salamence | 100 | Intimidate | Salamencite |
|
0/4/252/252/0/0 |
The second is Bennett & Laura, who fight as a single enemy trainer with 6 Pokémon despite the name. They're dual Bug and Grass type trainers, and this is a double battle. Their battle is on the Flower Field which is extremely advantageous to them. Setting up the Rainbow Field with Drought on turn 1 (e.g. Mega Arcanine) will let you easily beat them, as will having Fire or Flying types.
Elite Four Tag Team Bennett & Laura
| Sprite | Name | Level | Ability | Held Item | Moves | EVs |
|---|---|---|---|---|---|---|
 |
Lokix | 100 | Swarm | Synthetic Seed |
|
0/4/252/252/0/0 |
 |
Whimsicott | 100 | Prankster | Synthetic Seed |
|
0/4/0/252/252/0 |
 |
Venusaur | 100 | Overgrow | Venusaurite G |
|
0/4/0/252/252/0 |
 |
Ephemeon | 100 | Technician | Synthetic Seed |
|
0/4/252/252/0/0 |
 |
Volcarona | 100 | Swarm | Synthetic Seed |
|
0/4/0/252/252/0 |
 |
Lilligant | 100 | Chlorophyll | Grassium-Z |
|
0/4/0/252/252/0 |
The third is Elias, who is a dual Normal and Dragon type trainer. His battle is on the Holy Field, which means Ghost types are at a disadvantage; keep that one in mind. This is the hardest of all six battles here; Fighting and Fairy types, as well as Extreme Speed (which gets a hefty boost and outwits his high speed Pokémon) are a must.
Elite Four Agent Elias
| Sprite | Name | Level | Ability | Held Item | Moves | EVs |
|---|---|---|---|---|---|---|
 |
Kangaskhan | 100 | Early Bird | Kangaskhanite |
|
0/4/252/252/0/0 |
 |
Noivern | 100 | Infiltrator | Magical Seed |
|
0/4/0/252/252/0 |
 |
Kommo-o | 100 | Bulletproof | Kommonium-Z |
|
0/4/252/252/0/0 |
 |
Dragonite | 100 | Multiscale | Choice Band |
|
0/4/252/252/0/0 |
 |
Drampa | 100 | Berserk | Wiki Berry |
|
0/252/0/0/252/4 |
 |
Ditto | 100 | Imposter | Choice Scarf |
|
0/252/0/0/0/0 |
To no surprise at all, the fourth and final Elite 4 member is Anna, who is a dual Fairy and Steel type trainer. She gives you some plot exposition before your fight that explains some background lore; she's a complete pushover.
Elite Four Starcrosser Anna
| Sprite | Name | Level | Ability | Held Item | Moves | EVs |
|---|---|---|---|---|---|---|
 |
Ninetales-Alola | 100 | Snow Warning | Light Clay |
|
0/4/0/252/252/0 |
 |
Hatterene | 100 | Magic Bounce | Magical Seed |
|
0/252/0/0/252/4 |
 |
Sylveon | 100 | Pixilate | Leftovers |
|
0/252/0/0/4/252 |
 |
Metagross | 100 | Clear Body | Life Orb |
|
0/4/252/252/0/0 |
 |
Mismagius | 100 | Infiltrator | Mismagiusite |
|
0/0/0/252/252/4 |
 |
Jirachi | 100 | Serene Grace | Psychium-Z |
|
0/252/0/0/252/4 |
Lin, Pt 2
Once you've left Anna's room, you can go up the path into the champion room for the first of two battles against Lin. There's actually two versions of this battle.
If you refused to give Blake the Ruby Ring:
Meteor Champion Lin
| Sprite | Name | Level | Ability | Held Item | Moves | EVs |
|---|---|---|---|---|---|---|
|
|
Ninetales-Alola | 100 | Snow Warning | Eject Button |
|
0/252/252/252/252/252 |
 |
Gardevoir | 100 | Trace | Gardevoirite |
|
0/252/252/252/252/252 |
 |
Garchomp | 100 | Rough Skin | Choice Scarf |
|
0/252/252/252/252/252 |
 |
Conkeldurr | 100 | Sheer Force | Flame Orb |
|
0/252/252/252/252/252 |
 |
Delphox | 100 | Magic Guard | Choice Specs |
|
0/252/252/252/252/252 |
 |
Abra-PULSE2 | 100 | Magic Guard | Life Orb |
|
0/252/252/252/252/252 |
If you gave Blake the Ruby Ring:
Meteor Champion Lin
| Sprite | Name | Level | Ability | Held Item | Moves | EVs |
|---|---|---|---|---|---|---|
|
|
Ninetales-Alola | 100 | Snow Warning | Eject Button |
|
0/252/252/252/252/252 |
|
|
Gardevoir-Angel Of Death | 100 | Duskilate | -- |
|
0/252/252/252/252/252 |
 |
Dragapult | 100 | Infiltrator | Life Orb |
|
0/252/252/252/252/252 |
 |
Togekiss | 100 | Serene Grace | Leftovers |
|
0/252/252/252/252/252 |
|
|
Delphox | 100 | Magic Guard | Choice Specs |
|
0/252/252/252/252/252 |
|
|
Abra-PULSE2 | 100 | Magic Guard | Life Orb |
|
0/252/252/252/252/252 |
Lin, Pt 2
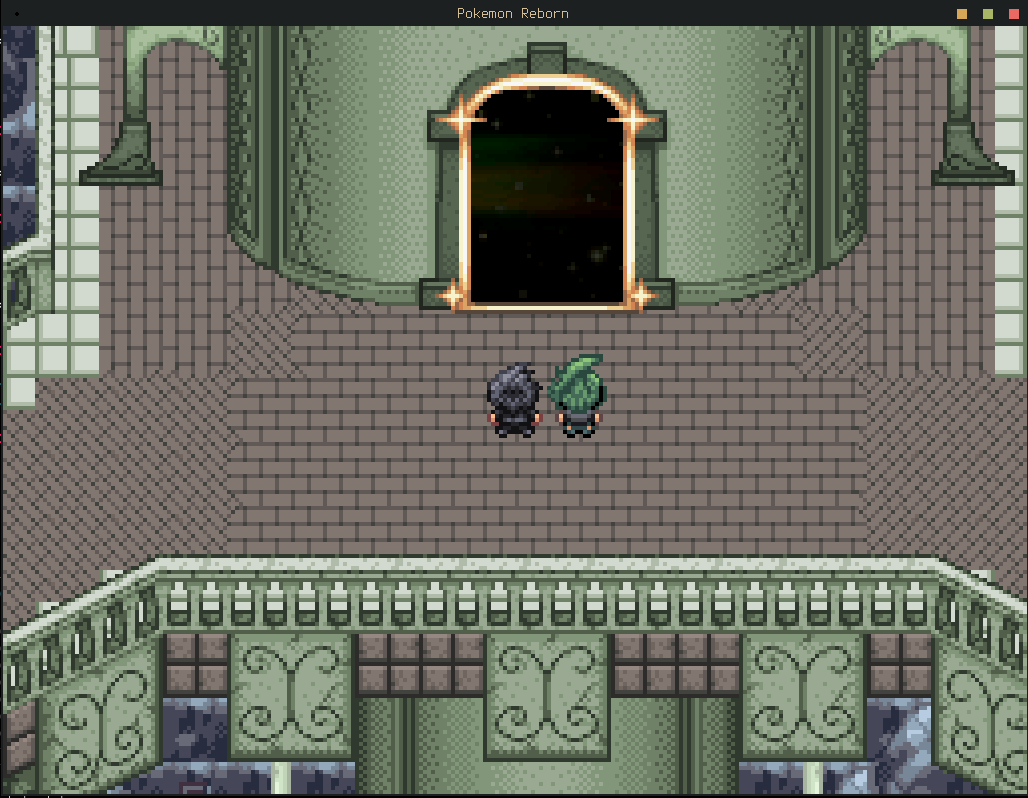
After beating her, you will get a small cutscene before you are returned to the Citae Astrae. Follow her up into the Citae Astrae and proceed into the Emerald Tower door to continue. Say all Pokémon here are Dark to proceed; then proceed into the Sapphire Tower and say all Pokémon here are Light.
Step into the New World to continue. No matter what route you take, you will always have at least one battle here (although, it will vary depending on if you're on the good route or not).
If you are on the good route, this is your battle:
Meteor Champion Lin
| Sprite | Name | Level | Ability | Held Item | Moves | EVs |
|---|---|---|---|---|---|---|
 |
Flutter Mane | 100 | Protosynth. | Booster Energy |
|
0/252/252/252/252/252 |
 |
Flygon | 100 | Levitate | Life Orb |
|
0/252/252/252/252/252 |
 |
Honchkrow | 100 | Moxie | Darkinium-Z |
|
0/252/252/252/252/252 |
 |
Grafaiai | 100 | Prankster | Air Balloon |
|
0/252/252/252/252/252 |
 |
Celesteela | 100 | Beast Boost | Leftovers |
|
0/252/252/252/252/252 |
 |
Hydreigon | 100 | Levitate | White Herb |
|
0/252/252/252/252/252 |
Otherwise, this is your final main-game battle:
Meteor Champion Lin
| Sprite | Name | Level | Ability | Held Item | Moves | EVs |
|---|---|---|---|---|---|---|
|
|
Flutter Mane | 100 | Protosynth. | Booster Energy |
|
0/252/252/252/252/252 |
|
|
Honchkrow | 100 | Moxie | Darkinium-Z |
|
0/252/252/252/252/252 |
|
|
Gardevoir-Angel Of Death | 100 | Duskilate | -- |
|
0/252/252/252/252/252 |
|
|
Celesteela | 100 | Beast Boost | Leftovers |
|
0/252/252/252/252/252 |
|
|
Hydreigon | 100 | Levitate | White Herb |
|
0/252/252/252/252/252 |
 |
Arceus-PULSE Normal | 100 | Multitype | Life Orb |
|
0/252/252/252/252/252 |
Lin, Pt 3?
The next part of the game varies massively depending on the route:
- On the bad route (i.e. any route where you did not take ALL the required steps) you will be cast out of the New World with an amibigious ending.
- On the good route, Anna will intervene and you will partake in the third and final battle with Child Lin.
Mordant Urchin Lin
| Sprite | Name | Level | Ability | Held Item | Moves | EVs |
|---|---|---|---|---|---|---|
|
|
Arceus-PULSE Normal | 100 | Multitype | Darkinium-Z |
|
0/252/252/252/252/252 |
IT IS OKAY TO LOSE THIS BATTLE!!! If you lose, you will get the same postgame and final game ending as the bad route, but a backup save will be made that lets you go back to before the second Lin Battle.
That means that after beating the bad route's postgame, you can throw at the second battle, go back to the start of the E4, use your Shared Box to load up a team of six legendaries, and wipe her in the third battle to get the good route ending. It is my recommendation that you delibeerately LOSE the third battle if this is your first (postgame) playthrough as Anna Smiles doesn't make much sense without beating the game normally.
Regardless of which ending you pick, you'll get a credit roll (press A to skip) and you will wake up back in the Peridot Ward. Congratulations! You beat the game! Or, rather... you beat the first three quarters. Welcome to the postgame!