
Badge #1: Peridot Ward
Welcome to the Reborn Region! The first thing you need to do is to fill out your name and character portrait. I recommend naming yourself "Leavanny". Most of the portraits have a bad case of Fetal Alcohol Syndrome (something that seems to plague Pokémon fangames).
You'll board the train towards Reborn City through the Tourmaline Desert, and you will be asked for "special instructions or passwords". Previously, you would've needed to say yes here to enable them, but now you can apply the recommended set of passwords automatically as soon as you get into the city when the game asks you to.
Welcome To Reborn City
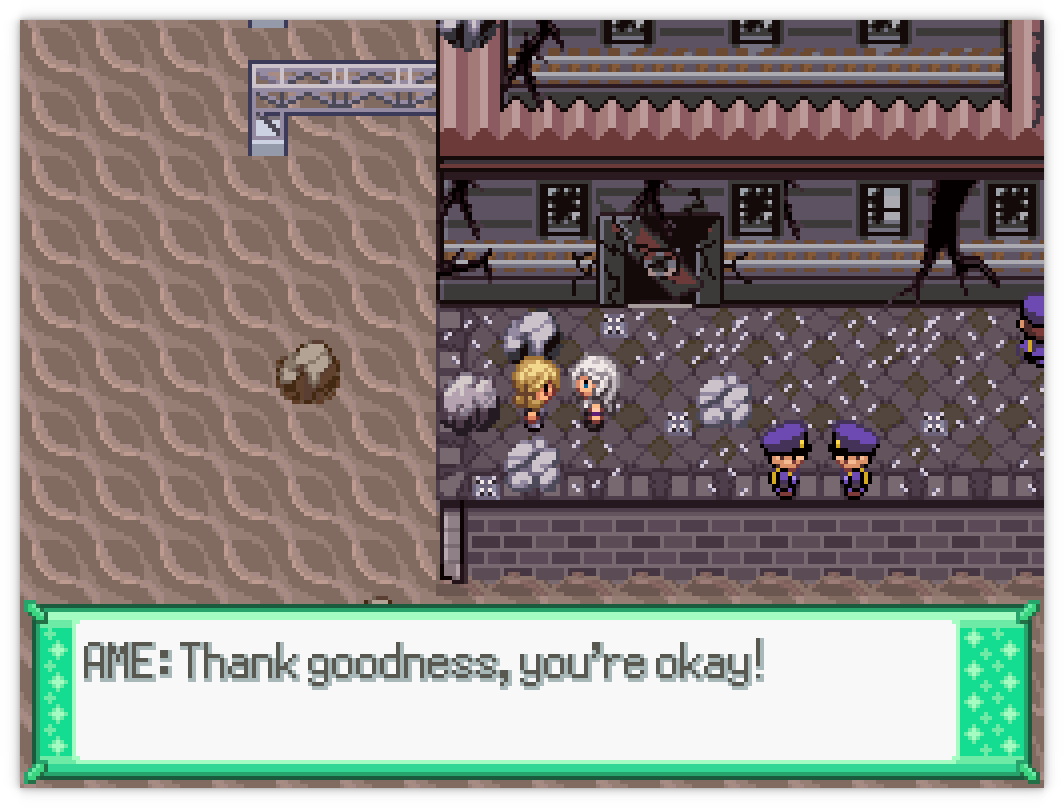
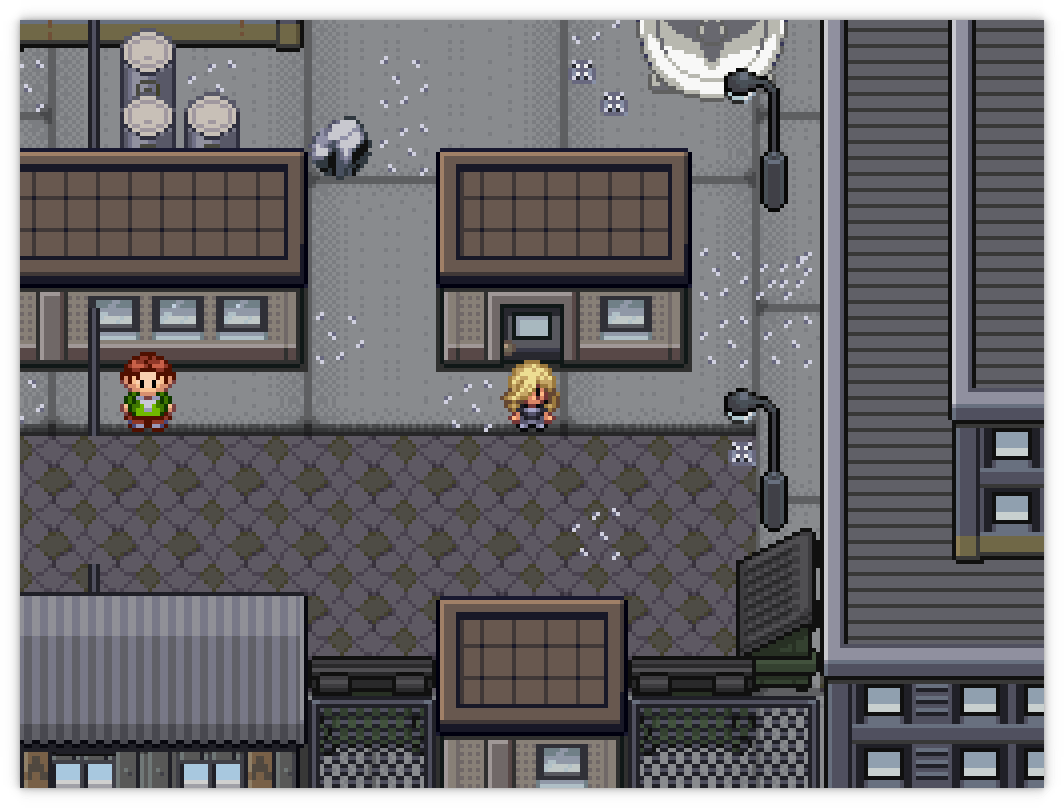
After entering all of your passwords, the train you're on will crash into the station shortly after you jump out through the window. You'll wake up in the Peridot Ward of Reborn City. Answer the immediate question whichever way you want.
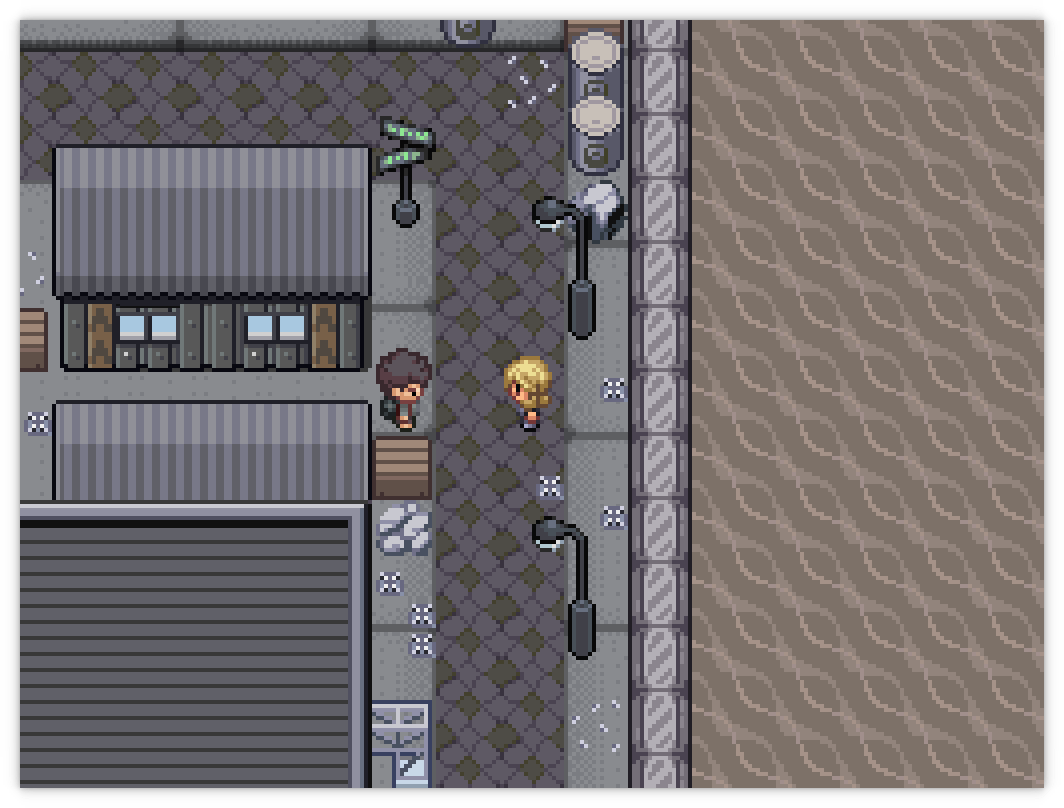
Most of Lower Peridot Ward is blocked from you to stop you from walking up and getting into battles with no Pokémon. Talk to everyone here for some nice flavour text (you should be talking to absolutely everyone you see, anyway) and proceed to the right to make it to the Opal Ward.
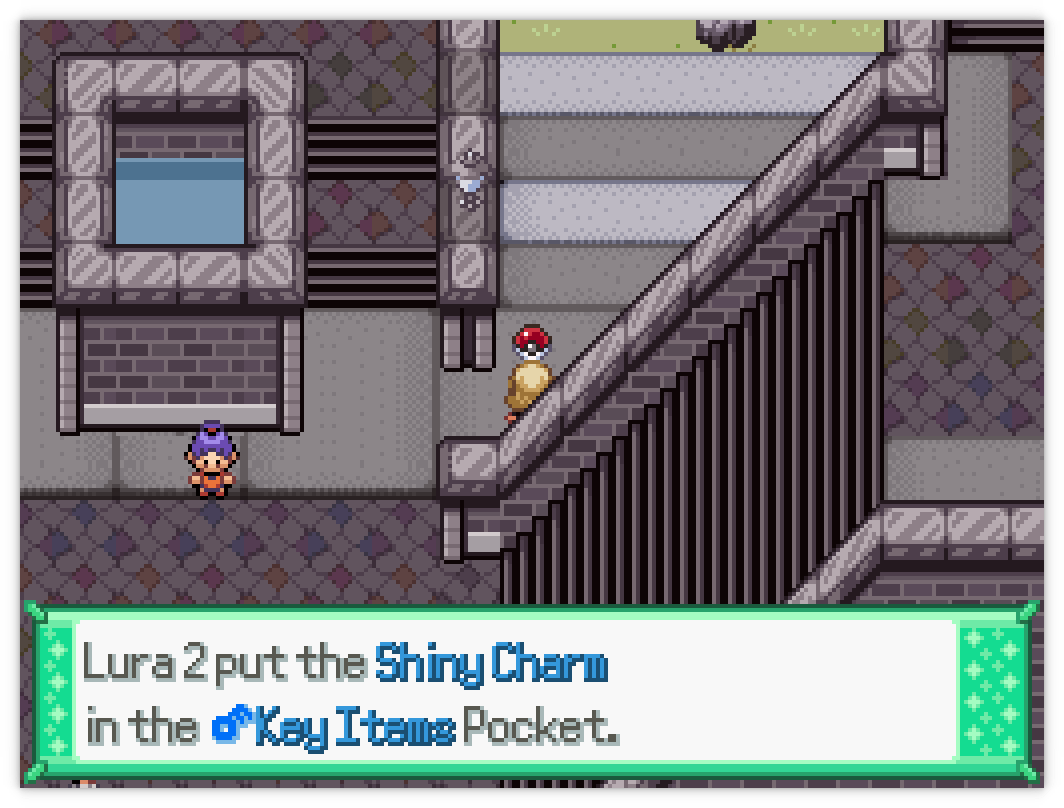
Talk to the purple-haired person at the bottom next to the river to get a single Potion. It doesn't work on humans, but she knows that! There are two staircases to either side, but they're blocked off by two trainers who won't let you past unless you have a Pokémon. If you used the early shiny charm password, there will be an item to the side of the middle staircases that contains it.
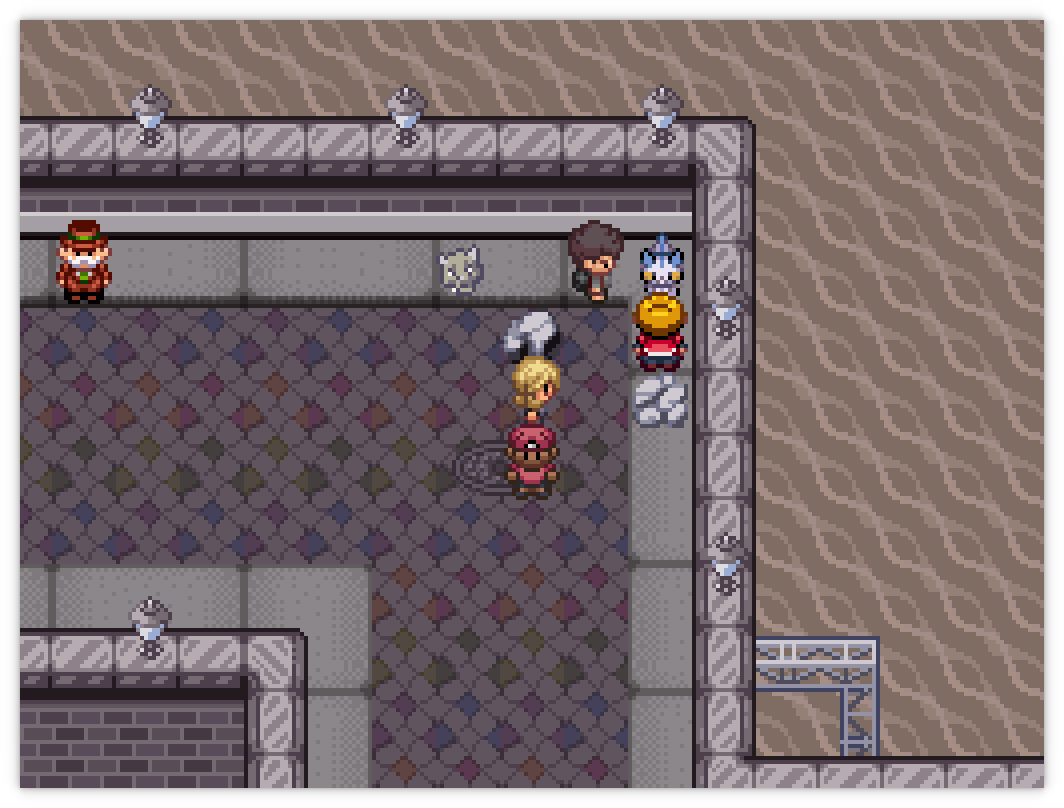
You have nowhere else to go but up the middle staircase and into the Grand Hall, where you will meet Victoria, your first rival! She'll take you inside the Grand Hall to the registration desk (you walk a little bit faster than she does so this sequence looks pretty glitchy). And now it is time for.....
Choosing Your Starter
Reborn is a hard game. Every major boss battle has a team that hits hard, and usually has a cheat-y field effect that directly advantages their type and shuts down the most common counters.
The starter Pokémon are some of the best Pokémon available until the encounter tables open up around the third badge. All starters are also available via either the wild or events so you don't have to worry about missing any of them.
You can get away with any starter, but some are very obviously better than others:
- Froakie or Scorbunny are great choices overall due to their abilities Protean/Libero which is one of the best abilities in the game. Sprigatito also has Protean, but it is weak to some of the most important first gyms; you can catch one at Chrysolia Forest later on, where it becomes one of the best Pokémon available.
- Torchic used to be the best starter hands down, but with the removal of Speed Boost it loses a lot of its previous advantage. You can get it via event near the end of the game.
- Starter Porygon with the monowoke password, or Starter Eeevee with the eevee password are decent choices.
Beyond that, the game relies very heavily on team composition; don't expect to coast along with an overlevelled starter like the main series games! You will need a good roster of Pokémon to tailor your teams to each boss. I recommend having around sixty to seventy Pokémon by the last few gyms that you can rotate in and out as needed.
Grand Beginnings
Once you've picked your starter, you'll be led back downstairs and Victoria will go upstairs to pick her starter (which will always be a Litten). Unfortunately, your second rival—Cain—will barge in, corner you, make inappropriate sexual remarks at you, and then force you into a battle. I think there should be an option to use your Pokémon to target him directly and kill him.
Sex Pest Cain
| Sprite | Name | Level | Ability | Held Item | Moves | EVs |
|---|---|---|---|---|---|---|
|
|
Nidoran | 5 | Hustle | -- |
|
0/0/0/0/0/0 |
After beating him, Victoria comes back, victim blames you for Cain's sexual comments, and then has another battle with you.
Apprentice Victoria
| Sprite | Name | Level | Ability | Held Item | Moves | EVs |
|---|---|---|---|---|---|---|
|
|
Litten | 5 | Blaze | -- |
|
0/0/0/0/0/0 |
Once the battle ends, you will regain free movement and can explore the Opal Ward and Peridot Ward fully. Make sure to pick up all the free items dotted around the Grand Hall.
At the very bottom of the Grand Hall, next to the exit, there are two NPCs. The one to the right will offer to sell you a rare Pokémon for only 500 dollarpounds; spoilers—it's a Magikarp. This is a very long but optional event chain that leads you on until the very end of the game, and is the only way of actually catching a Magikarp in-game until the post-game (where you can breed Gyarados instead). If you do choose to buy it, it'll be stolen immediately. No refunds!
Opal Ward
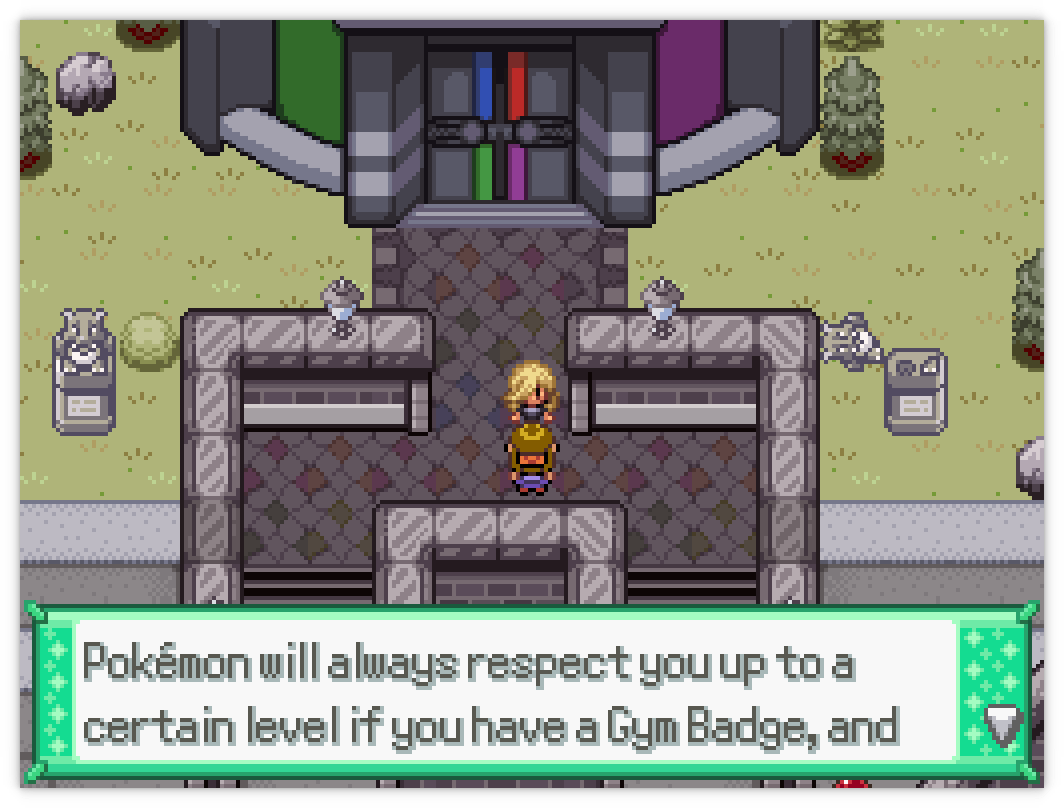
Exit the Grand Hall to the south. Before you can go anywhere you're treated to a quick explanation about the soft level cap and disobedient Pokémon—the specific Pokémon varies depending on your save between either an Stufful or an Snubbull. Stufful isn't available again until Route 1 (via Bewear), and Snubbull isn't available again until after the 13th Badge.
If you enabled the hard level cap, then Pokémon simply won't level past your level cap. You don't need to worry about using Common Candies to level your Pokémon back below your current level cap.
On both sides of the Grand Hall is a small wild area. There's nothing here really worth wasting your first set of Pokéballs on, but there is a single Green Shard available if you interact with the furthest left statue. Battle the single trainer, he tells you about Hidden Abilities and how they appear on wild Pokémon in Reborn; every Pokémon has up to three regular abilities instead.
If you try going up the staircases again, you will be again be blocked by the bridge guards—but this time, you can battle them! For the left stairs:
Youngster Paul
| Sprite | Name | Level | Ability | Held Item | Moves | EVs |
|---|---|---|---|---|---|---|
|
|
Bellsprout | 4 | Chlorophyll | -- |
|
0/0/0/0/0/0 |
And then for the right stairs:
Hotshot Eric
| Sprite | Name | Level | Ability | Held Item | Moves | EVs |
|---|---|---|---|---|---|---|
|
|
Bidoof | 5 | Simple | -- |
|
0/0/0/0/0/0 |
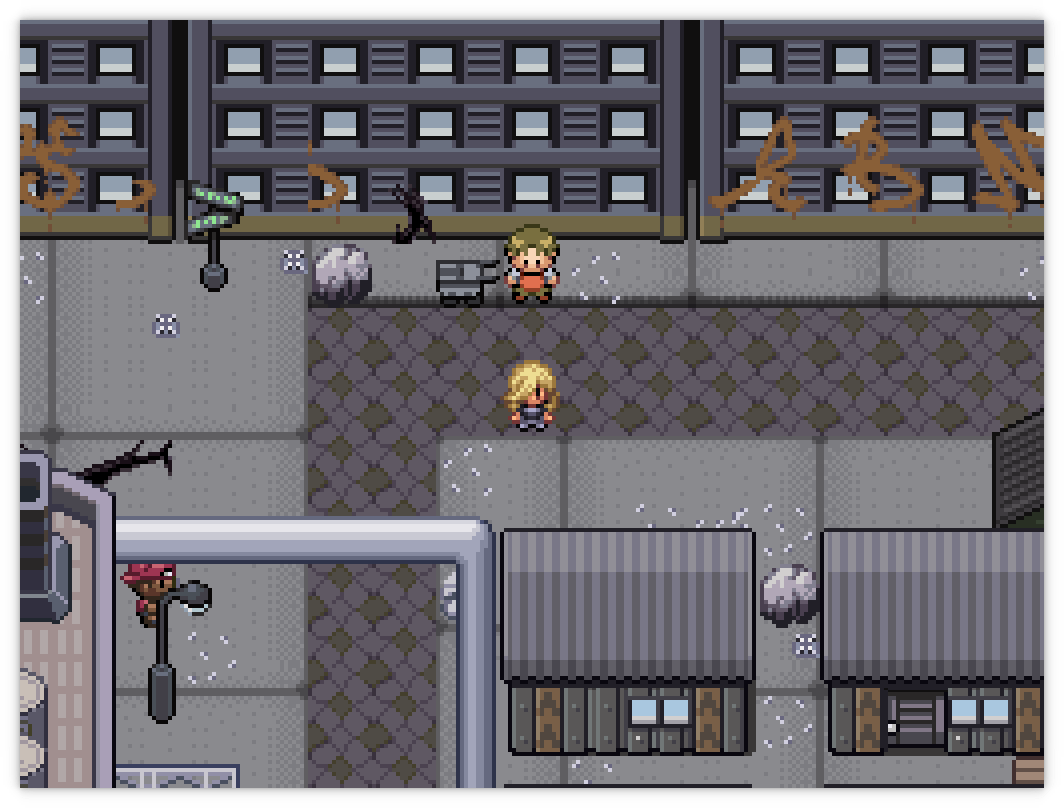
On the bridge itself are some battleable NPCs. There's also a set of guys bullying a Pokémon; this is either a Zigzagoon or a Pachirisu. You can't defend it right now (if it's a Pachirisu you should let them throw it into the river) so make a note and move on.
To the north and the right of the bridge are two piggies who block your path into both parts of Obsidia Ward, so your only option is to go southeast into Lower Peridot Ward. The piggies that were blocking that part of the map are gone so you can explore the entirety of Peridot Ward. Just be warned; a lot of the random NPCs will pick fights with you here.
Peridot Ward Events
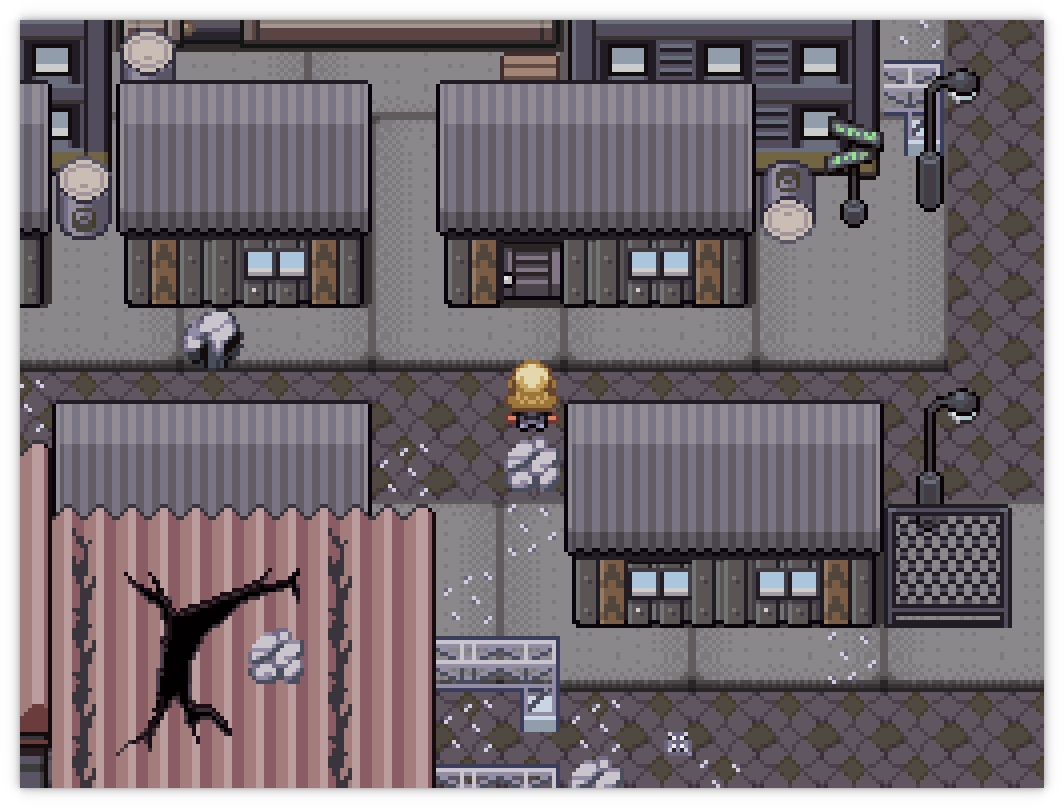
Before doing anything else, travel to the far right area and go to this house to get the Old Rod. You can enter the large building to the southeast (behind two smaller houses) to battle a fisherman, who will let you fish in a small freshwater pond afterwards. Make a note of the purple-haired guy below. The following events are roughly in the order as you travel upwards from the bottom of Lower Peridot Ward to the highest part of Upper Peridot Ward.
Enter this house in Lower Peridot and pick up the Pokesnax within. This will give you access to at least four different event Pokémon. Behind it is a building with a trainer in it; beat him to get access to a small pool of water.
On the left-most alleyway of Lower Peridot Ward, there will be a guy asking for money. Give him three donations of 50 dollarpounds and he'll move out of the way. You can enter a house along the alleyway to pick up ether a Minccino, an Espurr, a Toxel, or a Swinub.
This house contains either a Whismur, Cufant, Impidimp, or a Roggenrola depending on your event RNG. This is the only chance to get some of these before Route 1! Also, this event is not available after the first gym.
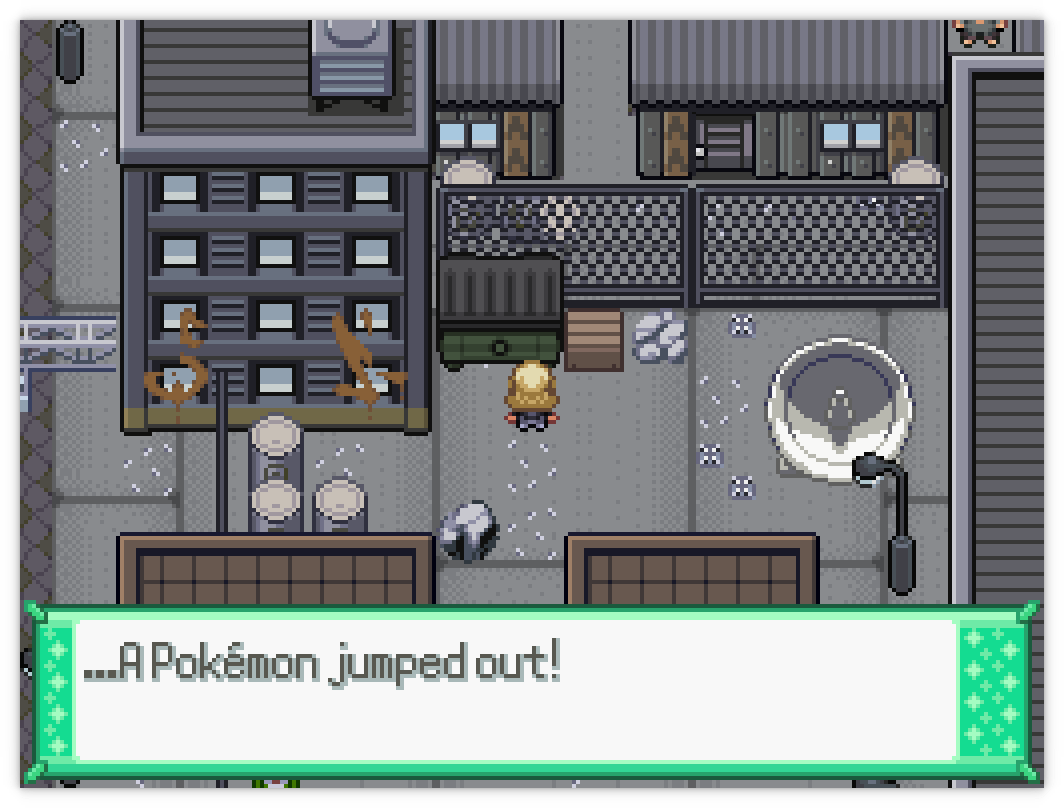
Interact with this dumpster for either a Gulpin, a Zigzagoon, or a Gimmighoul (wow, what the hell?).
Upper Lower Peridot
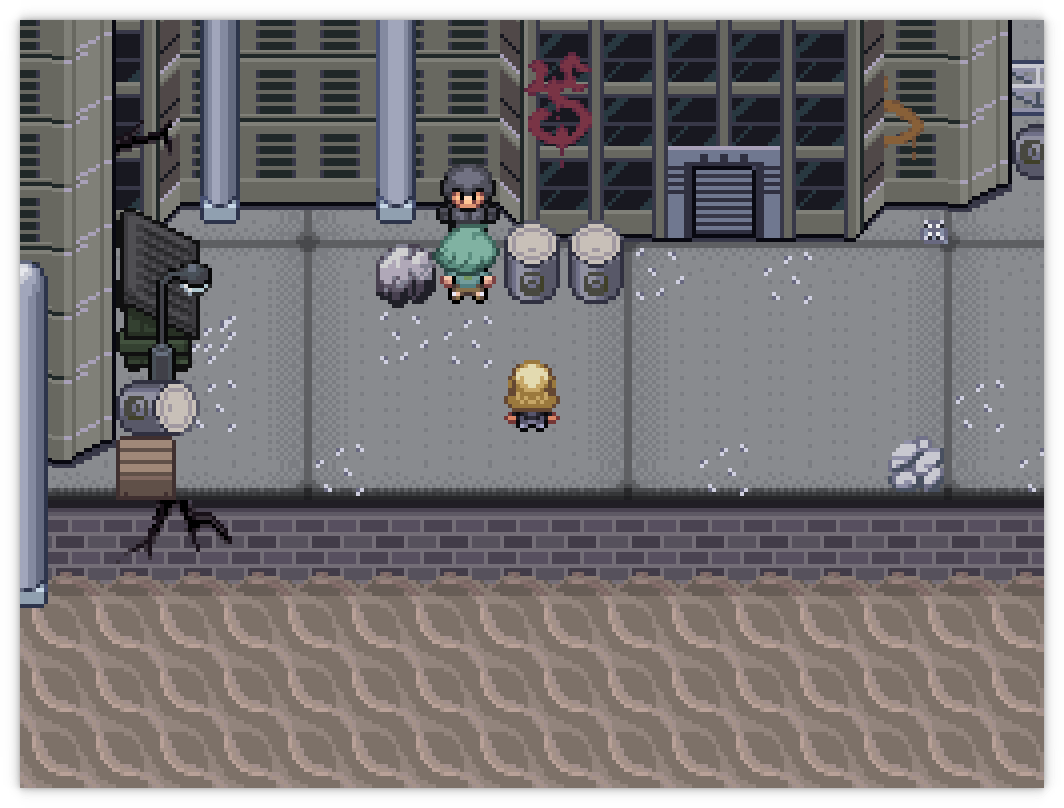
Next, above the Pokécentre, there is a Doxy trainer who will battle you. Defeat her, and then talk to her again to get a Rose Incense. You can also interact with the rock below to get a single Antidote. The house to the left directly above has an event Skitty, although I can't particularly recommend you bother with that. The Oran Berry required for the event is hidden in a rock to the left and upwards of the building, but you will be able to catch it in the wild after the 13th Badge.
To the right is a conspicuous alleyway guarded by a single trainer. Defeat him to gain access to the area; inside, you will find a Super Potion guarded by another trainer. This alley also has some very decent earlygame encounters, like Trubbish and Stunky.
Even further to the right, just before the upper entrance to the Opal Ward, is a flat with a Kricketot in it. I highly recommend you get this Pokémon, as Technician Kricketune can carry you really hard throughout the first few gyms.
A small area in Opal Ward is accessible to you by following the railway tracks to the east. It has a single trainer in it, and in rainy weather one of the elemental monkeys is available. If you keep going to the right, you will enter the Underground Railnet - or the very entrance. The rest is blocked off by a breakable rock.
Finally, to the left of the train tracks up to North Peridot Ward is a building with a flower field next to it. Go inside, beat up the old man, and you'll get access to the garden. The only thing worth catching here is a Swablu which has Cloud Nine, an ability useful for certain major story battles by cancelling out their field weather.
North Peridot Ward
Follow the train tracks up into North Peridot Ward. Near the northernmost gate to another ward, you can find a vendor that sells Pokésnax, which you can buy three of to get the rest of the event Pokémon. If he's not there, change the weather to Clear. You can also go left into another alley, where you will find a Data Chip guarded by two other trainers.
If you travel all the way north to the gate, on days with clear weather (or if you have weather mod enabled and set the weather to clear), you can use the Rose Incense you found earlier to catch a Budew.
We're almost done with all of the available event Pokémon. If you have the weather mod, set the weather to Rainy or Stormy and interact with the fountain to the right of the railway to catch a Surskit. Finally, set the time to night, go down to the left of the house with Charm in it, and enter the building to catch a Joltik (provided you have a Pokésnax.)
Mosswater Industrial
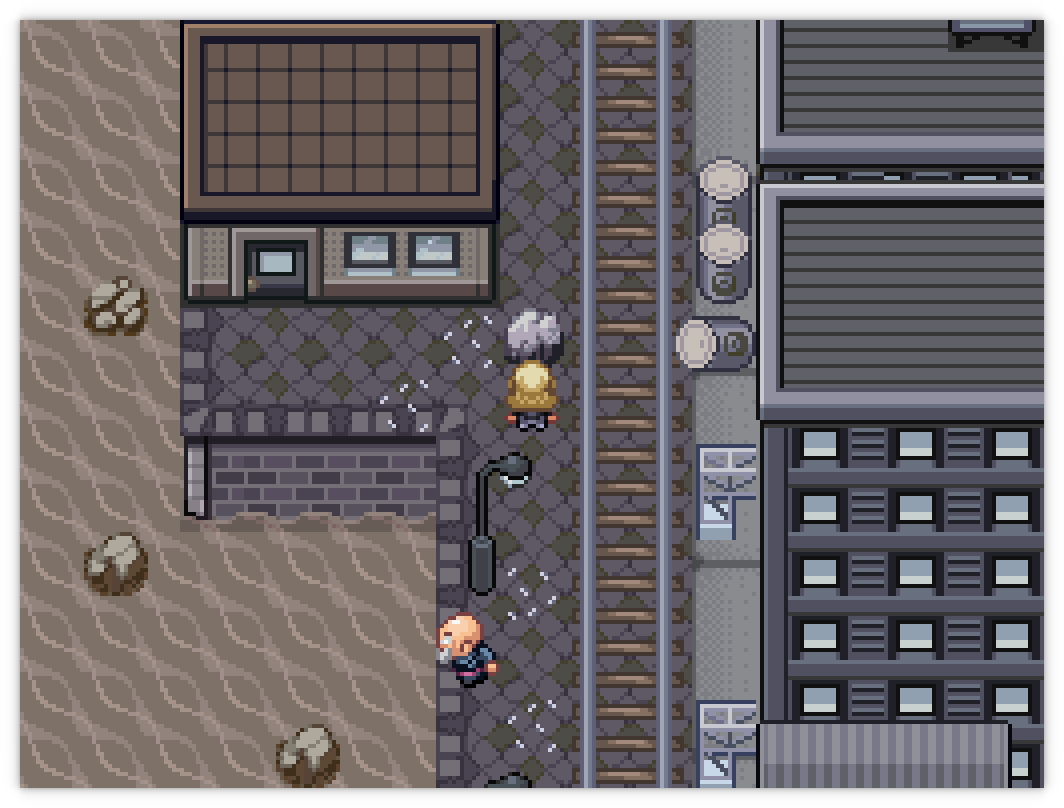
To advance the story, walk to the east of the Pokémart in North Peridot Ward and talk to the green-haired guy. He will talk to you to tell you to fuck off, letting the NPC that he was "interrogating" escape; then introduces himself as Fern (your third rival), talks about how he's an Alpha Male, and then forces you into a battle. For whatever reason this fight seems to randomly fail to load the music and I'm not fully sure why.
Incel Fern
| Sprite | Name | Level | Ability | Held Item | Moves | EVs |
|---|---|---|---|---|---|---|
|
|
Capsakid | 14 | Chlorophyll | Oran Berry |
|
0/0/0/0/0/0 |
|
|
Sneasel-Hisui | 14 | Pickpocket | Oran Berry |
|
0/0/0/0/0/0 |
|
|
Rowlet | 15 | Overgrow | -- |
|
0/0/0/0/0/0 |
After beating him into the ground, another piggie comes along and also tells you both to fuck off. Your next destination (after healing up) is the other factory building in North Peridot Ward that you probably passed on the way up: it's just off the train tracks above the area transition. Fern meets you there, Julia shows up to blow up the door and make another bad sex joke, Fern's sister (Pokémon Sheldon) shows up to talk about how it's a bad guy hide out. Just hold down text skip for this one. You can then enter the building for your first dungeon. It's a double battle dungeon with Fern as your partner!
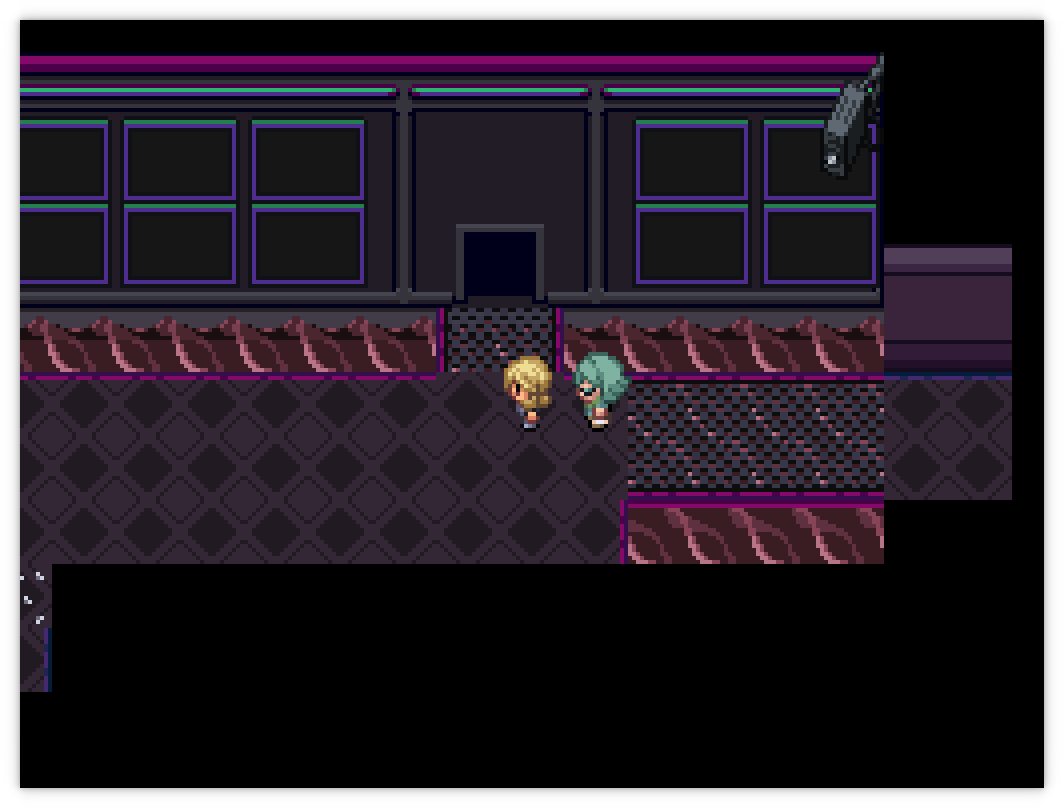
Your only possible route here is to the north, so enter through the doorway. As you proceed slightly upwards, you'll be presented with a cutscene with the Meteor Leader—Ace—talking about data deletion. Once again, hold down text skip here.
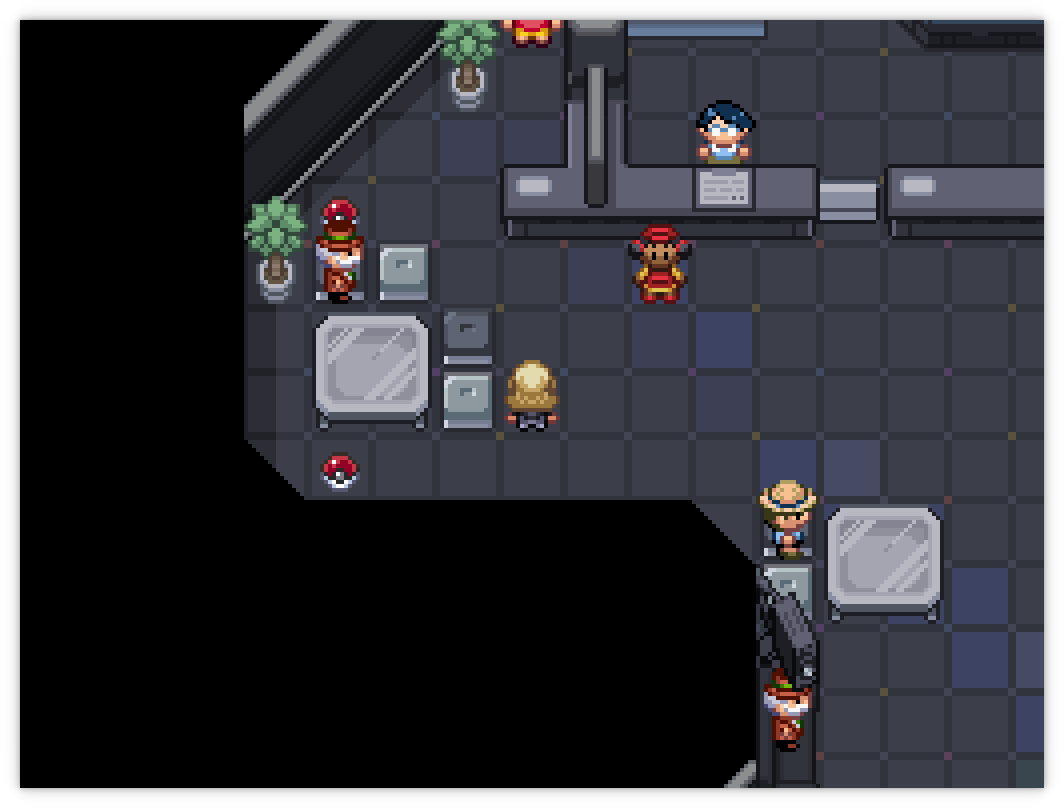
The "puzzle" here is to walk around and find screens with numbers on in order to fill in the code to the elevator door to your immediate right. In fact, you have to do this multiple times. There's no penalty for getting the code wrong so you can bruteforce it in a handful of minutes if you so desire. Otherwise, you will need to fight several opponents in a double battle; your team will be healed after every battle as is tradition for partner battles in the mainline games.
- The first step is to your immediate right. Battle the trainers, interact with the green monitor to get the third digit of the code: 7.
- Going upwards (we're doing this clockwise), battle the trainers, interact with the right-sided monitors to get some lore, and then interact with the left-sided monitor to get the second digit of the code: 1.
- Next, walk across the bridge to the right. The first digit is available in a little cutout at the top: 3.
- Finally, go through the small gap to the right of there and go upwards to get the final digit: 9.
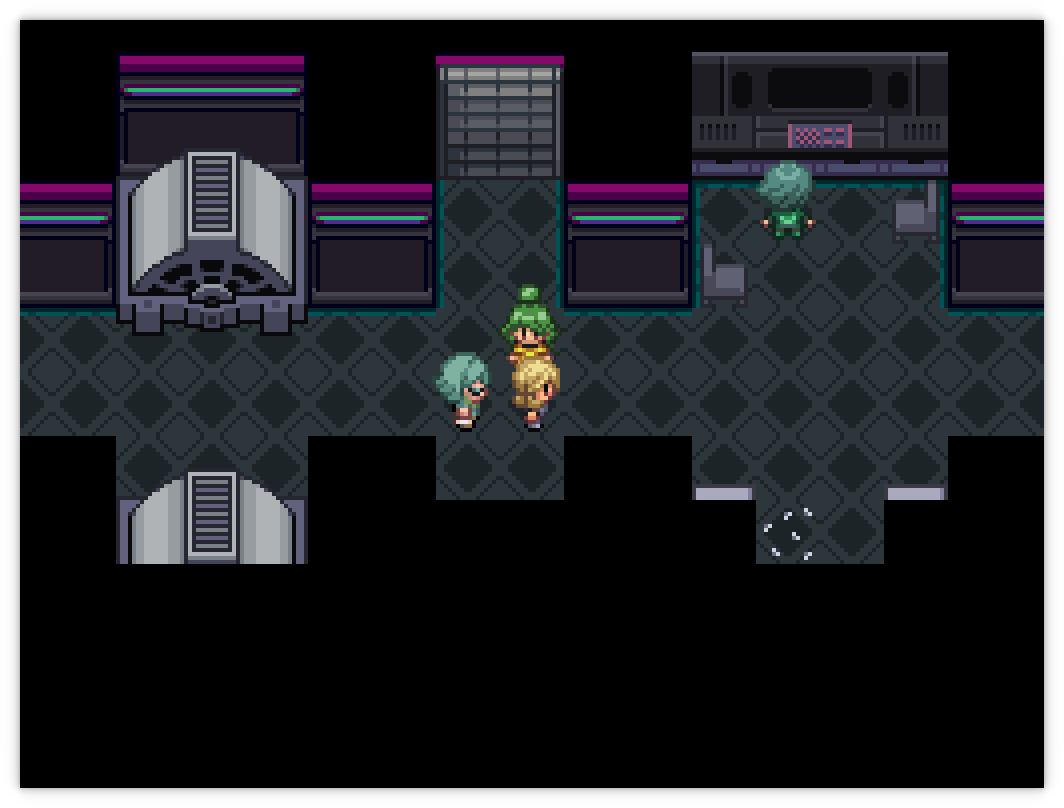
You can then cut back downwards to make it to the elevator door, where you enter the full code: 3179. Go into the elevator for a small set of cutscenes where the power is cut, you're offered a job, the power is restored, and Ace makes a tactical retreat. It's not immediately obvious here but the left, right, and bottom sides of this room are doorways to the catwalks you saw previously. Going in the second downwards exit leads you to a room with a single Small EXP Candy.
- First, walk out of the left exit and cross the platform all the way to the left. There will be another set of monitors in the room with the first digit of the code: 4. It should go without saying that all of these rooms have trainer battles in them.
- Return to the central platform and go to the south room; the monitor in this one will give you the second digit of the code: 8.
- Travel all the way to the right across three rooms to find another monitor. This gives you the last digit of the code: 2.
- Finally, return to the security room and talk to Florina, who will give you the third digit of the code: 6.
The code entrypoint is to the top of the central platform; the final code is then 4862. Enter it, then enter the room to get the explosives. Return back to Julia, who will prime the explosives.... and the door will open by itself. Good thing you didn't waste your time bruteforcing the code, eh? Go through the door and across the catwalk to confront Team Meteor. You then fight two named grunts with their own cut out—almost a boss battle! (But they only have two Pokémon vs your nine.) Leave for a small cutscene where you're informed that you should fight the electric gym.
At this point the EXP Candy trainer in front of the desk of the Grand Hall is unlocked. If you talk to them they will give you a varying number of EXP candies after either a battle (without the pinata password) or immediately (with the password). This means you can avoid grinding entirely and always have your team at the level cap. If you disable the text skip delay in the options, hold down B, and mash A when talking to the NPC you can get the EXP candies very quickly. Here's a nice table for what candies they give out, and when:
| When | What | Count |
|---|---|---|
| Start | EXP Candy Small | 2 |
| After Badge #1 | EXP Candy Small | 4 |
| After Borealis fight | EXP Candy Medium | 5 |
| After 13th Badge | EXP Candy Extra Large | 12 |
Gym #1
It's time to collect your first badge. Reborn's gyms vary a bit in quality, with some having real puzzles and others being a line of NPCs to kill before the main boss fight. Every gym also has an intercom at the start to talk to somebody from the League for fight advice, but this tends to range from "useless" to "actively deterimental", so I recommend ignoring it entirely.
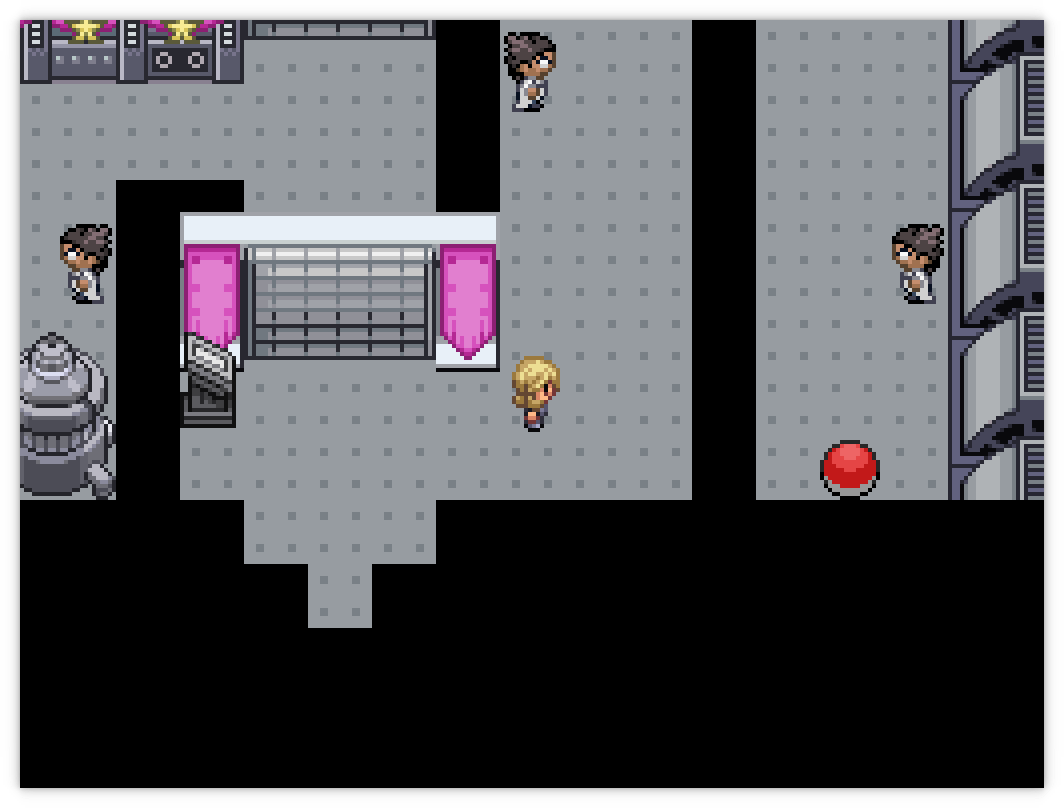
The puzzle here is very simple; you simply lead the Voltorb in each indent up to the gates and interact with them to blow them up. (This gym must be expensive to run...) After blowing them all up, you can fight Julia in the uppermost room; I recommend quicksaving before you talk to her as you can quick-reset with F12 if the battle goes downhill. She's a complete pushover and you should be able to roll over her with any non-Water starter; but if you're having trouble, here's a few other strategies you can try:
- This can actually be genuinely difficult if you have bad luck with your events and your starter is a Grass type.
- Her most dangerous Pokémon is the Oricorio which can set up Tailwind and dance all over you, especially if you picked a Grass starter. Make sure to eliminate it as soon as possible.
- Trubbish gets Toxic at level 16 to force forwards progress, and Rollout at level 19 can kill her Oricorio with relative ease.
- Technician Kricketune with Bug Buzz obliterates her, except for Oricorio.
- Growth Roselia with Mega Drain easily dismantles her team after two boosts. Again, watch out for Oricorio!
- Electric field boosted Tackle is a bastard and it's not even resisted by your Grass types. Keep an eye on her Geodude.
- If you used the mono Steel password, Aron with Rock Throw and Metal Claw is super effective.
Her most dangerous Pokémon is the Oricorio which can set up Tailwind and dance all over you, especially if you picked a Grass starter. Make sure to eliminate it as soon as possible.
Cheer Captain Julia
| Sprite | Name | Level | Ability | Held Item | Moves | EVs |
|---|---|---|---|---|---|---|
|
|
Pincurchin | 19 | Lightning Rod | -- |
|
0/0/0/0/0/0 |
|
|
Geodude-Alola | 20 | Galvanize | -- |
|
0/0/0/0/0/0 |
|
|
Voltorb-Hisui | 19 | Aftermath | Focus Sash |
|
0/0/0/0/0/0 |
|
|
Pawmo | 19 | Volt Absorb | -- |
|
0/0/0/0/0/0 |
|
|
Oricorio-Pom-Pom | 20 | Costar | -- |
|
0/0/0/0/0/0 |
|
|
Joltik | 19 | Compound Eyes | -- |
|
0/0/0/0/0/0 |
Julia will give you the Volt Badge, TM57 Charge Beam, the ability to use Cut outside of battle, and an increased level cap to Level 25. Before exiting the gym, set the weather to Stormy and go to the left with the radio dishes to find a wild Blitzle. We're almost done here in Peridot, but there's one missable event before we depart for South Obsidia.
Go back down to the riverside and talk to the hiker. He'll ask about places available to rent. Luckily... we do know one! It's the house where we previously found a Whismur (or others). If you missed it... you've probably got about twenty hours before you can get one of whatever it was. Talk to the rent-seeker within; he's looking to let out the house to somebody. Go back to the hiker and tell him the good news. Finally, go back to the house and talk to the hiker again to get an Onix.
Now, you can make your way back into the Opal Ward and continue onwards to Obsidia Ward.