Postgame Tier #2: Even More Filler
Tier 2 of the postgame is not any more enjoyable than the first tier, so let's get right into it.
Swords of Justice
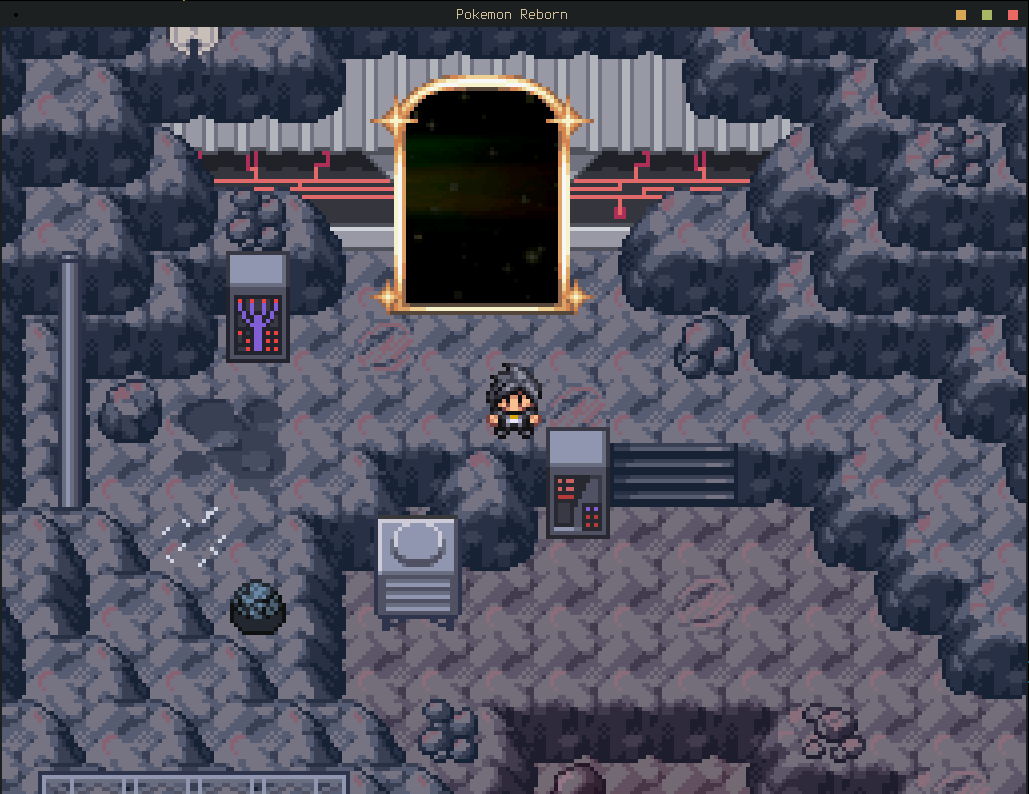
More quests for RU tier legendaries. The door here is in the Meteor area inside Route 3; the easiest way to get there is from the lower exit of Calcenon City. As soon as you enter the Ringmaster from the circus (remember her? She's back! In pog form!) will run away, chasing after... something. Follow her into the back of the New World to see the Cobalion run away, and a Virizion pop into existence.
If you follow the green guy to the left, it'll shoot Getter Rays at you. Dodge them (or debug heal) until you can find Virizion again, and it'll escape to the right. If you keep following it, you'll be put into a double battle again the main three Swords. This is a 12v6 battle, so you'll win it easily.
Anomaly One for All
| Sprite | Name | Level | Ability | Held Item | Moves | EVs |
|---|---|---|---|---|---|---|
 |
Cobalion | 112 | Justified | Sitrus Berry |
|
0/252/252/252/252/252 |
 |
Terrakion | 111 | Justified | Magical Seed |
|
0/252/252/252/252/252 |
 |
Virizion | 112 | Justified | Magical Seed |
|
0/252/252/252/252/252 |
All for One
| Sprite | Name | Level | Ability | Held Item | Moves | EVs |
|---|---|---|---|---|---|---|
 |
Silvally | 114 | RKS System | Leftovers |
|
0/4/0/252/252/0 |
|
|
Silvally | 114 | RKS System | Magical Seed |
|
0/252/252/0/0/4 |
|
|
Silvally | 114 | RKS System | Magical Seed |
|
0/252/252/0/0/4 |
After five episodes worth of character development packed into one self-righteous therapy session, it's left on your lap to go catch them.
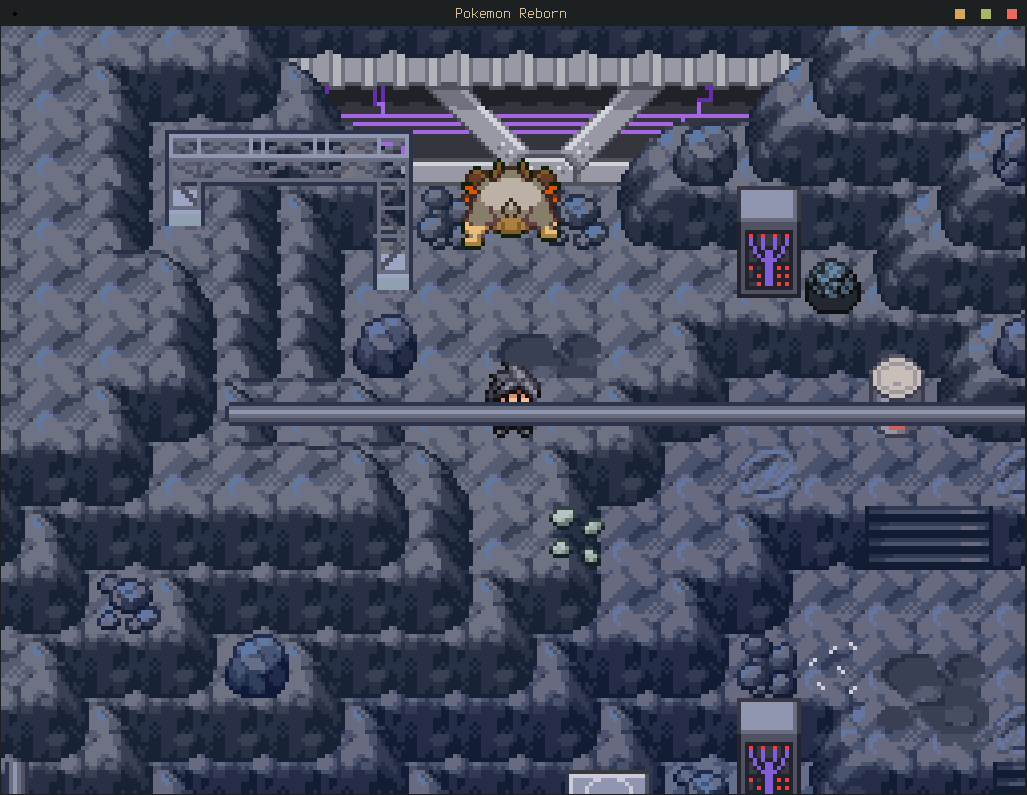
Find the most annoying one (Terrakion) first; it's hiding up in the rock climb area in the second Meteor area on Route 3. Just leave the New World, exit out of the door on the right of the cave, and go into the second cave to find it. Return to the New World to catch Virizion (on the left, green side of the New World) and Cobalion (on the right, grey side of the New World).
When you're done, save and heal, then return to the Ringmaster. You'll end up finding another room with Anomaly Keldeo, and another double battle.
Anomaly Keldeo
| Sprite | Name | Level | Ability | Held Item | Moves | EVs |
|---|---|---|---|---|---|---|
 |
Weavile | 115 | Pressure | Life Orb |
|
0/0/252/252/0/0 |
 |
Charizard | 115 | Defiant | Charizardite Y |
|
0/4/0/252/252/0 |
 |
Togekiss | 115 | Hustle | Choice Specs |
|
0/4/0/252/252/0 |
 |
Zoroark | 115 | Illusion | Choice Specs |
|
0/4/0/252/252/0 |
 |
Kommo-o | 115 | Soundproof | Kommonium-Z |
|
0/4/0/252/252/0 |
 |
Keldeo | 115 | Justified | Leftovers |
|
0/252/252/252/252/252 |
the Spectral Swords of Justice
| Sprite | Name | Level | Ability | Held Item | Moves | EVs |
|---|---|---|---|---|---|---|
|
|
Cobalion | 115 | Justified | -- |
|
0/252/0/252/0/0 |
|
|
Terrakion | 115 | Justified | -- |
|
0/4/252/252/0/0 |
|
|
Virizion | 115 | Justified | -- |
|
0/0/0/252/252/4 |
 |
Seismitoad | 115 | Water Absorb | -- |
|
0/252/0/0/252/0 |
 |
Vaporeon | 115 | Water Absorb | Choice Specs |
|
0/0/0/4/252/252 |
 |
Lucario | 115 | Steadfast | Lucarionite |
|
0/0/0/252/252/0 |
This one sucks shit, especially due to the accuracy nuke field effect. Make sure to take out Cobalion immediately before it can +5 attack you.
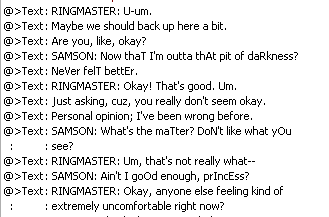
When you try to leave, Samson (the guy who got voided at Agate? Remember him?) will return and battle you. (Bonus points for some of the worst dialogue in the game thus far.)
Umbral Samson
| Sprite | Name | Level | Ability | Held Item | Moves | EVs |
|---|---|---|---|---|---|---|
 |
Blaziken | 115 | Reckless | Choice Scarf |
|
0/252/252/252/252/252 |
 |
Pheromosa | 115 | Beast Boost | Life Orb |
|
0/252/252/252/252/252 |
 |
Gardevoir | 115 | Synchronize | Sitrus Berry |
|
0/252/252/252/252/252 |
 |
Lopunny | 115 | Scrappy | Lopunnite |
|
0/252/252/252/252/252 |
 |
Mismagius | 115 | Infiltrator | Colbur Berry |
|
0/252/252/252/252/252 |
 |
Jynx | 115 | Trace | Choice Scarf |
|
0/252/252/252/252/252 |
Regigigas
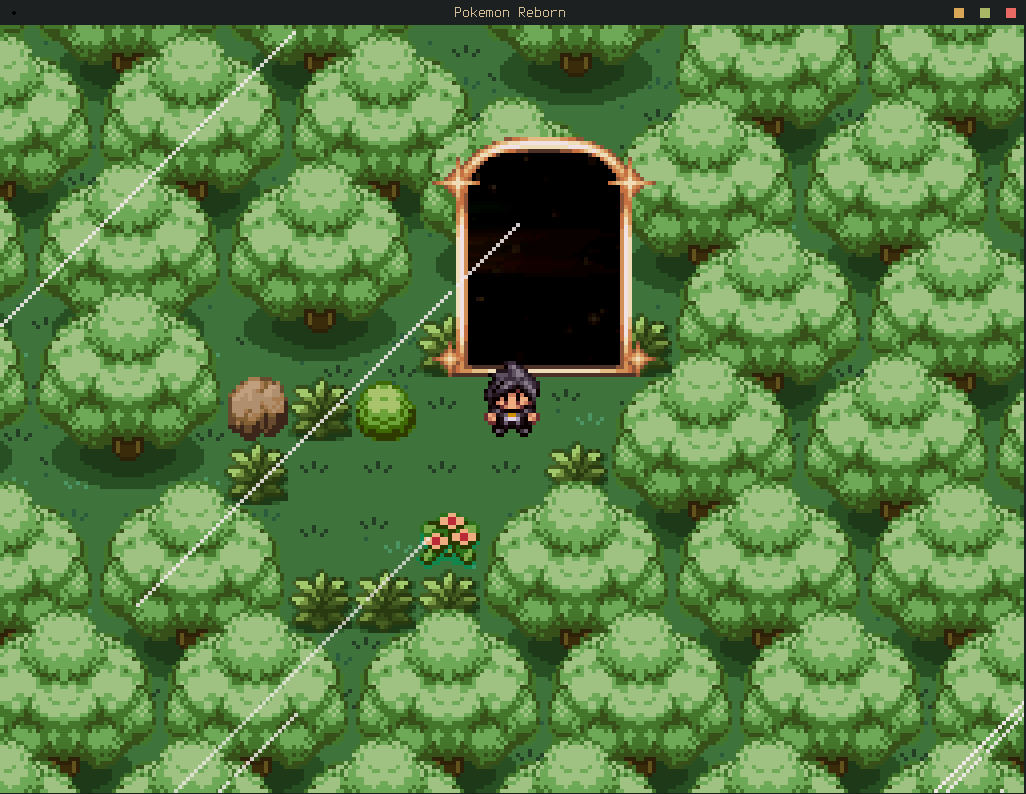
More Regis nonsense. You can find the gate to the Regigigas area in the Chrysolia Forest near the train to the south; walk through a cutting in the trees east of it to find the gate. There's a small New World section before you're dumped out in the Chrysolia Deepwoods. This is an extremely large area that you'll visit a handful of times with not really much going on except for a handful of ace trainers. (Best to clear those out now.)
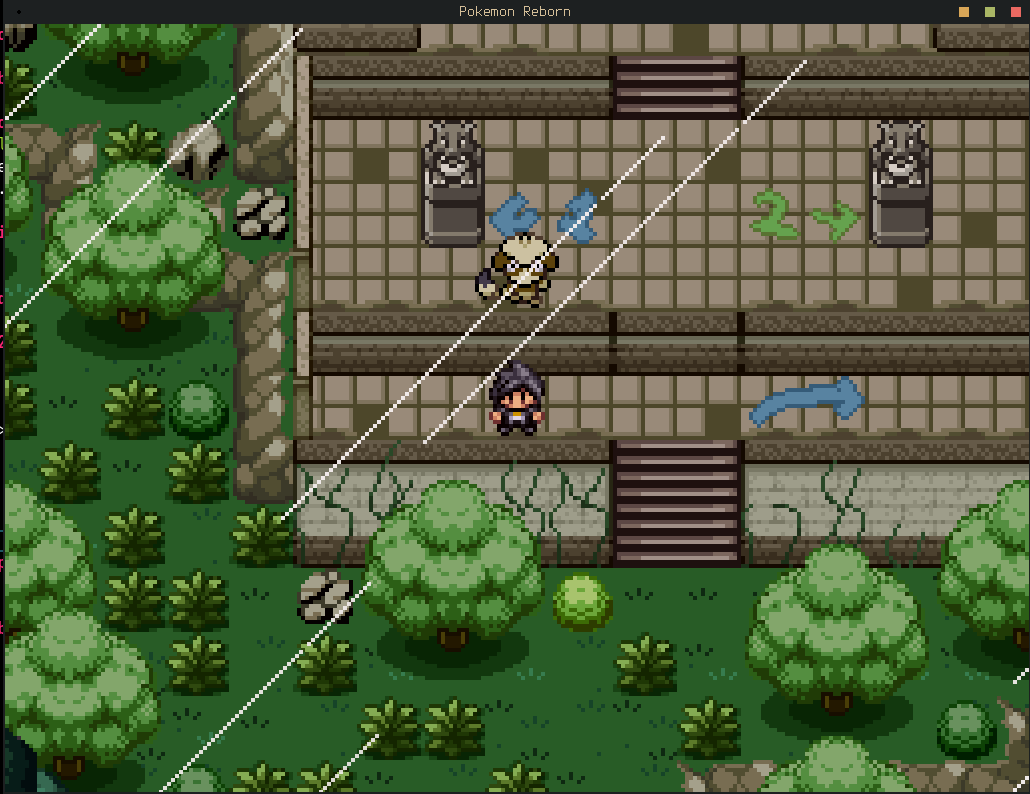
Walk down and over to the right to find the gigantic building in the middle of the deepwoods where a Smeargle will be beckoning for you. He's painted lots of helpful arrows here for you! Walk all the way to the right and activate the statue to unblock the path. The Smeargle will tell you that the "big man" needs quiet, and has drawn the path for you.
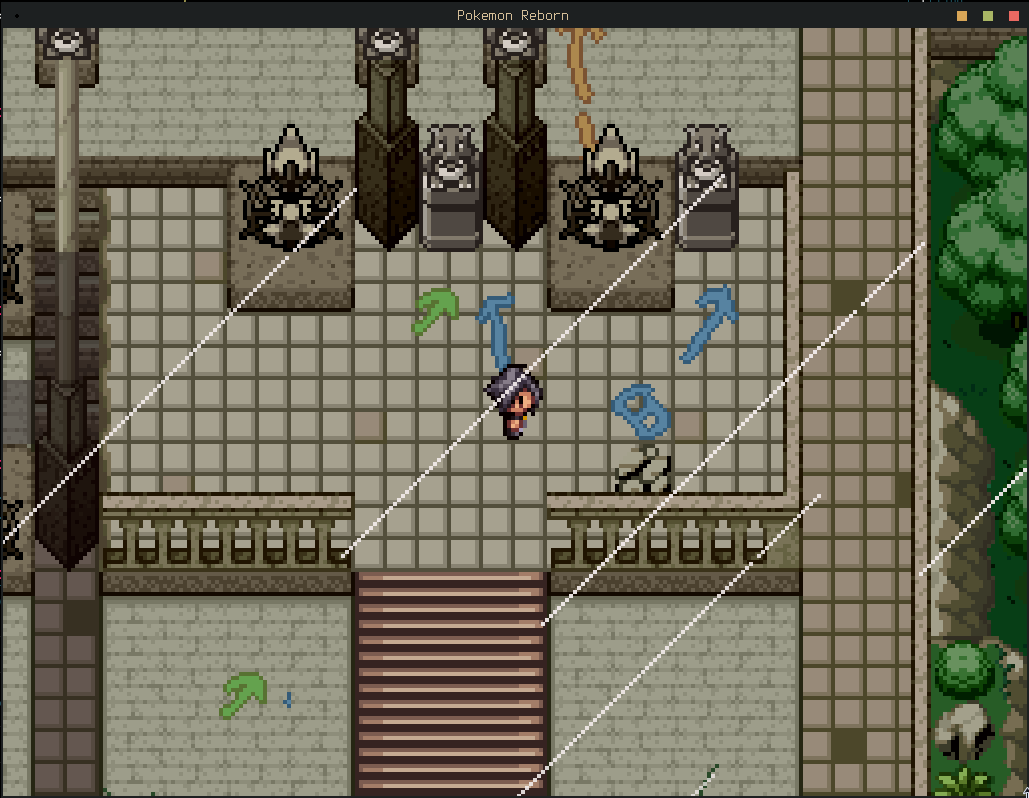
Activate the switch marked "1" and the switch marked "2" on the next level, then the switch marked "3" on the level above that. This unblocks the path further up. On the third level, the "9" here is actually a "4", so press the switches in the "4"/"5"/"6" order to open some stairs further downwards.
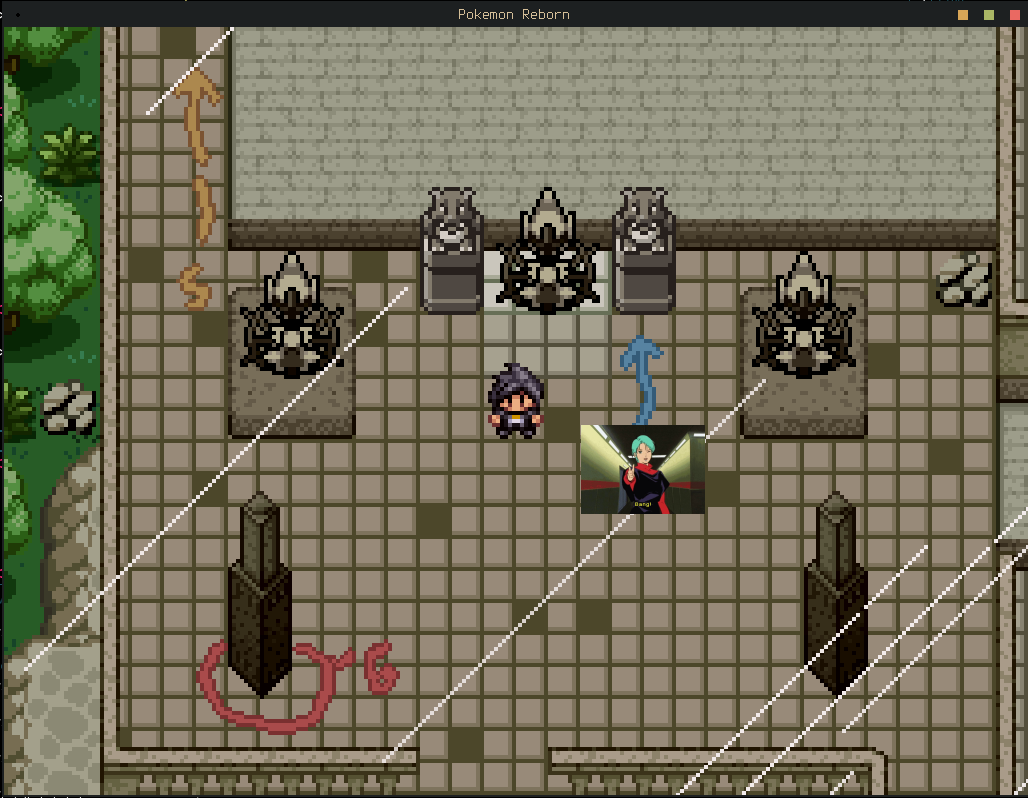
The path to switch "7" is blocked by two Arceus statues. Press the switches here to make them disappear, activate "7", and then jump back to activate "8". Jump back and go up the previously blocked path to activate "9", which makes two rocks appear. This is honestly baffling... but if you push the rocks into the sides of the pillar above (follow the red/blue arrows) then you can then jump onto said platform and over to the next area.
Press the switch marked "11" (yes, ten is missing?), "12", and then "13" to open up a gate up the stairs. Walk up the stairs to activate "14" which opens another gate downstairs. Activate all three switches with circles around them, then go back up the stairs and jump across the freshly realigned path to find the gate back to the New World.
Walk up to the very top to find (and fight) Anomaly Regigigas. If you jump to the island on the right, you can find a single Z Cell.
Anomaly Regigigas
| Sprite | Name | Level | Ability | Held Item | Moves | EVs |
|---|---|---|---|---|---|---|
 |
Regidrago | 111 | Dragon's Maw | White Herb |
|
0/252/128/0/128/0 |
 |
Regieleki | 112 | Transistor | Life Orb |
|
0/0/0/252/252/0 |
 |
Registeel | 114 | Heatproof | Magical Seed |
|
0/252/0/0/0/128 |
 |
Regirock | 114 | Solid Rock | Choice Band |
|
0/252/252/0/0/0 |
 |
Regice | 114 | Filter | Choice Specs |
|
0/252/0/0/252/0 |
 |
Regigigas | 114 | Slow Start | Magical Seed |
|
0/0/252/252/252/252 |
What happens next depends on your route:
Anna Route Cutscene
After catching Regigigas, a ghost of Anna will appear. Interacting with it will make it disappear and complete the quest.
Lin Route Cutscene
After catching Regigigas, walking down the stairs will trigger a small cutscene where Lin talks to you and threatens to spawn a second one at you.
After that, you can fly back to the nightclub.
The Genies
Time for your first actual Uber legendary (Landorus-I). The Forces of Nature are found in Route 4. There's three gates here; we'll do them in the order of annoying as per usual. The first gate is found in the second rock climb area south of the main water pool. (That is, go down the rock climb bits to the south twice.)
I actually straight up did not get this puzzle when I first played this game, and it's not until I was writing this that I figured it out. The bridges between the islands here are completely invisible on the lower level but are visible in the panoramic background of thee upper level. You can cheat a little bit by just looking at the panorama in an image viewer; or, it's helpfully included below.
New World Panorama
For best effect, open the image in a new tab.
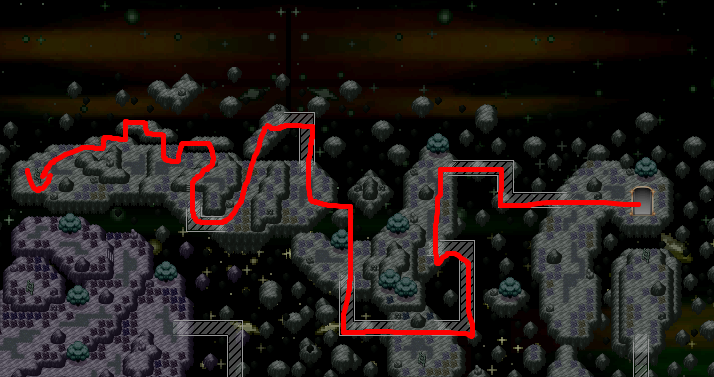
You'll spawn on the right-most island. Follow the invisible paths along the red arrow to find a ladder that takes you to a glowing orb. Interacting with this will spawn a platform up to a central hub with a teleporter, and two other areas you need to find. Sadly, the teleporter doesn't work, so make your way back to the gate yourself.

The second gate is in the area down the waterfall that's next to the Glass Workstation. (See that chapter how to get there.) This brings you to the left sided island; follow the red arrow to get to the next ladder and glowing orb. (The teleporter actually works this time!)
The third gate is in the northern area of Route 4; go up the rock climb route next to Calcenon to get to the bulk of Route 4, then climb: Northeast, North, Northwest, Southwest to find the gate. The path here is pretty much linear but requires going up and down several ladders, so just follow them until you reach the glowing orb. There's a single loop, but it's easy to avoid by just not going the same way as you did before.
When you make it to the teleporter platform for the final time, you can walk upwards to enter an anomaly battle with the four genies.
Djinn Anomaly
| Sprite | Name | Level | Ability | Held Item | Moves | EVs |
|---|---|---|---|---|---|---|
 |
Tornadus | 115 | Prankster | Life Orb |
|
0/4/0/252/252/0 |
 |
Thundurus | 115 | Prankster | Darkinium-Z |
|
0/4/0/252/252/0 |
 |
Landorus | 115 | Sheer Force | Life Orb |
|
0/0/252/252/4/0 |
|
|
Thundurus-Therian | 115 | Volt Absorb | Magical Seed |
|
0/4/0/252/252/0 |
|
|
Tornadus-Therian | 115 | Regenerator | Rocky Helmet |
|
0/252/0/252/0/4 |
|
|
Landorus-Therian | 115 | Intimidate | Magical Seed |
|
0/4/252/252/0/0 |
From there, it's a set of basic jumping puzzles to catch the genies. Congratulations, you beat the second postgame tier! Or did you...
Radomus Rescue
This is technically a Tier 3 quest, as the level cap increases as soon as you beat the other quests, but I'm putting it here anywya. Return to the Nightclub and talk to the new NPC on the right to get a mission to make it to the Vanhanen Castle (again).
There's no New World gate here, just walk straight through into the arena for a double battle. And a cutscene that dramatically varies by route.
Umbral Radomus
| Sprite | Name | Level | Ability | Held Item | Moves | EVs |
|---|---|---|---|---|---|---|
 |
Samurott | 115 | Shell Armor | Expert Belt |
|
0/252/252/252/252/252 |
 |
Kingambit | 115 | Defiant | Dread Plate |
|
0/252/252/252/252/252 |
 |
Kartana | 115 | Beast Boost | Life Orb |
|
0/252/252/252/252/252 |
|
|
Lopunny | 115 | Scrappy | Lopunnite |
|
0/252/252/252/252/252 |
 |
Escavalier | 116 | Overcoat | King's Rock |
|
0/252/252/252/252/252 |
 |
Alakazam | 117 | Magic Guard | Psychium-Z |
|
0/252/252/252/252/252 |
Anomaly Gardevoir
| Sprite | Name | Level | Ability | Held Item | Moves | EVs |
|---|---|---|---|---|---|---|
 |
Cloyster | 115 | Skill Link | White Herb |
|
0/4/252/252/0/0 |
 |
Tsareena | 115 | Q. Majesty | Assault Vest |
|
0/252/252/0/0/0 |
 |
Aegislash | 115 | Stance Change | Leftovers |
|
0/252/252/0/0/0 |
 |
Diggersby | 115 | Huge Power | Life Orb |
|
0/252/252/0/0/0 |
 |
Aggron | 116 | Rock Head | King's Rock |
|
0/252/252/0/0/4 |
|
|
Gardevoir | 117 | Synchronize | Gardevoirite |
|
0/252/252/252/252/252 |
This is an unbelievably difficult fight, even by 6v12 standards. Make sure to pack your Landorus and Zapdos. Accept their offer to teleport; you have now actually beaten Tier 3.