Badge #14, Pt 1: Neo Reborn City
Welcome to Neo Reborn City. The city has been totally restored; the broken wards have been rebuilt, the buildings have been modernised, and the shopkeepers are now full-fledged members of the Nazi Party. (Well, that last one is just what shopkeepers do.)
There's a lot to do here before we do anything else, so let's start in the worst ward: Beryl. The Beryl Ward still has the silly sad music, and there's a lot of invisible things blocking your way. First, let's cross the bridge and find some guy loitering around the Power Plant; talk to him twice to get the Zap Plate.
There's not much here in the Ward proper, but you can find Terra's parents in one of the buildings next to the park. Talk to them for a little bit of background (and if you've played the game before, resist the urge to murder them). There's nothing interesting in the Jasper Ward, so continue downwards to the Peridot Ward.
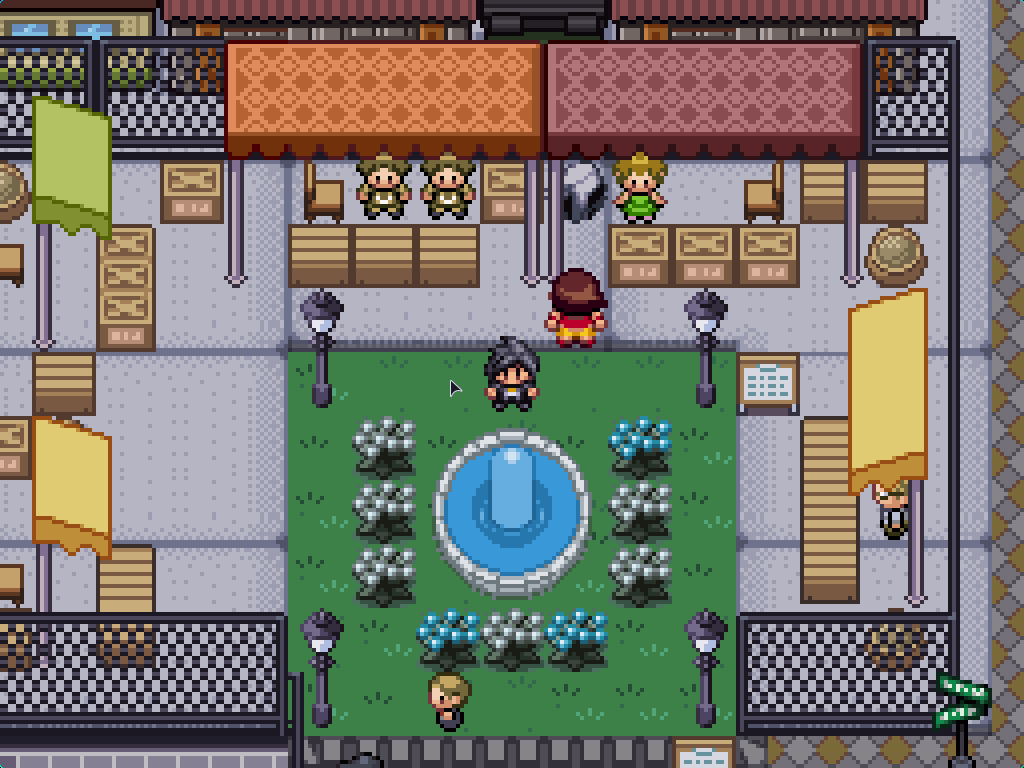
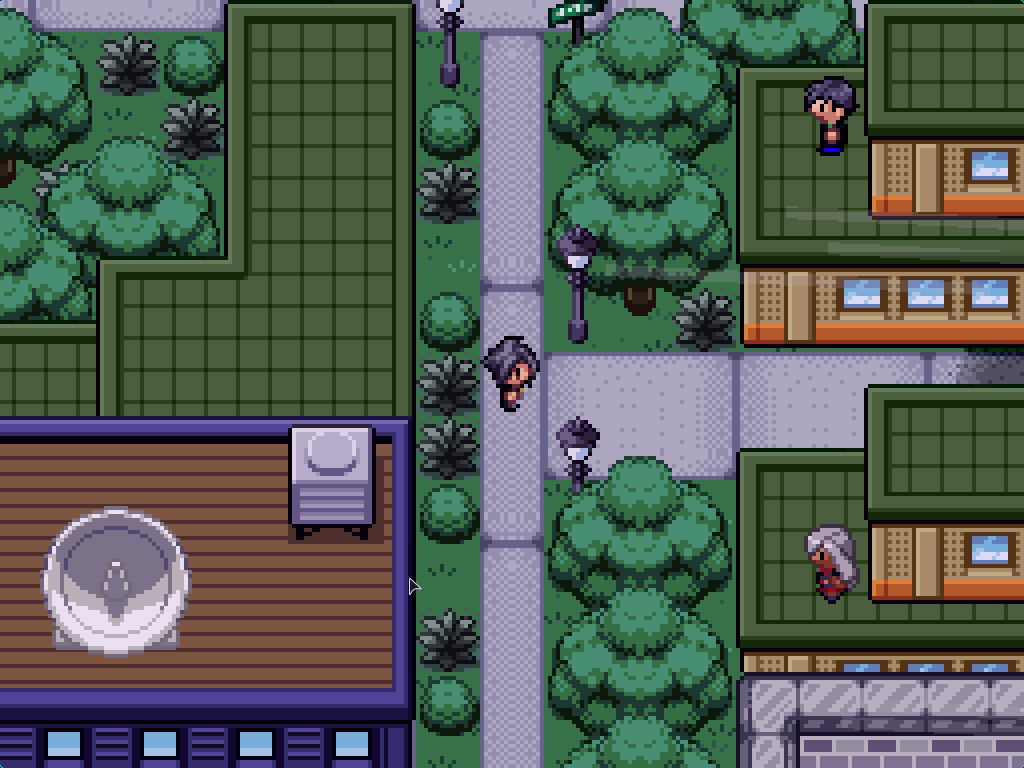
You can find this little vendor area near the North/South border with some move tutors and some TM vendors. A few more will be unlocked as you get the last handful of badges, so don't worry about the empty stalls. There's not much to do here yet despite the size of ward, but you can talk to everyone for some truly scathing political commentary on the worlds that the authors in fact creates themselves.
The Opal Ward is an empty as usual, so go north up into the North Obsidia Ward. The Grand Gate is now fully open and the stairs are fully repaired! Yay! If you still want to go down there for some reason, you can talk to the guard next to the stairs who will let you down. If you want to clip back into the old city, the easiest way is to walk-through-walls the gate in the Grand Gate room, exit to the old gear room, and enter back to the Grand Gate; for some reason there's still teleporters there that will teleport you to the old map. (Entering and exiting any internal building will forcibly teleport you back to the new city, so all the old wards barring Peridot, Opal, and the Obsidias are permanently inaccessible.)
The Lapis Ward flower shop now sells the field seeds (finally), so you too can synergise your teams against the remaining gym leaders. It also sells the Flapple evolution items.
7th Street is still accessible via both buildings, and hasn't really been affected by the City Restore. There's a gap in the Beryl Wall next to the Sanctum that can let you quickly teleport back to Lapis Ward (but it resets every time you use it), and the mysterious ladder room before is now accessible, allowing you to get back to the Water Treatment Facility.
The big holes in the Obsidia Ward have finally been repaired, allowing you to go from North to Regular to South Obsidia without needing to transit through the Opal Ward. There's a shop here ran by somebody unusual. The old Yureyu building is now ran by Sweet Co, with some more biting political commentary from people in and around it. Go into the Silph Co building and talk to the attendant and she'll ask you to snoop around the Devon Co building for a Devon Scope. You can't do that yet, so let's move on.
There's nothing really interesting in the Onyx Ward and there's literally nothing interesting in the Coral Ward to do until the next bit of the story is done. That's Neo Reborn City explored, but there's still some long event chains to do.
Mega-Z Ring
If you used the password for this, you can obviously skip this entire chain.
With the city restored, the Mega-Z ring is now available. All-Gen adds a whole bunch of custom mega evolutions and you should have a whole bunch of mega stones already, so there's no reason to delay this.
FULL Mega-Z Ring "Puzzle" Walkthrough
If you didn't buy out all of the Pokémon in the illegal 7th Street market yet, then you need to do so now. Once you've done that, you need to go talk to Arclight in the Nightclub in North Obsidia Ward. He'll tell you that he's tracked down all of the Pokémon owners and you need to go and return them. Talk to him again for a nice list of all the Pokémon that you need to return, and to whom; but it's not going to be that easy.
It takes a bit of trial and error to figure out what order to actually give all of the Pokémon back in; and this is definitely not the optimal order. But it's the order that I'm using, so feel free to figure it out yourself if you have complaints.
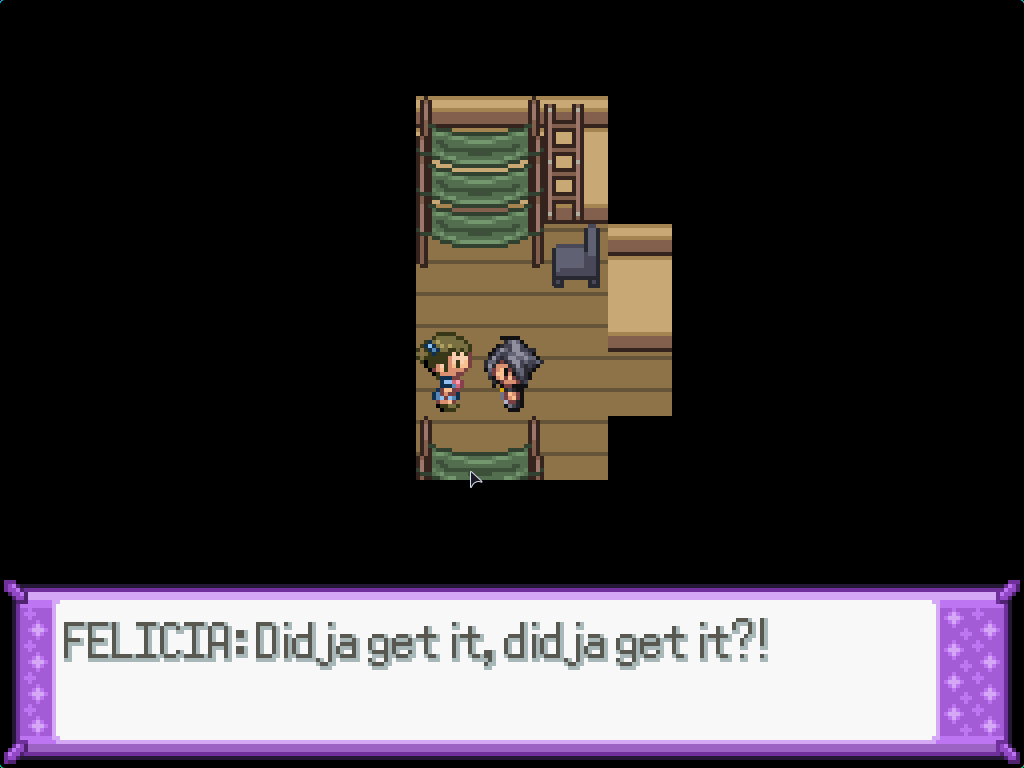
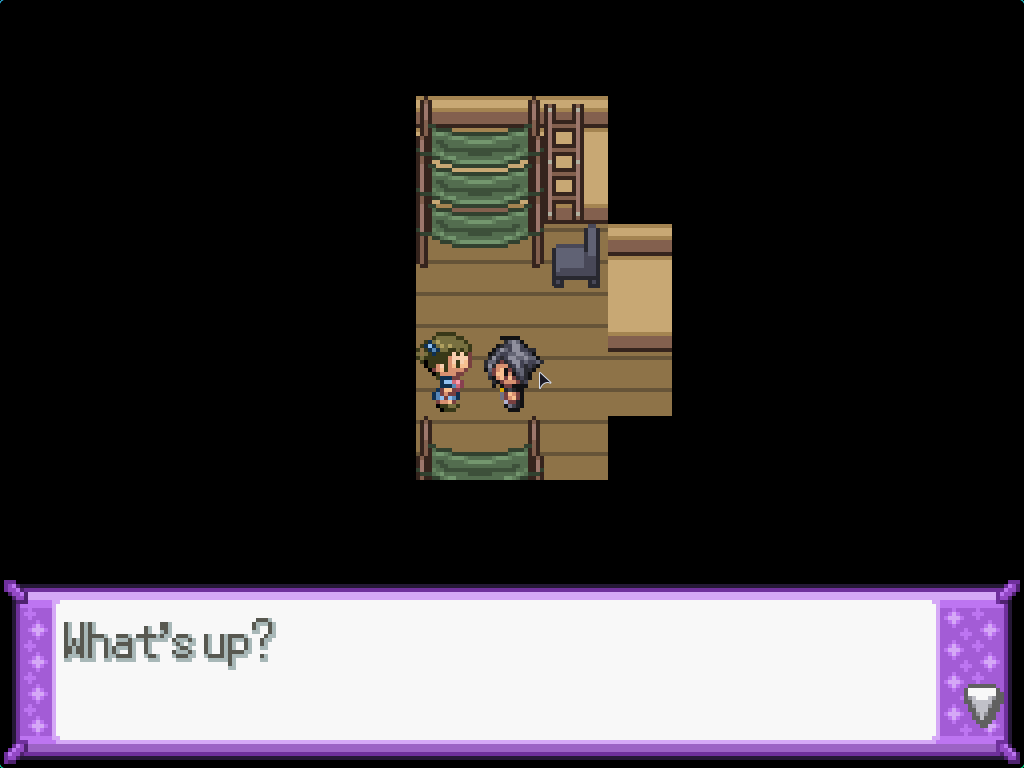
First, fly to Apophyll Academy and find Felicia in one of the rooms to the side of the main building. She doesn't care about the Pokémon, she just wants Arclight's autograph. Fly back to North Obsidia, get his autograph, and then return to the lady and talk to her twice to give her back her Makuhita.
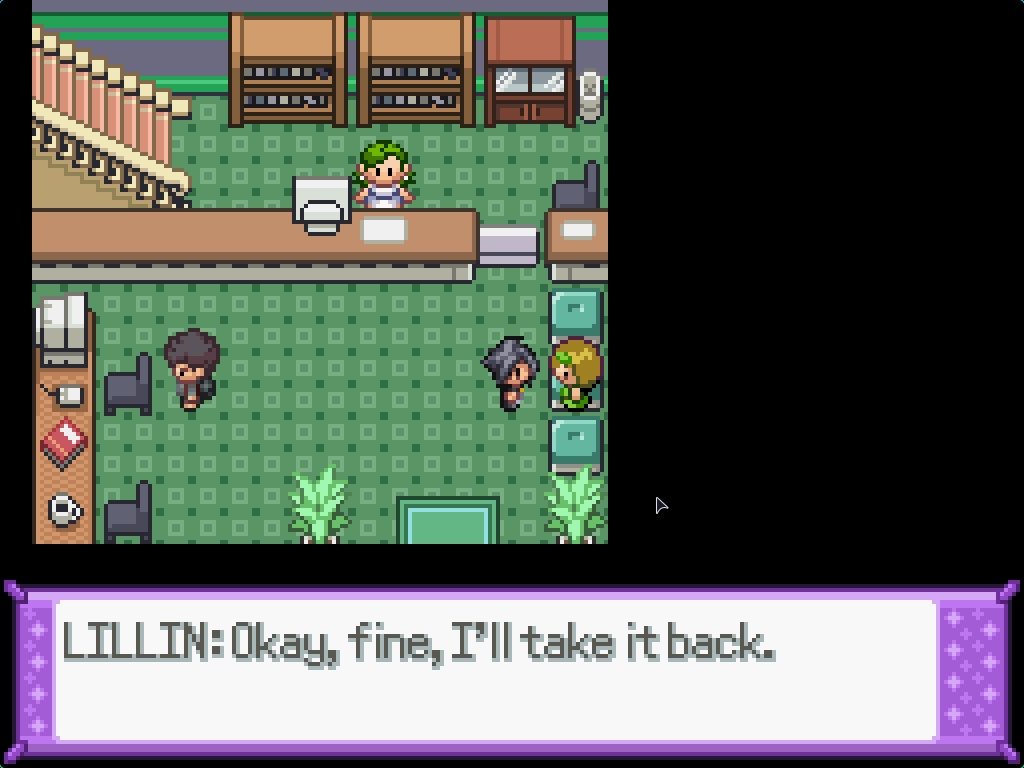
If you find Lillin in the Jasper Ward, she'll refuse to take back her Loudred. Talk to her again and she'll give in. If you talk to her again, she'll mention wanting a Jigglypuff. Suspicious. This leaves three people, one of which is not actually where Arclight says he is.
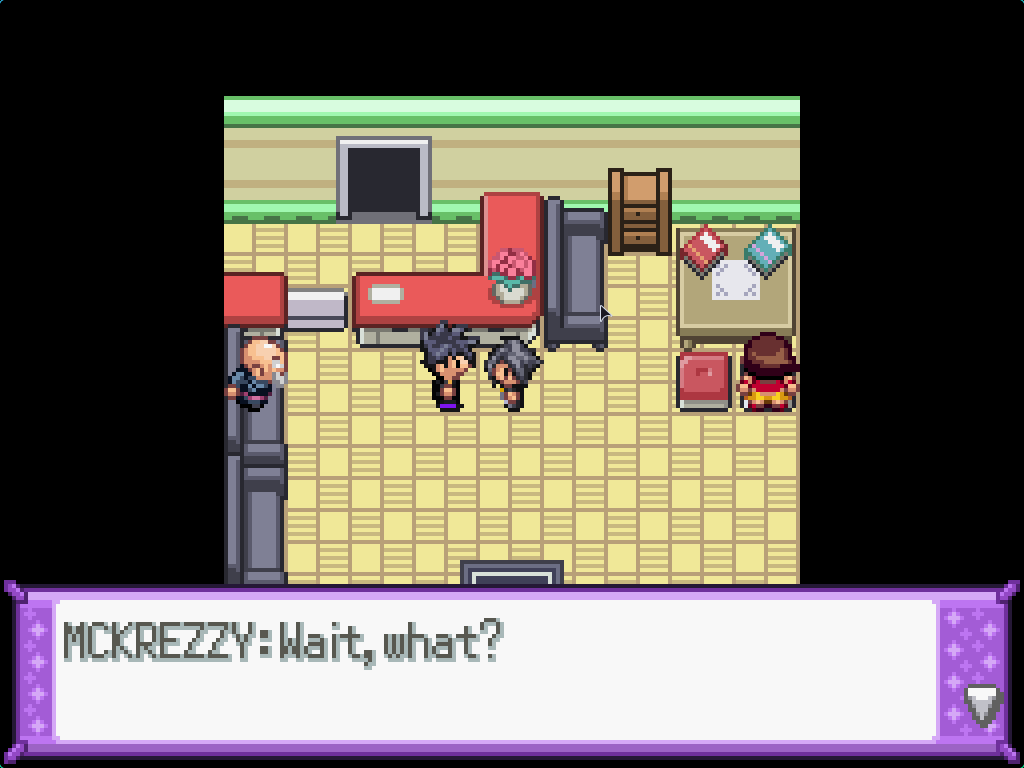
You'll find McKrezzy in Spinel Town of all places (I'm sure this is mentioned somewhere, but I'm going off memory here). Show him his Roggenrola and he'll take it back. Two more.
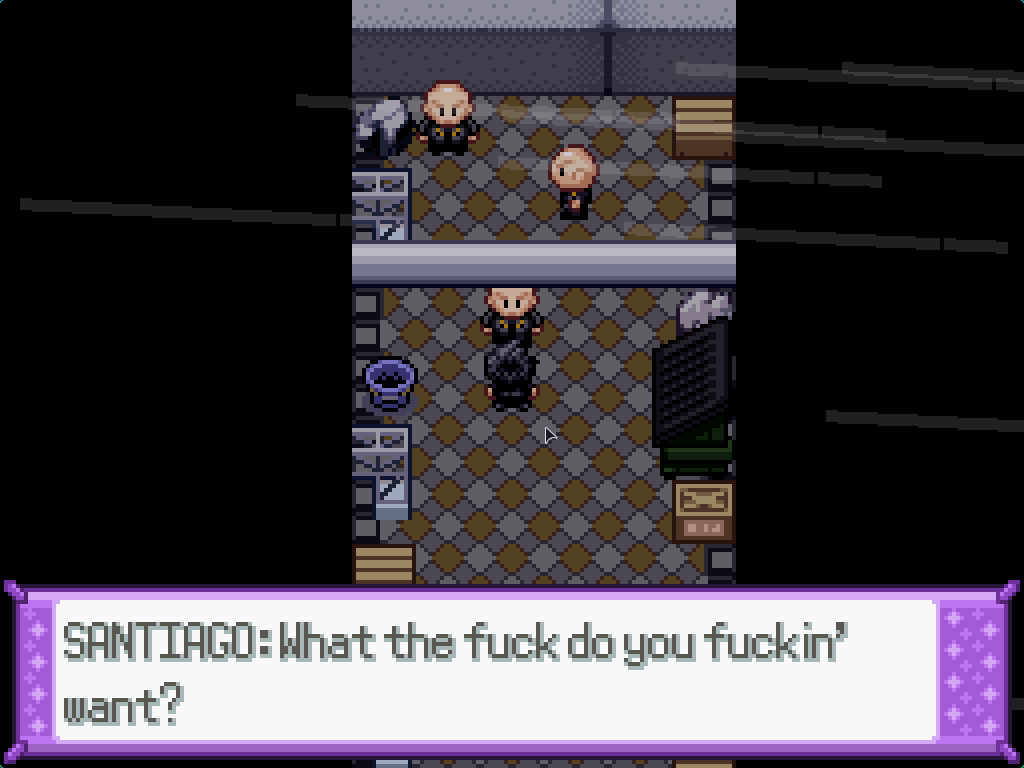
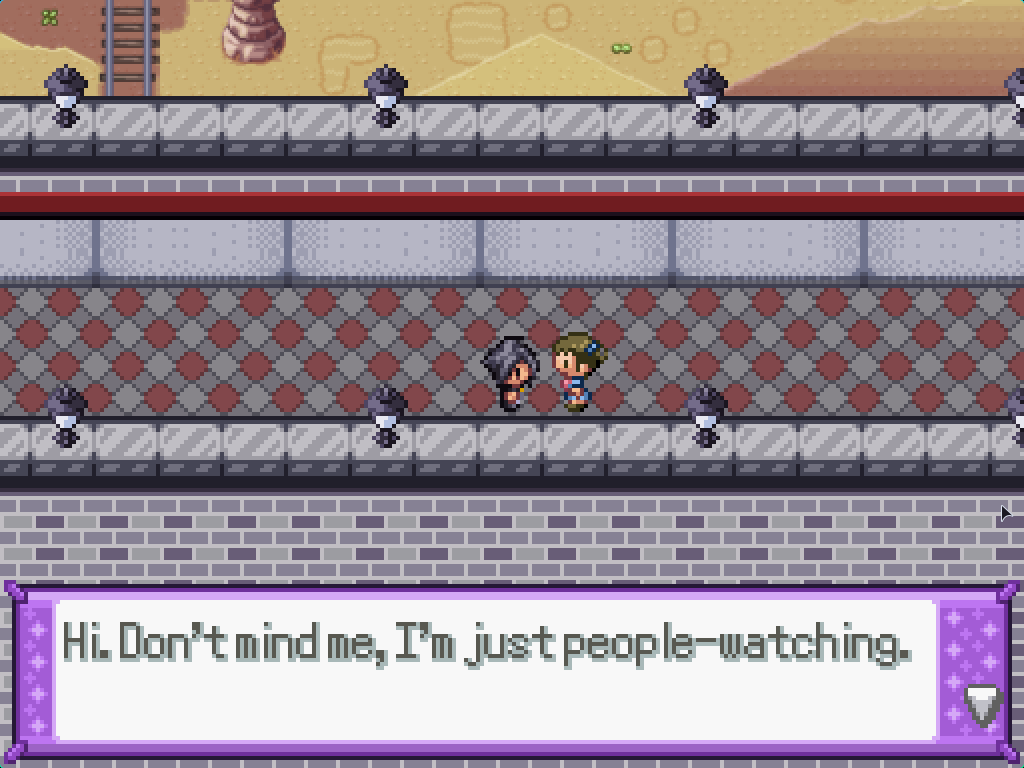
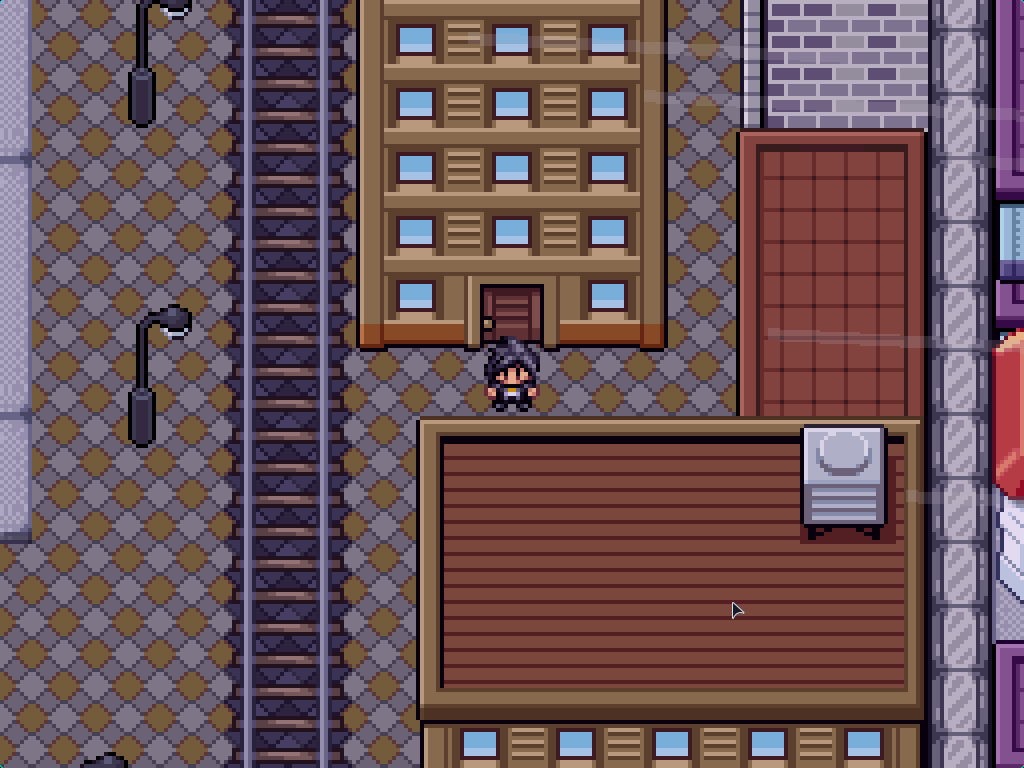
You'll find Santiago in a back alley in North Peridot Ward, near the train tracks. Don't put his Jigglypuff in your party, or you'll have to fight him whilst down a Pokémon. He tells you to give the Jigglypuff to somebody else, so return to Lillin and give her the Jigglypuff, which she promptly steals and refuses to give back.
Return to Felicia in the Academy, who says she wants an autograph in exchange for her noise-cancelling headphones. Go and get itt from McKreezy again, and return to get the headphones; then return all the way back to Lillin and give her the headphones. Return to Santiago in the alleyway to let him know who has his Jigglypuff.
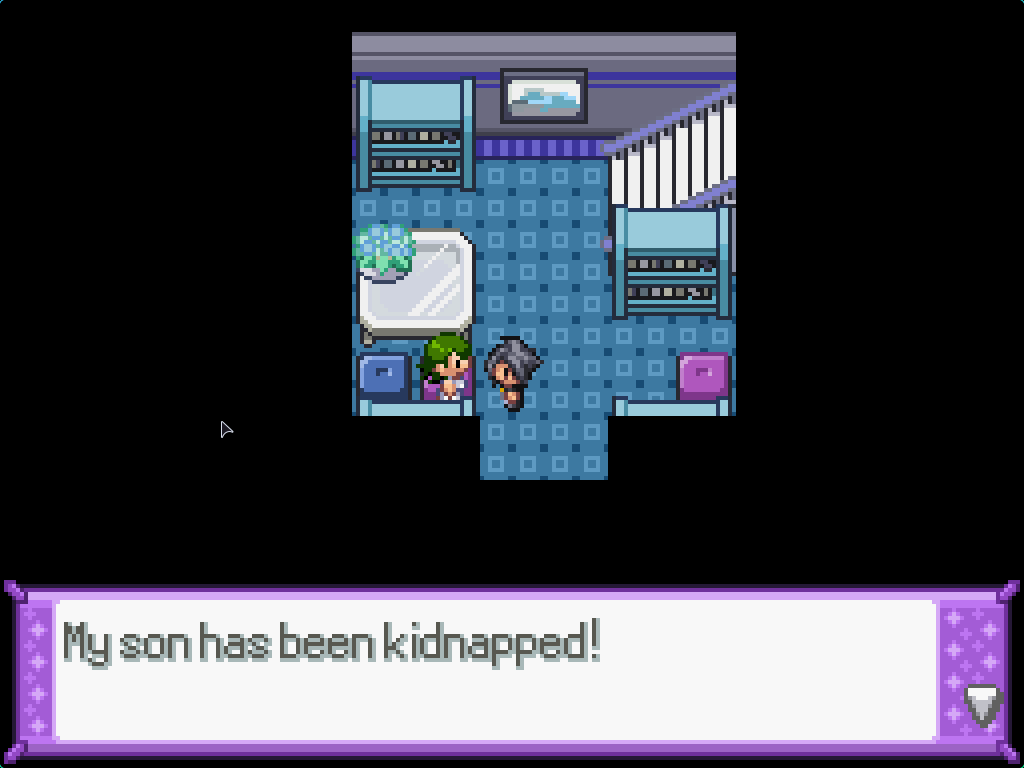
This leaves one person; Eustance and his Vanillite. Find his mother in the building to the left of the Lapis Pokémart, and talk to her to find out he's been allegedly kidnapped by a bunch of bald men. Ask Santiago in his alleyway for information: he's in the Onyx Ward, on the rooftop of one of the buildings. Go into the building next to the arcade and talk to the lad there to get access to the roof garden.
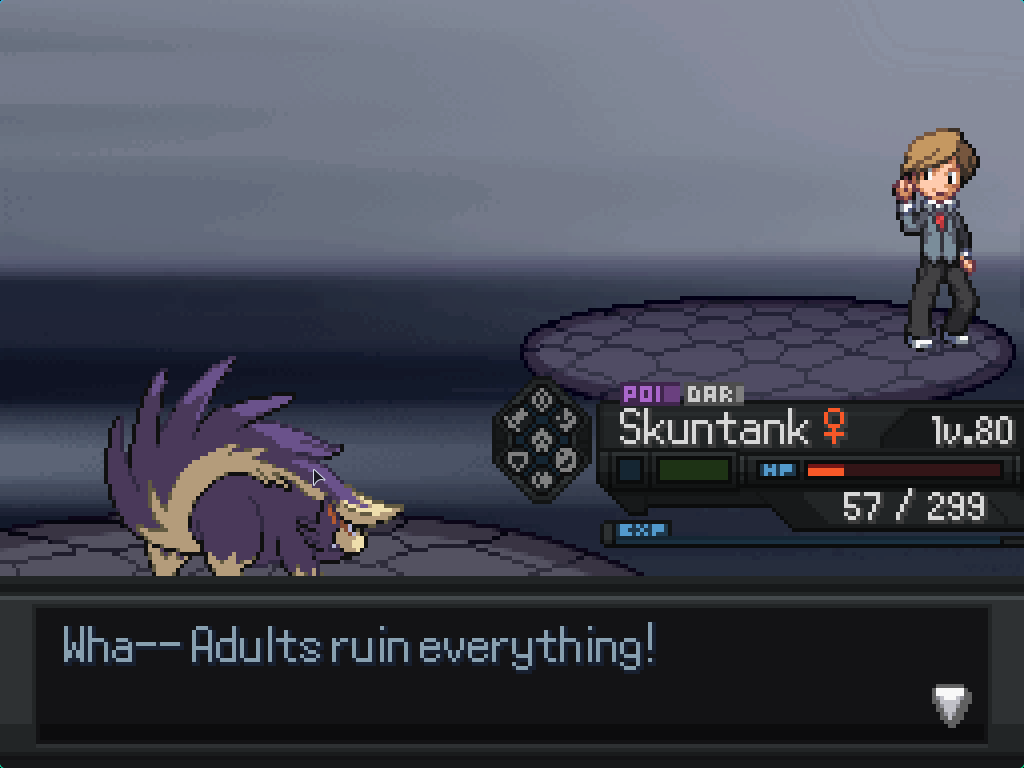
As soon as you get up there, you'll be ambushed into a battle; first with some gangoons, and then with Eustance himself. After breaking his shins, return to his house in the Lapis Ward and talk to him twice to give him back his Vanillite.
With all of that done, return to Arclite to get the Mega-Z Ring. You can now Mega Evolve your Pokémon in battle, and use Z-Moves. Feel free to do whatever with the remaining three/four Pokémon in your care; they're not important.
Klefki Quest
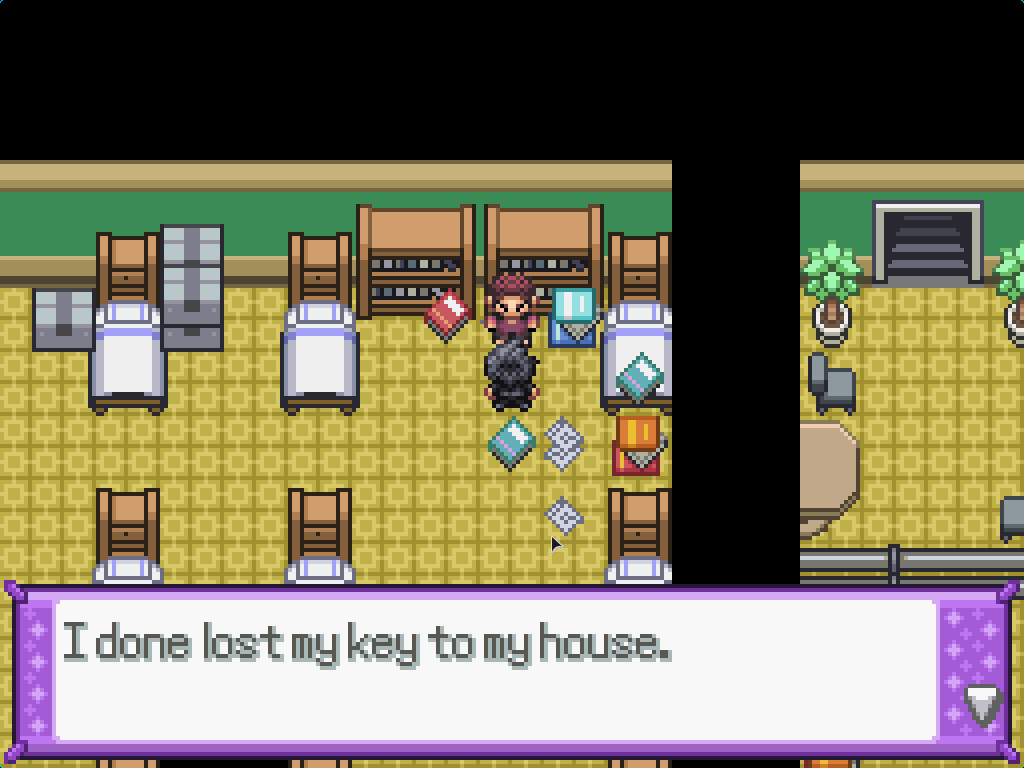
Remember Randall? The guy in the Subseven Sanctum who let you out of your cell? Well, now we can steal his Klefki if you're so inclined. He's at the top of Blacksteam Shelter (where Blacksteam Factory was), but he's lost his house key. We can get it back, but it's going to take a few steps.
FULL Klefki Puzzle walkthrough
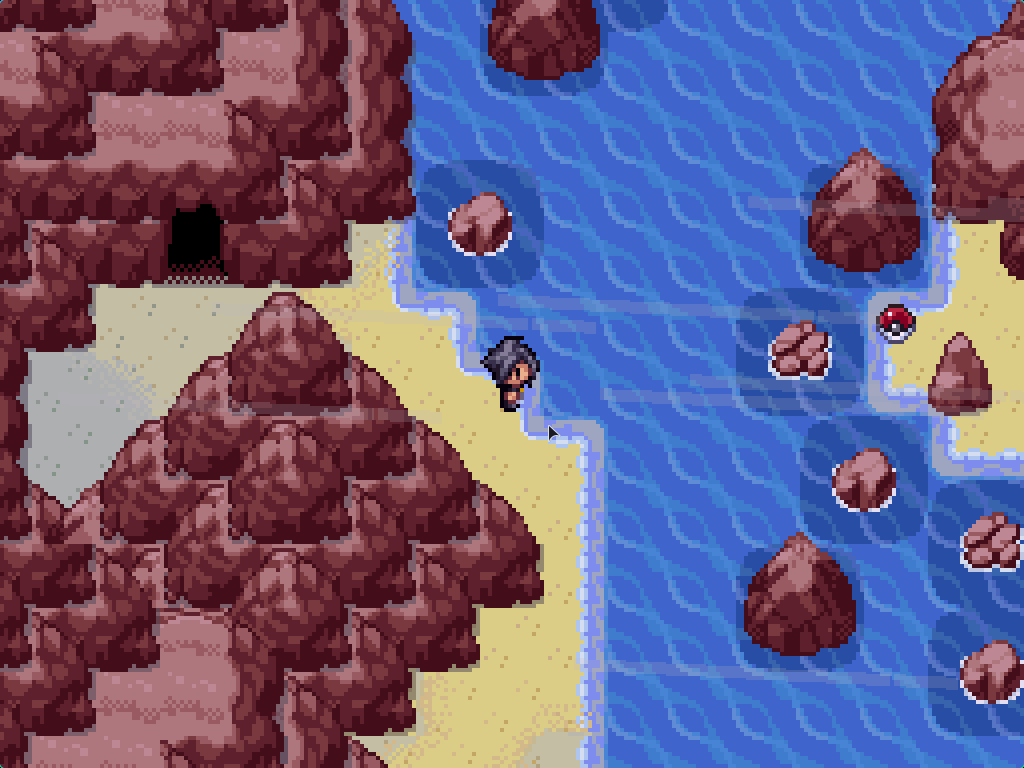
First, fly over to Apophyll Academy. Walk up the beach until you find this spot, and start surfing. You can slip through an opening to the north here; keep surfing upwards until the map changes into Peridot Ward.
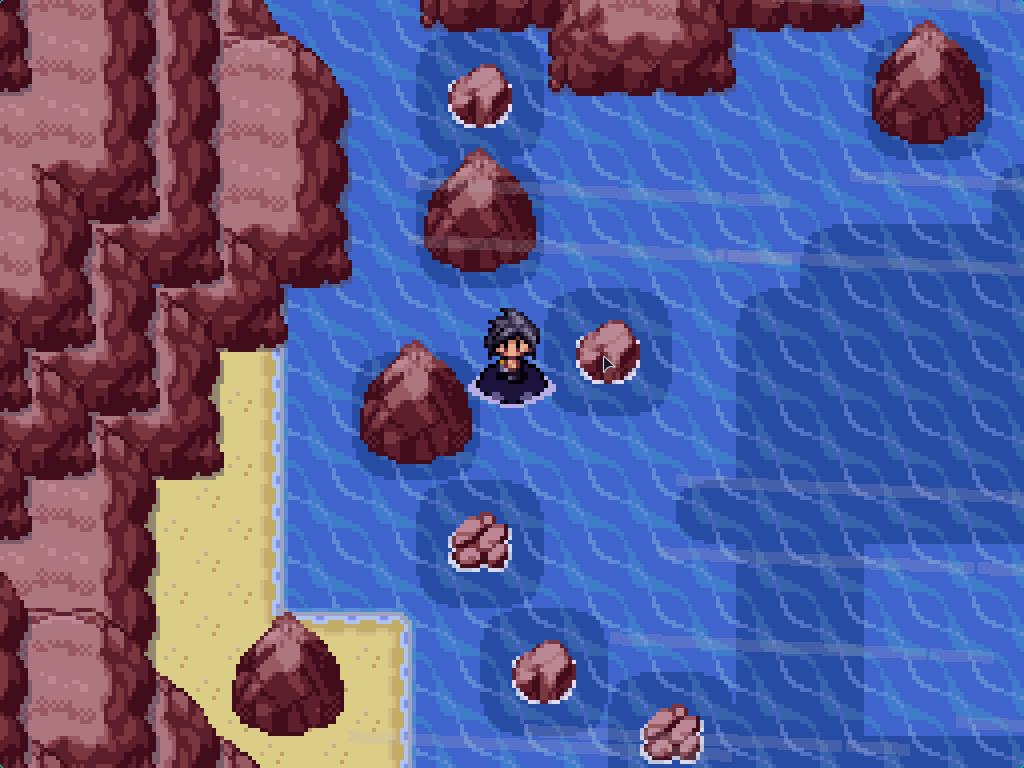
There's a small opening you can slip into here, near the map transition (make a mental note of this, as it's the only way into the central area of Azurine Lake).
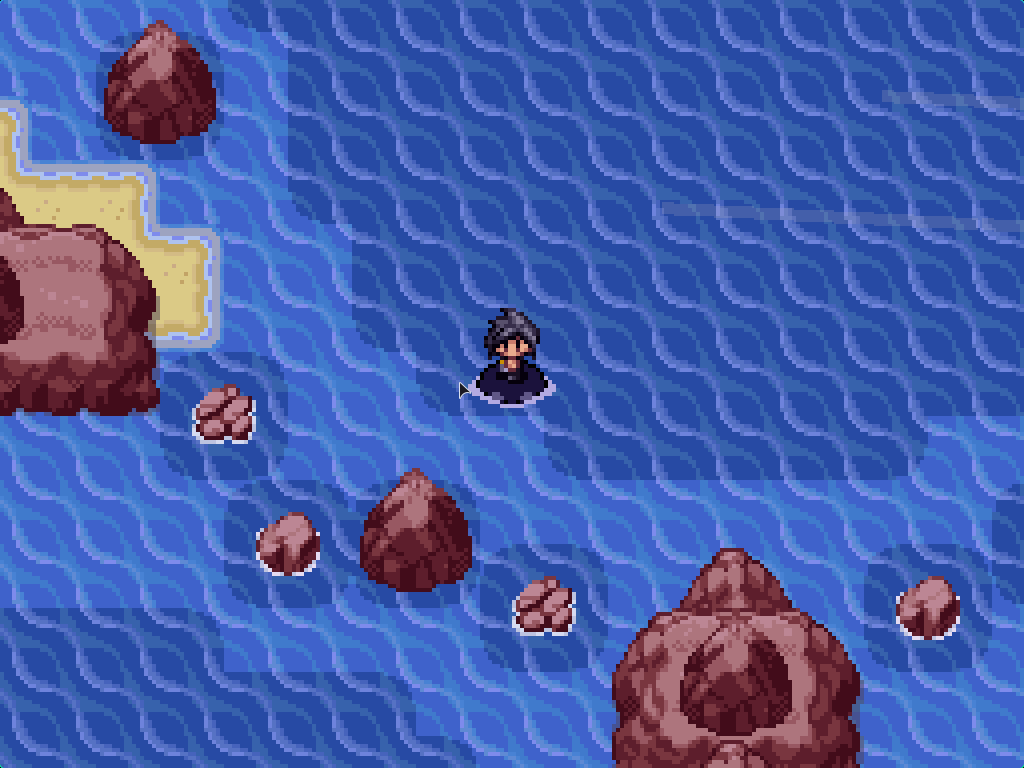
Make your way to the bottom left of the dive area, and dive down.
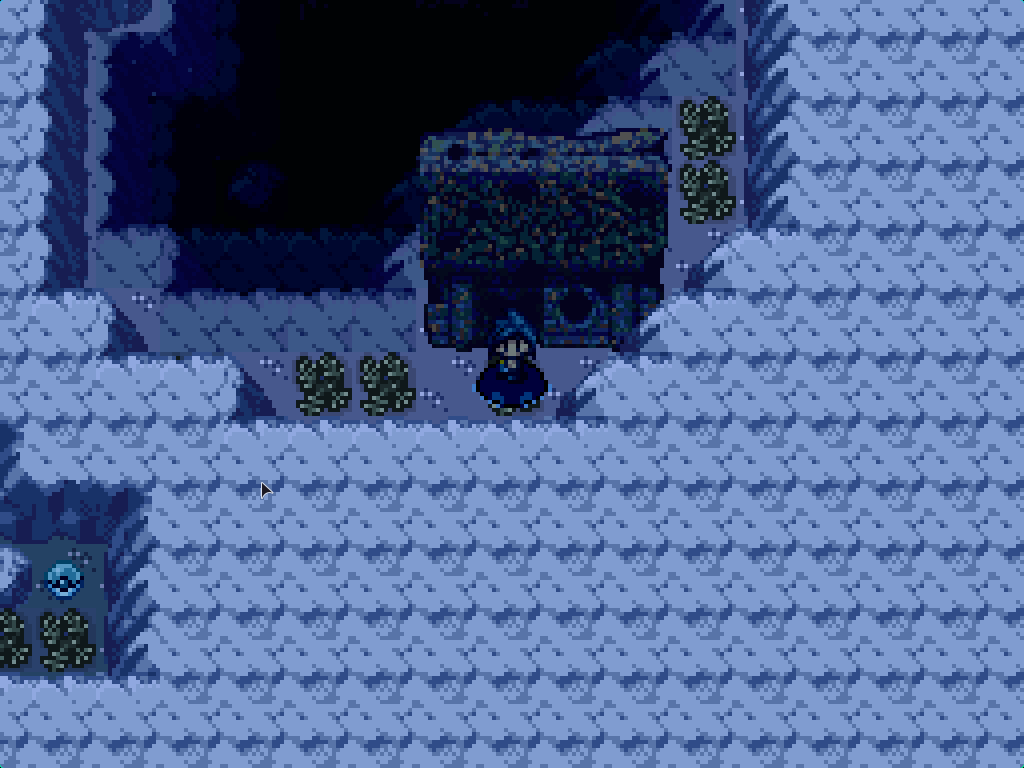
Make your way to this house and enter it. Inside will be the Diamond Ring flashing on the ground. Pick it up and re-surface.

Optionally, if you surface in this lower area past the sea grass, you can slip into the area in the corner and dive again to find the Altarianite.
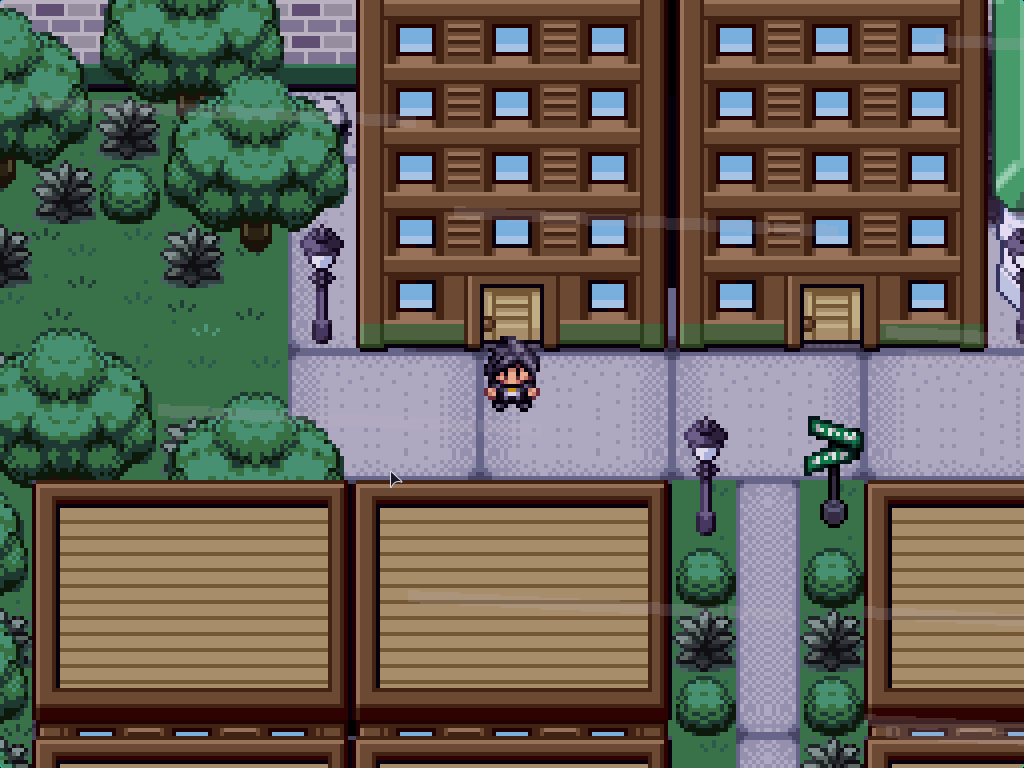
Fly to the Jasper Ward and enter this building. Talk to the lady who will take the ring and give you some Classified Information in response (what? why do you have this?)
Fly to the Peridot Ward and enter this building. (No clue how you're meant to figure this one out yourself, as the NPCs don't spawn until this event.) You'll get roped into a battle with a pig, and after beating him you'll get the Pink Pearl. You can also find the Mind Plate in this room.

Fly to the Coral Ward and enter the warehouse with Amaria's boat. Talk to this NPC to give the Pink Pearl back to the Spoink; she'll give you the Crystal Ball.
Fly back to the Jasper ward, and try entering this house to the right side of the ward. You'll be accosted by two Ace Trainer NPCs (does everyone in this town shoot first, ask questions later?) who will let you in once you've beaten them. Go upstairs and talk to the mystery lady to give her back the Crystal Ball; you'll finally get the 'R' Key and can return to Randall. You can optionally talk to her to ask about your fortune, where you'll get an eerie story. More on that later.
Once you talk to Randall, he'll give you his Klefki.
If you wish, you can also get a Beldum now.
FULL Beldum Quest walkthrough
First, make your way to the Bysb- the Whatever Wasteland. Enter the hideout and activate the broken healing machine; say yes when prompted to break it even more. Then, activate the healing machine before leaving. Do NOT heal anywhere else until you're done!
Next, discard all of your Pokémon into a box except for one; it needs to be strong enough to kill a Bouffalant on Route 1, but weak enough to wipe out to a random battle. Something with recoil will work. Fly to Route 1 and kill a Bouffalant (anywhere will do) to start riding a Tauros. Start a wild battle (or several) and lose; you'll be teleported back to the Wasteland healing spot whilst still riding the Tauros.
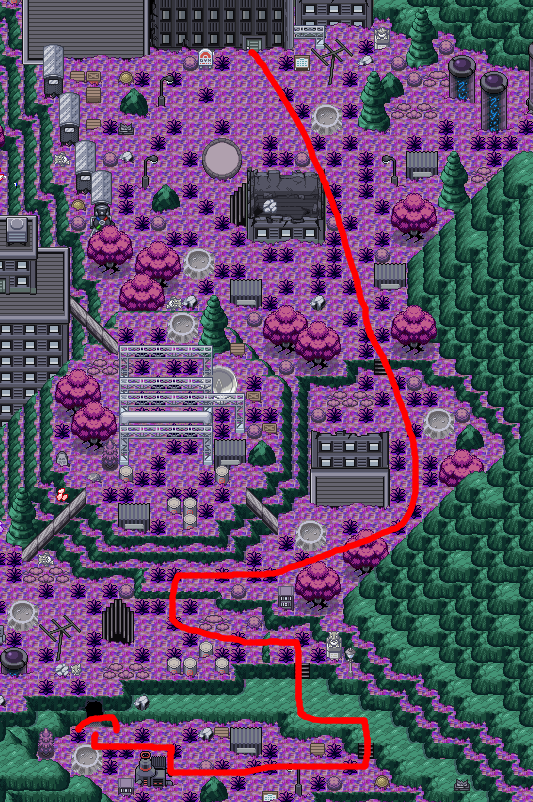
Use the Tauros to ride down into the cave at the bottom of the map behind a ledge. (You might've come here before, but you need the Tauros for a few extra ledges). Go through the secret door in the room with the tubes (it's behind the left tubee, if you ignored it back in the last wasteland chapter) then follow the path through the caves until you find a long ledge inside a cave, below a set of stairs.
Jump up the ledge but ignore the stairs; instead, jump down to where the strength boulder is and push it aside. Exit out of the door at the top left of the cave to be spat out next to a pair of ledges; climb both of them to find a room with a broken tube. Interact with it to find a level 1 Beldum. Hope you have enough Pokéballs.
If you missed it before, set the weather to Rain to find a Squirtle down here too.
Finally, if you spoke to Simon in the Tanzan Mountain, and then again in the Beryl Cemetery, you can finally get the Super Rod. Fly to Tanzan Cove and dive down; search the left-most body to find that its ID tag is missing. (There's a few items and a TM for Breaking Swipe down here too.) Resurface and speak to the fisherman in the cove to get the Super Rod. You can fuck off now if you want, but there's still another reward in it for you.
Use the Super Rod to catch three Whiscash from the lake, and hand them over to the fisherman. On the third one, he'll fish out an ID tag for you; if you check it in the inventory it'll show the name "Tara Copperman". (Hmmm!) Return to Simon (he's in his house, next to the Period Ward's Pokémart) and show him the ID tag: she had the same last name as him. Oops. He'll give you the TM for Toxic.
When you're done looking around, it's time to go talk to Ame in the Grand Hall to advance the plot.