Appendices: Starter Quests
This is a guide to any starter that you can't just catch or easily find in the wild.
Squirtle
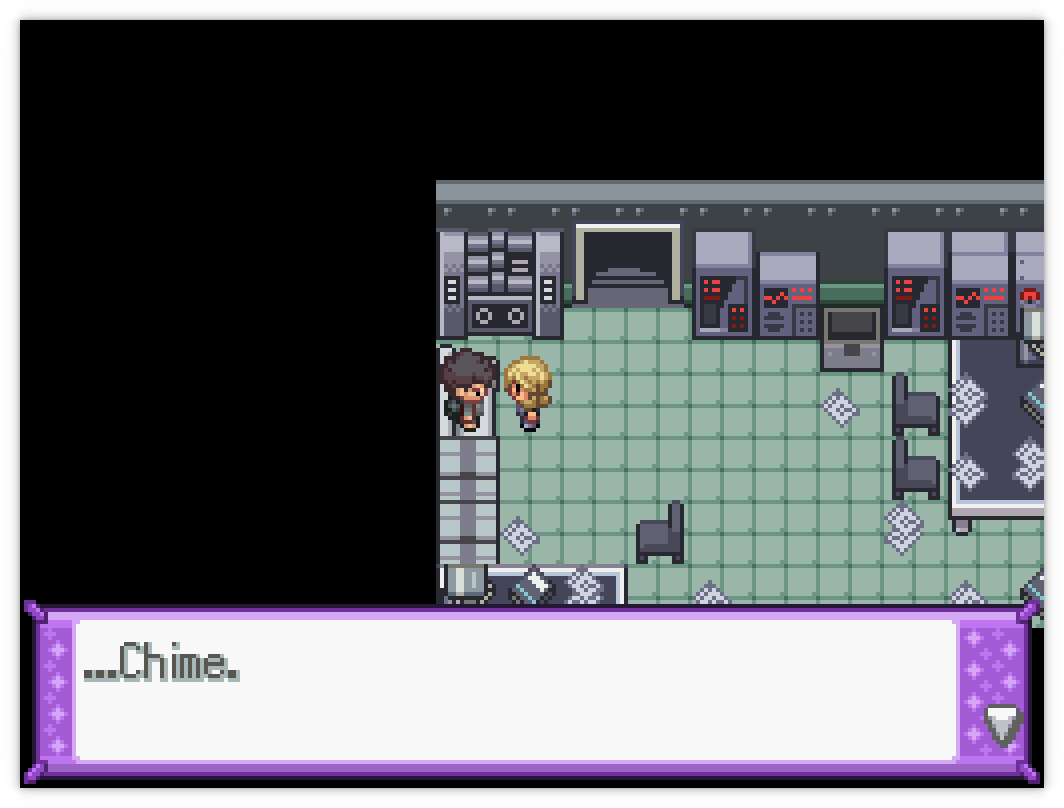
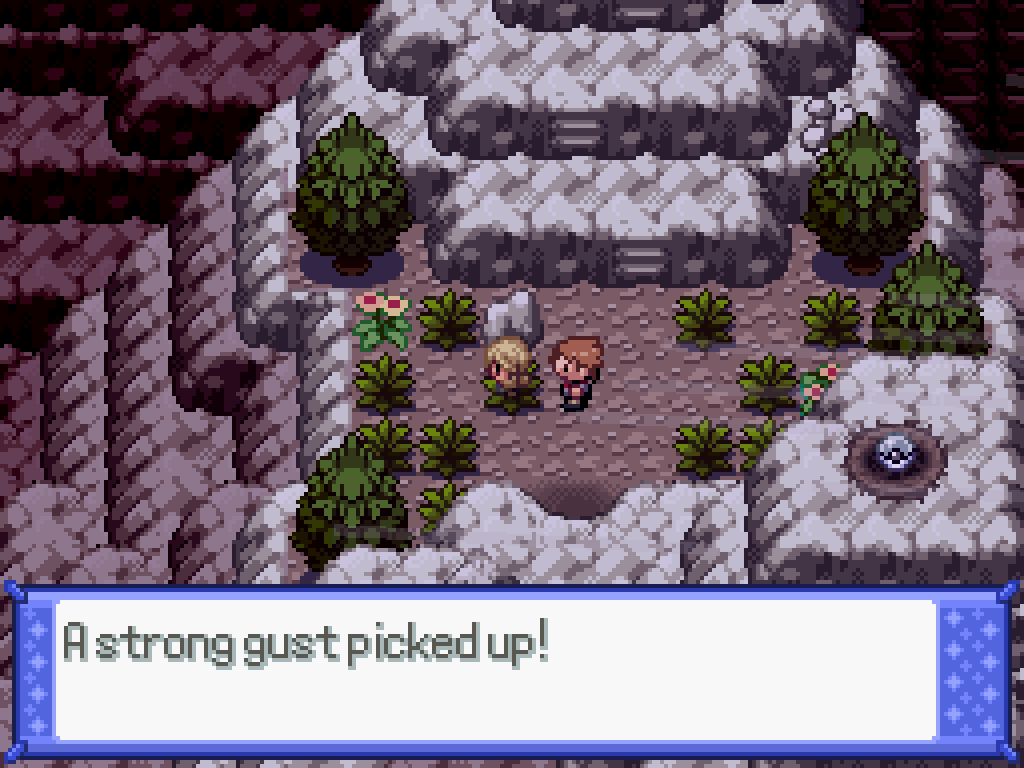
First, follow the guide in Chapter 9 to unlock the PULSE Garbodor grotto. Inside the grotto, there's a hidden door behind the left reactor tube; keep walking to the right (ignore the strength rock) until you're outside again. There's some non-euclidean geometry here; first, slide down the path and enter the cave. Climb the ladder once, then go back down the ladder to enter a different chamber. Push the strength rock downwards, jump off the ledge, and push the second strength rock to the left to open up the path to the north.
You'll find the Squirtle relaxing in a wastewater pool, and TM12 Taunt directly below. This was made NO FUN ALLOWED in a recent All-Gen update, so it's only available after the City Restoration now. Fuck!
Chikorita
If you didn't already, catch a Chimecho (via Chingling) from the cavern underneath North Obsidian's stairs; then, head to Azurine Island once again. Make your way to the former Meteor building and show the guy hanging out there your Chimecho. If you go into the back room, you will find a Chikorita!
Cyndaquil
When you buy all of the Pokémon in 7th Street, Cyndaquil is one of the few that has no relevance to any later quest. You can take it as your own.
Treecko
Treecko is found as a reward for making the Devon Scope, which is required to rid Neo Beryl Ward of the invisible Kecleon everywhere.
Devon Scope Walkthrough
The obvious trap room in the first Devon Corp building had some items in it, so let's return there. The shock tiles here are now random, so enjoy being zapped all the way through. There's also a really funny troll that I have no choice but to accept and not tell you what it is.
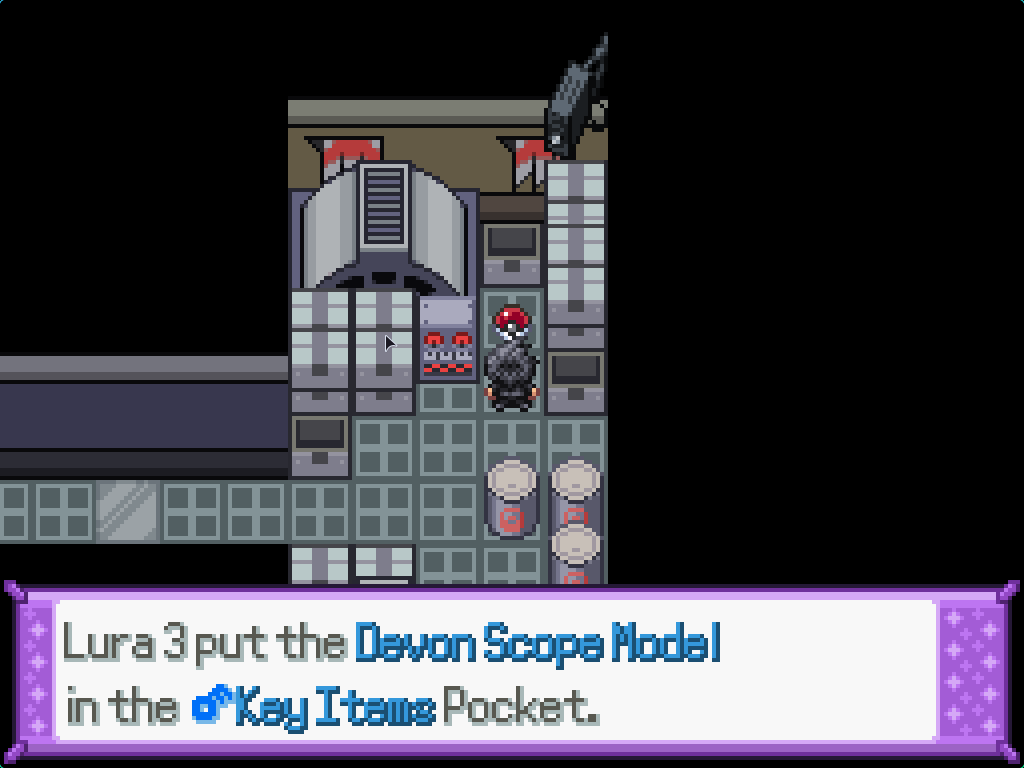
At the top, you'll find the Devon Scope as well as TM81 X-Scissor.
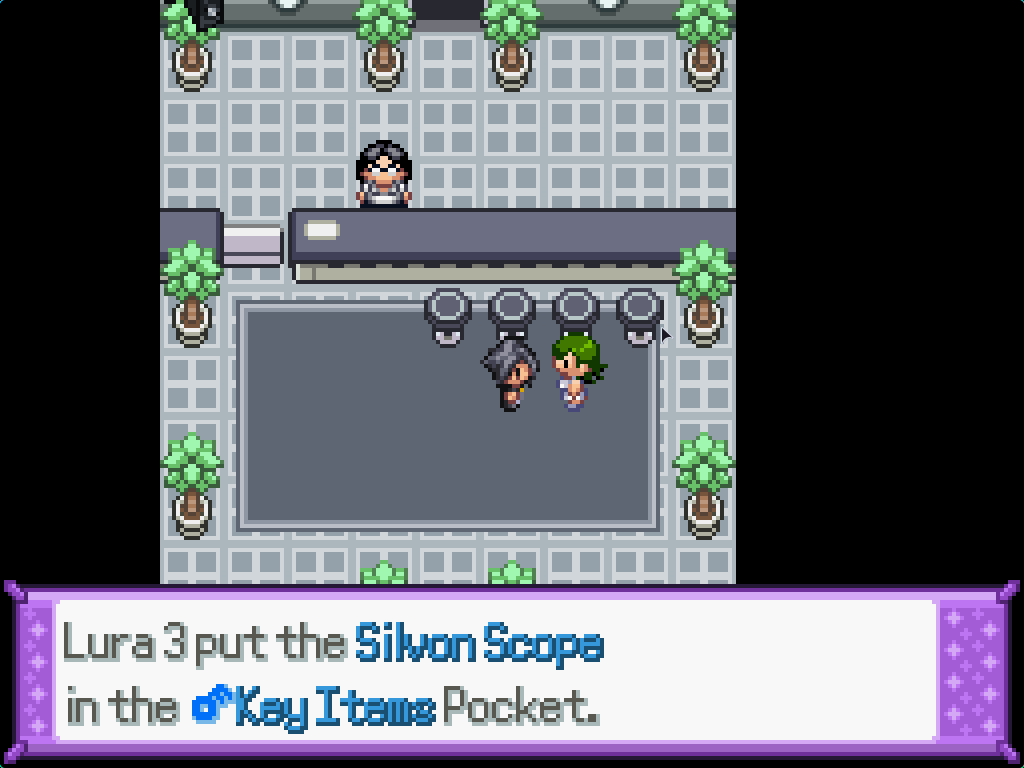
If you return to Silph Co, you can talk to the attendant and give it to her and she'll give you the Silvon Scope. Armed with it, you can now interact with the invisible objects in the Jasper and Beryl wards, and defeat them to unblock your path.
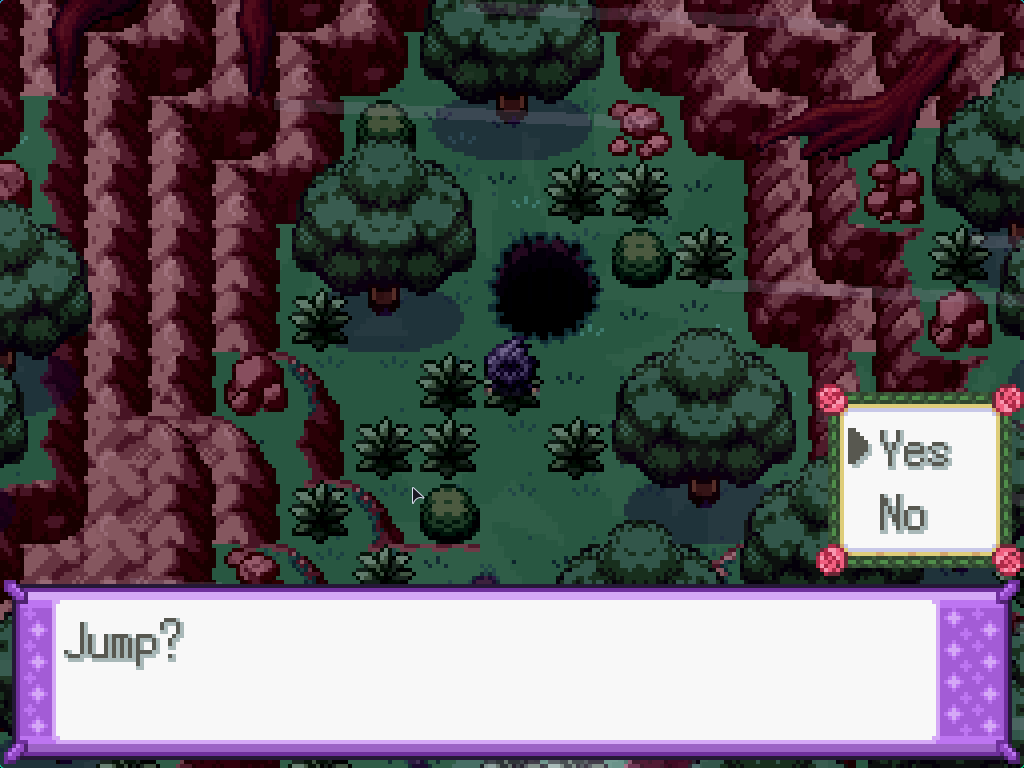
Return to the jungle and jump down the hole into the Underroot.
Make your way to the bottom of the Underroot to find a pool of water; armed with Surf and Waterfall, you can make your way across it (you can also find the Blastoisinite here to the side). The only path in the new area will be blocked off by a horde of invisible Kecleon; activate it to reveal all of them. After fighting twelve Kecleon (some of which know fucking Fake Out!) you'll then have to fight the mysterious Purple Kecleon.
Finally, open the cage to find a Treecko. All the Kecleon in the wards will be gone now.
Totodile
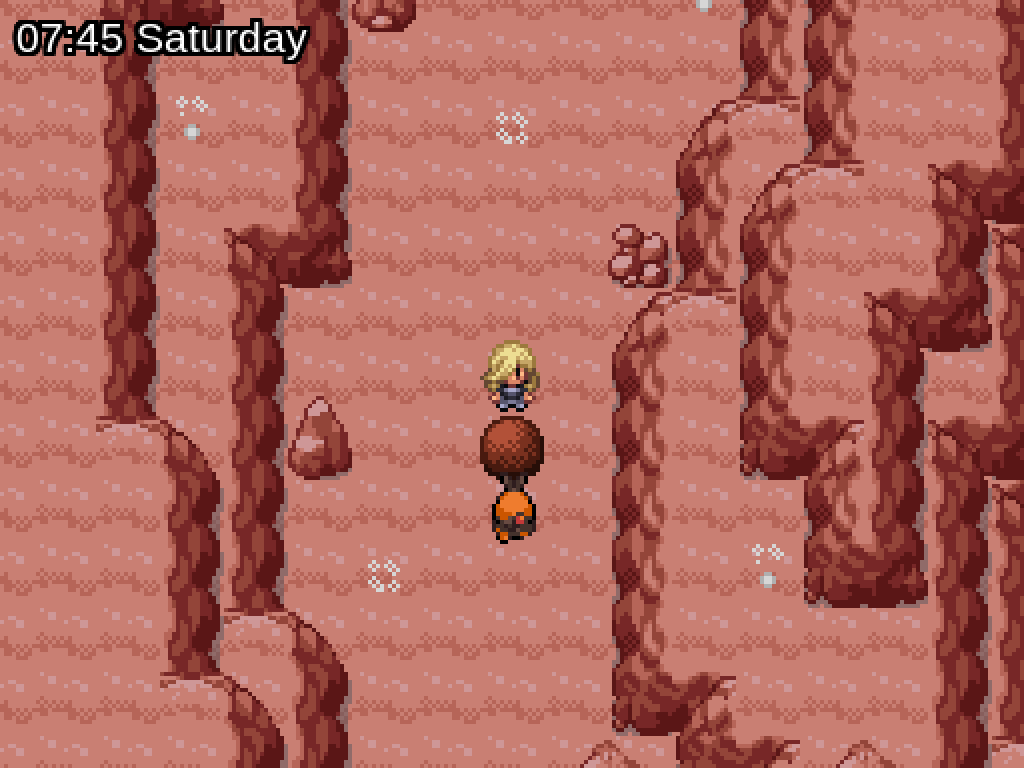
This one is found in the Mountains of Doom. Fun.
Totodile Mountains of Doom walkthrough
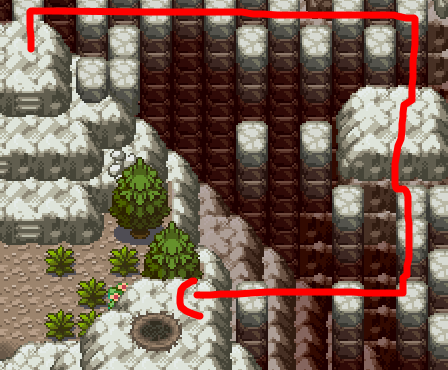
First, you need to make it to Ametrine Mountain 1F. Surf directly upwards from Celestrine Cascade and go up the waterfalls to find your way here. Dismount next to this ice puzzle and solve it to move a Strength rock out of the way. Return to the water, surf up the final waterfall, and walk through the path cleared by the rock to find a dive spot.
To the right side of this dive room is an exit to another underwater section; move to the left of here and surface out onto Ametrine Mountain B1F.
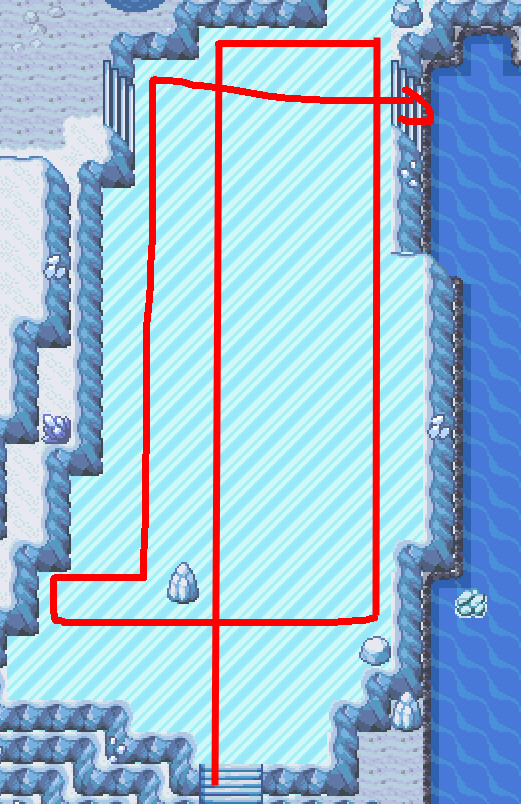
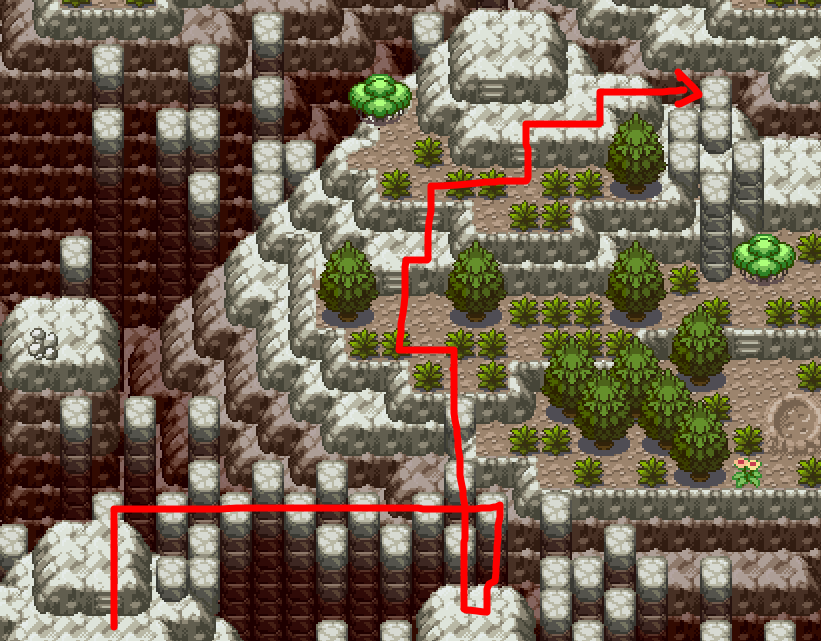
Solve this next ice puzzle to gain access to two surf areas. The upper one eventually leads to the Ambosite and a Lapras, whereas the lower one has a waterfall that leads to Ametrine Mountain B2F.
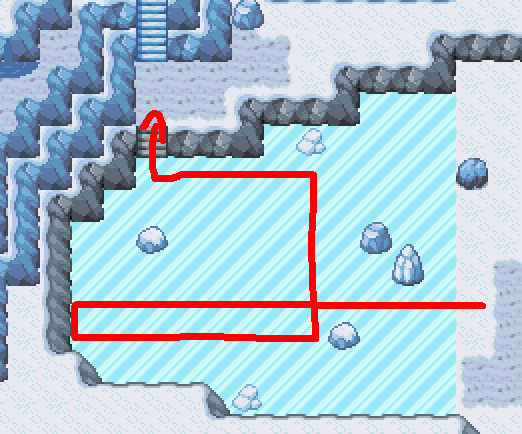
Solve the ice puzzle along the red arrow to find a series of Waterfall pools. For what I can only assume are insane reasons, the Totodile will be periodically jumping in and out of the water; catch it by moving onto its tile (and mashing A). Make sure to pick the Feraligite on your way. The blue arrow leads nowhere good.
Tepig
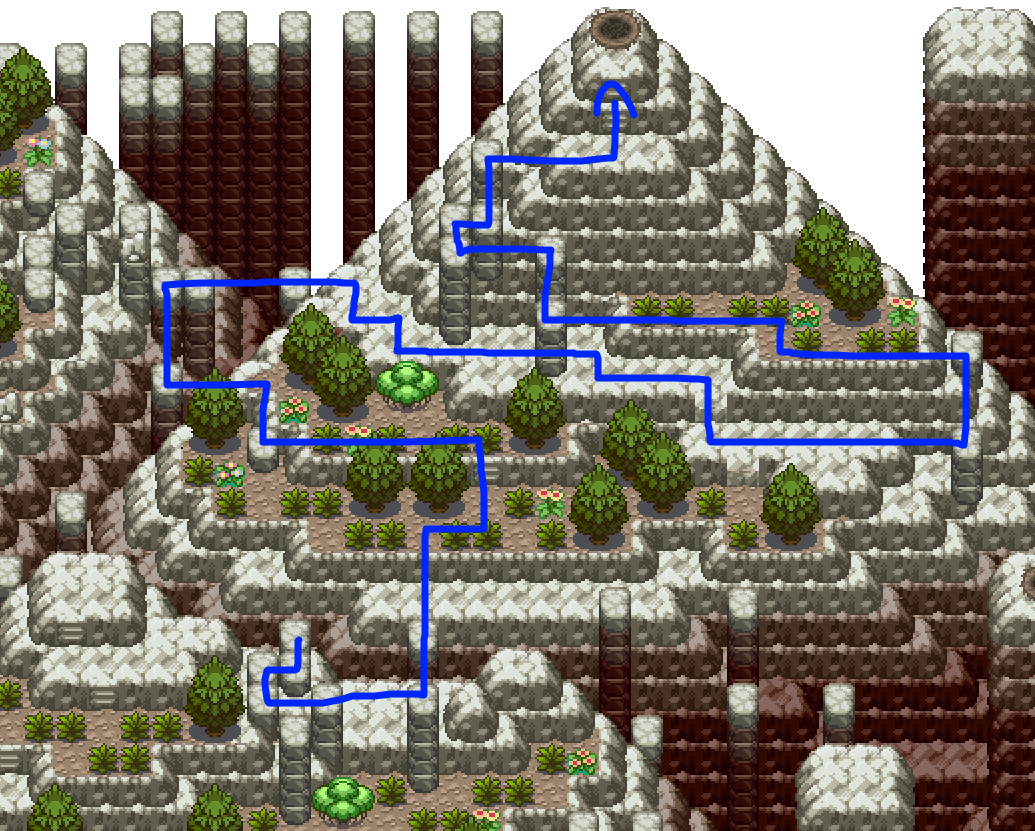
After getting Strength, return to Pyrous Mountain where you can now push all the boulders that were sitting in the former lava pools.
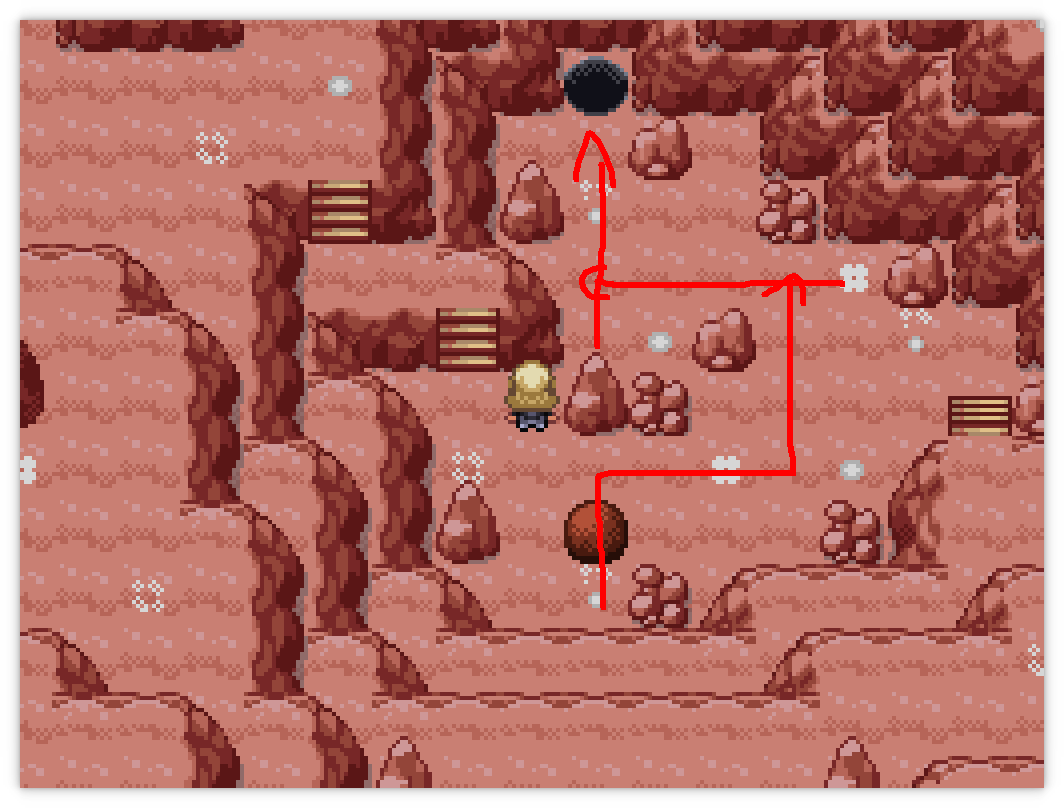
You need to push the boulder into the hole. It's pretty easy to screw yourself here, so save beforehand and then follow the red arrow to push it. Jump down into the hole yourself to find... a Tepig? If you talk to it, it runs away, all the way down to B1F: now you should go and find that Strength boulder you remembered. If you push it out of the way, you'll find the Tepig again, as well as TM37 Sandstorm.
It flees once again; this time to the top of the mountain. If you interact with it again you can encounter it in a wild battle, and then catch it if so desired.
Piplup
First, buy some Blasting Powder from one of the gang NPCs at the bottom of 7th Street. Mine this rock inside the Beryl Wall once, use the blasting powder to mine it again, and then activate the now available second rock to get some "Rare Candy". If you go inside, you'll get it stolen.
The thief is at the bottom left corner of 7th Street, in a little caged off cubby. Battle him to take it back, and then go to the upper drug den on the right side of 7th Street. You can offer it to the guy on the lower left in exchange for his Piplup. You can add drug dealing to your list of crimes too.
Chespin
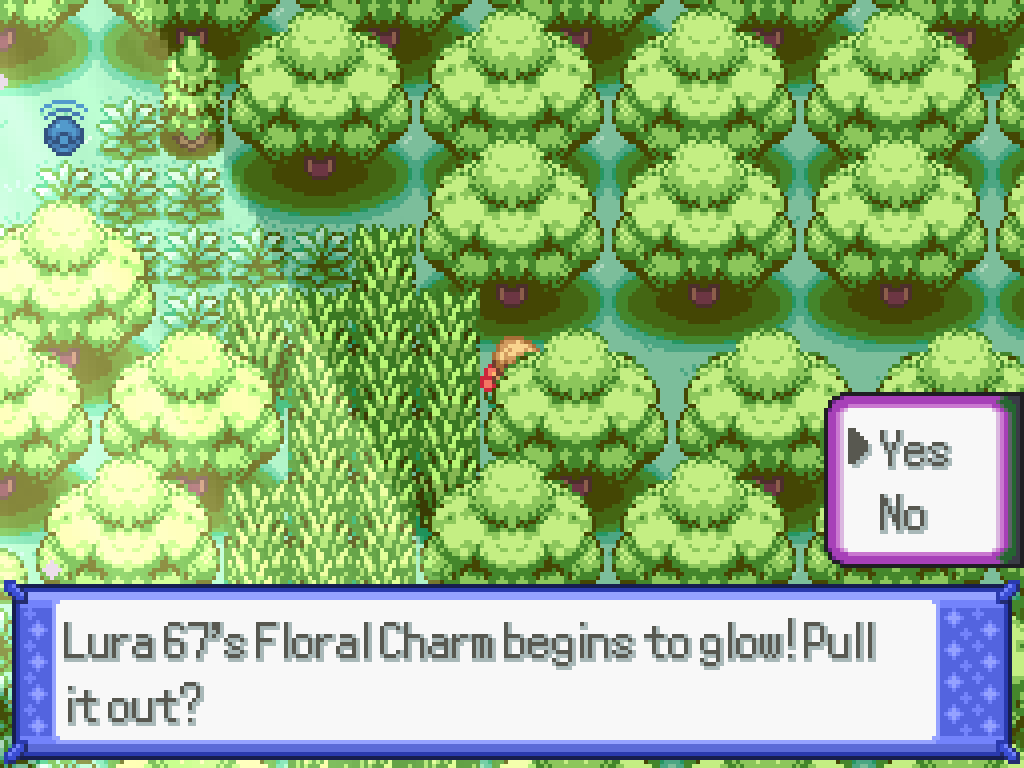
Buy the Floral Charm from the flower shop in the Lapis Ward, then return to Route 1. Find the 5th entrance from the left to South Aventurine Woods, and use a Tauros to jump up the ledge; continue until you reach the tall grass.
Step on this flower, which will put you into a battle with an Flabebe. Defeat it, catch it, or run from it and you will be returned to the overworld, proceed immediately right and activate the bush to find the Oddishweed.
Return to 7th Street and find a woman in front of a vendor; talk to her and give her thee Oddishweed and she will give you an egg for a Chespin.
Fennekin
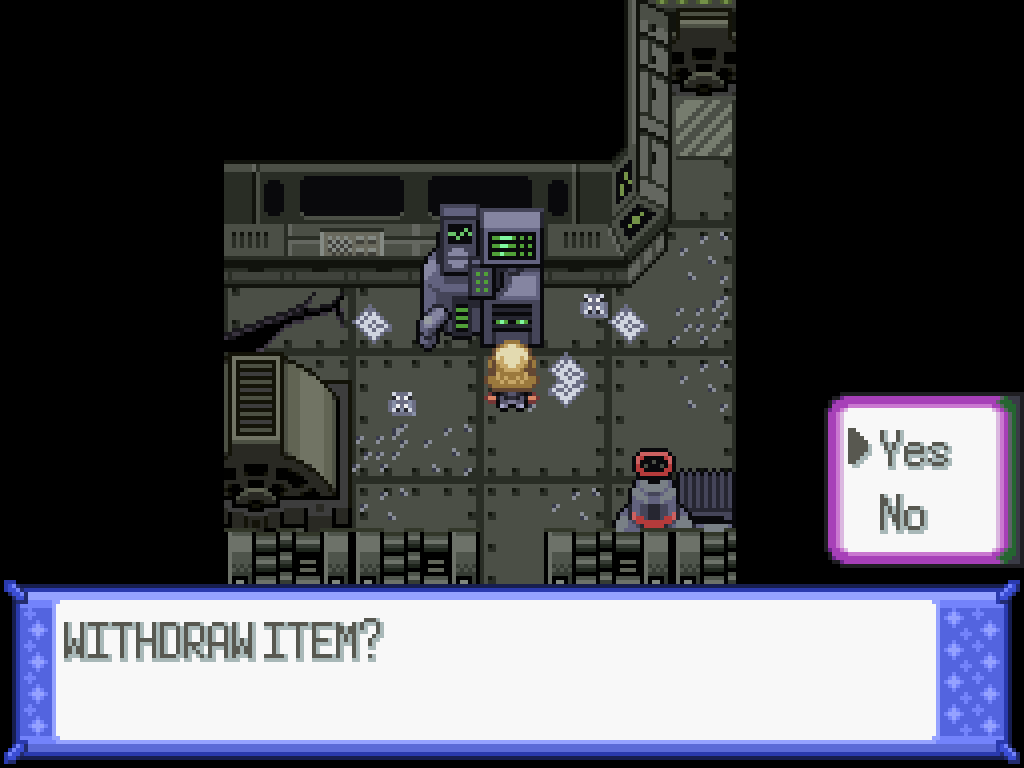
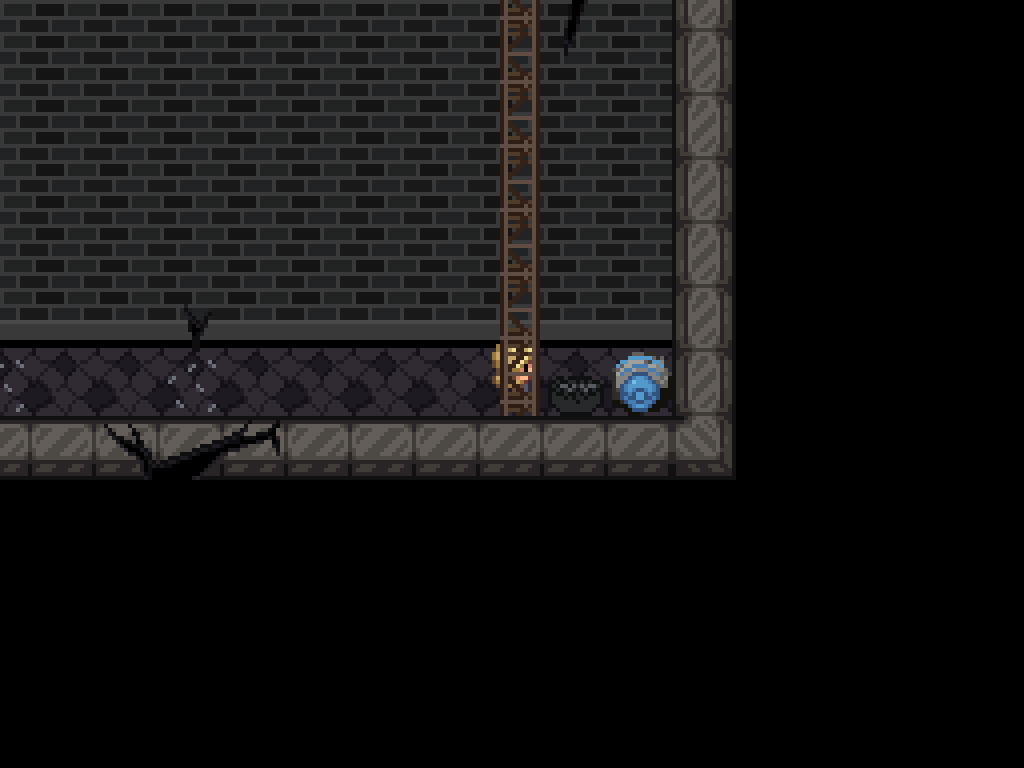
Whilst in the Water Treatment Centre, you will come across a "system storage" room. It's dark and has a computer that ignores you if you try and interact with it. Take both items then leave; when you come back in, the item at the top right will have re-appeared. Curious!
Interact with it again to find an Electrode. The goal is to use Discharge or another similar move to turn the Broken Factory field in a regular Factory Field, then kill the Electrode before it can self-destruct and break the field again. If it uses Electric Surge or Grassy Surge then it won't work, and you need to try again; you can respawn the Electrode infinitely by running in and out of the room.
Once the field has started up again, interact with the computer to retrieve your Fennekin.
Rowlet
Rowlet is located on the Teknite Ridge; you need to make your way through the Teknite Cave to get here. You can find the guide in the 20th chapter walkthrough.
Rowlet Puzzle Guide
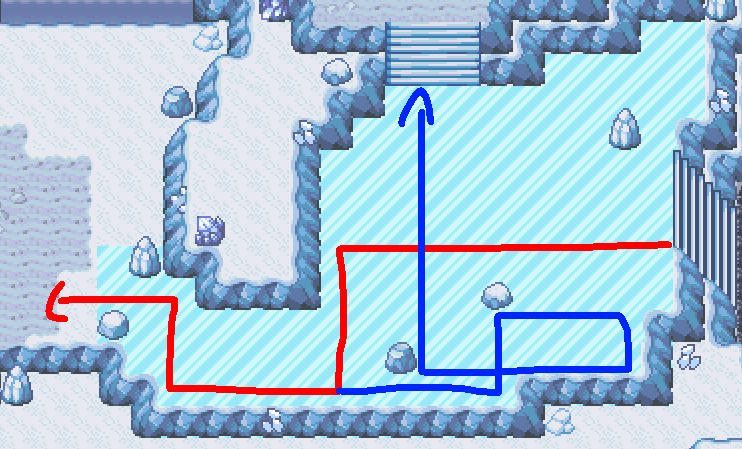
You need to exit from the right side of the last room of Teknite Cave. Activate Tailwind in a battle to get the Strong Winds field; this will let you jump across the two-tile gaps here. Follow this arrow to get the Pidgeotite.
Follow this red arrow to climb up to the main part of the hill.
Follow this blue arrow to find a Rowlet egg.
Popplio
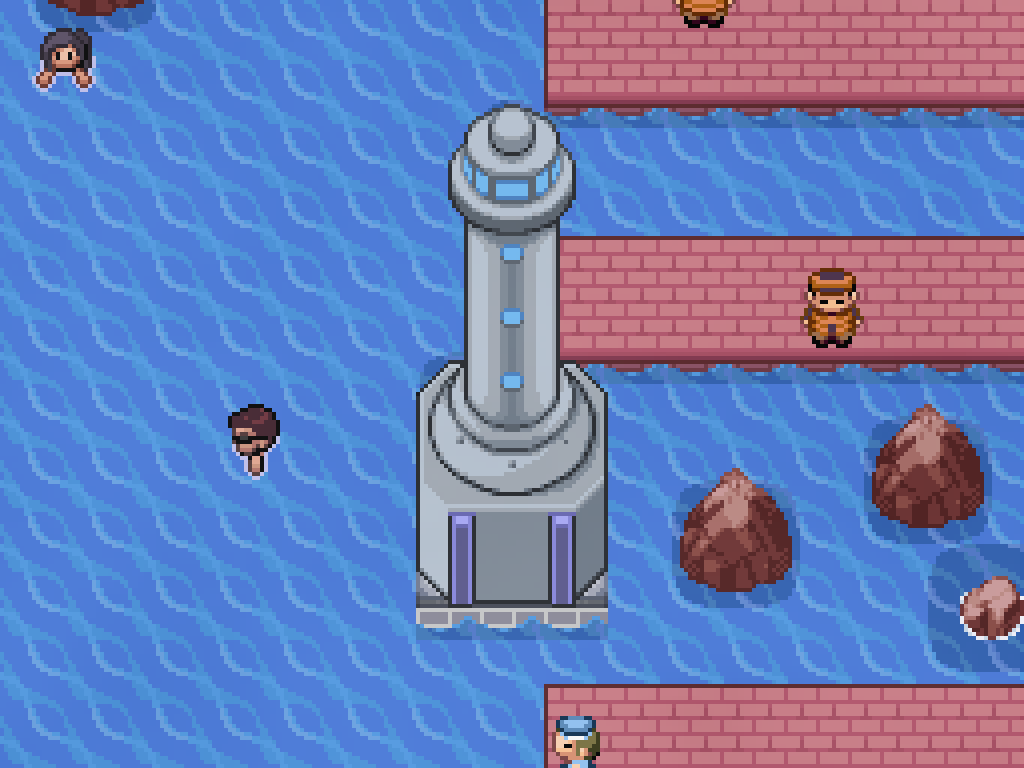
This one's dumb. If you surf down here, behind the lower Coral Ward lighthouse, there's a hidden dive spot. Dive down, then exit out the south and resurface inside the lower lighthouse. Climb the ladder to find the Coral Key inside the upper room.
You can use the Coral Key to unlock the other lighthouse. Go inside and dive down to find an area where the Poplio is being attacked by a pair of other Pokémon. Defeat them and it'll join you. You'll also find the TM for Giga Impact down there.
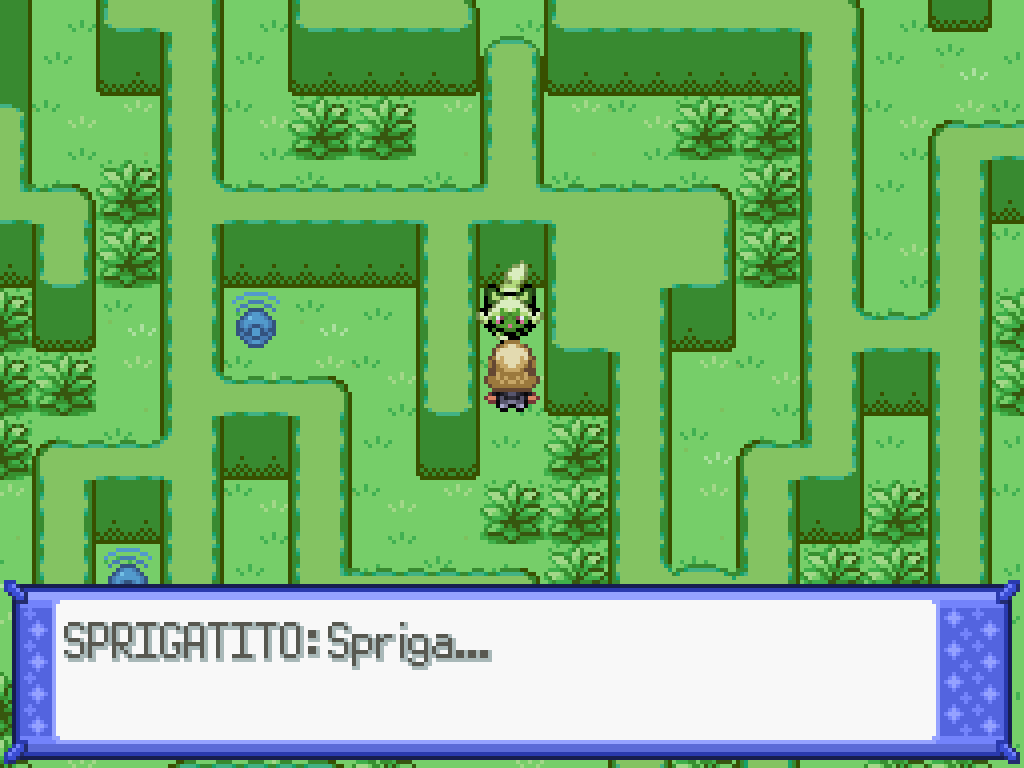
Sprigatito
This one requires a few steps; you can start it as soon as you get the 6th badge, but you can't complete it until the City Restoration.
Sprigatito Quest Walkthrough
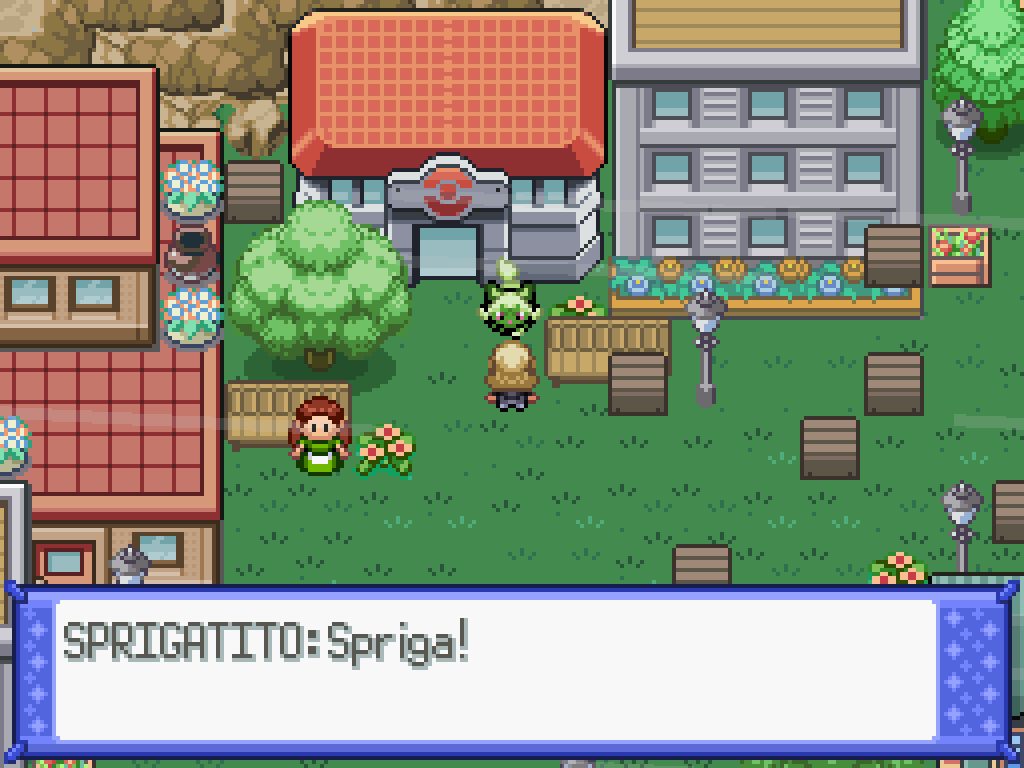
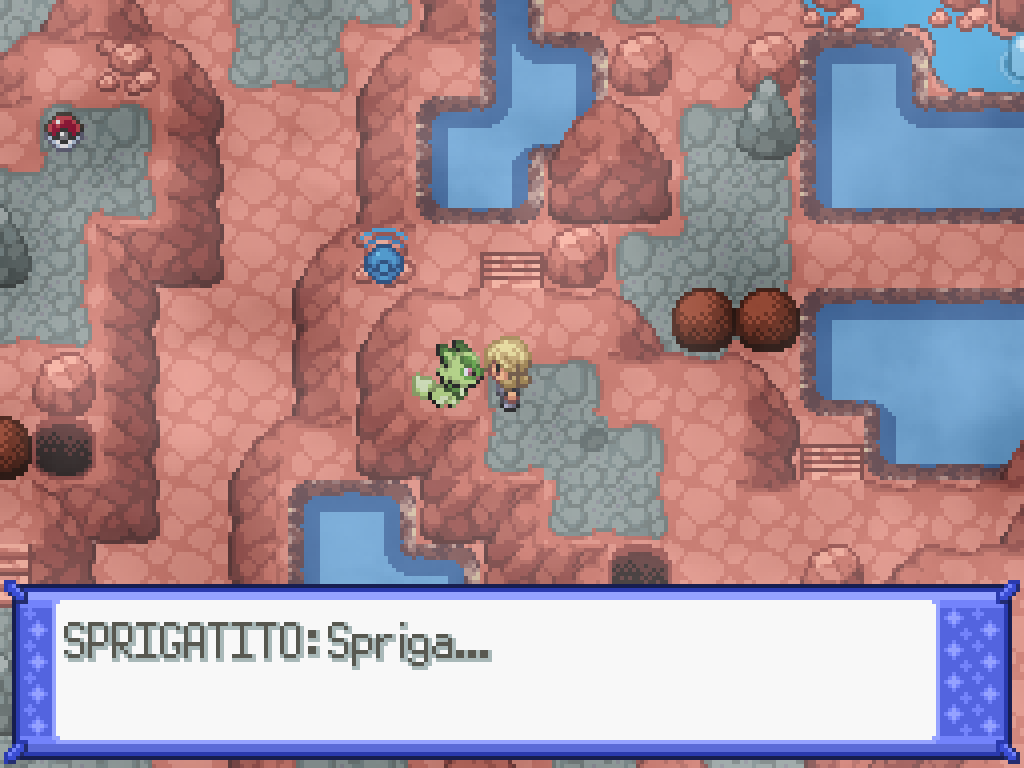
First, you need to find it in Spinel Town just walking around. Talk to it and it will teleport away. There's four locations you need to find it at before it returns to the final area.
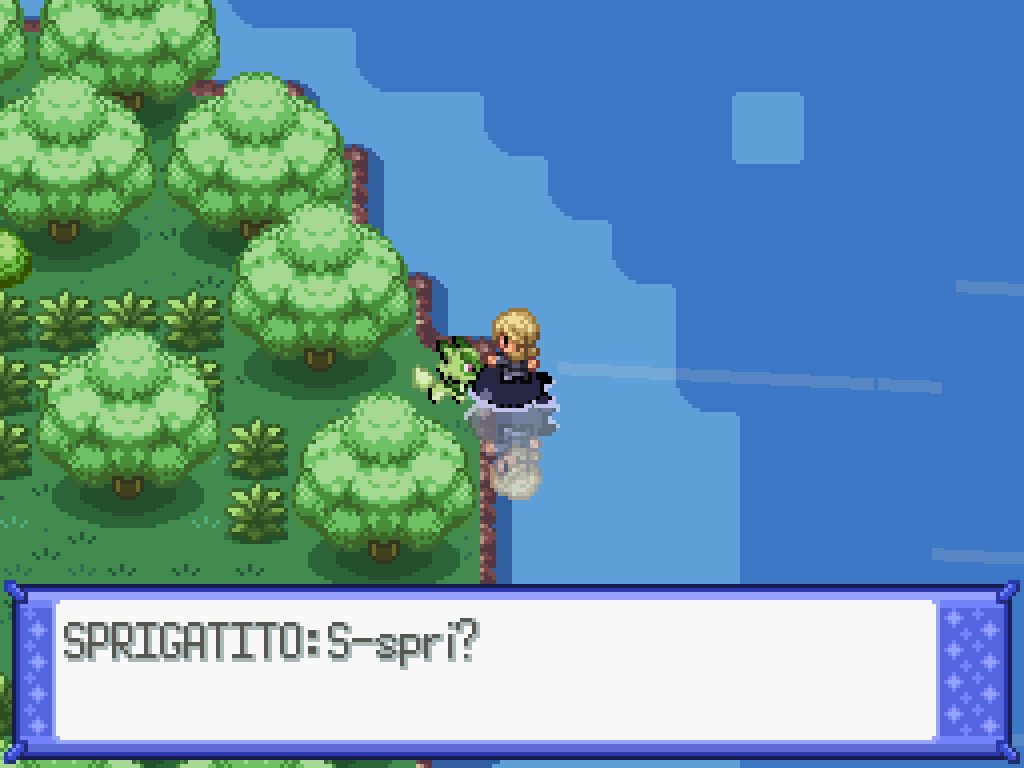
It's teleported away to this area of the Tanzan Cove. Surf on the lake up next to it, and if you talk to it again it'll be teleported away to another location.
The next location is the Vanhanen Labyrinth. Talk to it, it teleports away, etc.
It's now in the Chrysolia Spring, which is a small location located within the Chrysolia Forest. You know the drill.
It's stuck in the bull pen on Route 1.
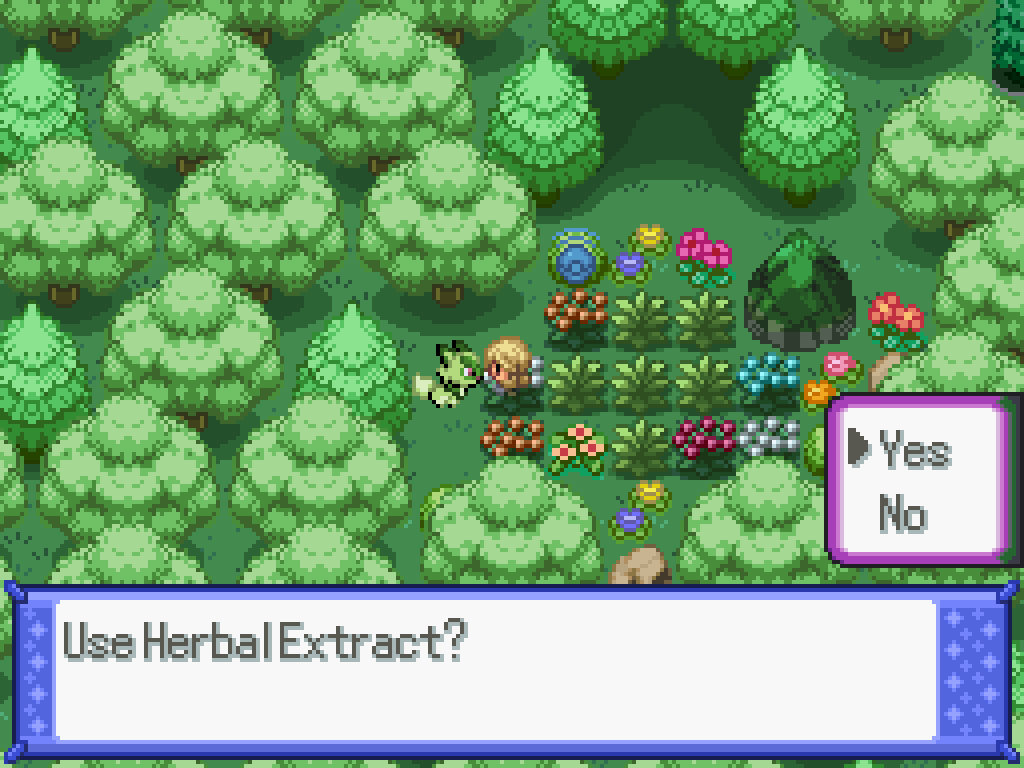
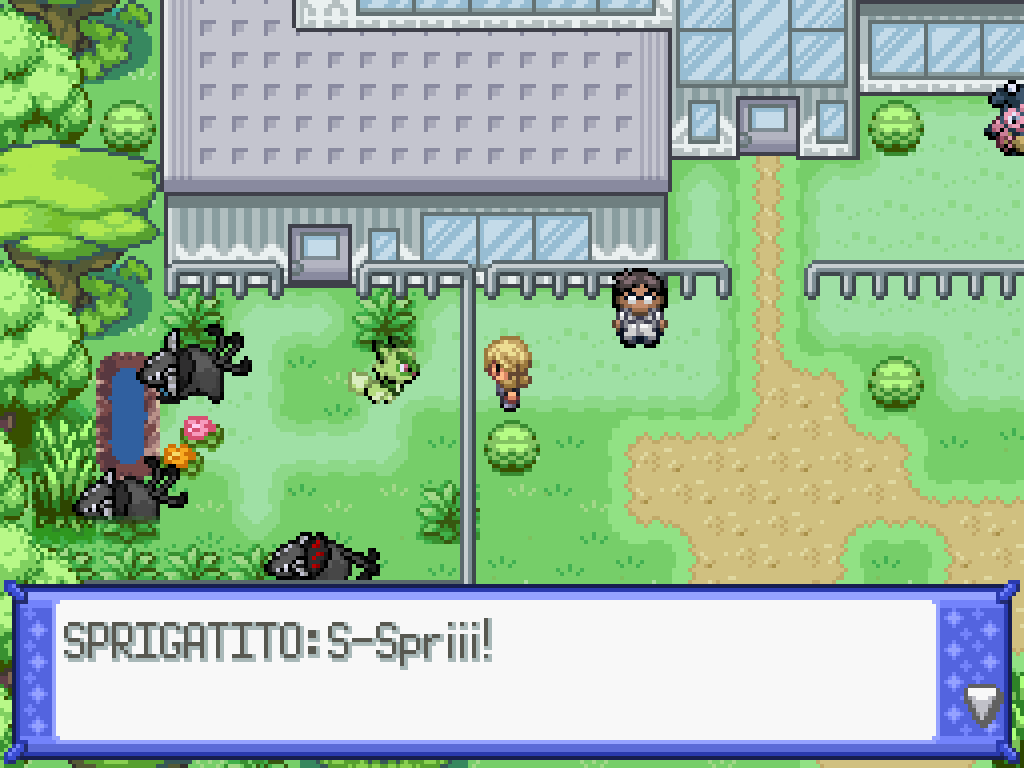
After teleporting away five times in a row, you can find it in this little cove; if you have some Herbal Extract from the Pokécentre, you can heal it and it will join you.
Fuecoco

This one is just flat out silly. In the Ametrine City Pokécentre, you can find a Fuecoco next to the furnace; if you try talking to it, it'll just ignore you. You need a Blue Moon icecream item to get it to perk up. So how do you get one?
Well, every Ice Cream vendor—and by every, I mean the one in the Circus and the one in Neo Opal Ward—has a one in twenty chance of selling Blue Moon ice cream when you talk to them. You can't just repeatedly talk to them to get it, oh no, the vendor has a cooldown period of... 79200 seconds. Or twenty-two hours. Fascinatingly bad design.
Anyway, just check the vendors periodically and you might get one. Or you can get a regular fucking Skeledirge in the post-game.
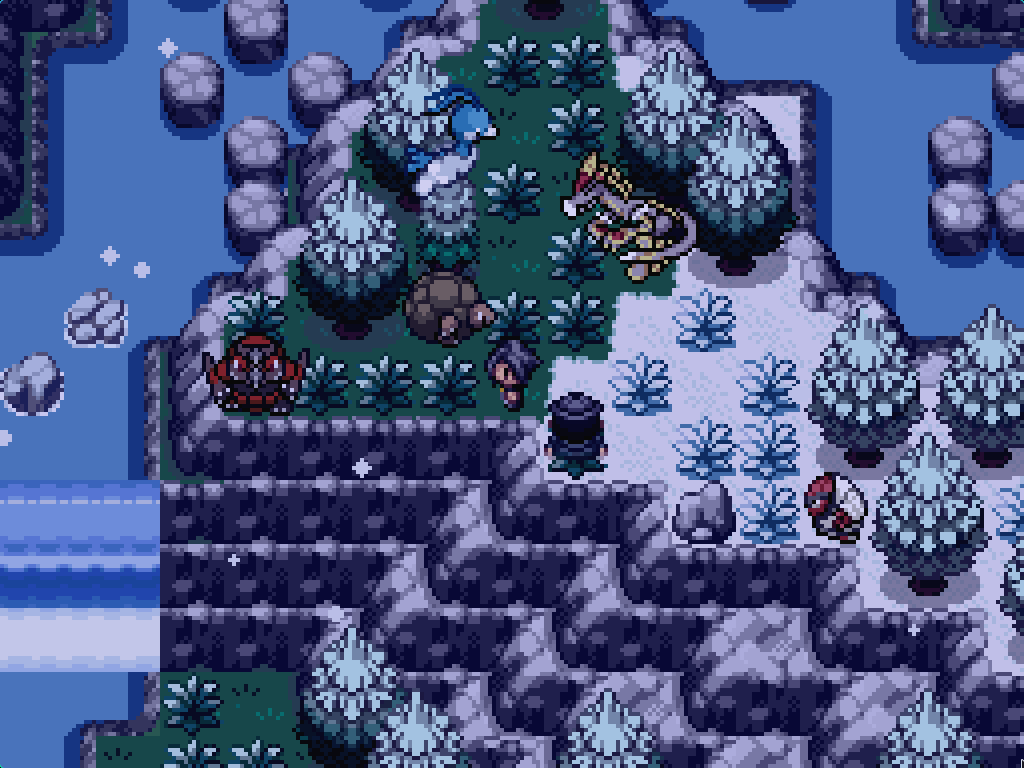
Quaxly
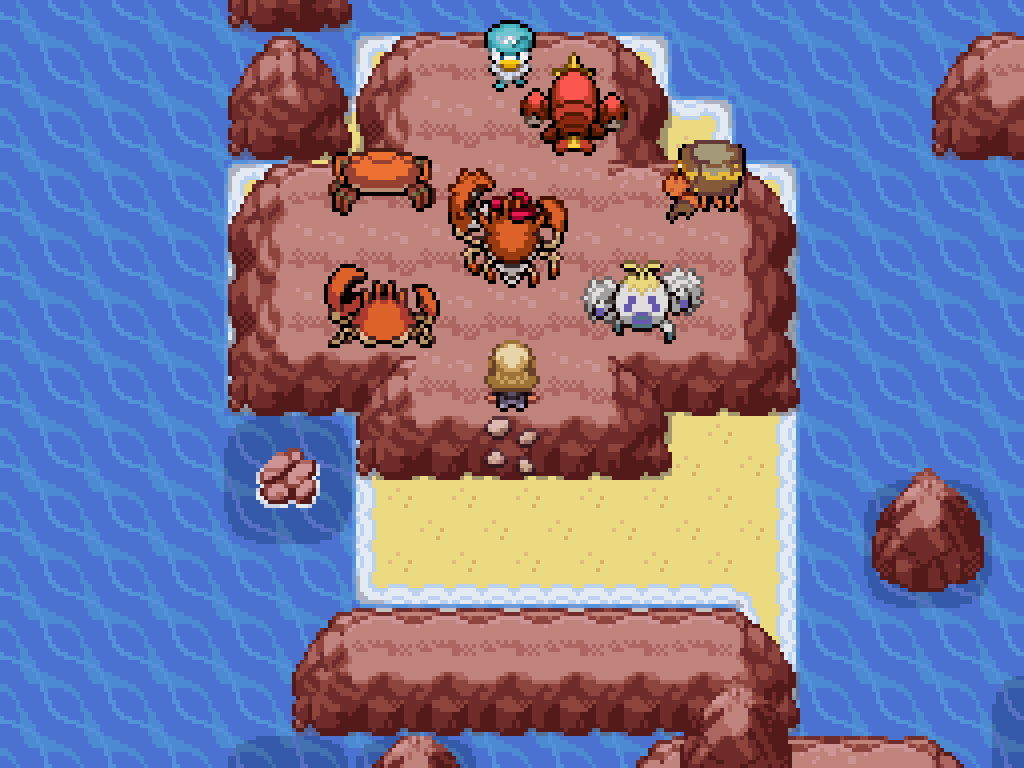
This one you can literally see from Peridot Ward, but you can't get there from Peridot. Instead, surf all the way up the north west side of Apophyll beach until you reach Peridot again, then surf down onto the island here. Climb up, then walk up one tile to get in a battle with the crabs.
Kingler Gang
| Sprite | Name | Level | Ability | Held Item | Moves | EVs |
|---|---|---|---|---|---|---|
|
|
Crabominable | 85 | Iron Fist | Icium-Z |
|
0/252/104/0/0/0 |
|
|
Klawf | 83 | Anger Shell | Telluric Seed |
|
0/252/0/0/0/104 |
|
|
Kingler | 81 | Sheer Force | -- |
|
0/252/4/0/0/0 |
|
|
Crawdaunt | 82 | Adaptability | Focus Sash |
|
0/252/4/0/0/252 |
|
|
Crustle | 84 | Rock Head | Weakness Policy |
|
0/152/104/0/0/252 |
|
|
Kingler | 88 | Sheer Force | Assault Vest |
|
0/4/252/252/0/0 |
Froakie
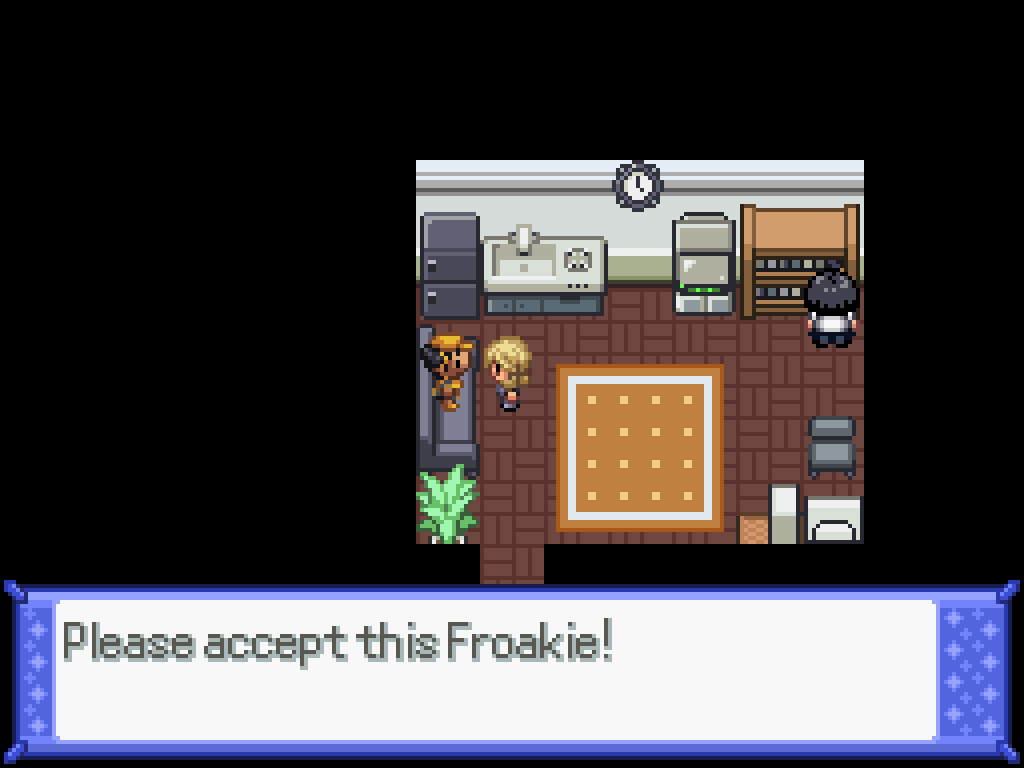
This one's very simple; it's a reward for having 200 caught Pokémon. You should have done this without even trying—even more so if you've got the all forms dex mod installed.
Snivy
You might've seen the page for Snivy and seen Route 4 and thought "but I couldn't catch any with my magnetic lure". Well, that's because it's on a hidden submap!
Snivy Quest Guide
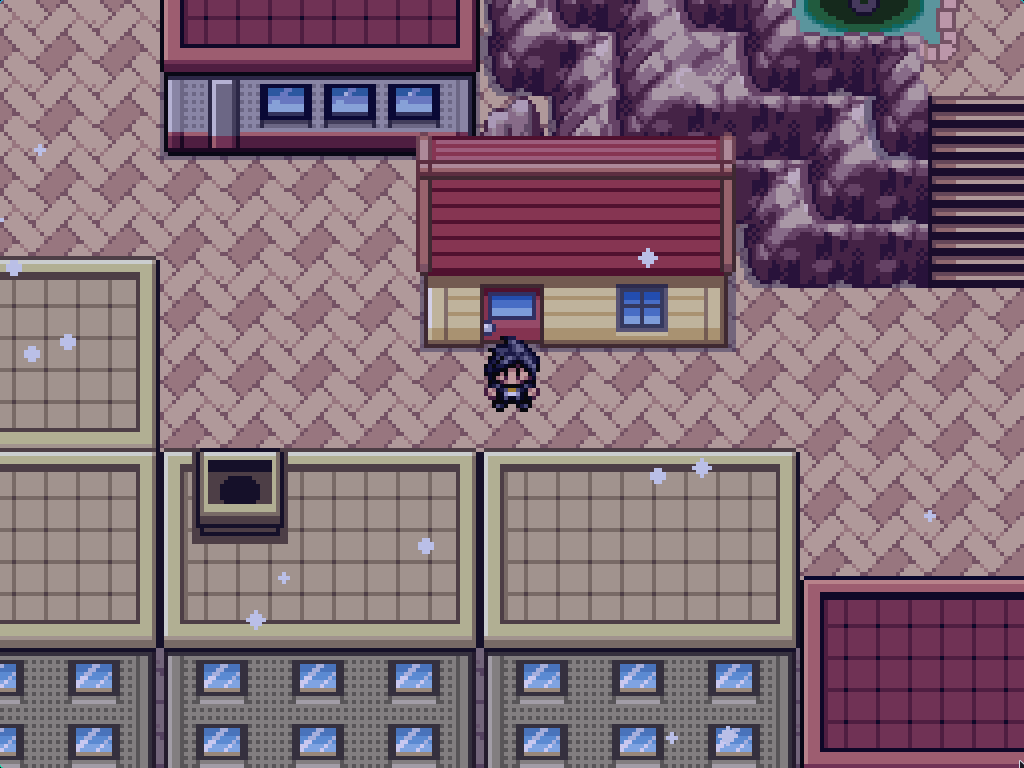
Go into this house and wake the hiker inside up. He'll run off to Route 4.
You can find him here. Consult chapter 22 for more information on how to get here. Talk to him to start a battle.
After beating him, he'll let his Pokémon out. Talk to him again to get some Pokesnax, then talk to him again and give him an Expert Belt. After that, feed all of his Pokémon the Pokesnax; make sure to feed the Golem last. If you don't, you'll need to find some more Pokésnax and feed it again.
After that, a new Rock Climb point will be generated, which leads to a (technically, another map) area where you can encounter wild Serperiors.
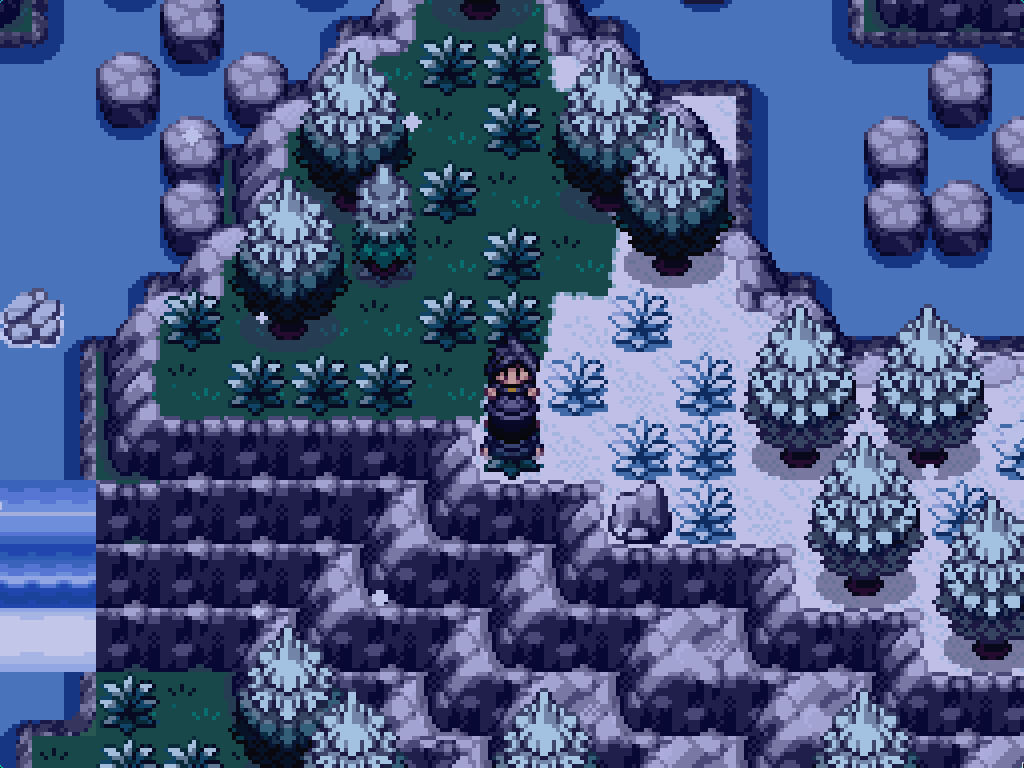
Grookey

This one is INCREDIBLY stingy, presumably to stop you getting Grassy Surge before Saphira. The joke is on the All-Gen guy because I distributed the Surge abilities more widely.
Once you've beaten Saphira, return to the Grand Hall and talk to this guy. He'll give you a Grookey area. Okay.