Postgame Tier #3: The Worst Quest Yet?!
Tier 3 has the most quests out of any of the tiers, and is the first tier where you start to get some good quality S tier Pokémon. (Or... one of them.) There's actually eight quests here, but one of them (Zygarde) can't be done until much later. You'll want to be careful about the order you accept these, as some of the quests will forcibly remove people from the area. I recommend doing the Victini quest before literally anything else, as this gives you access to the Treasures of Ruin which are pretty strong.
Also, after a few quests here, you should be strong enough to consistently beat every Theme Team; spamming these will get you BP quickly. Same for the Battle Pavillion; whilst most good Pokémon there are banned, lesser legendaries like Magearna are not and will easily muscle past anything there. Doing Theme Teams is much faster though, and gives you 4 BP a pop, which should be invested into PP Alls (or Glitter/Reborn Balls). You can also try the Battle Palace, where if you enable random field effects (the attendant at the left) you can quickly farm a lot of BP but you're at the risk of the AI getting you stuck in a Swords Dance/Charm loop for ten minutes.
Some of the quests here are also really, really long. Get yourself comfortable.
Volcanion
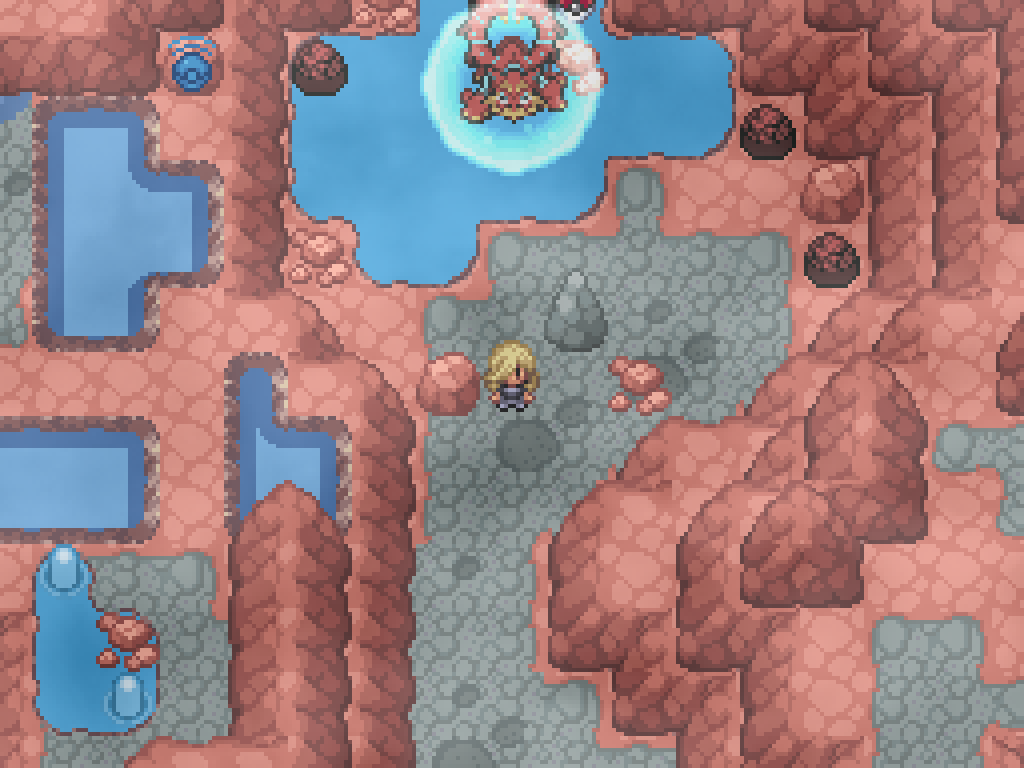
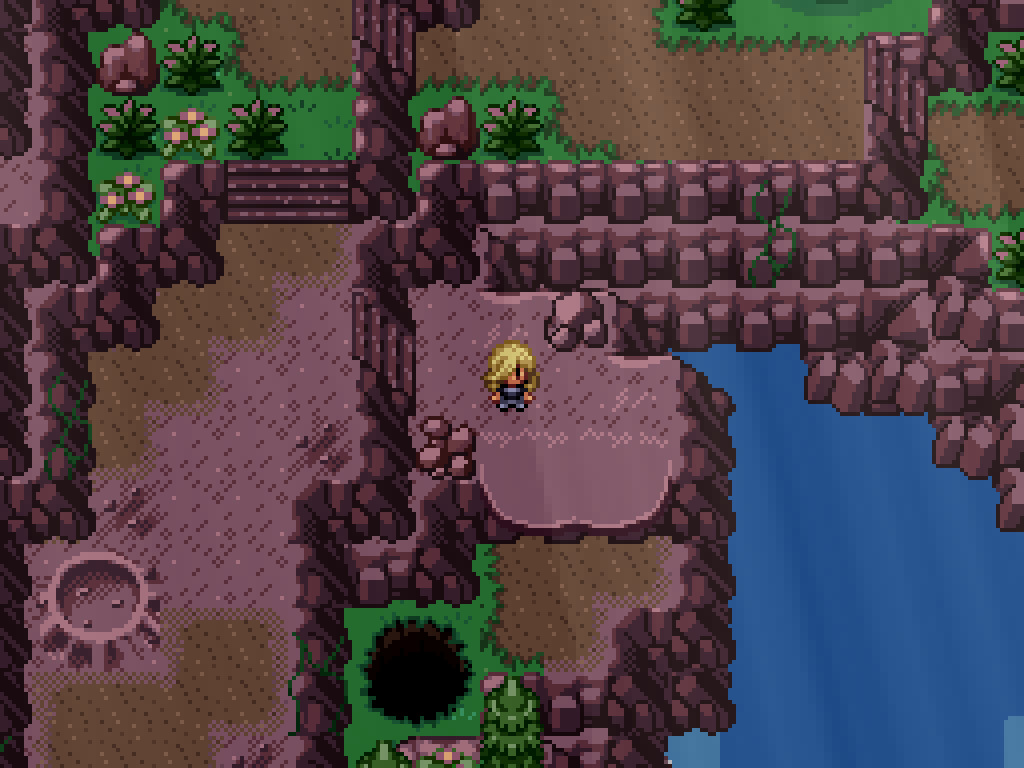
This guy is just hanging out in the small cave above the Chrysolia Woods. Walk in, fall down a hole, and beat it up. There's nothing else to it.
Anomaly Volcanion
| Sprite | Name | Level | Ability | Held Item | Moves | EVs |
|---|---|---|---|---|---|---|
|
|
Urshifu-Single Strike | 125 | Unseen Fist | Protective Pads |
|
0/252/0/0/4/252 |
|
|
Dragonite | 125 | Multiscale | Dragoninite |
|
4/0/0/252/0/252 |
|
|
Coalossal | 125 | Steam Engine | Focus Sash |
|
4/0/252/252/0/0 |
|
|
Volcanion | 125 | Water Absorb | Elemental Seed |
|
All 252 |
|
|
Iron Boulder | 125 | Quark Drive | Booster Energy |
|
4/252/0/0/0/252 |
|
|
Hydreigon | 125 | Levitate | Life Orb |
|
4/0/0/252/0/252 |
Ogerpon
This is an original event added by the All-Gen mod, which adds Ogerpon and the Loyal Three. To start, fly to Calcenon City and talk to the old man next to the ice rink; he'll tell you that a "prankster" is hopping around near the hotel. Make your way up north and enter the hotel building for a small cutscene with said Ogerpon who will run back outside.
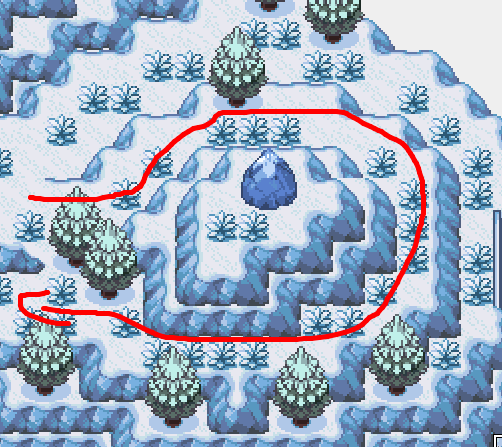
When you leave the building again, Ogerpon will run away to the west. Follow it up the mountain; once you find it next to the ice rock, walk around the rock like the red arrow to find a secret path across to the west. Talk to Ogerpon when you reach it to break the rock in front of the cave, then try to enter it for a small cutscene. The "Loyal" Three will run away and it's up to you to go and take back the masks.
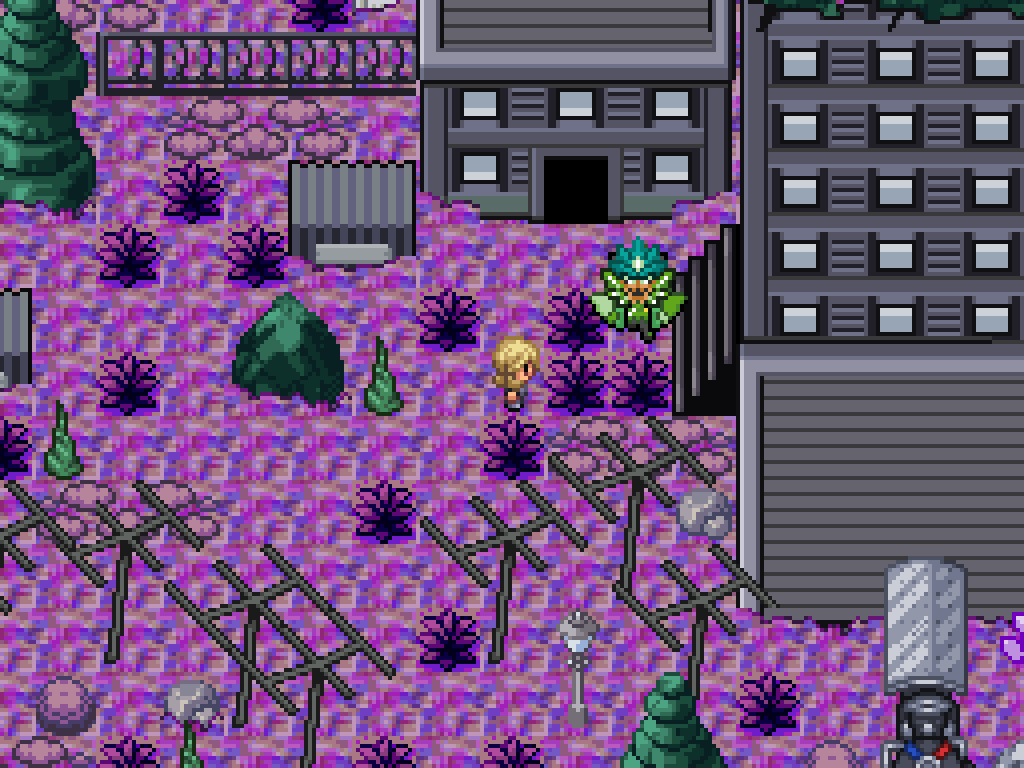
Obviously, your goal is in the Whatever Wasteland. Fly there and find Ogerpon outside this building; talk to it for another cutscene. It's a good thing you have some really strong Paradoxes, because now you'll have to do TWO double battles back to back. It's a small solace that these are fairly minimal battles and you can easily gang up to make this a 2v1. The first pair of battles:
Maskbearer Ogerpon
| Sprite | Name | Level | Ability | Held Item | Moves | EVs |
|---|---|---|---|---|---|---|
|
|
Ogerpon-Teal | 120 | Defiant | Teal Mask |
|
All 252 |
The Loyal Three
| Sprite | Name | Level | Ability | Held Item | Moves | EVs |
|---|---|---|---|---|---|---|
|
|
Okidogi | 120 | Toxic Chain | Assault Vest |
|
All 252 |
|
|
Fezandipiti | 120 | Technician | Focus Sash |
|
All 252 |
|
|
Munkidori | 120 | Toxic Chain | Telluric Seed |
|
All 252 |
The second pair of battles:
Leader Pecharunt
| Sprite | Name | Level | Ability | Held Item | Moves | EVs |
|---|---|---|---|---|---|---|
|
|
Pecharunt | 125 | P. Puppeteer | Focus Sash |
|
All 252 |
Maskbearer Ogerpon
| Sprite | Name | Level | Ability | Held Item | Moves | EVs |
|---|---|---|---|---|---|---|
|
|
Ogerpon-Unmasked | 120 | Rattled | Life Orb |
|
All 252 |
|
|
Ogerpon-Teal | 120 | Defiant | Teal Mask |
|
All 252 |
|
|
Ogerpon-Wellspring | 120 | Water Absorb | Wellspring Mask |
|
All 252 |
|
|
Ogerpon-Hearthflame | 120 | Mold Breaker | Hearthflame Mask |
|
All 252 |
|
|
Ogerpon-Cornerstone | 120 | Sturdy | Cornerstone Mask |
|
All 252 |
After that, talk to Pecharunt and the "Loyal" Three to capture them. Pick up the masks, and then talk to Ogerpon and it'll run away. Return to the Ogerpon den in Ametrine City and talk to the man for a small cutscene as well as the lore of the Teal Mask expansion; you can get Ogerpon and the Teal Mask immediately. You'll get the remaining masks after doing some more quests; check back periodically if you want.
Meloetta
This is a basic tournament against six opponents at the Ferris Wheel in Agate Circus (which is finally open after, what, forty hours?). Talk to the Ringmaster to get the background info, then to the two clowns blocking the wheel to start. The field is genuinely entirely random, so I recommend packing your own field setter here. Luckily the challenger order is completely static. First, you'll be facing... McKrezzy. Remember him?
Guitarist McKrezzy
| Sprite | Name | Level | Ability | Held Item | Moves | EVs |
|---|---|---|---|---|---|---|
|
|
Leavanny | 120 | Chlorophyll | Life Orb |
|
0/0/252/252/0/0 |
|
|
Kommo-o | 120 | Soundproof | Kommonium-Z |
|
0/4/252/252/0/0 |
|
|
Exploud | 120 | Scrappy | Life Orb |
|
0/0/252/252/0/0 |
Once you win, return to the Ringmaster and then return to the clowns for the next opponent. It's Julia.
Cheer Captain Julia
| Sprite | Name | Level | Ability | Held Item | Moves | EVs |
|---|---|---|---|---|---|---|
|
|
Galvantula | 120 | Compound Eyes | Life Orb |
|
0/0/0/252/252/4 |
|
|
Rotom-Wash | 120 | Levitate | Waterium-Z |
|
0/252/0/0/252/0 |
|
|
Ampharos | 120 | Static | Ampharosite |
|
0/0/0/252/252/0 |
The next one is against... the Breloom Bot. Whatever.
BreloomBot CL:4R1-C3
| Sprite | Name | Level | Ability | Held Item | Moves | EVs |
|---|---|---|---|---|---|---|
|
|
Magnezone | 120 | Magnet Pull | Choice Specs |
|
0/0/0/252/252/4 |
|
|
Magearna | 120 | Soul-Heart | Leftovers |
|
0/0/0/252/252/4 |
|
|
CL:4R1-C3 | 120 | Technician | Muscle Band |
|
0/4/252/252/0/0 |
Entirely predictably, the first opponent of the second half is the Ringmaster herself.
Ringmaster Alistasia
| Sprite | Name | Level | Ability | Held Item | Moves | EVs |
|---|---|---|---|---|---|---|
|
|
Hawlucha | 120 | Unburden | Flying Gem |
|
0/0/252/252/0/0 |
|
|
Blaziken | 120 | Reckless | Focus Sash |
|
0/0/252/252/0/0 |
|
|
Primarina | 120 | Torrent | Primarium-Z |
|
0/252/0/0/252/4 |
The penultimate opponent is sadly not Lumi, but instead the dev-insert. Give her an extra good thrashing this time with your Koraidon/Miraidon.
Friendly Local Cass
| Sprite | Name | Level | Ability | Held Item | Moves | EVs |
|---|---|---|---|---|---|---|
|
|
Amethyst | 120 | Snow Warning | Eject Button |
|
0/0/0/252/252/4 |
|
|
Meech | 120 | Skill Link | Choice Band |
|
0/0/252/252/0/0 |
|
|
Gardevoir | 120 | Synchronize | Gardevoirite |
|
0/0/0/252/252/4 |
Finally, to nobody's surprise, you have to fight the Meloetta itself. You get all six Pokémon this time at least, but that's because this is a 6v12. Ugh. Catch the Meloetta afterwards to be done with it all.
Anomaly Meloetta
| Sprite | Name | Level | Ability | Held Item | Moves | EVs |
|---|---|---|---|---|---|---|
|
|
Malamar | 120 | Contrary | Amplifield Rock |
|
252/4/0/0/0/252 |
|
|
Articuno-Kanto | 120 | Pressure | Choice Specs |
|
4/0/0/252/0/252 |
|
|
Abomasnow | 120 | Snow Warning | Abomasite |
|
252/0/4/0/0/252 |
|
|
Malamar | 120 | Contrary | Amplifield Rock |
|
252/4/0/0/0/252 |
|
|
Ninetales-Alola | 120 | Snow Warning | Eject Button |
|
252/0/0/4/0/252 |
|
|
Meloetta-Aria | 120 | Serene Grace | Leftovers |
|
All 252 |
Her Multilyrical Melody
| Sprite | Name | Level | Ability | Held Item | Moves | EVs |
|---|---|---|---|---|---|---|
|
|
Furret | 120 | Quick Feet | Magical Seed |
|
4/0/0/0/252/252 |
|
|
Celebi | 120 | Natural Cure | Magical Seed |
|
4/0/0/252/0/252 |
|
|
Blaziken | 120 | Blaze | Magical Seed |
|
4/252/0/0/0/252 |
|
|
Glaceon | 120 | Serene Grace | Magical Seed |
|
4/0/0/252/0/252 |
|
|
Absol | 120 | Pressure | Absolite |
|
4/252/0/0/0/252 |
|
|
Meloetta-Pirouette | 120 | Serene Grace | Magical Seed |
|
All 252 |
Victini
Victini can be found at the start of Victory Road; fly there and it'll run away. Keep walking up into the room where the first logic puzzle was (uh oh) to find Bennett. There's a new cave entrance here...
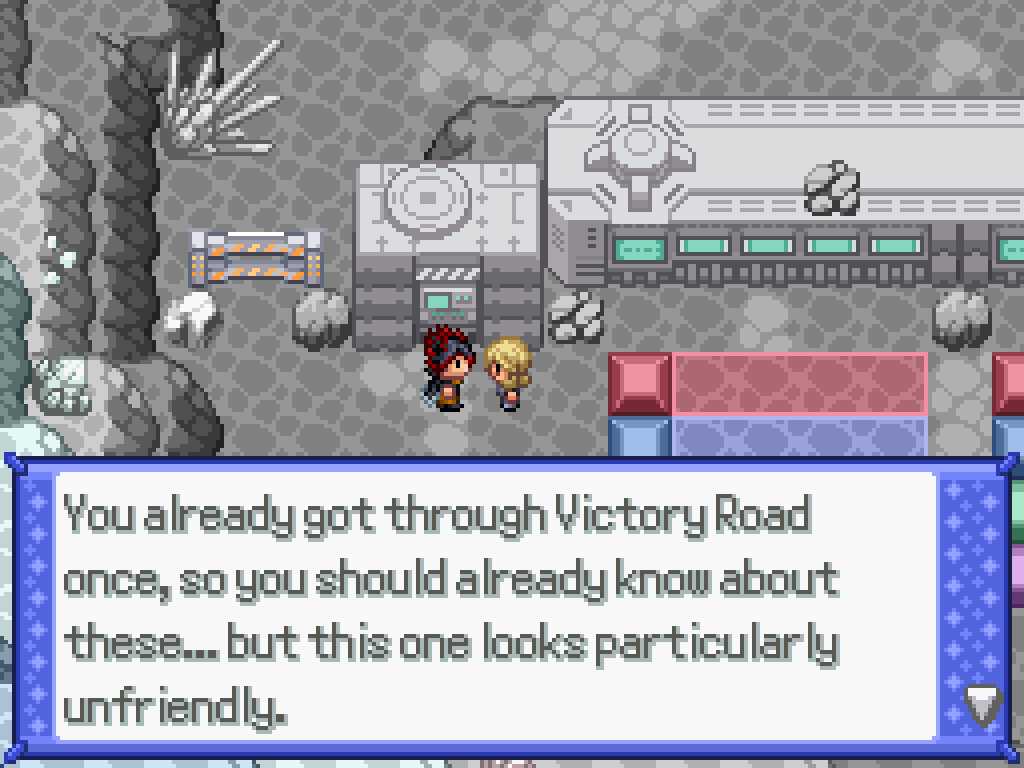
Which leads to a logic puzzle okay cool fucking FANTASTIC.
I can't believe you're making me do ANOTHER logic puzzle
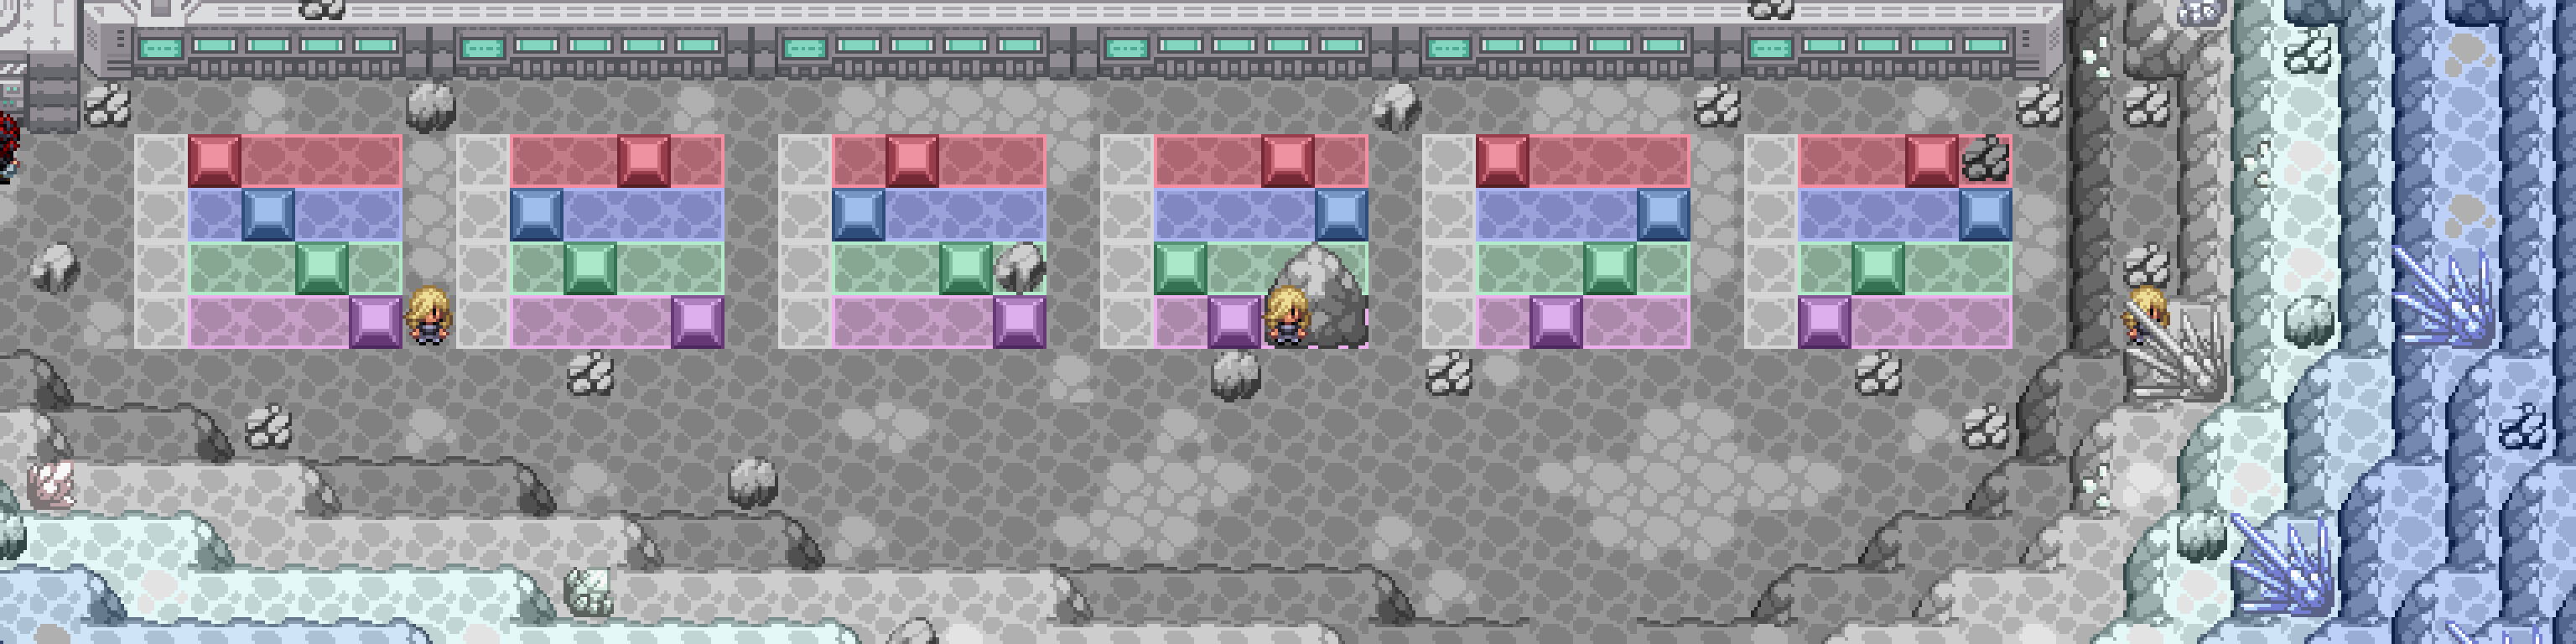
Please ignore how I messed up and took the first screenshot too far to the right.
This leads to a New World door; follow the totally linear path to make it to the Aegir Cave. Find Bennett slightly to the north-west and talk to him for a cutscene. This is one of the rare anomalies where you don't get to kill things with brute strength, and instead you have to do a fetch quest for some ingredients to make a curry. I guess this got edited by the All-Gen guy. You'll need seven things, some of which you can totally just ignore his suggestions and go and find them elsewhere.
- A sweet apple and a tart apple, both of which can be bought from the Sweet Scent Flower Shop in the Lapis Ward.
- A balm mushroom, which you can find at the very north of Malchous Forest Park.
- A pecha berry, which can obviously be bought from the Department Store.
- A stick which is just found up the ladder area slightly to the right of where Bennett is.
- Berry Juice, which can be found on wild Shuckle. There's not exactly a shortage of these, so you should've caught one already.
Annoyingly, you can't reuse Rage Powder from Route 2 so you do have to actually get this. Fall down this hole here at the west side of the area, then walk to the south and jump off the ledge. You'll reach an area with a lot of trees; it's not at all obvious but you can slide between the trees and the cliff-edge at the top of them and walk along until you get the Rage Powder. Return to Bennett and show him the ingredients for a cutscene; you can catch the Victini afterwards.
Celebi
This one is rather long for such an objectively awful mythical. First, you need to make your way back to where the Relic Stone was underneath Agate City; if you've forgotten, it was in the dive area available after going through several waterfalls. You'll find a New World gate within, which will take you to the Manyworld Pool. This is a big but otherwise fairly empty area, so keep going to the south until you surface out in the Manyworld Forest.

This is another very big yet mostly empty area. Walk up to the north until you find the New World tileset for the central isle. There's four other isles available; the one to the east eventually leads to a Z-Cell, the one to the southwest has the Tapunium-Z, the one to the northwest has... a Sacred Ash, and the one to the north is where you want to go. Talk to the Celebi here and then follow it into the new New World gate.
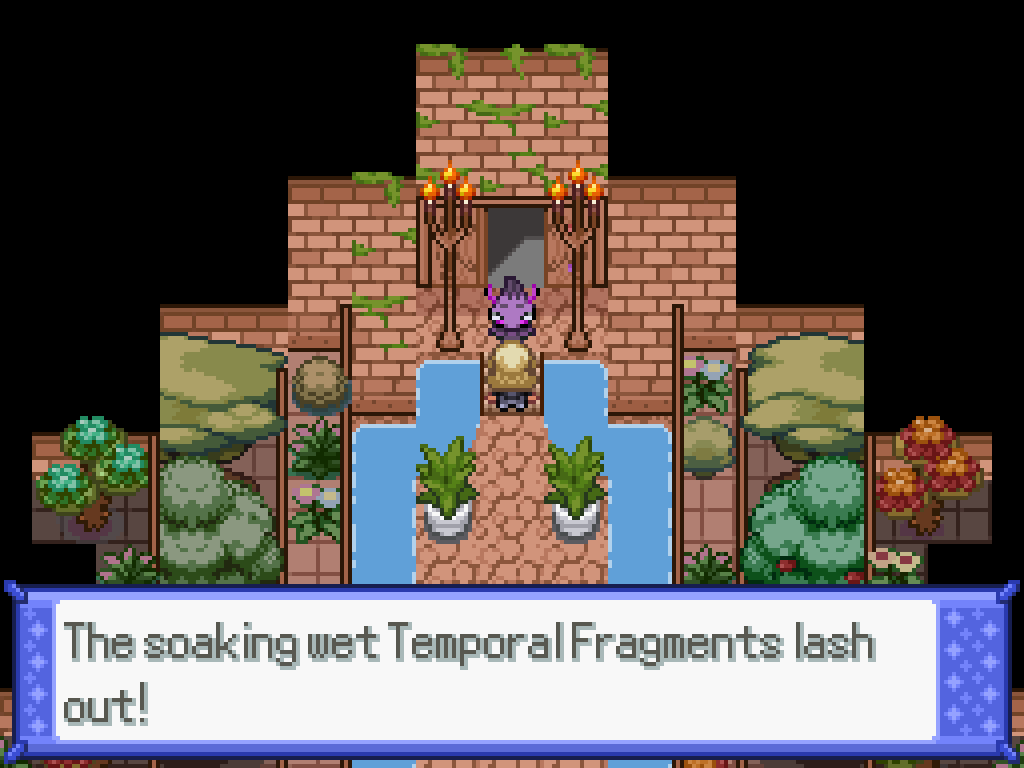
You'll be spat out in front of Charous Hall. You can go do an E4 rematch if you beat the Magearna quest already which kinda breaks things a little bit, or alternatively you can talk to the person next to the Celebi. If Taka is still alive, it'll be Taka, otherwise it's Elias. Give Celebi some more water and you'll be spat out in a temple. There's not really anything interesting to do here past the cutscene, so speak to the not-priest for a double battle. He's fairly easy if you use Miraidon to put some Electric Terrain down.
Guiding Star Taube
| Sprite | Name | Level | Ability | Held Item | Moves | EVs |
|---|---|---|---|---|---|---|
|
|
Furret | 120 | Fur Coat | Focus Sash |
|
252/0/4/0/252/0 |
|
|
Bibarel | 120 | Simple | Life Orb |
|
252/252/4/0/0/0 |
|
|
Lucario | 120 | Inner Focus | Lucarionite |
|
252/252/0/0/0/4 |
|
|
Ribombee | 120 | Shield Dust | Magical Seed |
|
4/0/0/252/0/252 |
|
|
Chatot | 120 | Tangled Feet | Magical Seed |
|
4/0/0/252/0/252 |
|
|
Garchomp | 120 | Rough Skin | Rocky Helmet |
|
252/4/0/0/0/252 |
Heal your team with some items before you go down (as you don't get one otherwise!), then fight the Celebi to calm it down. Use literally any Fire or Dark/Ghost type that has more than 100 speed.
Anomaly Celebi
| Sprite | Name | Level | Ability | Held Item | Moves | EVs |
|---|---|---|---|---|---|---|
|
|
Celebi | 120 | Natural Cure | Synthetic Seed |
|
4/0/252/0/0/252 |
|
|
Celebi | 120 | Natural Cure | Big Root |
|
252/252/0/0/0/4 |
|
|
Celebi | 120 | Natural Cure | Big Root |
|
252/0/0/252/0/4 |
|
|
Celebi | 120 | Natural Cure | Synthetic Seed |
|
4/0/0/252/0/252 |
|
|
Celebi | 120 | Natural Cure | Choice Scarf |
|
4/252/0/0/0/252 |
|
|
Celebi | 120 | Natural Cure | Synthetic Seed |
|
4/0/0/252/0/252 |
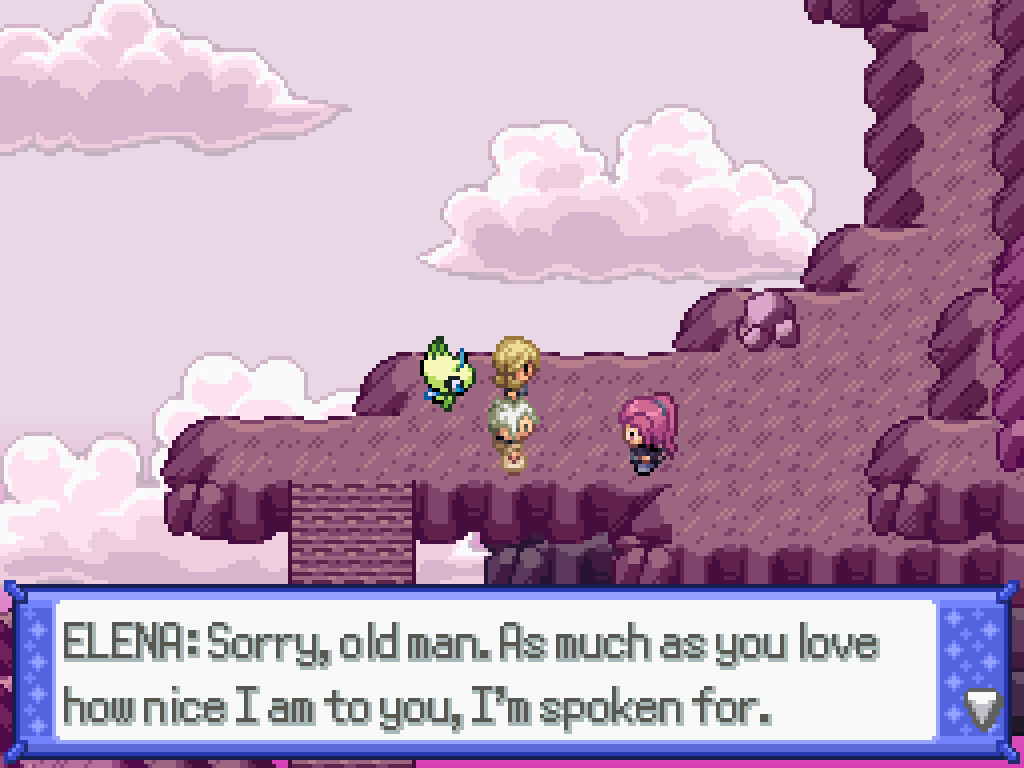
Next, you'll be sent back to... Charous Hall. You'll have to fight Heather's mother. This is a very easy fight.
Elite Four Skyspectre Elena
| Sprite | Name | Level | Ability | Held Item | Moves | EVs |
|---|---|---|---|---|---|---|
|
|
Drifblim | 120 | Flare Boost | Flame Orb |
|
4/0/252/0/252/0 |
|
|
Dragonite | 120 | Multiscale | Light Clay |
|
252/252/0/0/0/4 |
|
|
Jellicent | 120 | Water Absorb | Assault Vest |
|
0/0/0/252/4/252 |
|
|
Aerodactyl | 120 | Pressure | Choice Band |
|
4/252/0/0/0/252 |
|
|
Decidueye-Alola | 120 | Long Reach | Life Orb |
|
4/252/0/0/0/252 |
|
|
Salamence | 120 | Intimidate | Salamencite |
|
4/0/0/252/0/252 |
The penultimate battle is with another dev insert. I'm not giving her custom music.
League Manager Amethyst
| Sprite | Name | Level | Ability | Held Item | Moves | EVs |
|---|---|---|---|---|---|---|
|
|
Shimmer | 120 | Snow Warning | Light Clay |
|
0/4/0/252/252/0 |
|
|
Lustbunny | 120 | Scrappy | Lopunnite |
|
0/4/252/252/0/0 |
|
|
Invidia | 120 | Pixilate | Leftovers |
|
0/252/0/4/252/0 |
|
|
Althena | 120 | Torrent | Assault Vest |
|
0/252/0/0/0/4 |
|
|
Topaz | 120 | Prankster | Leftovers |
|
0/252/0/0/252/4 |
|
|
Misery | 120 | Super Luck | Darkinium-Z |
|
0/4/252/252/0/0 |
Finally, exit out to the Champion room to battle the REAL Champion—Future Shelly! I appreciate the misdirection here with some of the reused tiles. Anyway, she's mostly a pushover as I couldn't realistically change any of the team here.
Reborn Champion Shelly
| Sprite | Name | Level | Ability | Held Item | Moves | EVs |
|---|---|---|---|---|---|---|
|
|
Cain | 120 | Alchemy | Magical Seed |
|
0/252/0/0/252/4 |
|
|
Titania | 120 | Technician | Scizorite |
|
252/0/4/0/252/0 |
|
|
Heather | 120 | Speed Boost | Life Orb |
|
4/0/0/252/0/252 |
|
|
Adrienn | 120 | Torrent | Primarium-Z |
|
252/0/0/252/0/4 |
|
|
Noel | 120 | Fairy Aura | Power Herb |
|
4/0/0/252/0/252 |
|
|
Player | 120 | Sharpness | Magical Seed |
|
4/252/0/0/0/252 |

You'll be sent back to Agate City with Celebi in tow. Talk to it to catch it.
Zeraora
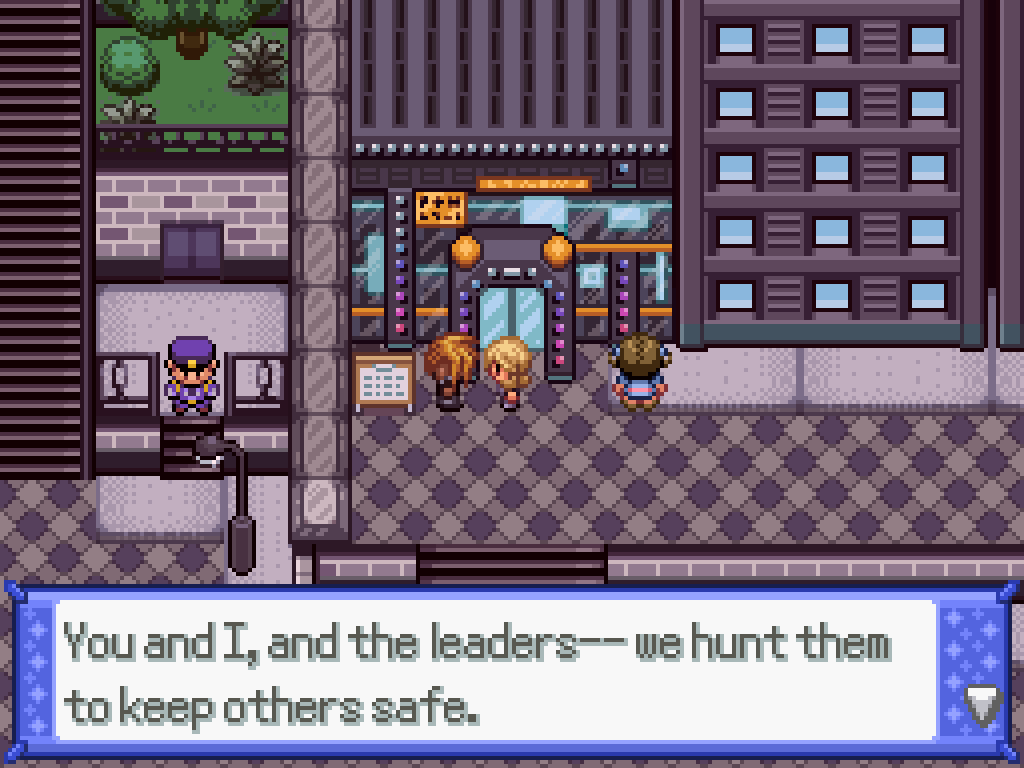
As you leave the Nightclub, you'll be accosted by Arclight who makes a far stronger moral judgement about you than I think most of you would agree with. Your destination is the Lost Railcave, in the east of the Chrysolia Forest. Unlike before, where you walked into every door opposite to the tracks, you now have to walk into every door with two rocks in front of it (follow the rocks, as he says).
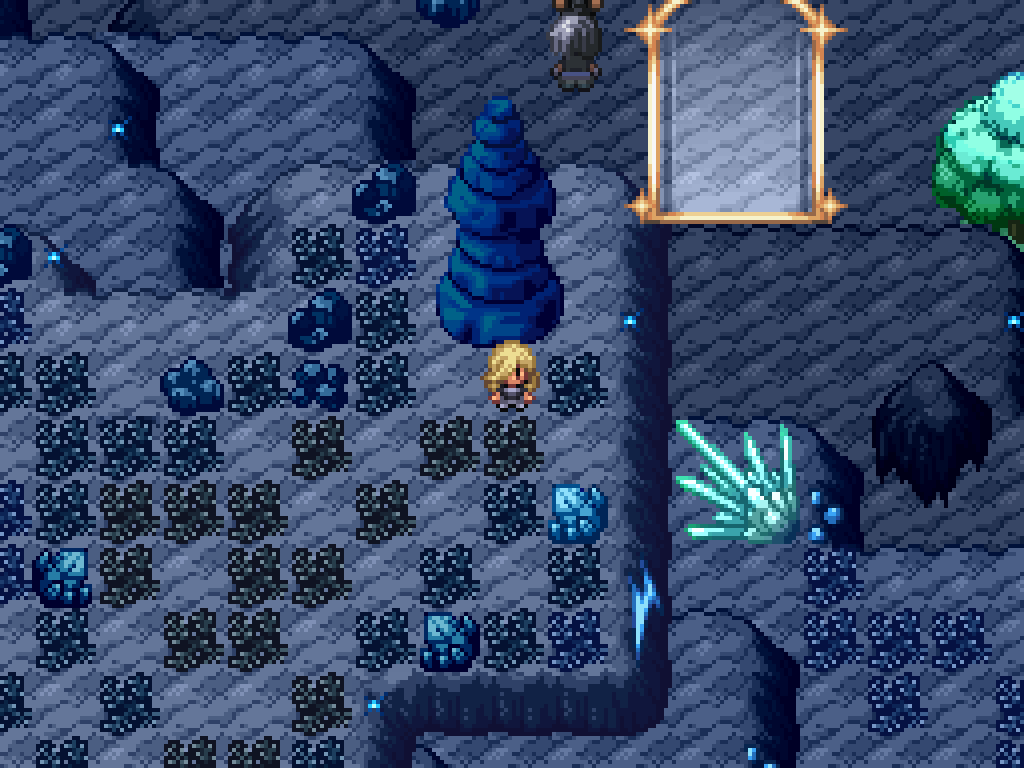
After a small scene where you get (correctly) accused of being a cop, you're off to another part of the New World. It's all very annoying anime-like writing here, so let's move on. The puzzle here is kinda annoying, but the puzzle here is fairly linear. First, you need to walk down along to the southeast and through some barely-visible gaps to get onto the upper layer; find this cool looking rock and activate it to show the path opening up to the south-south east.
You'll find... somebody. After the cutscene, activate the rock to the left to make a path at the east of this island (you can get down via the stairs above you). This leads you to a third rock activate it to open a path from the south of the second rock. Once again, this will lead you to a fourth rock—which is on the central island— which opens a path to the south of that one.
If you're not on the Anna route, you'll be getting (bad and cringy) narration for these pillars, until eventually you're prompted to release some Pokémon. Release, like, ten to get a Sacred Ash or something. I'm not scared of you, creepy little girl.
From here you basically repeat the same process; walk through the new area until you find an electric rock, activate it, repeat. On the eastern-most island, you'll find a New World gate that spits you out in the Chrysolia Deepwoods. Again. Talk to Arc and he'll heal you up, which is nice. You've got to find the first three hunters in this area before you can find the final one.
The first guy is on the Regigigas... structure.
Poacher Atreus
| Sprite | Name | Level | Ability | Held Item | Moves | EVs |
|---|---|---|---|---|---|---|
|
|
Nidoqueen | 120 | Sheer Force | Telluric Seed |
|
4/0/0/252/0/252 |
|
|
Mightyena | 121 | Moxie | Choice Band |
|
4/252/0/0/0/252 |
|
|
Cradily | 122 | Storm Drain | Leftovers |
|
252/0/4/0/252/0 |
|
|
Umbreon | 123 | Synchronize | Leftovers |
|
252/0/128/0/128/0 |
|
|
Sceptile | 124 | Unburden | Focus Sash |
|
4/252/0/0/0/252 |
|
|
Scovillain | 125 | Stamina | Scovillainite |
|
252/4/252/0/0/0 |
The second guy is at the north-west of the Deepwoods area.
Poacher Margo
| Sprite | Name | Level | Ability | Held Item | Moves | EVs |
|---|---|---|---|---|---|---|
|
|
Nidoking | 120 | Sheer Force | Life Orb |
|
4/0/0/252/0/252 |
|
|
Arcanine-Kanto | 121 | Flash Fire | Arcanite |
|
252/4/0/0/0/252 |
|
|
Shiftry | 122 | Chlorophyll | Life Orb |
|
4/0/0/252/0/252 |
|
|
Umbreon | 123 | Synchronize | Leftovers |
|
252/0/128/0/128/0 |
|
|
Venusaur | 124 | Chlorophyll | Life Orb |
|
4/0/0/252/0/252 |
|
|
Sunflora | 125 | Drought | Assault Vest |
|
4/0/0/252/0/252 |
The penultimate guy is on the broken bridge, accessible from the east of the Deepwoods.
Poacher Willow
| Sprite | Name | Level | Ability | Held Item | Moves | EVs |
|---|---|---|---|---|---|---|
|
|
Muk-Kanto | 120 | Poison Touch | Black Sludge |
|
252/252/4/0/0/0 |
|
|
Vileplume | 121 | Thick Fat | Choice Specs |
|
252/0/4/252/0/0 |
|
|
Victreebel | 122 | Chlorophyll | Telluric Seed |
|
252/252/4/0/0/0 |
|
|
Swalot | 123 | Gluttony | Leftovers |
|
252/0/128/0/128/0 |
|
|
Weezing | 124 | Levitate | Leftovers |
|
252/0/0/252/4/0 |
|
|
Skarmory | 125 | Sturdy | Skarmorite |
|
4/252/0/0/0/252 |
Finally, at the northeast you'll find the... uh... whatever.
Commissioner Shannon
| Sprite | Name | Level | Ability | Held Item | Moves | EVs |
|---|---|---|---|---|---|---|
|
|
No.1 | 125 | Soundproof | Choice Specs |
|
252/0/4/252/0/0 |
|
|
No.2 | 125 | Sand Stream | Leftovers |
|
252/252/4/0/0/0 |
|
|
No.3 | 125 | Stamina | Assault Vest |
|
252/252/4/0/0/0 |
|
|
No.4 | 125 | Poison Point | Leftovers |
|
0/252/252/0/4/0 |
|
|
No.5 | 125 | Lightning Rod | Sitrus Berry |
|
252/252/0/0/4/0 |
|
|
No.6 | 120 | Unburden | Sceptilite |
|
4/0/0/252/0/252 |
Once you've done that, talk to the Zeraora for a cutscene before you can take it with you. Talk to DJ Arclite in the club to get the Zeraorite too, if you feel so inclined.
Hoopa
Parts of this are the funniest parts of the game by far, and parts of this are Expositionary Feelings Therapy Session nonsense as per-usual. Anyway, find Adrienn in Grandview station for your assignment: you're going to be guarding some objects on a train. They are obviously going to be stolen.
Once on the train, talk to everyone you see, then return to the Chief at the back for your "shift".
Oh no! The orbs get stolen! Just as predicted! Talk to the Chief at the front, then talk to literally everyone about literally everything for some info. Don't worry about actually deducing who stole it—although, you can if you want—and when you're done interviewing return to the Chief in the back and tell him you're done deducing.
You can pick anyone here except the chief, and it'll give you the same outcome—a battle. If you insist on the chief it'll give you a way out without the battle. Or, finally, if you go into your bag and select the Blue Orb, you'll have to fight three double battles in a row with Hoopa as your partner, which sounds great except it has a really annoying habit of setting up Trick Room and completely ruining your day. So I recommend picking the chief and avoiding the battle. You'll also get some unique dialogue from everyone once the Blue Orb leaks.
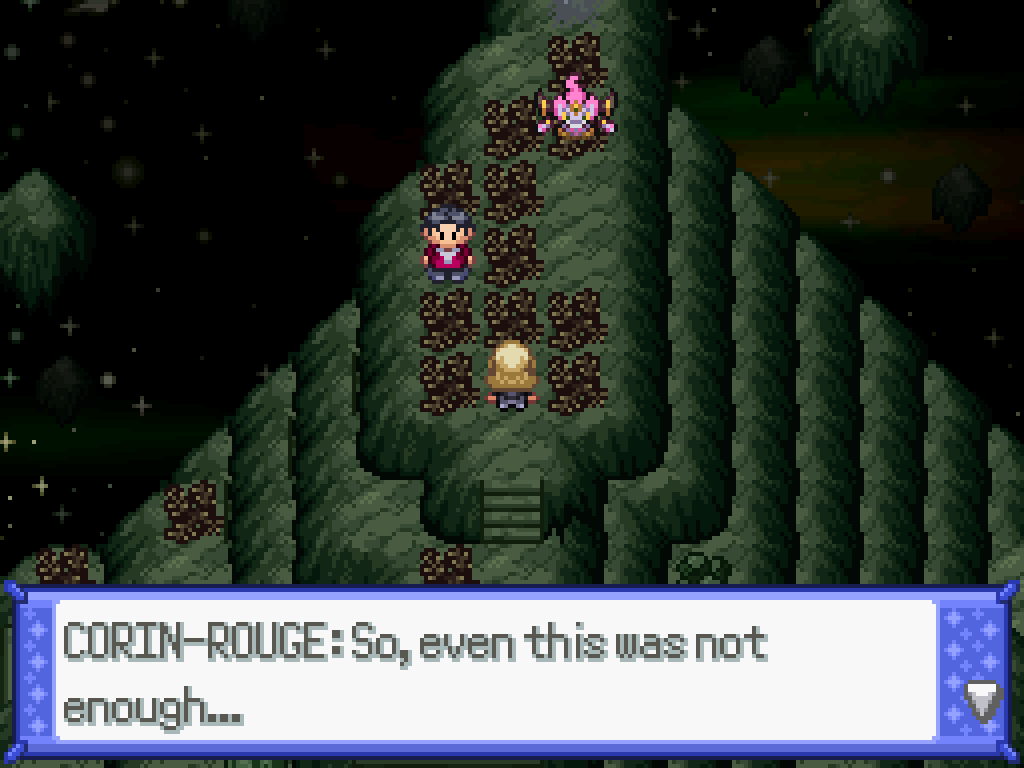
After all that, enter the portal in the engine room and walk upwards for—that's right! -- a 6v12 battle. Make sure to pack a Mold Breaker to kill Carbink before it sets up Trick Room and ruins your day; I also recommend Magearna-M for that sweet Soul Heart boosted Flash Cannon.
Dashing Rogue Corin-Rouge
| Sprite | Name | Level | Ability | Held Item | Moves | EVs |
|---|---|---|---|---|---|---|
|
|
Klefki | 120 | Prankster | Leftovers |
|
252/0/200/0/56/0 |
|
|
Cacturne | 120 | Unnerve | Bright Powder |
|
4/252/0/0/0/252 |
|
|
Liepard | 120 | Prankster | Muscle Band |
|
252/0/252/0/0/4 |
|
|
Sandslash-Kanto | 120 | Sand Rush | Muscle Band |
|
128/128/0/0/0/252 |
|
|
Delphox | 120 | Magician | Firium-Z |
|
4/0/0/252/0/252 |
|
|
Gyarados | 120 | Intimidate | Gyaradosite |
|
4/252/0/0/0/252 |
Anomaly Hoopa
| Sprite | Name | Level | Ability | Held Item | Moves | EVs |
|---|---|---|---|---|---|---|
|
|
Carbink | 120 | Sturdy | Amplifield Rock |
|
252/0/128/0/128/0 |
|
|
Dusknoir | 120 | Iron Fist | Life Orb |
|
252/252/0/0/4/0 |
|
|
Stakataka | 120 | Beast Boost | Leftovers |
|
252/252/0/0/4/0 |
|
|
Comfey | 120 | Triage | Life Orb |
|
252/0/0/252/4/0 |
|
|
Hatterene | 120 | Healer | Hatterenite |
|
252/0/0/252/4/0 |
|
|
Hoopa | 120 | Magician | Darkinium-Z |
|
All 252 |
Take the new portal to find yourself all the way back in the Unova genie New World. Make your way to the upper portal and you'll find yourself in the Vanhanen Castle New World, with the next portal not too far away. That one spits you out in the Regi New World, and you can find the NEXT portal in the far west of the map. That one takes you back to the Hoopa New World, and you'll get a small cutscene as you pass Umbral Cain. Finally, go through the penultimate portal to get to the Virizion area, and then walk upwards to where you fought Samson to find... Umbral Terra.
Umbral Terra
| Sprite | Name | Level | Ability | Held Item | Moves | EVs |
|---|---|---|---|---|---|---|
|
|
pot | 120 | Levitate | Light Clay |
|
252/0/252/4/0/0 |
|
|
castle | 120 | W. Compaction | Life Orb |
|
4/0/0/252/0/252 |
|
|
dead | 120 | Iron Fist | Choice Band |
|
4/252/0/0/0/252 |
|
|
mudkip | 120 | Water Veil | Telluric Seed |
|
4/252/0/0/0/252 |
|
|
:) | 120 | Unaware | Leftovers |
|
252/0/0/0/252/4 |
|
|
sandorus... | 120 | Sand Spit | Sandacondite |
|
0/200/0/52/0/252 |
After a bunch of shitty exposition, you'll get a "cutscene" (and admittedly a cool demonstration of the devs' RPG Maker skills), and then you'll get the chance to take the Hoopa.
Magearna
This quest is a crossover with Pokémon Rejuvenation, and the writing here is so horrendously annoying that it's a very convincing argument for me to never ever ever play it. Make your way to the Glass Workstation, and enter the chamber where the gauntlet was to find a certain green haired prick.
Talk to her (who cares about the dialogue options here, they all suck), agree to lead her to a PULSE, then pick the PULSE machine rooms. (For the funniest effect, pick Clawitzer, then Magnezone, then Mr Mime). After all that, you'll have to fight her. She's a pushover as she's a mono-grass trainer with quite frankly not a good team.
Annoying Fucker Flora
| Sprite | Name | Level | Ability | Held Item | Moves | EVs |
|---|---|---|---|---|---|---|
|
|
Tsareena | 120 | Q. Majesty | Assault Vest |
|
0/252/252/0/0/4 |
|
|
Mismagius-Aevian | 120 | Magic Bounce | Expert Belt |
|
0/4/252/252/0/0 |
|
|
Ferrothorn | 120 | Iron Barbs | Leftovers |
|
0/252/0/0/0/128 |
|
|
Roserade | 120 | Technician | Coba Berry |
|
0/148/0/252/100/4 |
|
|
Rotom-Mow | 120 | Grassy Surge | White Herb |
|
0/252/0/252/0/4 |
|
|
Venusaur | 120 | Solar Power | Venusaurite |
|
0/232/0/20/4/128 |
If you're using my music mod, believe me when I say that this was the hardest track in the entire game for me to pick and by some margin. There were a handful of other options that I considered, but this was the one that I felt really fit her character.
After that, you need to head to Ametrine City to find the abandoned house. Enter it for a small cutscene... then head to Charous Hall. You now have to do an Elite 4 rematch with only three Pokémon of your own (Flora will have the other three). She's a mono-grass trainer, and you're fighting Flying and Bug trainers... so this is probably not going to go very well. Make sure to save before you enter the chamber so you can go back and fix your team if you need to.
This is going to be four sets of double battles (oh joy...) with Flora as your partner. She has the same team as above, which is STILL not very good. You pick three, she picks three, and then you fight the Elite 4 member.
First up is Heather again. This is pretty easy; it's basically the same as before but with a Landorus and a Lugia instead of a Ho-Oh.
Elite Four Wind Maiden Heather
| Sprite | Name | Level | Ability | Held Item | Moves | EVs |
|---|---|---|---|---|---|---|
|
|
Crobat | 120 | Infiltrator | Focus Sash |
|
4/252/0/0/0/252 |
|
|
Landorus-Incarnate | 120 | Sheer Force | Life Orb |
|
4/252/0/0/0/252 |
|
|
Nidoking | 120 | Sheer Force | Life Orb |
|
4/0/0/252/0/252 |
|
|
Lugia | 120 | Multiscale | Leftovers |
|
0/252/0/0/4/252 |
|
|
Gengar | 120 | Cursed Body | Electric Gem |
|
4/0/0/252/0/252 |
|
|
Salamence | 120 | Intimidate | Salamencite |
|
4/252/0/0/0/252 |
This time, it's just Laura without Bennett. She's also easy; kill the Venusaur first so it can't drop Sleep Powder on you and let Flora deal with the fairies with Gyro Ball.
Elite Four Floral Artist Laura
| Sprite | Name | Level | Ability | Held Item | Moves | EVs |
|---|---|---|---|---|---|---|
|
|
Cherrim-Overcast | 120 | Flower Gift | Grassium-Z |
|
4/200/0/52/0/252 |
|
|
Venusaur | 120 | Chlorophyll | Synthetic Seed |
|
0/252/200/0/56/0 |
|
|
Iron Leaves | 120 | Quark Drive | Booster Energy |
|
96/160/0/0/0/252 |
|
|
Whimsicott | 120 | Prankster | Life Orb |
|
4/0/0/252/0/252 |
|
|
Florges-Red Flower | 120 | Flower Veil | Synthetic Seed |
|
252/0/4/252/0/0 |
|
|
Lilligant-Unova | 120 | Chlorophyll | Life Orb |
|
4/0/0/252/0/252 |
Next up is Elias. This one was originally a roadblock, but realistically you can throw Miraidon at the problem until it goes away.
Elite Four Agent Elias
| Sprite | Name | Level | Ability | Held Item | Moves | EVs |
|---|---|---|---|---|---|---|
|
|
Raging Bolt | 120 | Protosynth. | Booster Energy |
|
4/0/0/252/0/252 |
|
|
Kommo-o | 120 | Bulletproof | Kommonium-Z |
|
4/252/0/0/0/252 |
|
|
Drampa | 120 | Berserk | Wiki Berry |
|
252/0/4/252/0/0 |
|
|
Dialga-Altered | 120 | Pressure | Life Orb |
|
4/0/0/252/0/252 |
|
|
Alcremie | 120 | Sweet Veil | Alcremite |
|
4/0/0/252/0/252 |
|
|
Porygon2 | 120 | Download | Eviolite |
|
252/0/0/252/0/4 |
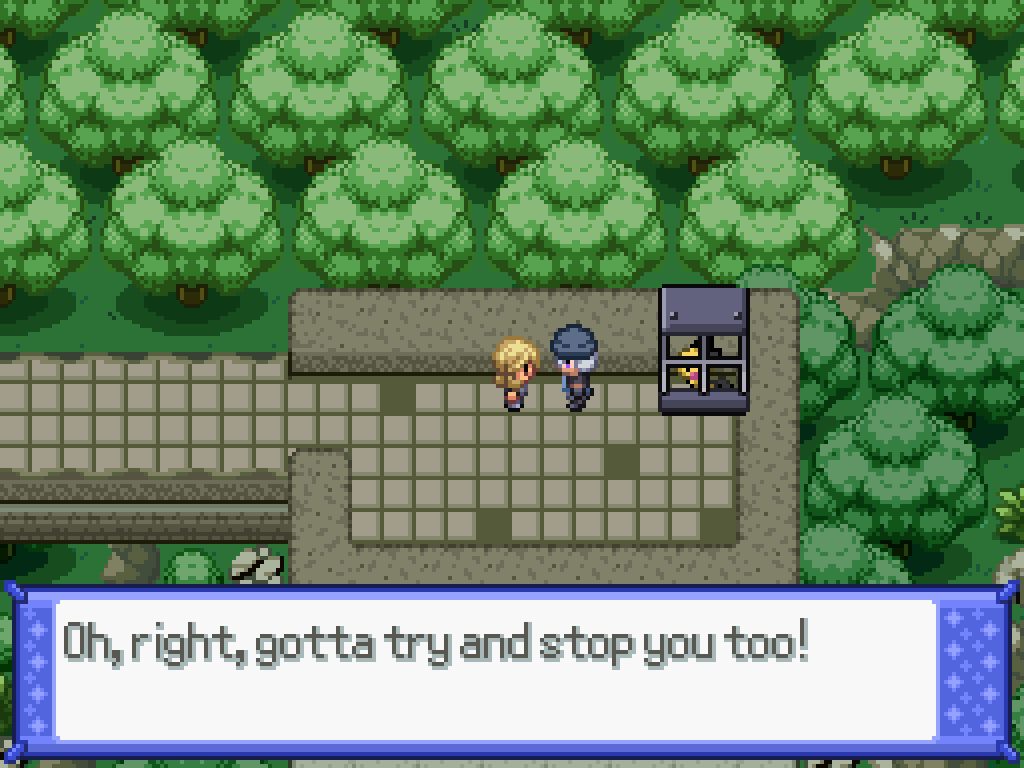
Finally, you have to fight Bennett. He's a dual type Fire and Bug fighter now, so he's going to do especially well against Flora, which makes this essentially a 3v1. This also begins with perhaps the most predictable and least funny joke in the entire world.
Elite Four Imago Bennett
| Sprite | Name | Level | Ability | Held Item | Moves | EVs |
|---|---|---|---|---|---|---|
|
|
Ribombee | 120 | Shield Dust | Magical Seed |
|
4/0/0/252/0/252 |
|
|
Genesect | 120 | Download | Magical Seed |
|
4/0/0/252/0/252 |
|
|
Iron Moth | 120 | Quark Drive | Booster Energy |
|
4/0/0/252/0/252 |
|
|
Volcarona | 120 | Flame Body | Magical Seed |
|
4/0/0/252/0/252 |
|
|
Delphox | 120 | Magician | Delphoxite |
|
4/0/0/252/0/252 |
|
|
Moltres-Kanto | 120 | Flame Body | -- |
|
4/0/0/252/0/252 |
Beating the Elite 4 for the second time will open up the Charous Hall for Elite 4 rematches and a championship title defense with a random NPC. Afterwards, you can register your team in the Hall of Fame (again) and get teleported back to the Opal Ward. The actual NPCs depend on certain postgame events (i.e. if they're not in the nightclub, you can't fight them).
Of course, I've overtuned the rematch teams to high hell, so you probably want to put this off for... a very long time.
After you've beaten him, you can talk to him again and call him creepy (or not). Enter the Champion's room and register your "team" in the Hall of Fame (again); you'll be teleported back to Ametrine for a small cutscene, whereupon Flora tells you there's a Magearna floating around in the Glass Workstation, in the back room.
Anomaly Magearna
| Sprite | Name | Level | Ability | Held Item | Moves | EVs |
|---|---|---|---|---|---|---|
|
|
Roserade | 125 | Technician | Synthetic Seed |
|
4/0/0/252/0/252 |
|
|
Dhelmise | 125 | Steelworker | Leftovers |
|
0/252/252/0/0/4 |
|
|
Klinklang | 125 | Levitate | Leftovers |
|
4/252/0/0/0/252 |
|
|
Ferrothorn | 125 | Iron Barbs | Rocky Helmet |
|
252/0/252/0/4/0 |
|
|
Magnezone | 125 | Magnet Pull | Synthetic Seed |
|
4/0/0/252/0/252 |
|
|
Magearna | 120 | Soul-Heart | Magearnite |
|
All 252 |
The Mega Stone for Magearna is found in the back of the Calcenon marble vendor; the rest of the Mega Stones here aren't currently usable until you finish their appropriate quest. I'll tell you if the mega is available.
If you enter the portal in the Workstation to the PULSE Hypno area, you can find a special uber-bulky Gardevoir which you can fight to take the Void Stone, giving you an alternative Mega Evolution for it. You might want to wait a while though, as this has... 3252 (not a typo!) health EVs and uses Cosmic Power/Stored Power. So.

Finally, talk to Eve in the Nightclub to get an Aevian Mismagius. I recommend killing it instantly before it gets any ideas.
Treasures of Ruin
This isn't strictly speaking a quest, but once you've done the Victini quest Elias will beckon you over and tell you that there's an evil presence in the Citae Astrae. (Another one?) If he's not there, make sure to do the Celebi quest too.
This is very simple, just interact with every statue and then go through the door to fight the treasure. This is just a 5v6 so you hardly need the teams listed out.
Zygarde ?!
Here's the thing. You called Zygarde a Tier 3 quest. Is it in the same family? Yes. No one's arguing that.
The Zygarde quest technically starts at this tier, but you can't do it until... well, much later. However, you do need to actually start it in order for the Tier 4 quests to start. So, uh. The door to the Twilight Desert is situated slightly upwards and to the right of the Tourmaline station, so take the train there and enter the door. This new map does loop from the left to right, so it's not that hard to navigate.
Walk directly upwards to find the outside of the Twilight Factory. Actually getting in is a bit of a bastard; just keep walking to the left or right until you find a doorway that gives you access to two computers. Both of these computers should, ideally, open a gate, but there is another a room with two computers where only one opens the gate. You might need to find both rooms. Once you've opened all the gates, you can can eventually find the main entrance (by walking left or right some more).
Talk to Claudette inside to get some info; every ten Z-Cells will open a door. She now exists in a sort of quantum superposition, where she is both at the Twilight Factory and also the Nightclub. Speaking to her fulfils enough of the quest requirements to let you move on from the tier.
After that... ordeal... you're done with Tier 3 !