Postgame Tier #6: Reddit Gold
This tier is where you'll get the fifth and sixth members of your team to complete your disgustingly overpowered set. A very mixed bag of quests here, but they're generally better than the last few tiers. Also, only some of the quests here can actually be completed now; the remaining two will have to wait.
Lunala and Solgaleo
By this point the devs have clearly started to run out of ideas, as there's no quest here. The gate is at the top of the Teknite Ridge, where you previously found the Kommo-o egg. Enter it, then use the Super Rod to fish in the central pool to catch Cosmog. If you somehow missed the Super Rod TWICE, you can find it in the Underground Railnet's lost and found section.
Kyurem, Zekrom, and Reshiram
Before I get into the meat of this quest, I'll give a quick diversion. This area is where you can catch Eternatus, and in the base All-Gen mod, you can use Eternabeam to turn it into Eternamax Eternatus.
Let me put this very clearly: Eternamax Eternatus is objectively the strongest single Pokémon in the game. It has 255/250/250 defensive stats; I'll simply list some calculations for you to show roughly how busted this is:
- 252 SpA Choice Specs Calyrex-Shadow Psychic vs. 252 HP / 252+ SpD Eternatus-Eternamax: 188-224 (26.3 - 31.3%) -- guaranteed 4HKO
- +1 252 Atk Zacian-Crowned Behemoth Blade vs. 252 HP / 252+ Def Eternatus-Eternamax: 99-117 (13.8 - 16.3%) -- possible 7HKO
- 216+ Atk Zygarde-Complete Thousand Arrows vs. 252 HP / 252+ Def Eternatus-Eternamax: 96-114 (13.4 - 15.9%) -- possible 7HKO
- 252 SpA Choice Specs Tapu Lele Psychic vs. 252 HP / 252 SpD Eternatus-Eternamax in Psychic Terrain: 228-270 (31.9 - 37.8%) -- 91.9% chance to 3HKO
- 204 SpA Mewtwo-Mega-Y Psystrike vs. 252 HP / 252+ Def Eternatus-Eternamax: 156-186 (21.8 - 26%) -- 3.5% chance to 4HKO
- 252 Atk Choice Band Rayquaza-Mega Dragon Ascent vs. 252 HP / 252+ Def Eternatus-Eternamax: 135-160 (18.9 - 22.4%) -- possible 5HKO
Now, the actual stats will be skewed because of field effects and such, but the point is clear in that Eternamax is nigh-on unkillable without losing a Pokémon. But to top it off Eternamax also has 155 base attack, has an ability that neutralises held items, a 100 BP no-downsides signature move, and fucking recovery and Cosmic Power. Losing a single turn from Eternabeam is not going to be even slightly an issue. So you are no longer allowed to have Eternamax Eternaus. Sorry to spoil your "fun".

The gate to this area is in Apophyll Cave, on the second floor. When you enter, you'll meet either Taka or Zero, depending on route, but most likely Taka. Talk to him and then move on for a cutscene further up; you'll be separated but you can switch control between the two of you with the 'A' (X) button. This is a very cool puzzle.
Spiral Walkthrough
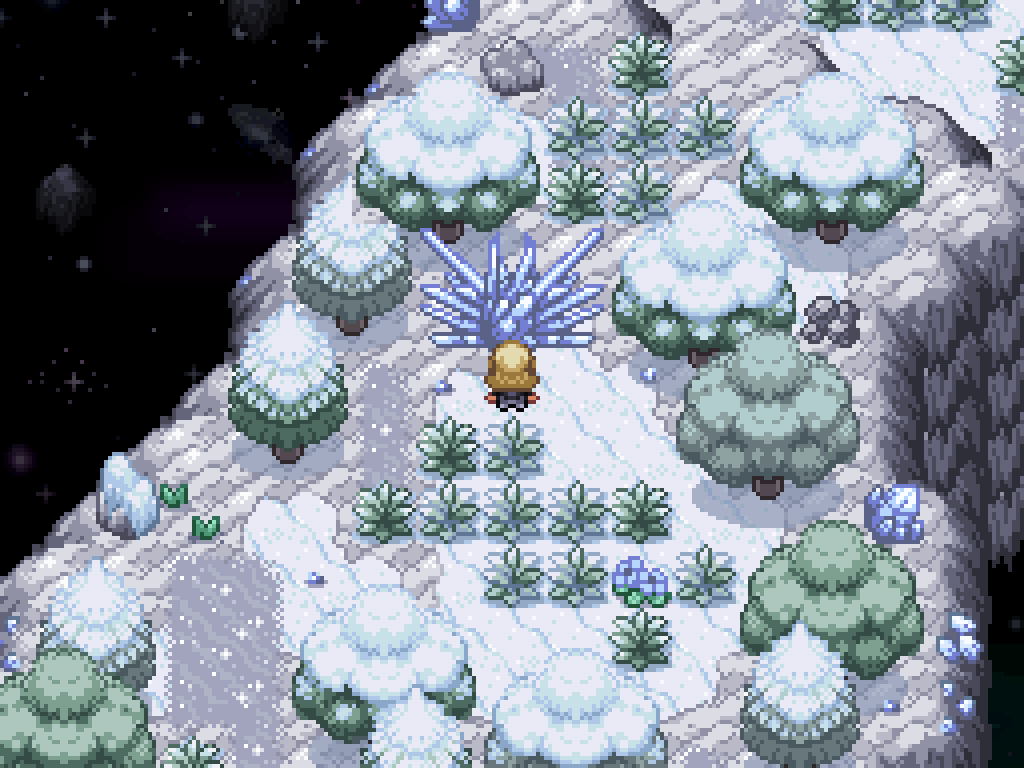
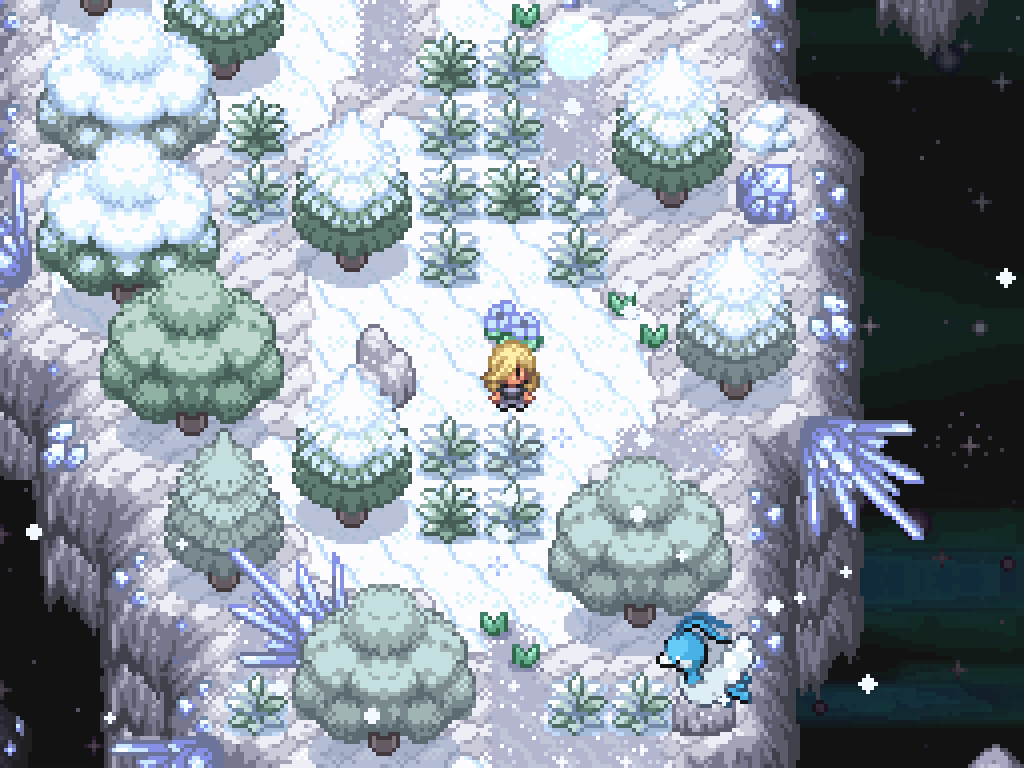
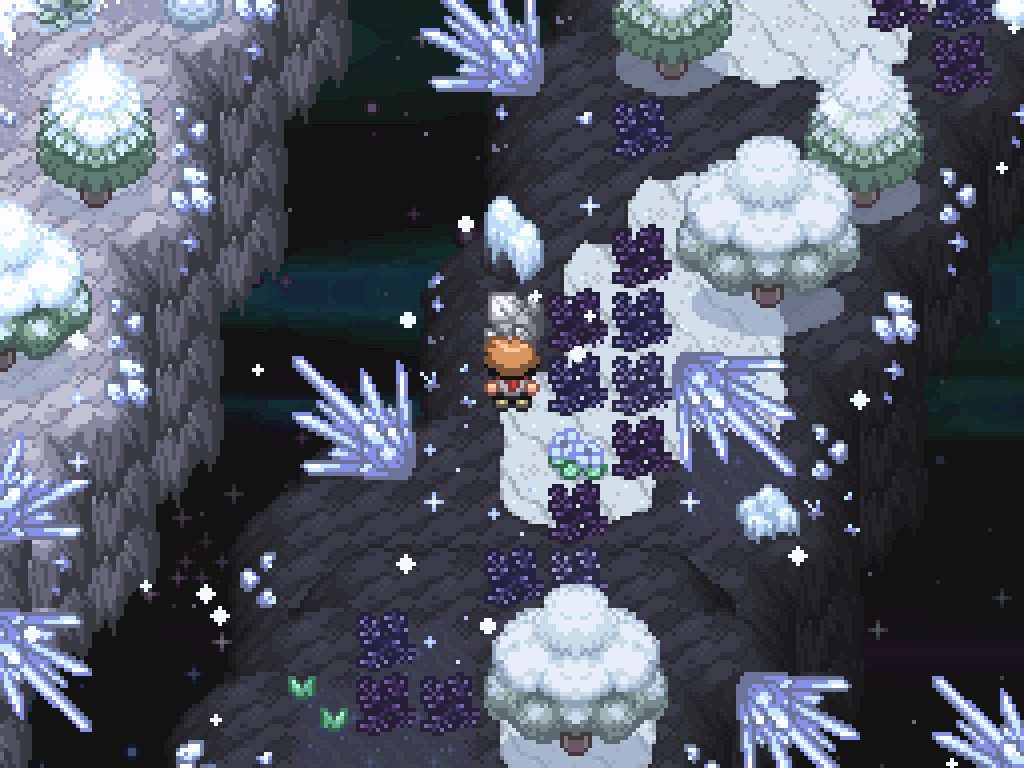
First, stash your own character all the way up here. Swap to Taka/Zero (hereon after called Zeka) and walk straight downwards until you find a... glowing orb. Activate it, then walk further downwards through the ice puzzle. Stash Zeka at the very top of the accessible helix area, then switch back to your own character.
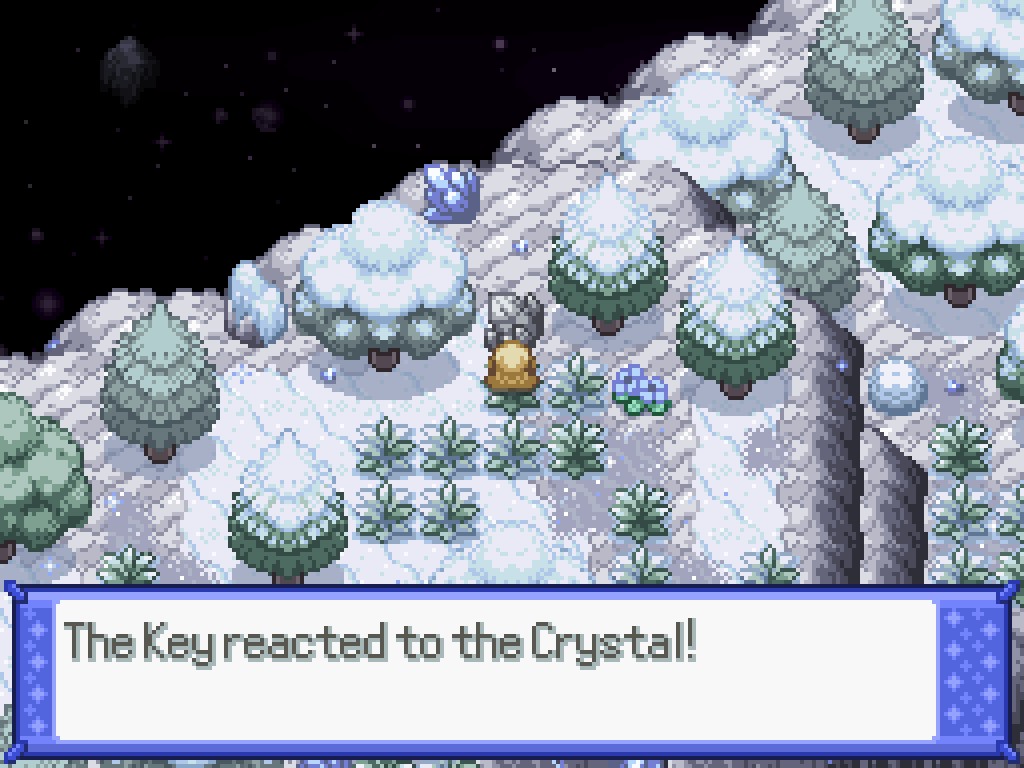
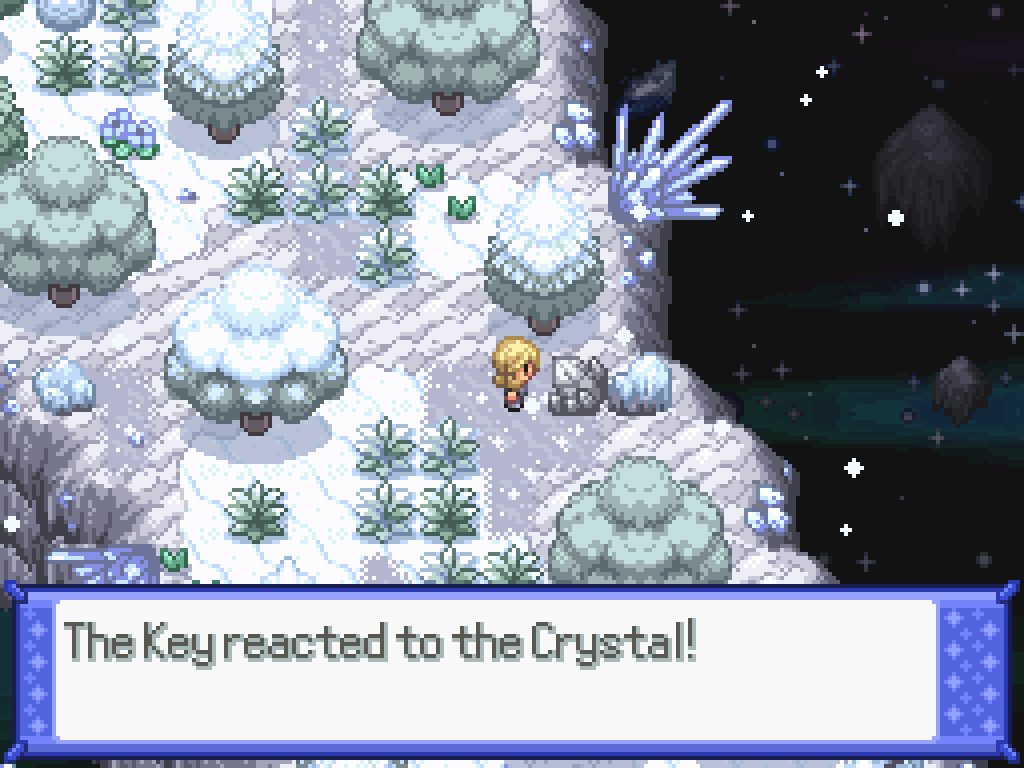
As yourself, walk past the now-broken ice crystals to reach this blue crystal rock. This creates a small bridge on Zeka's area, at the north. Stay there and switch back to Zeka.
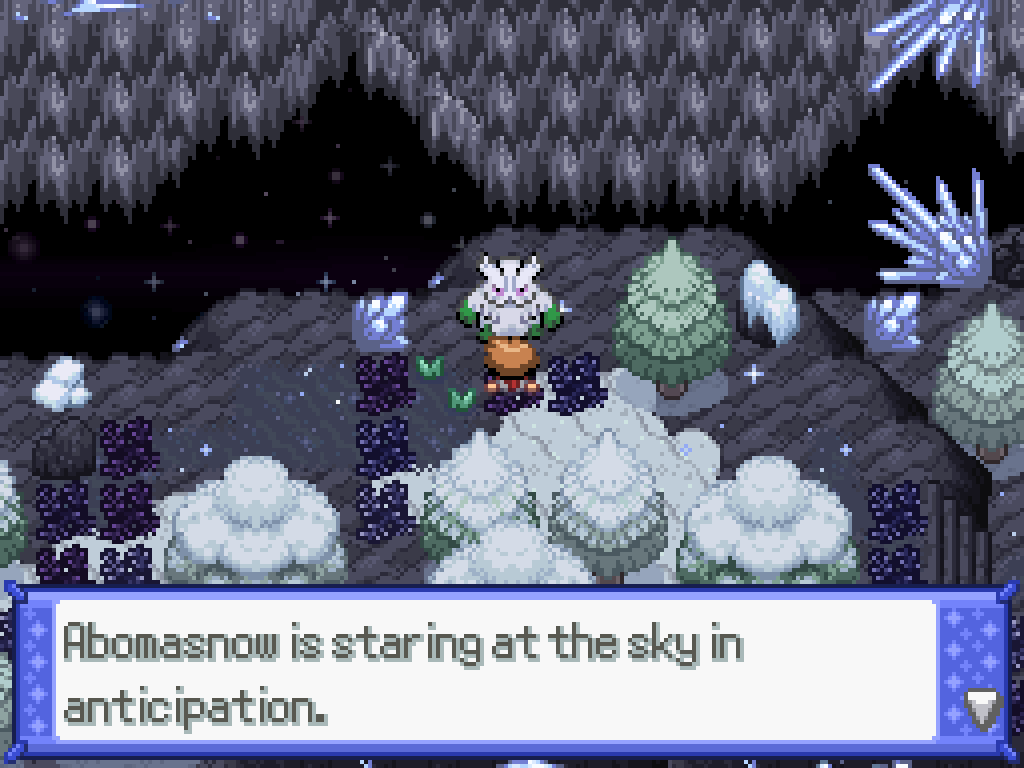
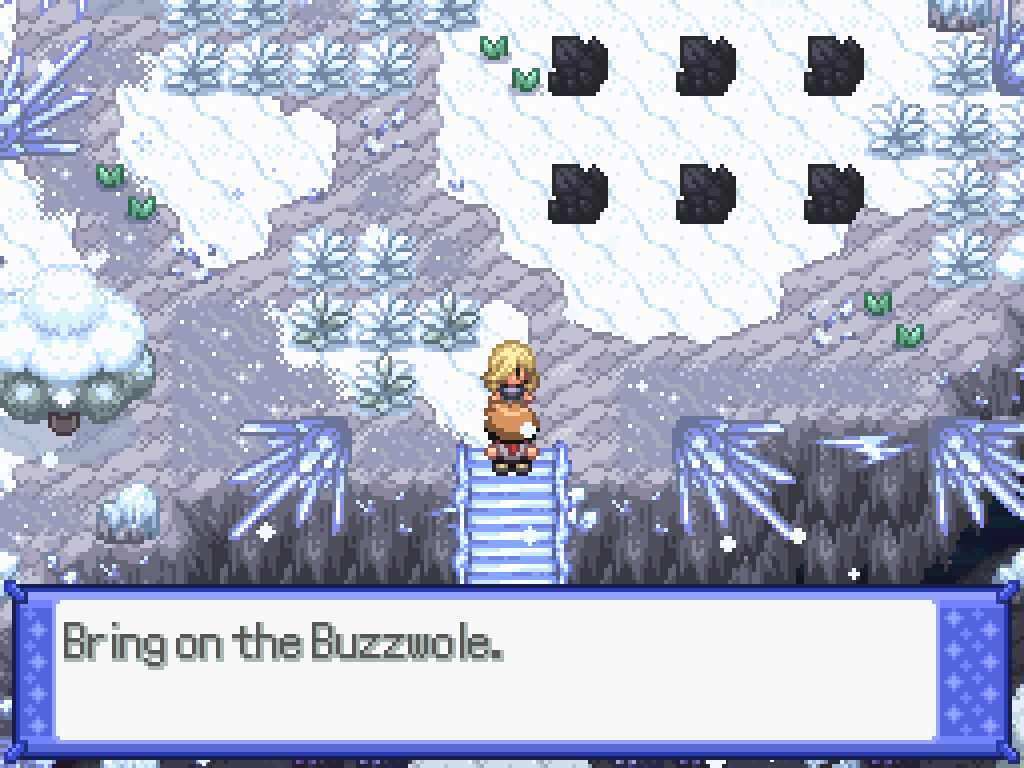
Talk to this Abomasnow to create some snow piles. Your own character can now pass through to the right; stash it in front of Altaria. Return to Zeka and then walk all the way to the south to find another glowing orb; you can't activate it because of the hail. Switch to your own character and talk to Altaria to get rid of the snow, then back to Zeka to activate the orb. Talk to the Abomasnow up here to re-create the snow pile, then stash him immediately next to the Altaria.
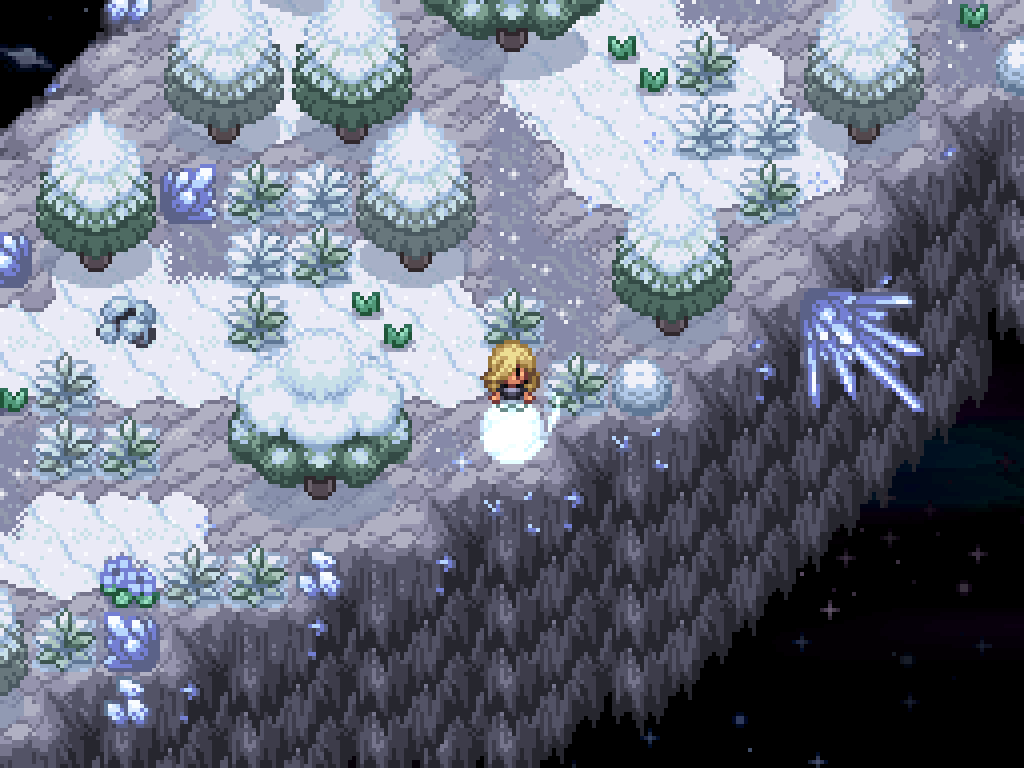
As your own character, walk along until you find this blue crystal rock. Activate it, then walk back up the cliff. Switch to Zeka and activate the Altaria to remove the snow, then activate the glowing orb as your own character. Switch back to Zeka and walk ALL the way to the north and then to the east past the broken shards to find another blue crystal rock. Activate it (huh?) then switch back to your own character. Activate the Abomasnow on the ice to let yourself down from the cliff, then walk down the stairs.
Activate Altaria to clear up the weather, then activate the glowing orb. Switch back to Zeka and walk straight downwards to find a blue crystal rock; activate it to break a spot in the ice below your own character.
Below that is a glowing orb; activate it, then go back to Abomasnow in the ice section and create hail. Switch back to Zeka and proceed along the now-open path for a small cutscene, as well as a blue crystal rock you should activate. Eventually, you'll reach a frozen glowing orb; as your own character, walk to the Altaria after the ice bridge activate it, then use Zeka to activate the glowing orb. Activate the Abomasnow in either area to open the pathway for your own character.
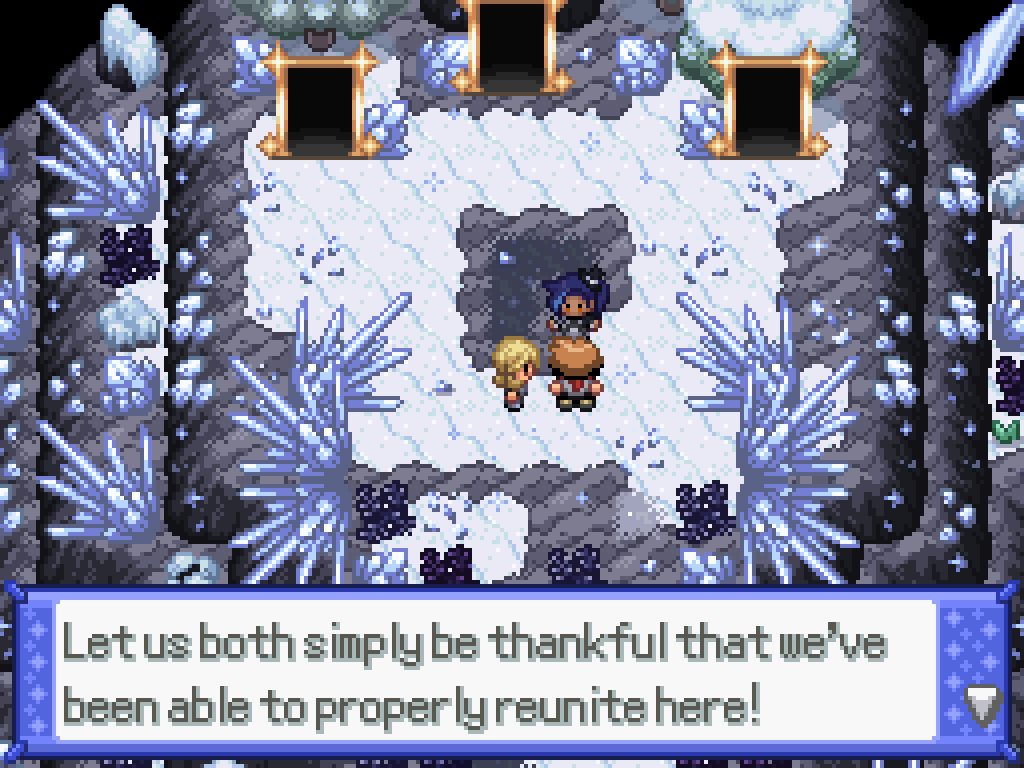
Once you've made it as far as you can with your own character, switch to Zeka and keep going to find this blue crystal rock, which will create some stairs on the other side. Move Zeka to the frozen orb, then switch back to your own character to use Altaria. Activate the glowing orb to unblock the path, then do the same with your own character. Switch back to Zeka and activate the Abomasnow on the ice, then continue to reach the final frozen orb. Use your own character to go all the way back to the Altaria, and then activate the glowing orb to unblock the pathway. Activate the Abomasnow above Zeka to set up your final approach, then walk to the black-white crystal puzzle with both characters.
After that we get to... a Lights Out puzzle. Fine, whatever. I just plugged this into an online solver. For the white one, you need to activate every single crystal except for the top left and the bottom right one; you can do them in any order.
Similarly, for the black one, you need to activate the top right, the middle left, the middle right, and the entire bottom row.
This opens up a path to the next room. After all that, you'll have two double battles in a row. First, with Zekrom and Reshiram:
Anomaly Zekrom
| Sprite | Name | Level | Ability | Held Item | Moves | EVs |
|---|---|---|---|---|---|---|
|
|
Ninetales-Alola | 142 | Snow Warning | Light Clay |
|
252/0/0/4/0/252 |
|
|
Golurk | 142 | Iron Fist | Golurkite |
|
4/252/0/0/0/252 |
|
|
Glastrier | 142 | Chilling Neigh | Life Orb |
|
252/252/0/0/4/0 |
|
|
Crustle | 142 | Rock Head | Choice Band |
|
4/252/0/0/0/252 |
|
|
Lycanroc-Dusk | 142 | Tough Claws | Lycanium-Z |
|
4/252/0/0/0/252 |
|
|
Zekrom | 142 | Teravolt | Life Orb |
|
All 252 |
Anomaly Reshiram
| Sprite | Name | Level | Ability | Held Item | Moves | EVs |
|---|---|---|---|---|---|---|
|
|
Espeon-Auroreon | 142 | Mind Freeze | Elemental Seed |
|
4/0/0/252/0/252 |
|
|
Weavile | 142 | Pressure | Life Orb |
|
0/252/0/0/4/252 |
|
|
Banette | 142 | Insomnia | Banettite X |
|
252/252/4/0/0/0 |
|
|
Guzzlord | 142 | Beast Boost | Life Orb |
|
0/252/128/0/128/0 |
|
|
Walking Wake | 142 | Protosynth. | Booster Energy |
|
4/0/0/252/0/252 |
|
|
Reshiram | 142 | Turboblaze | Life Orb |
|
All 252 |
Then, with the two Kyurem types:
Anomaly Kyurem
| Sprite | Name | Level | Ability | Held Item | Moves | EVs |
|---|---|---|---|---|---|---|
|
|
Galvantula | 138 | Compound Eyes | Choice Specs |
|
4/0/0/252/0/252 |
|
|
Magearna | 138 | Soul-Heart | Magearnite |
|
252/0/0/4/252/0 |
|
|
Shaymin-Sky | 138 | Serene Grace | Choice Specs |
|
4/0/0/252/0/252 |
|
|
Victini | 138 | Victory Star | Choice Band |
|
4/252/0/0/0/252 |
|
|
Zekrom | 138 | Teravolt | Magical Seed |
|
252/4/0/0/0/252 |
|
|
Kyurem-Black | 138 | Teravolt | Power Herb |
|
All 252 |
Multi-iterative Fusion Simulations
| Sprite | Name | Level | Ability | Held Item | Moves | EVs |
|---|---|---|---|---|---|---|
|
|
Mew | 138 | Synchronize | Wiki Berry |
|
252/0/252/4/0/0 |
|
|
Salamence | 138 | Intimidate | Choice Scarf |
|
4/0/0/252/0/252 |
|
|
Darkrai | 138 | Bad Dreams | Darkranite X |
|
0/0/4/252/0/252 |
|
|
Victini | 138 | Victory Star | Choice Specs |
|
4/0/0/252/0/252 |
|
|
Reshiram | 138 | Turboblaze | Magical Seed |
|
4/0/0/252/0/252 |
|
|
Kyurem-White | 138 | Turboblaze | Power Herb |
|
All 252 |
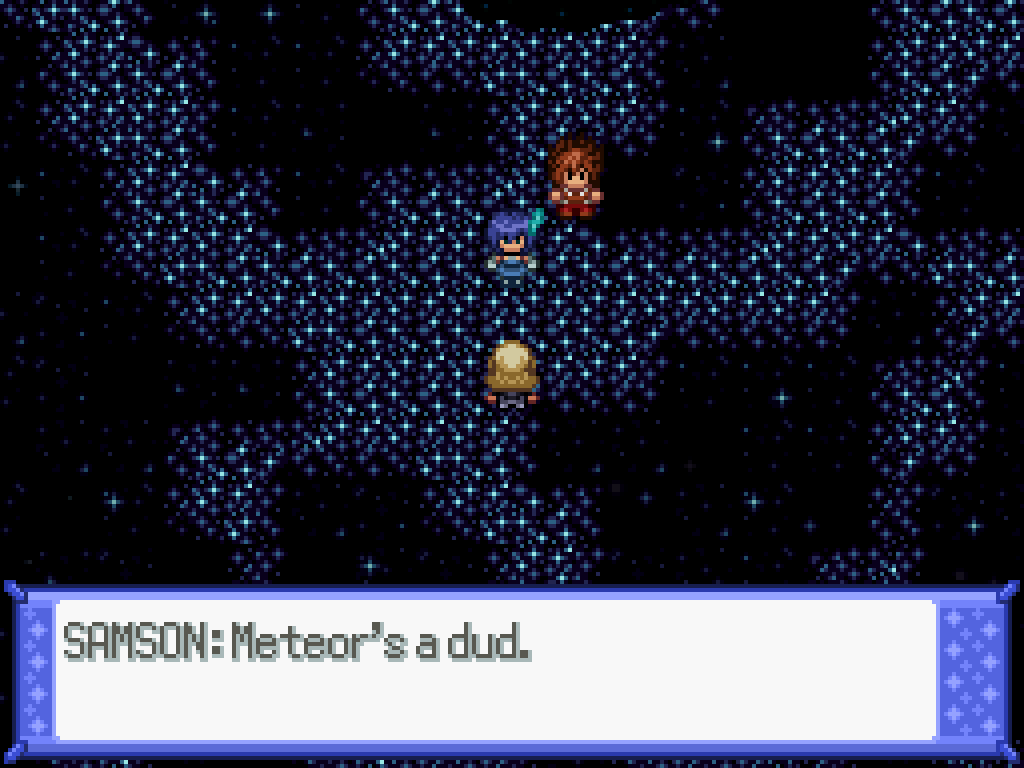
After that... ordeal (including how I accidentally gave the Kyurems 311 IVs instead of 31) you can walk through the three minature doors to find and catch the trio. When you return you'll get a small cutscene, and a battle with—of all people—Umbral Ace, who has been retrieved from the fridge.
Umbral Agent Ace
| Sprite | Name | Level | Ability | Held Item | Moves | EVs |
|---|---|---|---|---|---|---|
|
|
Azelf | 142 | Levitate | Focus Sash |
|
4/252/0/0/0/252 |
|
|
Eldegoss | 142 | Cotton Down | Throat Spray |
|
0/0/4/252/0/252 |
|
|
Hydreigon | 142 | Levitate | Hydreigonite |
|
4/252/0/0/0/252 |
|
|
Zoroark-Unova | 142 | Illusion | Darkinium-Z |
|
4/0/0/252/0/252 |
|
|
Eternatus | 142 | Pressure | Leftovers |
|
252/0/0/252/0/4 |
|
|
Lunala | 142 | Shadow Shield | Magical Seed |
|
4/0/0/252/0/252 |
After all that, accept the offer to be returned to the Nightclub, finalising the quest.
Deoxys
This is a very straightforward quest. The gate is in Citrine Mountain 3F; the easiest way to get there is to surf straight up from the Celestrine Cascade, then to the east to get to Citrine Mountain 1F. Enter the different map via the ice puzzle, climb the ladder, then surf again and take the waterfall up to 3F.
You'll get a small cutscene; you need to go and interact with all the meteorettes littered around each corner of the map. After that, return to the top of the map to find Anomaly Deoxys.
Anomaly Deoxys
| Sprite | Name | Level | Ability | Held Item | Moves | EVs |
|---|---|---|---|---|---|---|
|
|
Deoxys-Speed | 142 | Pressure | Light Clay |
|
252/0/4/0/0/252 |
|
|
Darkrai | 142 | Bad Dreams | Dark Gem |
|
4/0/0/252/0/252 |
|
|
Claydol | 142 | Levitate | Claydolite |
|
252/0/0/252/4/0 |
|
|
Clefable | 142 | Unaware | Leftovers |
|
252/0/252/0/4/0 |
|
|
Zamazenta-Crowned Shield | 142 | Dauntl. Shield | Rusted Shield |
|
0/4/252/0/0/252 |
|
|
Deoxys-Defense | 142 | Pressure | Magical Seed |
|
All 252 |
Zacian & Zamazenta
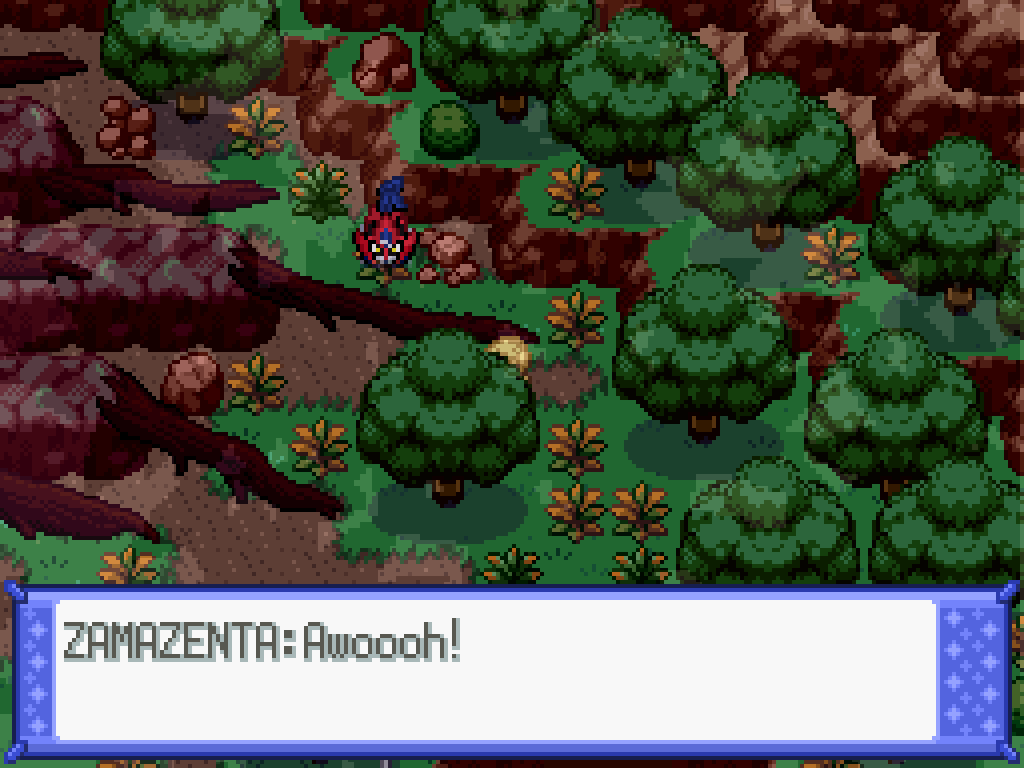
This is the REAL reward of the Deoxys quest: Zacian (Crowned). Once you've caught Deoxys, talk to the new NPC next to Samson in the nightclub to be told about the two Pokémon in the jungle. First, you need to find Zama at the top; you can take the top entrance to the jungle for a shortcut.
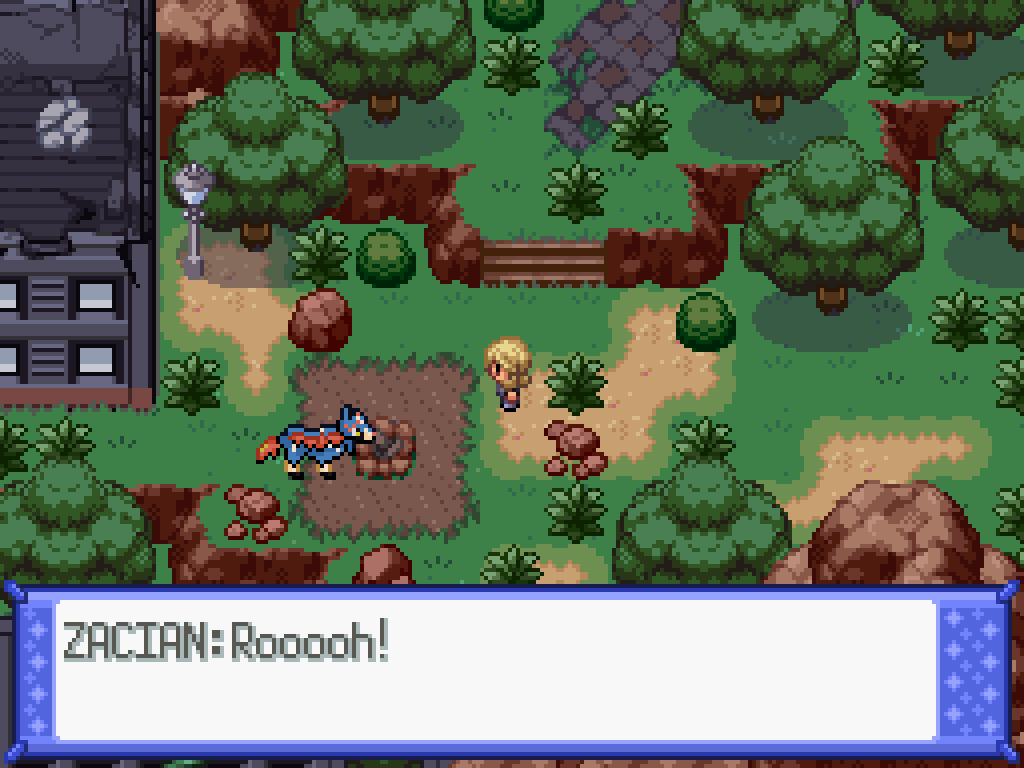
Zacain can be found at the old campfire area. Once both have ran away, you need to make it to the Stantler encounter area for a boss fight with the dogs... and also Zarude.
Guardians of the Jungle
| Sprite | Name | Level | Ability | Held Item | Moves | EVs |
|---|---|---|---|---|---|---|
|
|
Zacian-Crowned Sword | 142 | Intrepid Sword | Rusted Sword |
|
4/252/0/0/0/252 |
|
|
Whimsicott | 142 | Prankster | Amplifield Rock |
|
252/0/252/0/0/4 |
|
|
Shuckle | 142 | Sturdy | Shucklite |
|
4/0/252/0/252/0 |
|
|
Grafaiai | 142 | Prankster | Lagging Tail |
|
252/252/4/0/0/0 |
|
|
Zarude | 142 | Leaf Guard | Flying Gem |
|
4/252/0/0/0/252 |
|
|
Zamazenta-Crowned Shield | 142 | Dauntl. Shield | Rusted Shield |
|
4/0/252/0/0/252 |
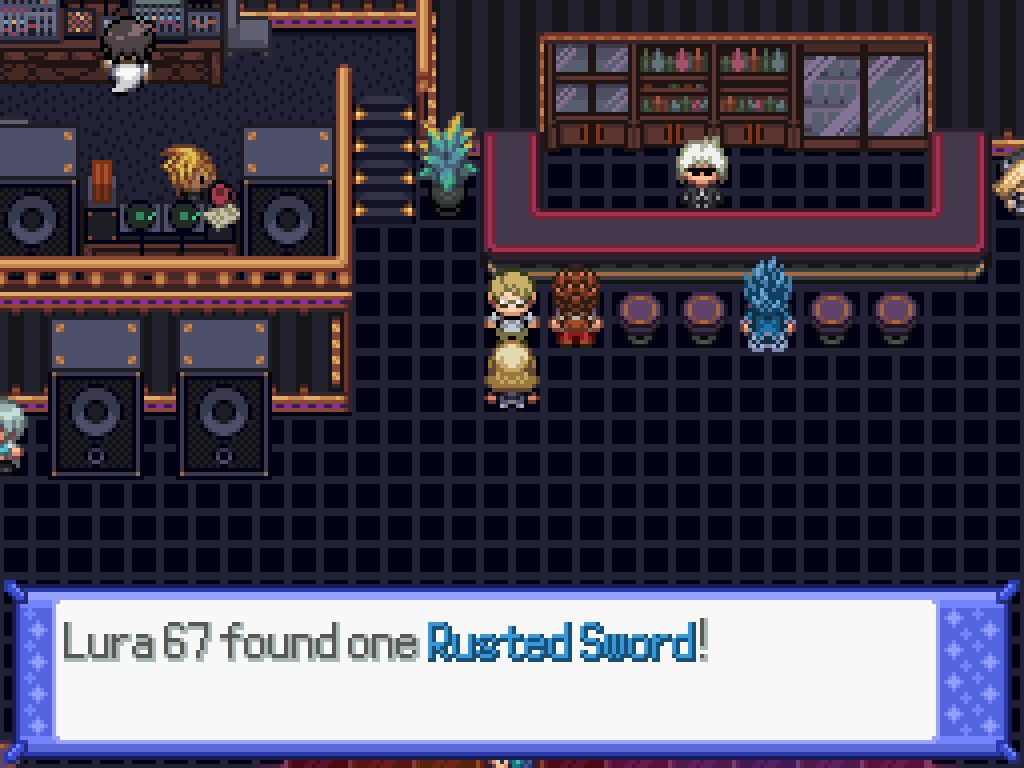
Talk to the Pokémon after to catch them, and then return to the guy in the nightclub to be given the Rusted items for each.
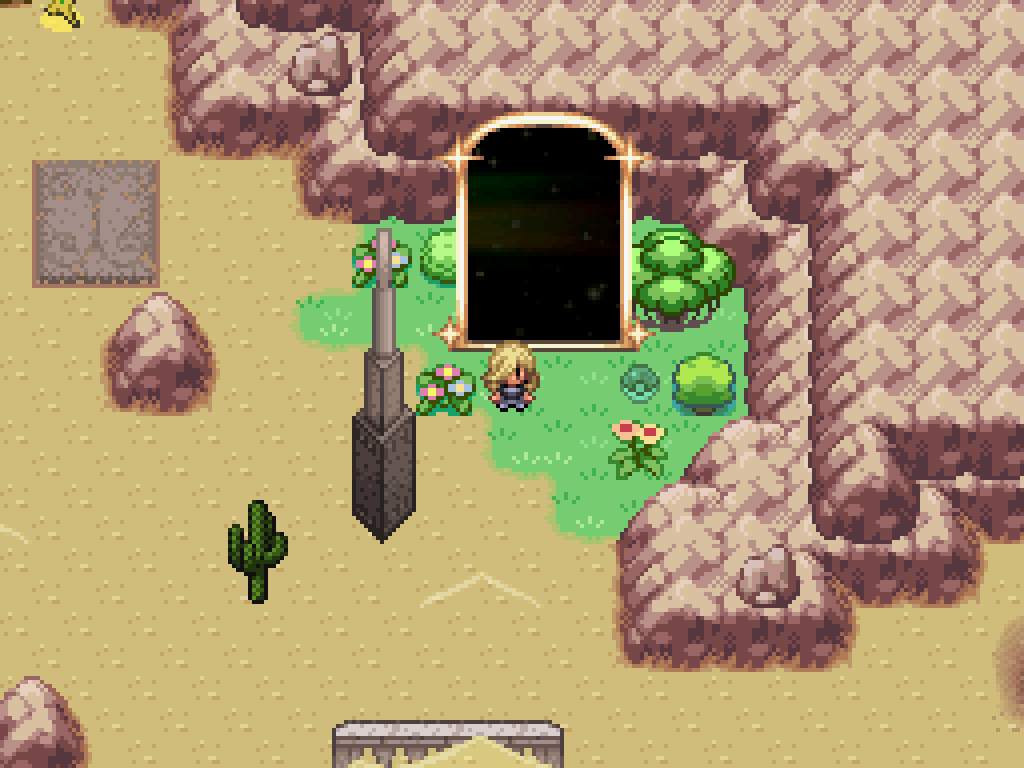
Lugia & Ho-Oh
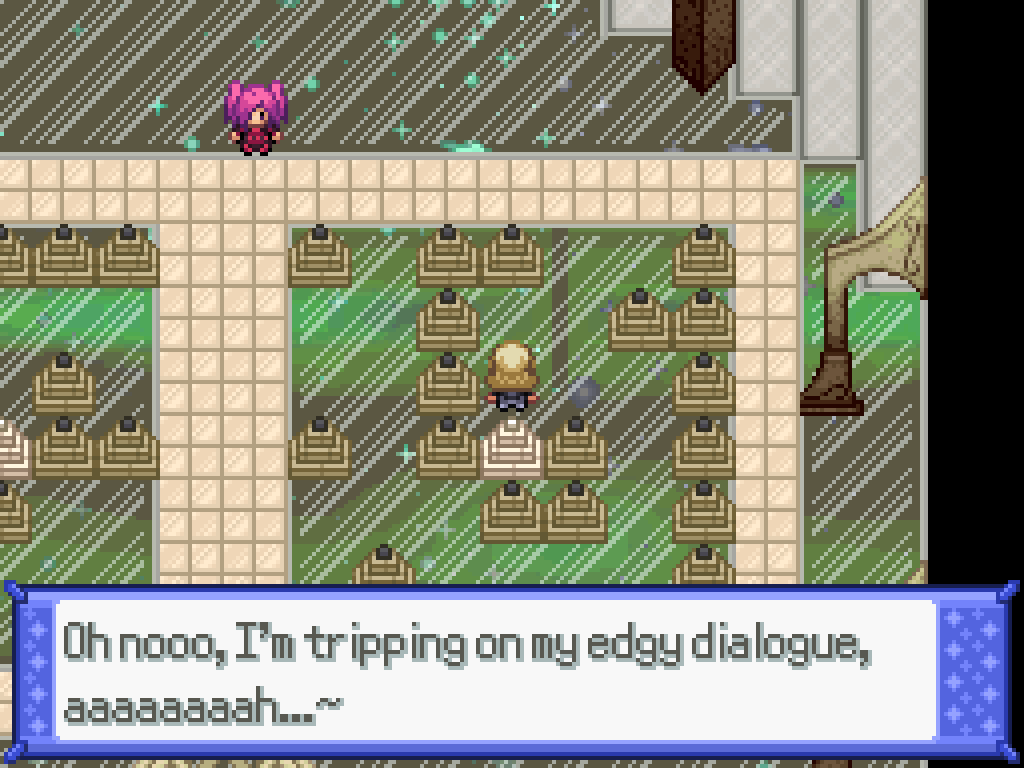
The devs really knew where to hit to make it hurt with this quest. Fucking tumblrite writing reducing an otherwise well-written character in the main game to a Redditor quipping shit constantly. Fuck you.
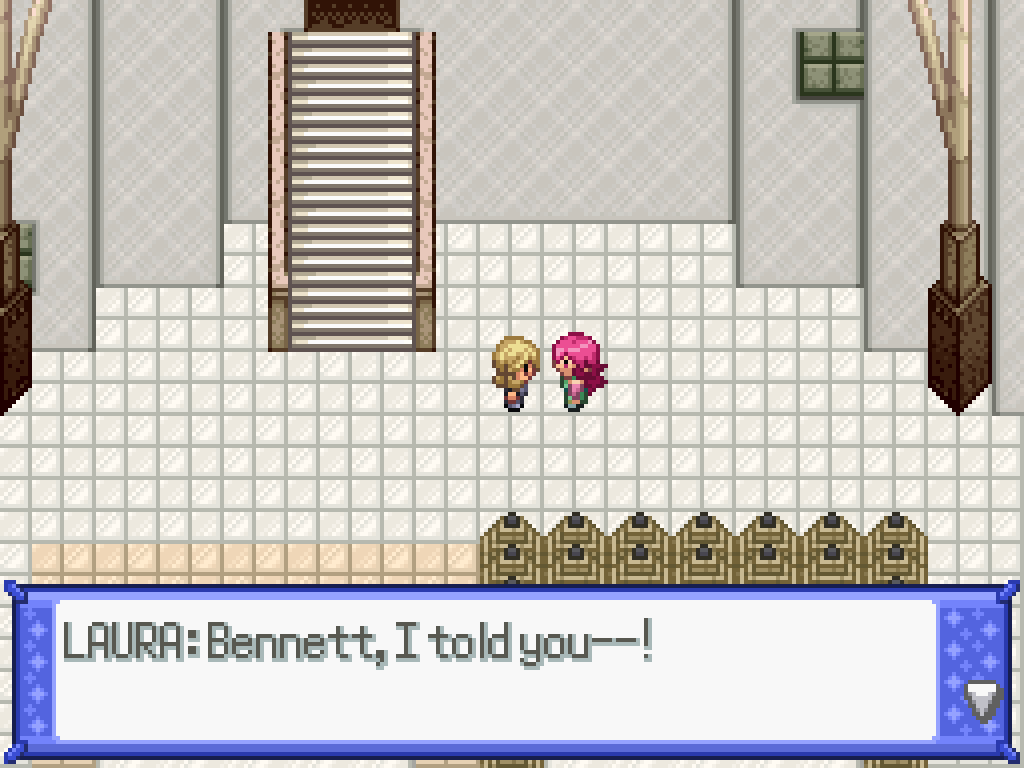
So. Your destination is the Mirage Tower. First, talk to Laura at the top, then climb it all the way up to find a New World gate, whereupon you'll find Charlotte. To no surprise in the world at all, you need to solve the sliding block puzzle just like the ones in the Mirage Tower originally. At this point of the walkthrough, I've been working on this project for nearly TWO full months straight, so I am literally going to just copy the wiki answers down here verbatim.
- Push the left block up once. Push the left block left three times.
- Push the left block up twice. push the right block right four times.
- Push the right block left six times. Push the right block right twice.
- Push the right block down four times. Push the left block right.
- Push the left block down once.
NEXT.
- Push the left block down three times. Push the right block right once.
- Push the left block down once. Push the left block right once.
- Push the right block up twice. Push the right block right twice.
- Push the left block up twice. Push the right block down once.
- Push the left block left five times. Push the right block up four times.
- Push the right block right five times. Push the left block left twice.
- Push the right block down twice.
Okay, look. I kinda get what they were going for with this. She got told off by Saphira, she's upset because it turns out her parents were deliberately killed, et cetera. But the incredibly aggravating self-aware dialogue is not endearing. It is just fucking annoying. It's character development sabotage. You can't have characters talk about their fucking 'dialogue'.
This final puzzle is actually optional, and it'll give you the uhh latias mega stones. I don't care. Walk straight upwards to find Anomaly Ho-Oh.
Anomaly Ho-oh
| Sprite | Name | Level | Ability | Held Item | Moves | EVs |
|---|---|---|---|---|---|---|
|
|
Moltres-Galar | 142 | Bad Dreams | Wide Lens |
|
4/0/0/252/0/252 |
|
|
Crobat | 142 | Inner Focus | Crobatite |
|
4/0/0/252/0/252 |
|
|
Celesteela | 142 | Beast Boost | Magical Seed |
|
0/0/0/0/0/0 |
|
|
Iron Jugulis | 142 | Quark Drive | Booster Energy |
|
4/0/0/252/0/252 |
|
|
Goodra-Kalos | 142 | Sap Sipper | Toxic Orb |
|
4/0/0/252/0/252 |
|
|
Ho-Oh | 142 | Regenerator | Magical Seed |
|
All 252 |
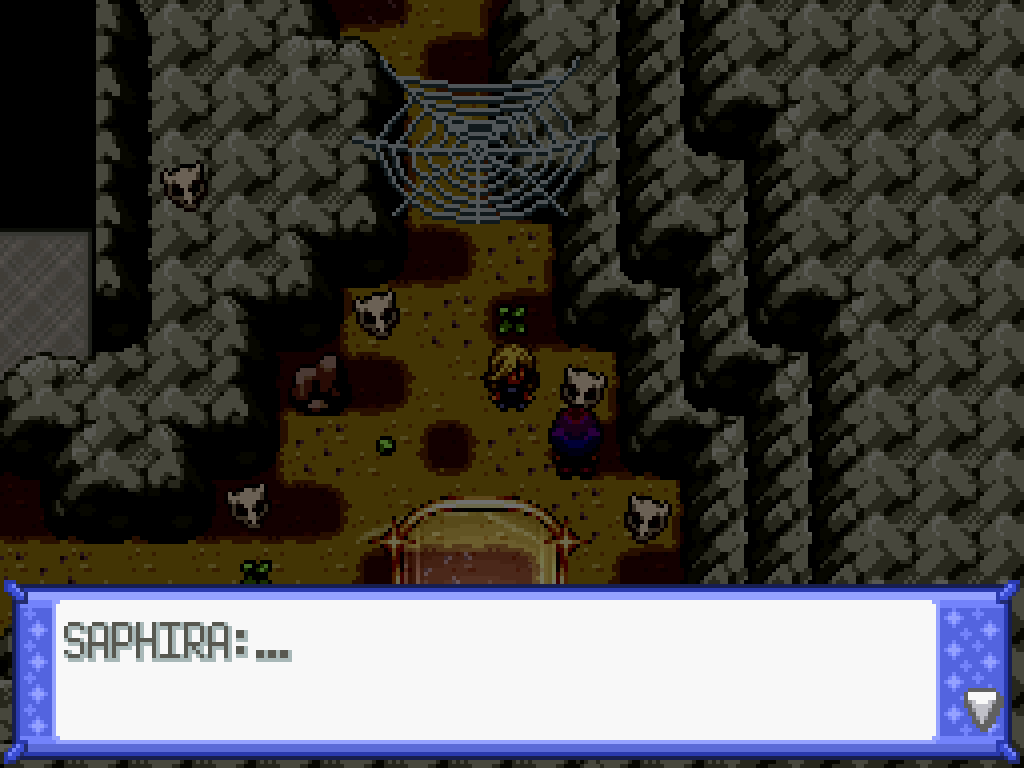
The second part of the quest is down in the area below the Mirage Tower, where you'll find Saphira. Climb down the ladder and break the glass to switch to the blue area, then push the block upwards; break the glass at the top again to switch back and climb up the next ladder.
If you didn't figure it out, the way this puzzle works is that the blue area has a stone you push around, and wherever the stone is a ladder will spawn in the regular area. So, in the next room:
- Break the glass to switch to the blue room.
- Move the block to the right, then switch back to the regular room. Cross to the other side with the ladder.
- Smash the glass, then move the block to the right and upwards. Flip back to the regular room and climb the ladder.
- Smash the one tile of the glass, move the block to the top LEFT (not right), then smash the glass and go down the ladder.
- Smash the one tile in this room, move the block to the bottom left of the area, and then climb up the ladder.
SQADQTAW It's thirty-five degrees in my bedroom and I do NOT care. Make a pull request for this if you want. I'm just walking through walls to the end.
Anomaly Lugia
| Sprite | Name | Level | Ability | Held Item | Moves | EVs |
|---|---|---|---|---|---|---|
|
|
Mismagius | 142 | Infiltrator | Mismagiusite |
|
4/0/0/252/0/252 |
|
|
Dialga-Altered | 142 | Pressure | Magical Seed |
|
4/0/0/252/0/252 |
|
|
Kommo-o | 142 | Bulletproof | Kommonium-Z |
|
0/252/4/0/0/252 |
|
|
Ogerpon-Unmasked | 142 | Rattled | Wellspring Mask |
|
0/252/0/0/4/252 |
|
|
Iron Hands | 142 | Quark Drive | Booster Energy |
|
0/252/0/0/4/252 |
|
|
Lugia | 142 | Multiscale | Magical Seed |
|
All 252 |
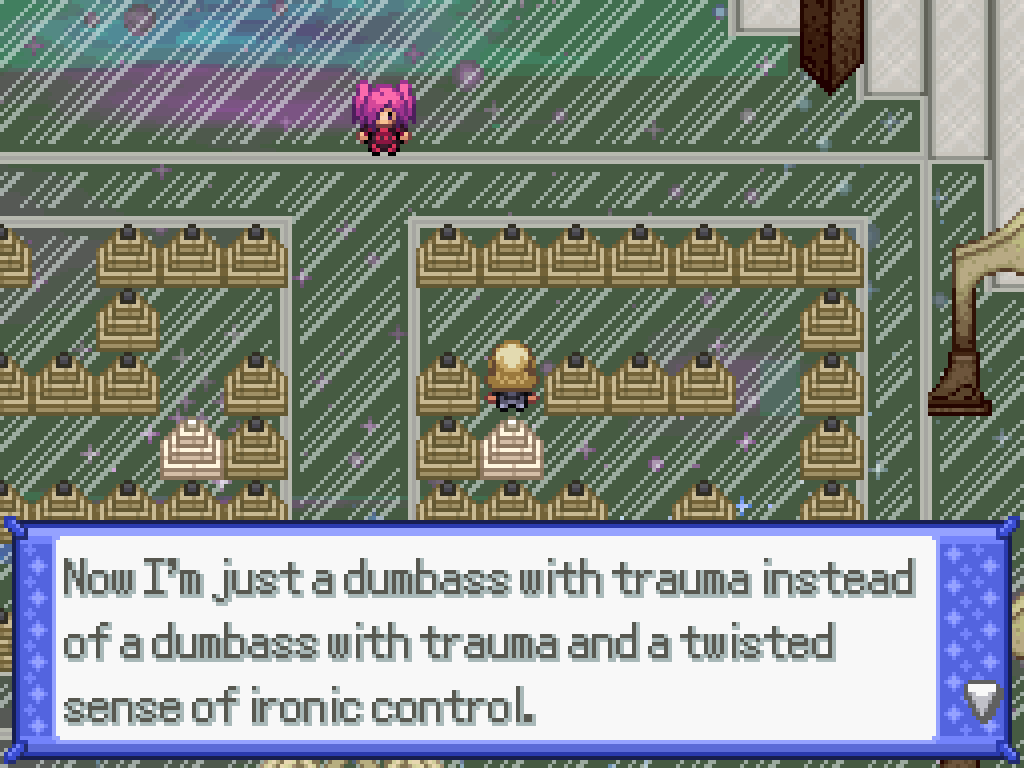
MORE therapy. See, the writing basically devolves into the following structure by the end:
- First, somebody identifies that they have a character flaw.
- Second, they address an invisible audience about the character flaw.
- Third, they identify an actionable goal to reduce that character flaw.
- Finally, they explain how to implement that actionable goal.
Every. Single. Person. Ends up talking like this the entire post-game. It's insufferable.
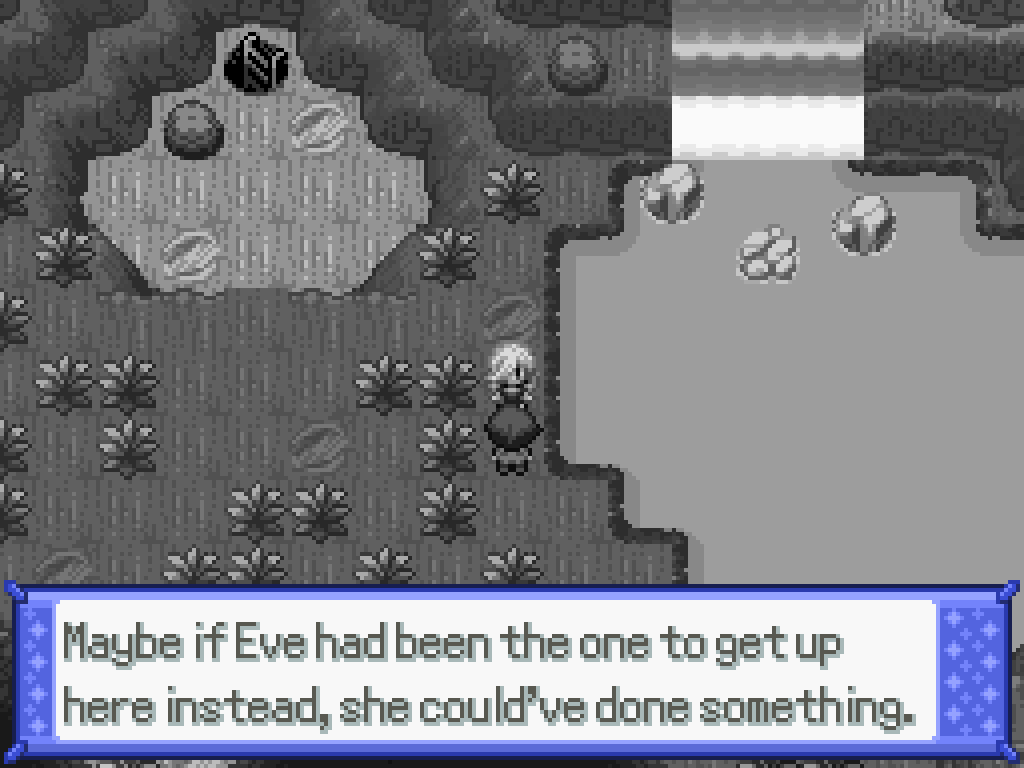
Xerneas & Yveltal, Part 1
I could be playing Stellar Blade right now. It's time for a pic-a-nic, in the Rhodochrone Jungle; walk up to the top of the tree to find it. Just talk to Lumi to advance the plot a bit, including the actual literal usage of "fetch quest".

Man, they really just KNEW where to hit with this postgame so hard to annoy me. Once you return, there will be no colour and also a New World gate. Once you're in, kill the extra Espeon and proceed to the next floor.
Eve will then tell you the solution—actually, no she fucking doesn't. She pretends to tell you the solution. I'll tell you the actual solution: kill the Chingling. On the next floor, kill the Umbreon.
The fourth floor requires you to kill three things: a Mismagius, an Espeon, and a Cleffa. The fifth floor is even more brutal: Florges, Flabebe, and two Umbreons all need to be slaughtered. Then the sixth floor requires death for a single Zweilous, the Granbull, and two Flabebe. Life is never easy, so there's a seventh floor too: one Kadabra, one Murkrow, and one Houndor.
On the eighth (!) floor, kill the Granbull and the Mandibuzz. On the ninth and FINAL floor, kill the single Chimecho, then kill every single Umbral enemy except for the Hydreigon.
Go bump up against the barrier at the top-left of the room, then talk to Noel for a cutscene. You gotta come back when you have a 100% Zygarde, which is definitely not going to happen. We'll come back to this later.
Kyogre & Groudon, Part 1
The gate for this area is in the Sugiline Cave, just through the Garchomp area. Travel through the New World to find yourself back into Aegir Cave.
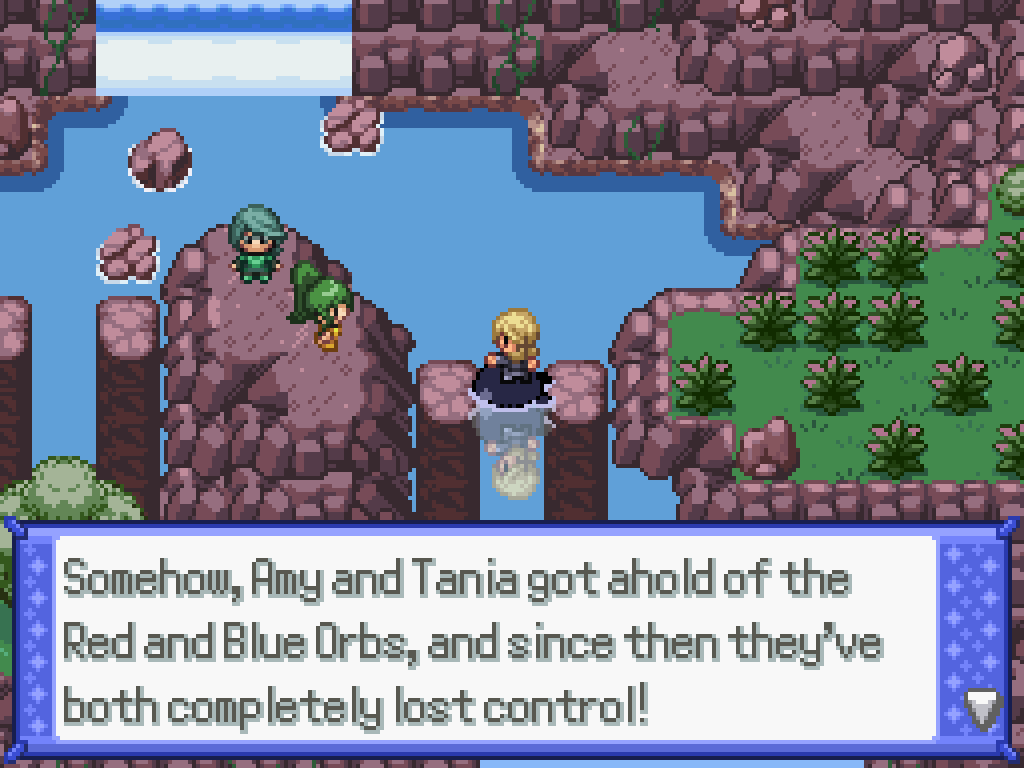
Once you enter, you'll be told that Amaria and Titania are fighting. Cool, whatever. Fight them both...
Umbral Titania
| Sprite | Name | Level | Ability | Held Item | Moves | EVs |
|---|---|---|---|---|---|---|
|
|
Togekiss | 142 | Serene Grace | Telluric Seed |
|
4/0/0/252/0/252 |
|
|
Mawile | 142 | Huge Power | Mawilite |
|
0/252/0/0/4/252 |
|
|
Zacian-Hero of Many Battles | 138 | Intrepid Sword | Rusted Sword |
|
252/4/0/0/0/252 |
|
|
Hydrapple | 142 | Supersw. Syrup | Telluric Seed |
|
4/0/252/252/0/0 |
|
|
Dialga-Altered | 142 | Pressure | Telluric Seed |
|
4/0/0/252/0/252 |
|
|
Groudon | 140 | Drought | Red Orb |
|
252/252/0/0/0/4 |
Umbral Amaria
| Sprite | Name | Level | Ability | Held Item | Moves | EVs |
|---|---|---|---|---|---|---|
|
|
Tapu Bulu | 142 | Grassy Surge | Elemental Seed |
|
0/252/4/0/0/252 |
|
|
Armarouge | 142 | Flash Fire | Elemental Seed |
|
4/0/0/252/0/252 |
|
|
Volcarona | 142 | Flame Body | Elemental Seed |
|
4/0/0/252/0/252 |
|
|
Coalossal | 142 | Steam Engine | Coalossite |
|
252/0/0/252/4/0 |
|
|
Calyrex-Shadow Rider | 138 | As One | Choice Specs |
|
4/0/0/252/0/252 |
|
|
Kyogre | 135 | Drizzle | Blue Orb |
|
4/0/0/252/0/252 |
... and they'll both become Umbral again, until you collect a Rayquaza. You can come back to this later.
Giratina
After doing all the quests on this tier, there's one more half-way tier before you can continue. Make sure to level up to level 140, and talk to Zero behind the counter of the Nightclub; then make your way back to the Deoxys area in the mountain. Once there, talk to the figure within for a battle.
Lost Starscaper Zina
| Sprite | Name | Level | Ability | Held Item | Moves | EVs |
|---|---|---|---|---|---|---|
|
|
Zoroark-Hisui | 148 | Illusion | Focus Sash |
|
0/0/4/252/0/252 |
|
|
Delphox | 150 | Magic Guard | Delphoxite |
|
0/0/4/252/0/252 |
|
|
Flutter Mane | 148 | Protosynth. | Booster Energy |
|
4/0/0/252/0/252 |
|
|
Yveltal | 148 | Dark Aura | Life Orb |
|
0/128/0/252/0/132 |
|
|
Xerneas | 148 | Fairy Aura | Magical Seed |
|
4/0/0/252/0/252 |
|
|
Lunala | 148 | Shadow Shield | Lunalium-Z |
|
4/0/0/252/0/252 |
The next New World gate is found—of all places—in the Whatever Wasteland, in the grotto where PULSE Garbodor is fought. Once you get there you'll have to face a "guard dog".
Anomaly Naganadel
| Sprite | Name | Level | Ability | Held Item | Moves | EVs |
|---|---|---|---|---|---|---|
|
|
Eternatus | 148 | Pressure | Leftovers |
|
252/0/128/0/128/0 |
|
|
Ting-Lu | 147 | Vessel of Ruin | Assault Vest |
|
252/4/252/0/0/0 |
|
|
Houndstone | 148 | Rock Head | Choice Scarf |
|
4/252/0/0/0/252 |
|
|
Scolipede | 148 | Poison Point | Scolipite |
|
4/252/0/0/0/252 |
|
|
Dragalge | 148 | Toxic Debris | Assault Vest |
|
252/0/128/0/128/0 |
|
|
Naganadel | 150 | Beast Boost | Telluric Seed |
|
4/0/0/252/0/252 |
Once you enter the gate, you'll be greeted with a Malmar. Kill it, then talk to it to flip certain areas between the light and dark. The path to the first door is entirely linear, you don't need me to explain it. Once you enter it you'll get a small cutscene and I really do not care about solving this puzzle that much. I walked through walls to the end.
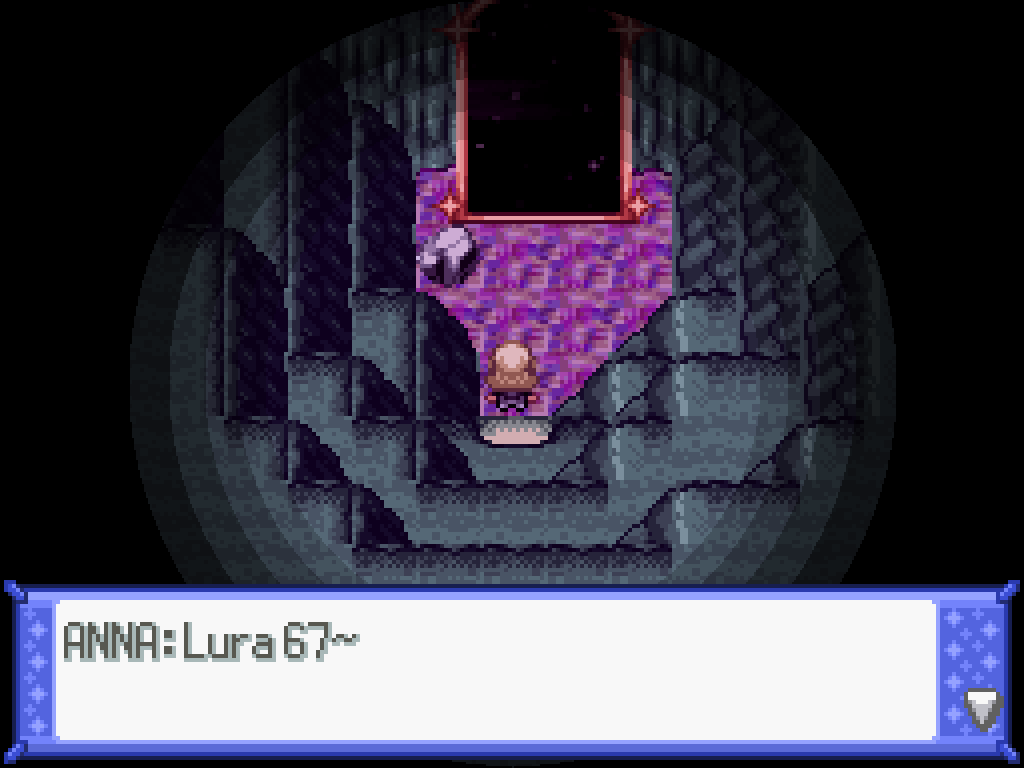
Eventually, you'll make it to Giratina, where the outcome depends a LOT on your route.
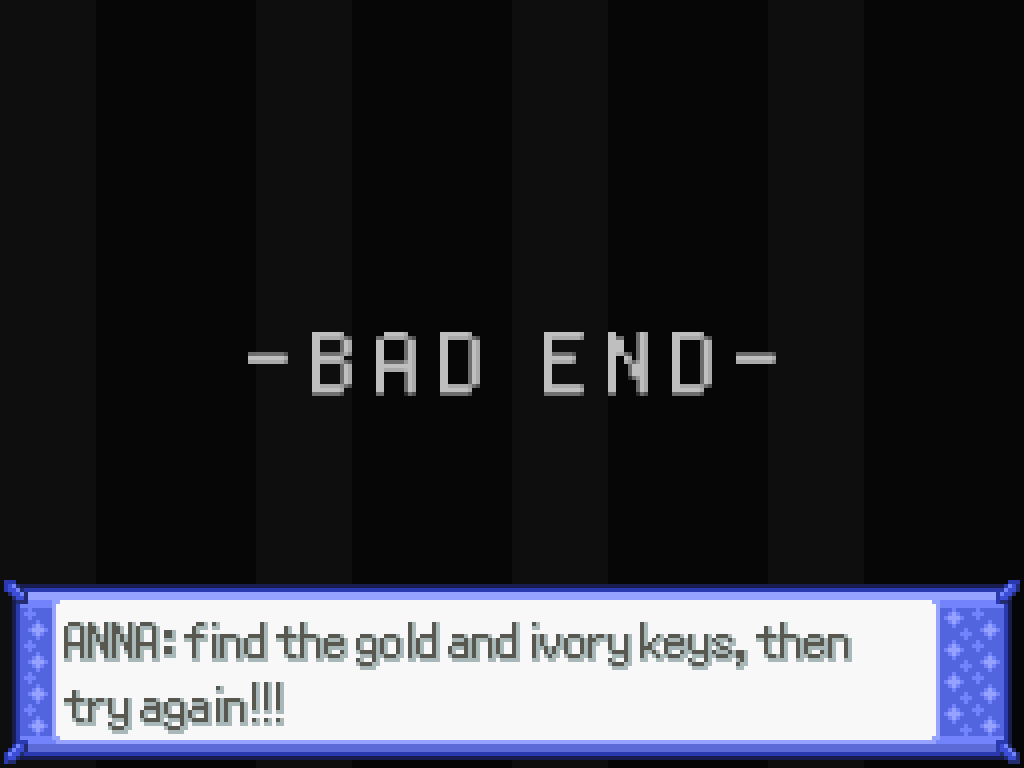
Anna Route
Once you capture it, you get a fake-out "Bad End"; soft-reset the game and reload your save a few times. You'll be evicted, and now Anna has a typing quirk. Joy!
After that nonsense, you've beaten the tier. Again. Let's get on with it.