
Badge #9: 7th Street/Sanctum/Iolia Valley
Once you've returned to Reborn City, talk to your gang leader (If you didn't join a gang yet, you need to join a gang and do all of their quests. See Chapter 7 for more information on that) who will tell you about the existence of 7th Street, Reborn City's shady unground black market. (You may have to talk twice.) They'll direct you to one of two buildings in Lapis Ward (at the far right of the ward), where you can enter to find the lift to 7th Street. For the Aqua Gang, it's the house at the very top left of the ward, and for the Magma Gang it's the house in a dip next the wall with an Ace Trainer standing outside.
Also, no, I don't know how to turn off the stupid light flashing from 7th Street.
There's a few things to do here down under. First, make your way to the market at the very bottom right of the map; you'll find the woman you stole things from earlier trying to buy stolen Pokémon. After she leaves, another member of the gang will talk to you and tell you that you need to teach her a lesson back at her house. If you go back to Lapis and find the house again, he'll say he'll leave the dirty work to you (thanks, mate?) and you can go in and fight her. This is a fairly easy fight, she mostly uses Poison types so just go in with a good Steel type and some anti-sleep berries.
Harridan Craudburry
| Sprite | Name | Level | Ability | Held Item | Moves | EVs |
|---|---|---|---|---|---|---|
|
|
Victreebel | 63 | Gluttony | Leftovers |
|
0/4/252/252/0/0 |
|
|
Overqwil | 64 | Toxic Debris | -- |
|
0/0/252/252/0/4 |
|
|
Amoonguss | 63 | Effect Spore | Focus Sash |
|
0/252/0/0/0/252 |
|
|
Crabominable | 63 | Anger Point | Assault Vest |
|
0/236/252/20/0/0 |
|
|
Slaking | 64 | Truant | Leftovers |
|
0/252/252/0/0/4 |
|
|
Tyrantrum | 63 | Rock Head | Quick Claw |
|
252/252/4/0/0/0 |
After you've done that, talk to your gang member outside again to get TM16 Rain Dance or TM11 Drought.
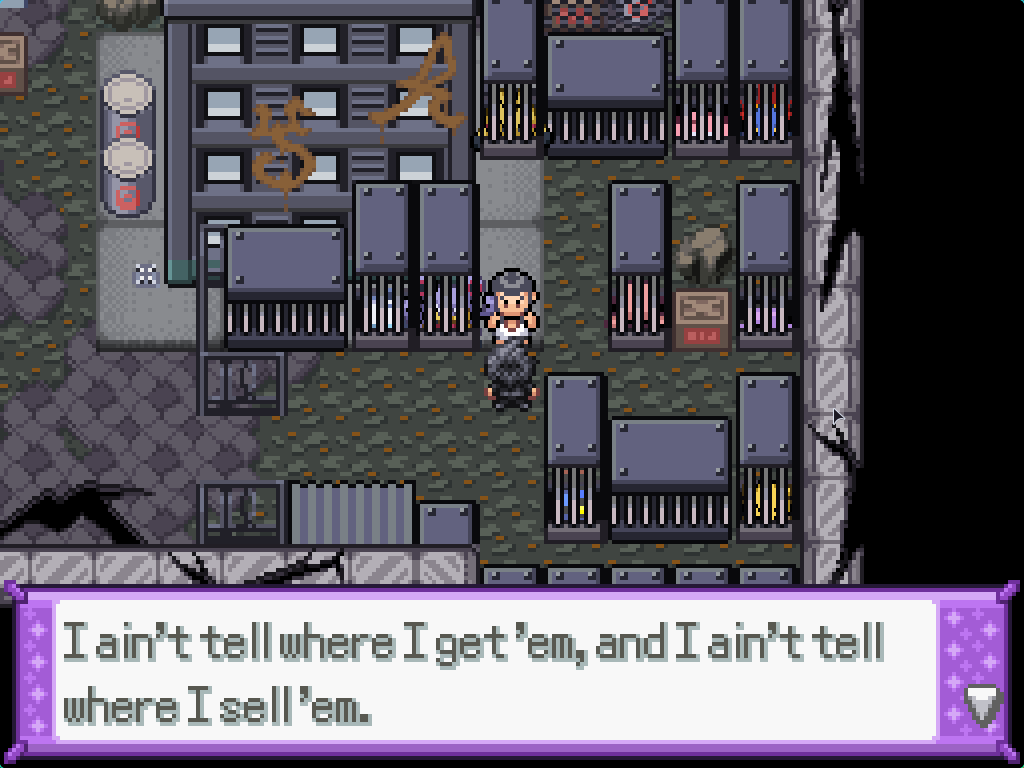
There's quite a few things here in 7th Street, so let's go from bottom to top. At the bottom right of 7th Street is an illegal Pokémon market, selling all of the Pokémon that were in the cages from before. You need to buy all of them. Once you've partaken in illegal Pokémon trafficking, walk out of the market and DJ Arclight will accost you, telling you that they're illegal Pokémon and he needs some time to track down the original owners. You can add trafficking to your list of crimes.
Put all of the rest of the Pokémon in a box out of the way. Do not use them. Do not evolve them. Do not touch them. You will need them all for the Mega-Z ring later after the 13th badge!
Above the market is a building with a sign on it saying "POKÉMON PSYCHOLOGY". This has a a doctor who will forcibly change the nature of any of your Pokémon in exchange for heart scales. To the right of this building is a hazy den with a handful of battleable NPCs in it, as well as the leader of the opposite gang to the one you joined. Beating him will get you TM16 Rain Dance or TM11 Sunny Day. I kinda don't care enough to rebalance these guys, and the TM isn't very useful; just kill them in the late game or whatever.
Magma Kingpin Maxwell
| Sprite | Name | Level | Ability | Held Item | Moves | EVs |
|---|---|---|---|---|---|---|
|
|
Ninetales-Kanto | 58 | Drought | Wise Glasses |
|
0/0/0/0/0/0 |
|
|
Heatmor | 58 | White Smoke | Muscle Band |
|
0/0/0/0/0/0 |
|
|
Turtonator | 59 | Aftermath | Wise Glasses |
|
0/0/0/0/0/0 |
|
|
Charizard | 60 | Blaze | Wise Glasses |
|
0/0/0/0/0/0 |
|
|
Houndoom | 62 | Flash Fire | Wise Glasses |
|
0/4/0/252/252/0 |
Aqua Mastermind Archer
| Sprite | Name | Level | Ability | Held Item | Moves | EVs |
|---|---|---|---|---|---|---|
|
|
Pelipper | 58 | Drizzle | -- |
|
0/0/0/0/0/0 |
|
|
Relicanth | 58 | Rock Head | -- |
|
0/0/0/0/0/0 |
|
|
Seaking | 59 | Water Veil | -- |
|
0/0/0/0/0/0 |
|
|
Blastoise | 60 | Shell Armor | -- |
|
0/0/0/0/0/0 |
|
|
Sharpedo | 62 | Strong Jaw | -- |
|
0/4/252/252/0/0 |
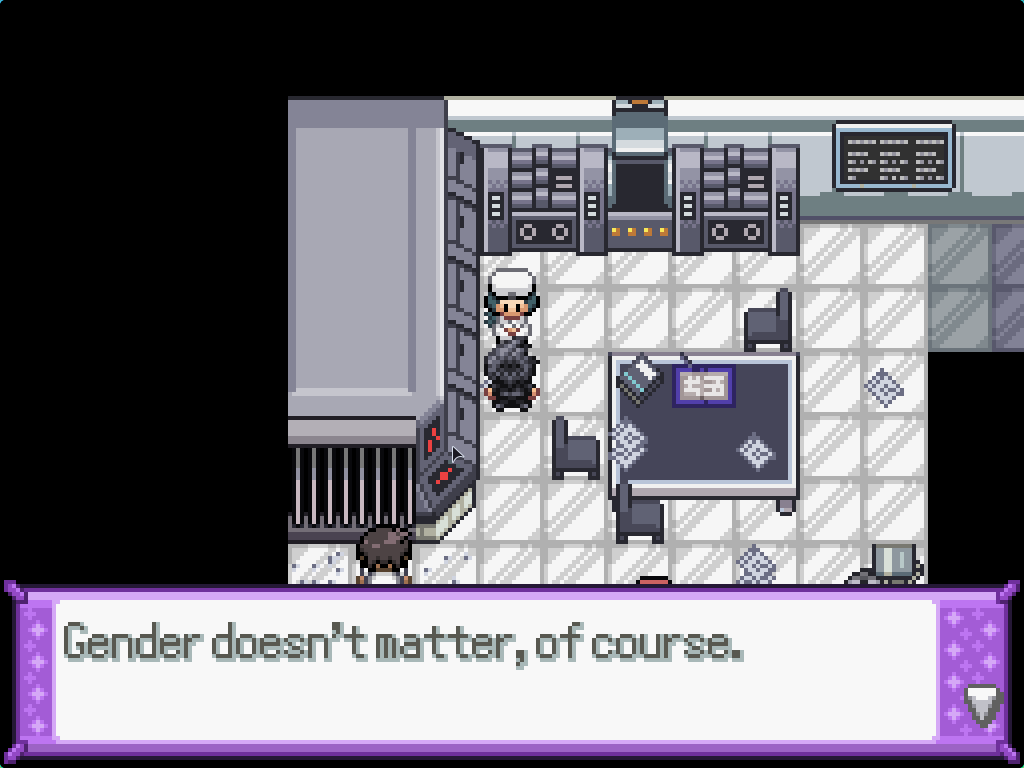
Near the middle of 7th Street is a small building with a healing chamber, a PC, and a blocked-off ladder. Make a mental note of this. At the top to the right is an alleyway that leads to a secret building with a small handful of scientists in it. Talk to the top one staring into the cage for a battle, and she will then ask you to help assemble their creature. You need to get the following Pokémon:
- Carvanha. You already have one if you joined Aqua Gang. If you didn't you can use the Good Rod in that small pool of water in the Aqua Gang's alley to get one.
- Unfezant. You can get a Pidove from the Obsidia Slums and evolve it.
-
Luxray. You can get a
Shinx from the arcade.
You can either be stupid, like I am, and gamble for an hour to get the 5000 dabloons you need. Or you can just buy the 5000 dabloons for merely 100k dollarpounds and get the Shinx like that. Make sure to force feed it the EXP candies in front of the attendants for best effect.
After that, it'll take some time for the mysterious assembly to be ready, so we'll come back later. This isn't urgent, so feel free to do this... whenever.
Finally, there are a ton of tutors and vendors around; make sure to buy the good TMs from one of them in the right-side area, and tutor whatever you want onto your Pokémon.
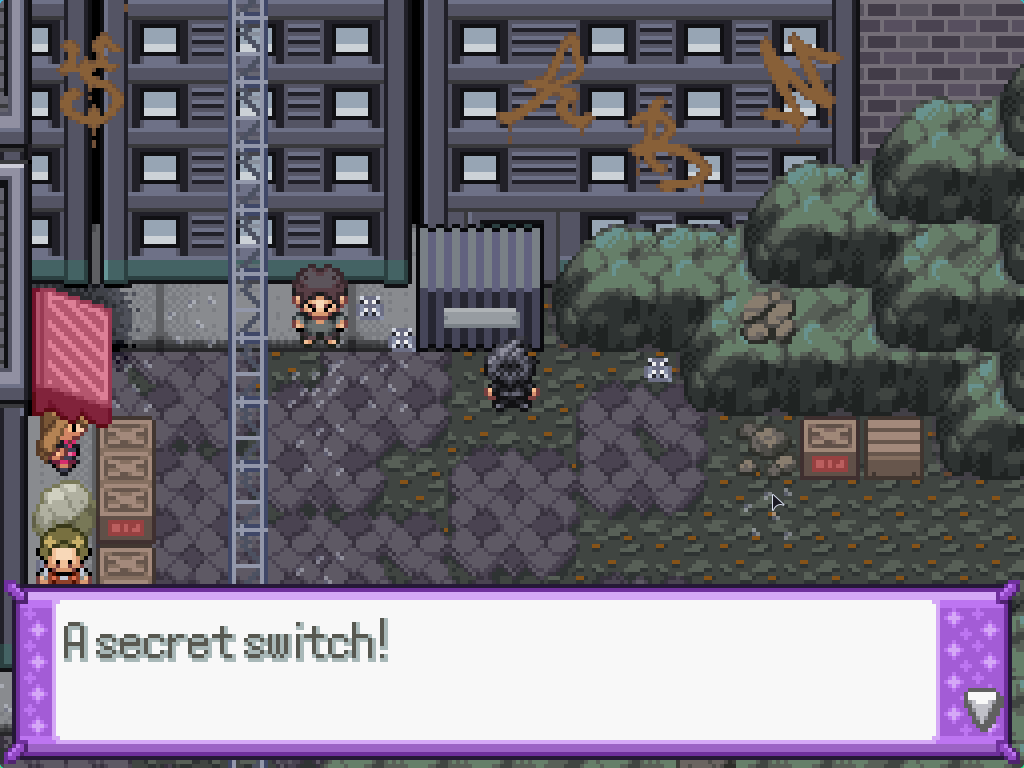
Press the button on this bin to move it to the side, and enter the Beryl Wall. You can get a Piplup here, if you so desire.
To actually begin progressing the plot, you want to go all the way to the left of Beryl Wall and enter the Subseven Scantum below... where you will promptly be captured by Chaser Boy and Elias. Blast it! If you read the cult book in your cell then the guy next to you will notice and use his Klefki to let you out. (We can steal it later, don't worry.)
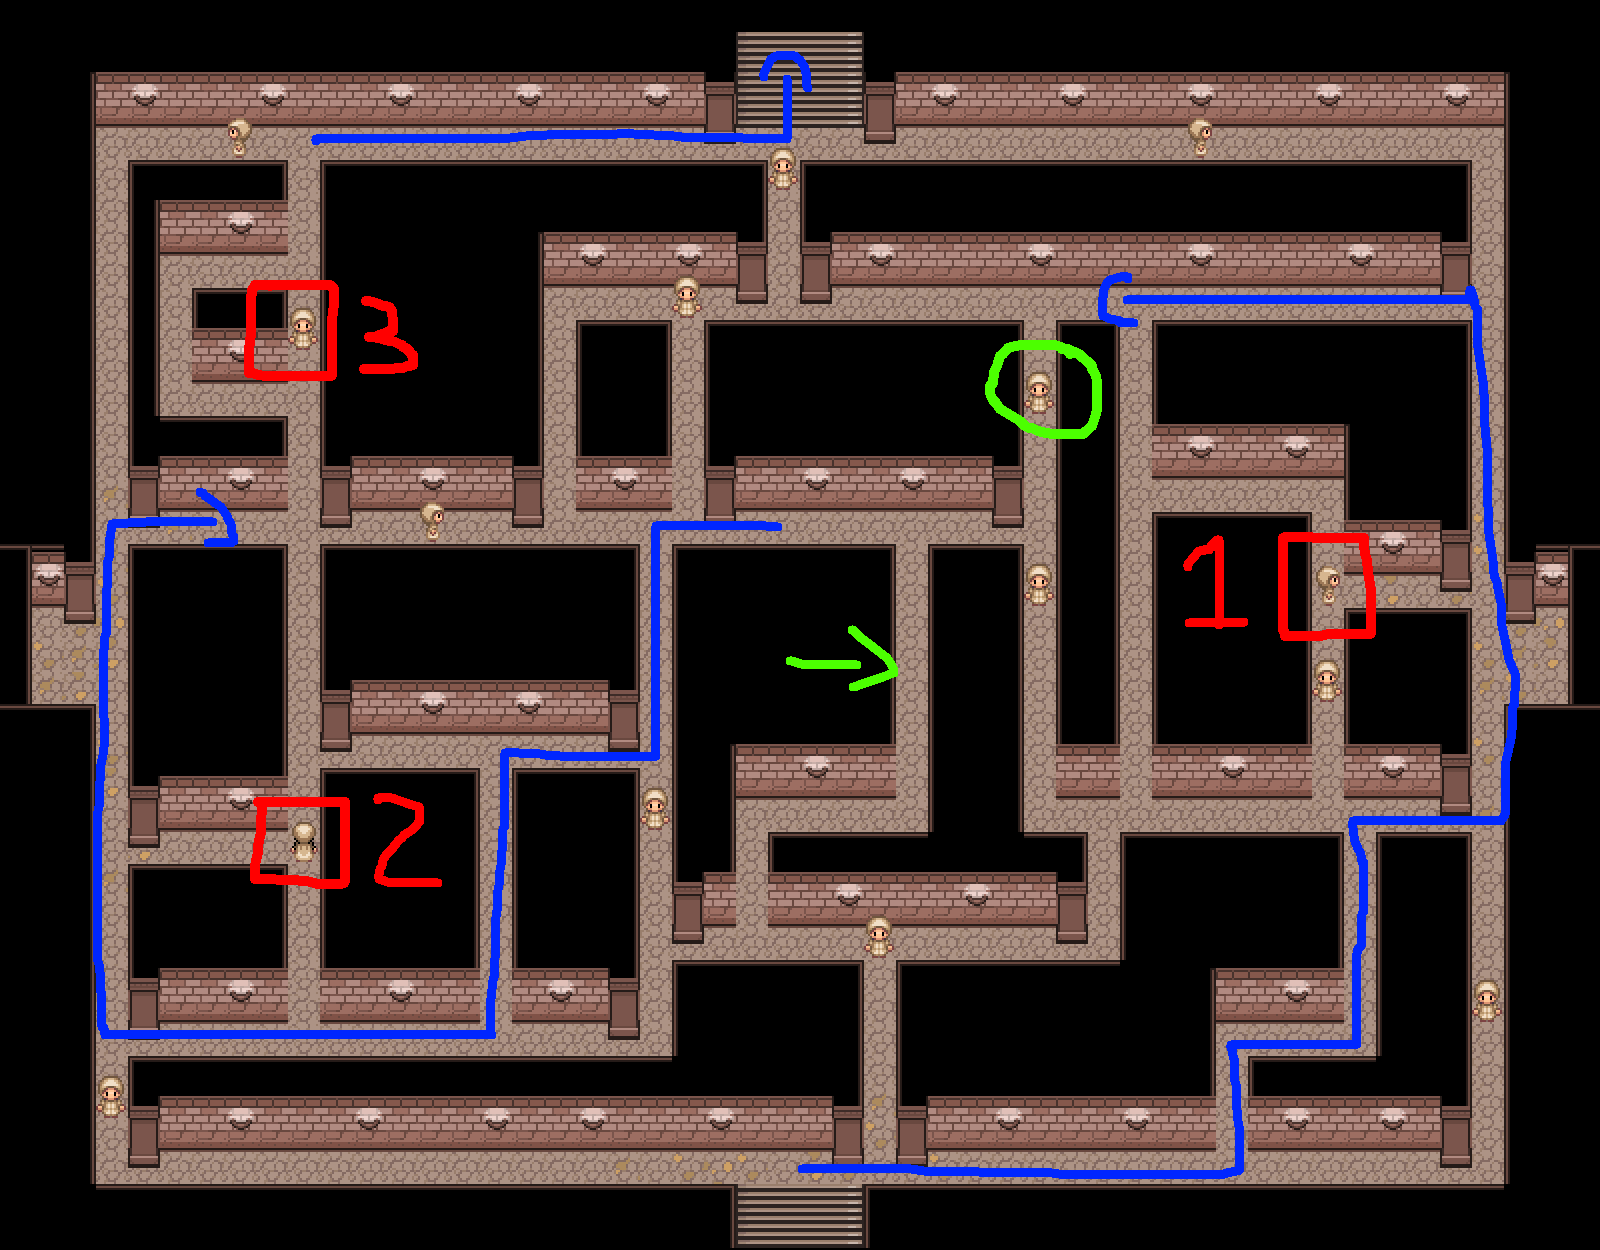
The goal here is to sneak out to the upper layer of the Sanctum without being seen by any of the orderlies. This is a bit of a pain but thanks to my new map renderer I can indeed show you the entire solution as above. First, the orderlies in the red squares spin on the spot, and the orderly in the green circle moves back and forth.
- Follow the first long blue arrow past the Orderly marked 1st, darting past them as they look upwards.
- The green circled Orderly walks down, turns left, walks along the corridor, does a 180, and repeats until they get back to their original position. Walk up behind them, dart down the corridor indicated by the small green arrow, then as they walk past, walk back up and along the second long blue arrow.
- The Orderly marked 2nd looks left and upwards, not down; you can dart past them as they look upwards.
- Finally, the Orderly marked 3rd alternates between upwards and downwards. Dart past them into the C-shaped corridor directly to their left, wait for them to look down, and then walk past them and up towards the stairs.
As soon as you make it to the second floor, all of the orderlies will disappear letting you traverse the floor freely (if you really want to, for whatever reason). There's a Spell Tag in the lower right room but the left room is currently locked entirely.
Once you've made it up to the second floor, you can actually battle the orderlies. All of the battles here are on the Holy Field which is possibly the most annoying field in the game after the Glitch field. The "puzzle" here is that you're meant to read the books to find out the passage names when interacting with each coloured Arceus statue, but I can just tell you the answers instead.
- Green/Emerald Arceus:
3827 - Blue/Sapphire Arceus:
1605 - Red/Ruby Arceus:
2303 - Purple/Amethyst Arceus:
0204
Save the game and heal before continuing up the middle passageway! You'll encounter Ace (for some reason). This fight is pretty obnoxious due to the field effect, but tolerable; some tips:
- A lot of their Pokémon have moves that get a pretty big boost from the field. You're going to take a lot of extra damage if you're not careful; specifically, Mystical Fire and Return both do a lot.
- Serene Grace Togekiss. Outspeed it, kill it. Done.
- Ace finally learnt not to send out Zoroark as their first Pokémon! You'll have to figure it out by inference; what is it strong against? That's when it'll be sent out.
- Their Zam has choice scarf; let it lock into a move and then use the free turn to set up your Pokémon. Easy.
- Extreme Speed does a lot of damage on this field, and it hits Ghost and Dark types for super-effective damage. Use it (perhaps with a Normal Gem?) to kill e.g. Meowscarada.
Meteor Agent Ace of Hearts
| Sprite | Name | Level | Ability | Held Item | Moves | EVs |
|---|---|---|---|---|---|---|
|
|
Alakazam | 65 | Magic Guard | Choice Scarf |
|
0/0/0/0/0/0 |
|
|
Zoroark-Hisui | 65 | Illusion | Black Glasses |
|
0/0/0/0/0/0 |
|
|
Togekiss | 65 | Serene Grace | Leftovers |
|
0/0/0/0/0/0 |
|
|
Primarina | 65 | Liquid Voice | -- |
|
0/0/0/0/0/0 |
|
|
Meowscarada | 65 | Protean | Tanga Berry |
|
0/0/0/0/0/0 |
|
|
Delphox | 65 | Magician | Magical Seed |
|
0/0/0/0/0/0 |
After a very uncomfortable cutscene that is about two steps away from saying a slur, you get teleported back outside and are subjected to some really terrible dialogue. Say no to Cain's offer to walking back as there's a few things you need to do yet. If you haven't already gotten one, go down to the bottom of the map to buy a Soul Candle from the man standing on a box in the cage. Return to the Sanctum and interact with the chain table to encounter a Litwick.
If you return to the alleyway from before, the scientist is finished creating their new Pokémon. Talk to her for a small cutscene... before she gets killed by the Type: Null. You helped make this, so you can add animal mutilation and torture to your list of crimes (after trafficking, gangooning, theft, intimidation, and maybe drug dealing).
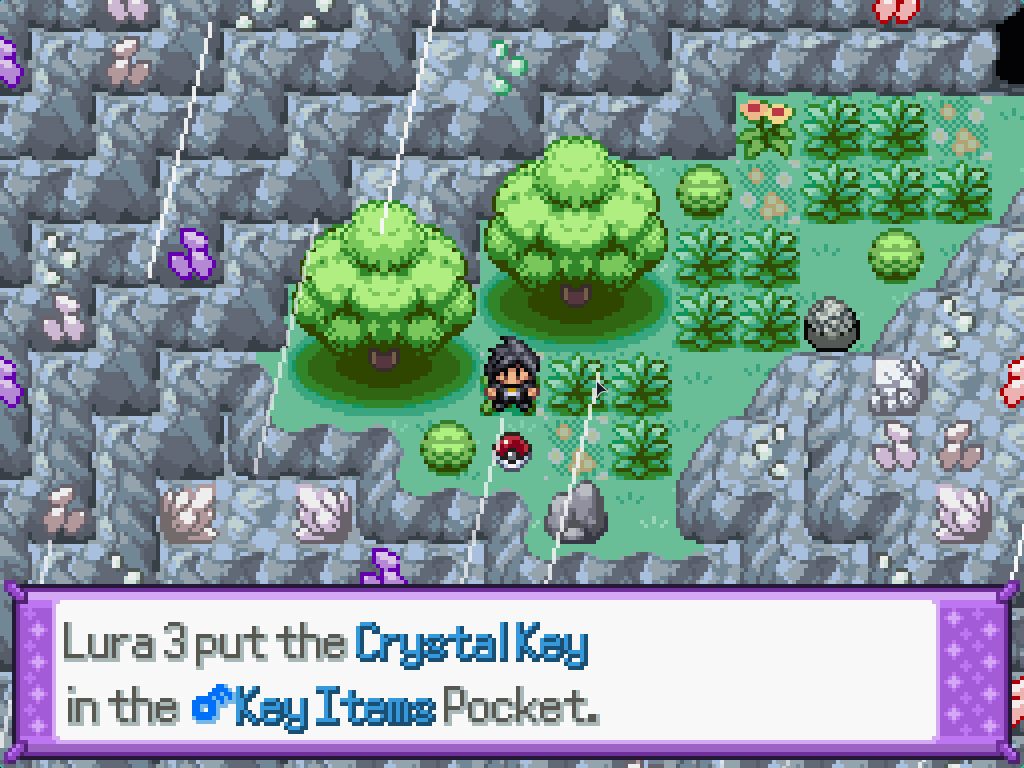
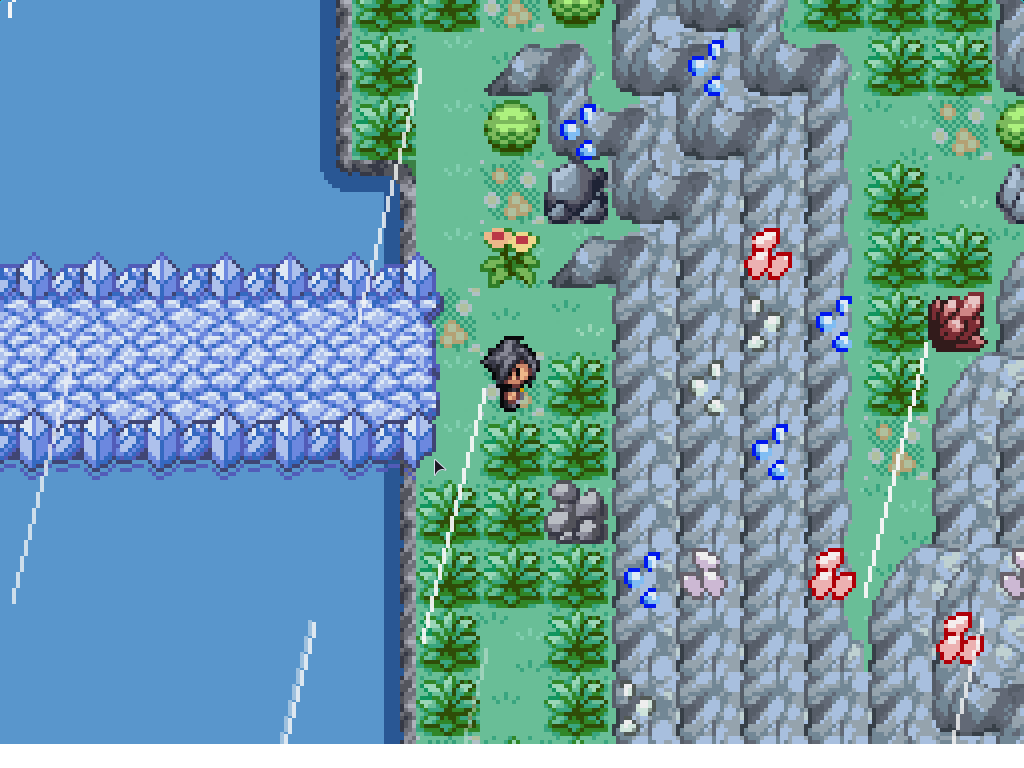
Next stop: the Iolia Valley! Normally, you would need Rock Climb to get there... but you can instead use the conspicious tree you find in the Vanhanen Labyrinth and transit through a small cave, then use the Crystal Key on the rock to open the entrance.
Iolia Valley
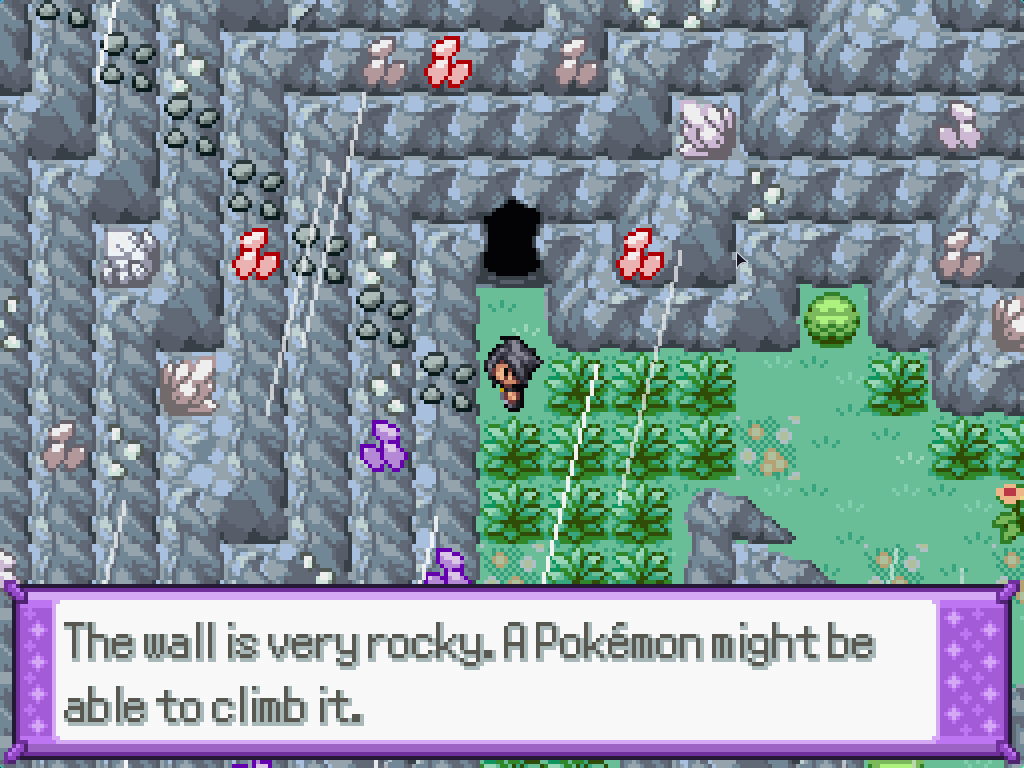
Wow, it's the Iolia Valley! This has a fairly substantial (and scary) puzzle to get through, but your reward at the end of it is in fact a gym battle!
Full Iolia Valley puzzle solution
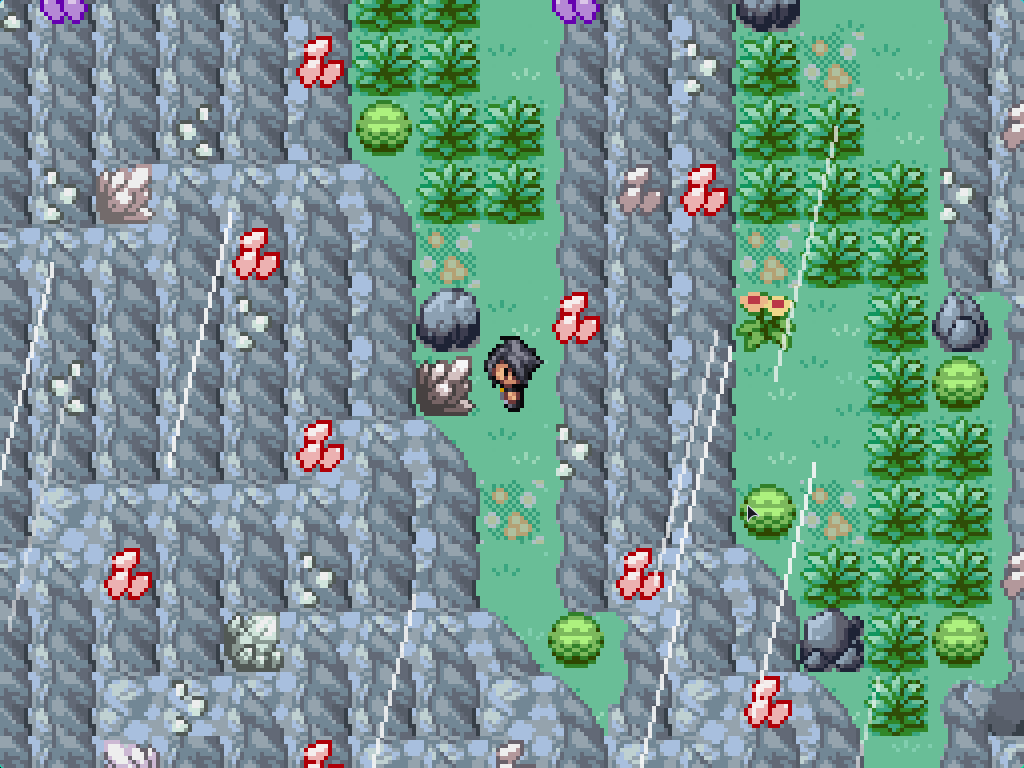
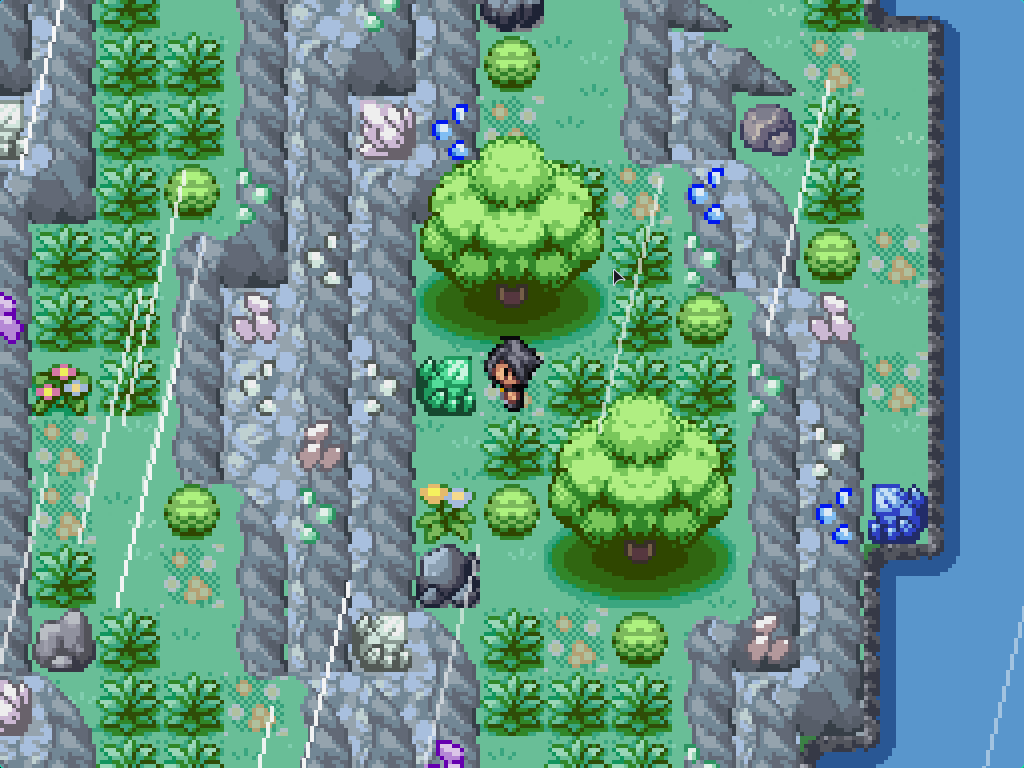
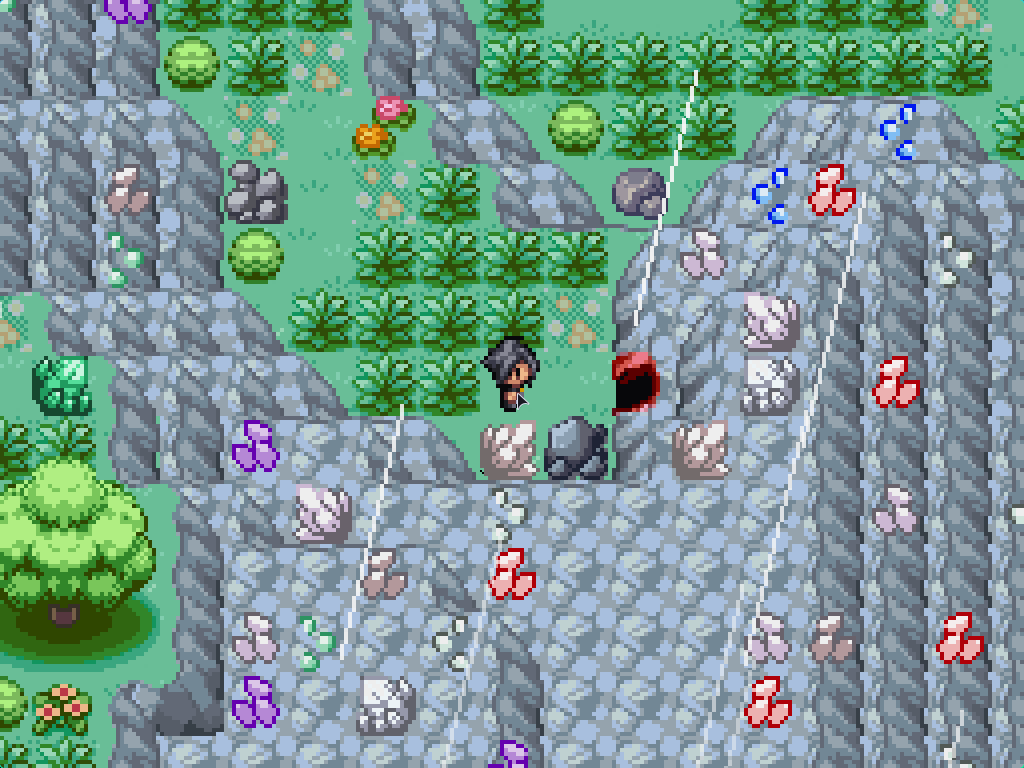
The gimmick of this gigantic, map-wide puzzle is the usage of the crystal keys to change the environment. Right now, you only have the red key, so you can only interact with red glowing rocks. There's only one of these available and it's on the top-most path, which will reveal another red rock door in the cliff face when done. These doors can be Rock Smash'd to open a path to a cave of various sorts.
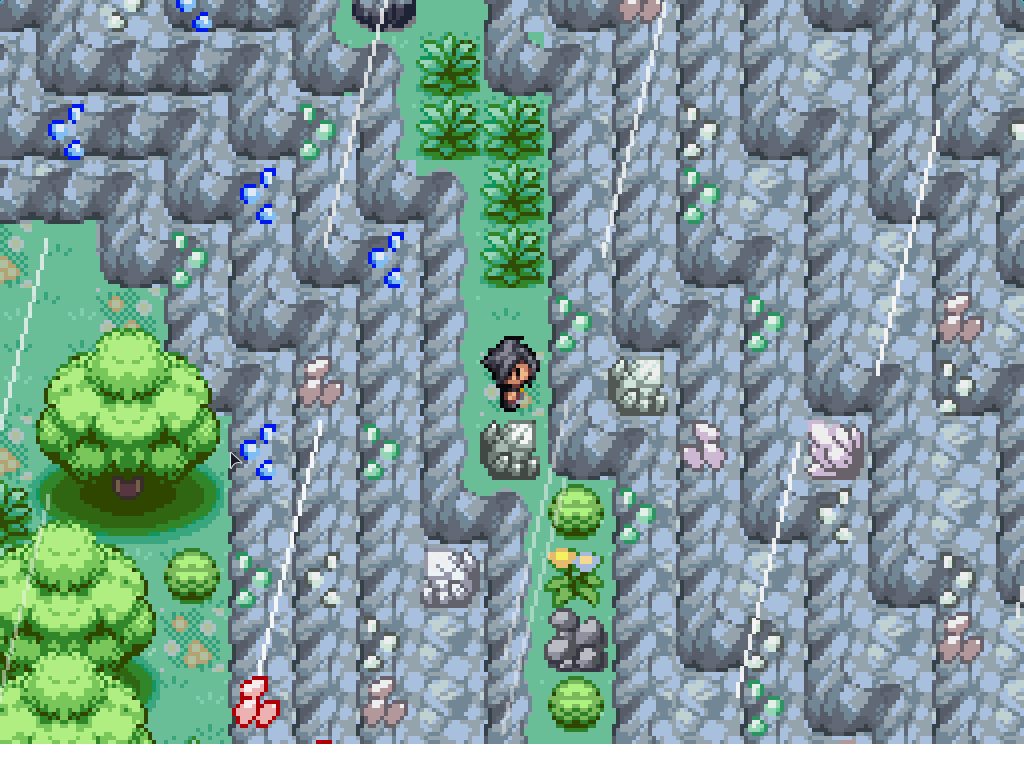
After passing through the small cave, you get spat out in another area in the valley. Walk along the path to find this red rock, which will another red rock door to a third area.
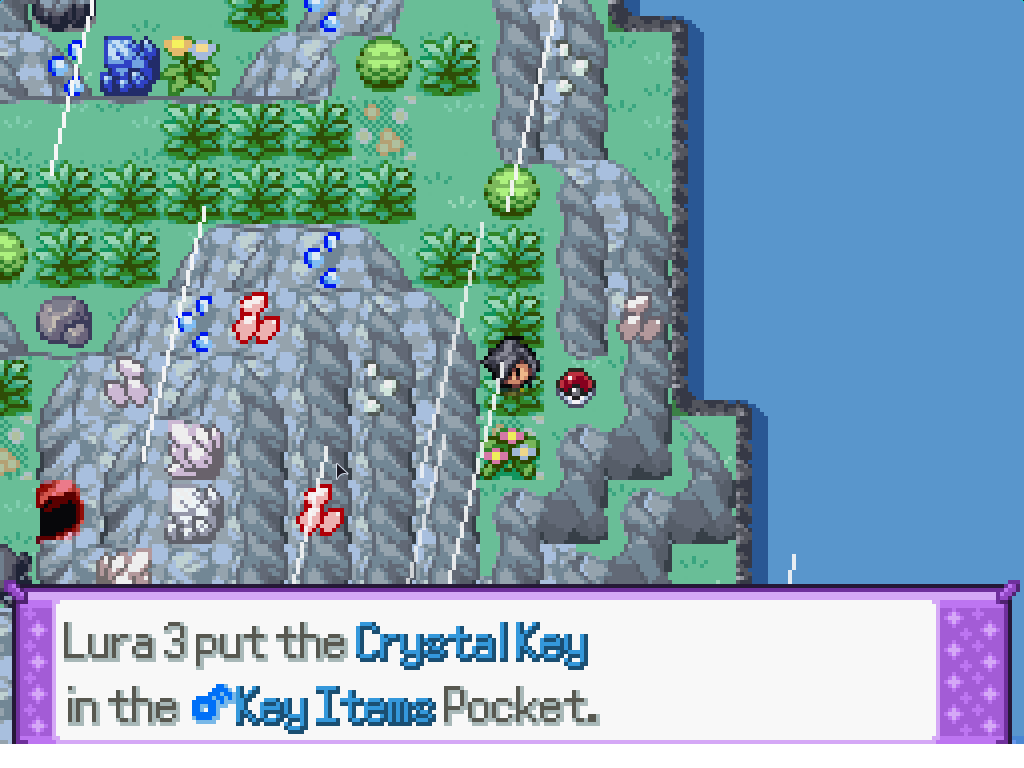
This will lead you to an area on the cliff face that contains the green crystal key. Pick it up and walk back through the caves all the way to the first area in the valley.
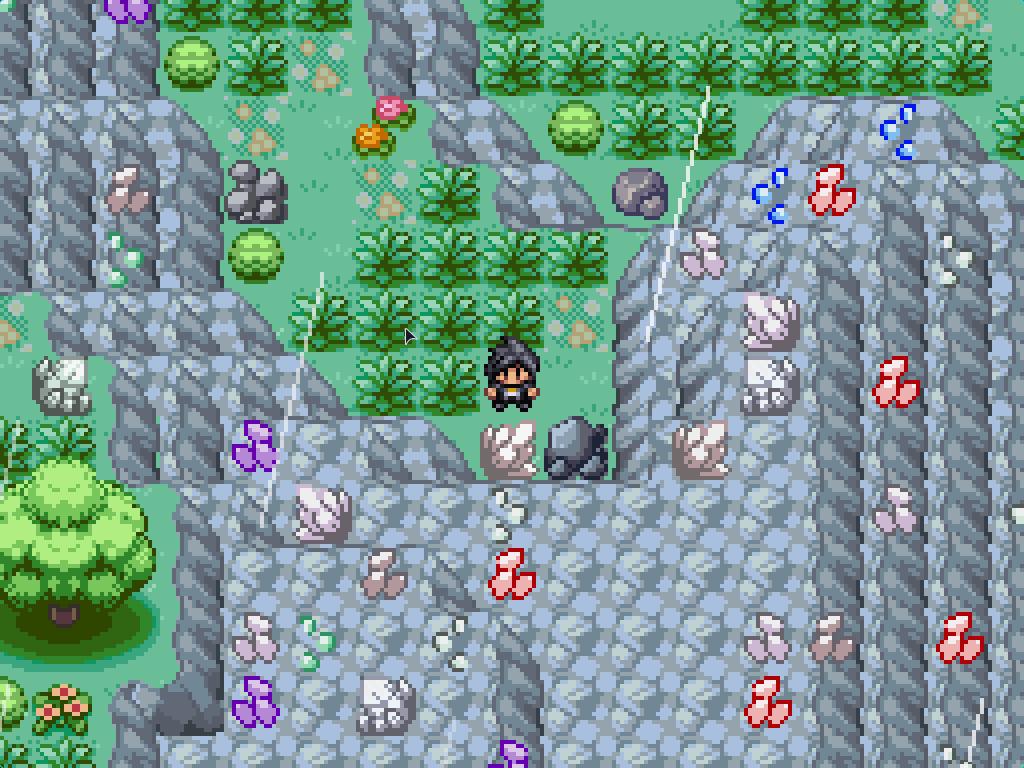
Green rocks will replace certain objects such as bushes around them with rock smashable green rocks. This one is available on the second pathway in the first area; activate it, and smash the rock in front of you to proceed forwards. This will lead to a red rock, which creates a door slightly further back, as well as a small cutscene with Bennett inside the cave.
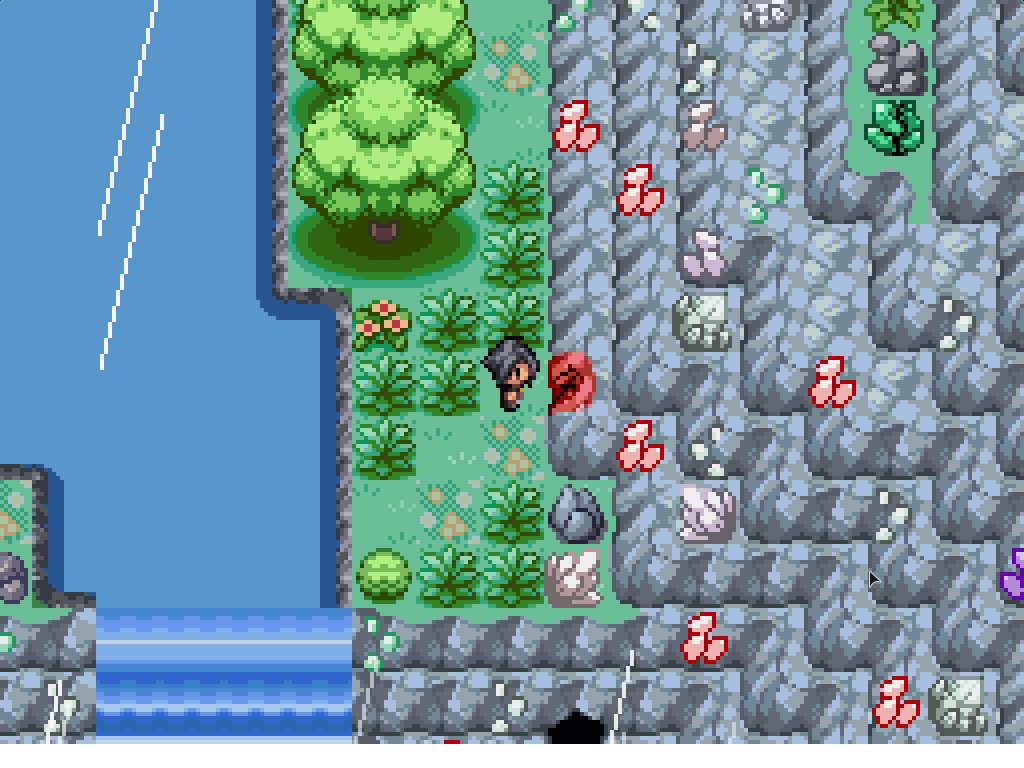
Continue through the next cave to find yourself in the second valley area again. Here you will find the blue crystal key, as well as a Hisuian Rufflet that will join you if you have a Pokesnax.
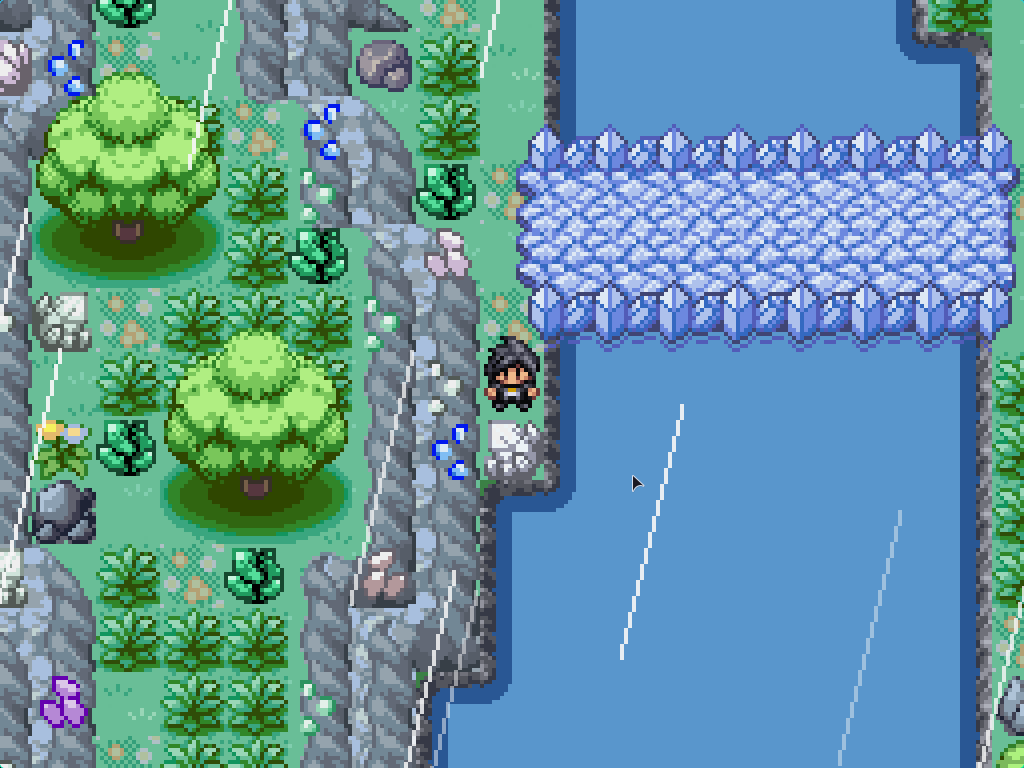
Return back to the first valley area again and proceed to the bottom-most path to find a blue glowing rock. Blue rocks will build bridges over water when interacteed with, so interact with the rock to get to the other side of the valley.
There's two paths here to follow, but the bottom one is blocked off eventually by an impassable bush. Activate the green rock at the top of the map and proceed to the red rock to open a path through a cave. This cave has a purple rock in it that can't be activated yet, so continue through into the other door. We'll come back to this purple rock a lot later in the game, so don't worry about it for now.
Proceeding through the cave will expel you out on the bottom upper side of the first area; walk the entire way until you find this green rock and activate it. This will unblock the lower route on the right side of the first area.
Return back to the lower route on the first area, and activate all of the rocks you find until you can make this door. Enter the cave to find the purple crystal key, and a cutscene with Bennett. You can tell him either yes (+1 relationship point) or no (-1 relationship point); this doesn't affect anything else, so feel free to pick either.
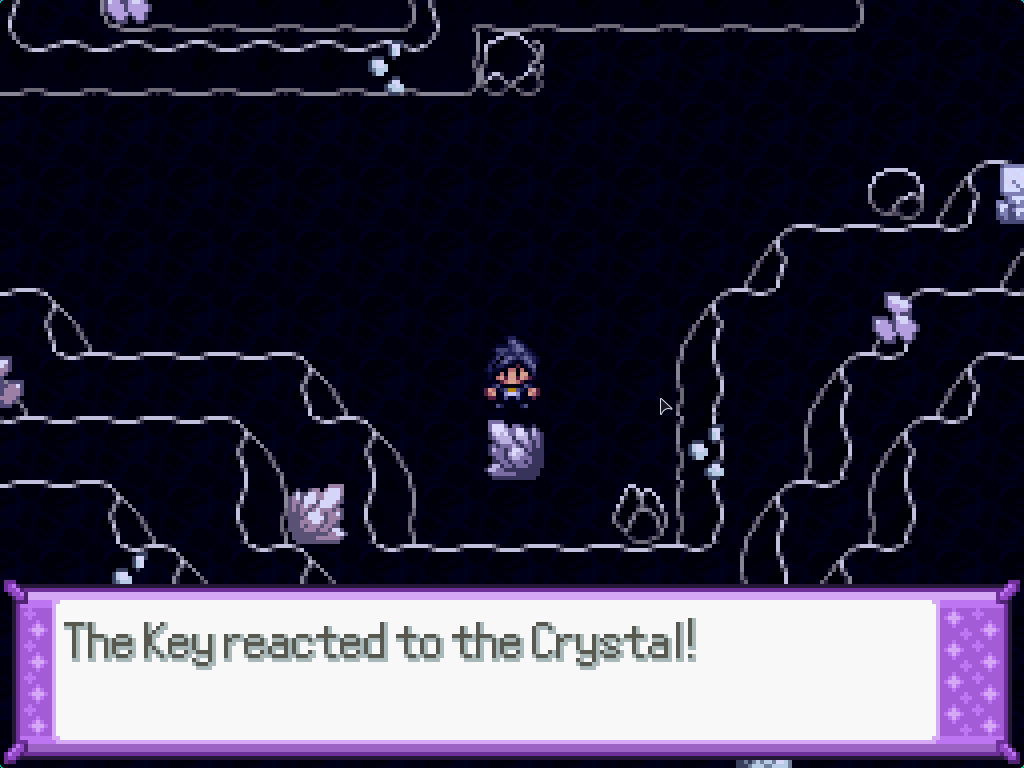
Purple rocks will change the layout of certain caves inside the valley. Activate the purple rock in this cave to change the layout, and then proceed out of the new lower exit. Activate a blue and red rock in the new area to find another door in the second area of the valley. This leads to a single purple rock that will change the layout of a different cave somewhere else.
After activating that rock, backtrack all the way to this door in the second area. There's now a slightly narrow cave exit to an area on the clifftop, as well as a light shard. Proceed around the corner to find Luna's gym.
After solving the puzzle and making it to the Gym, you will get a very awkward cutscene between Bennett and Luna... and then Bennett challenges you to a battle for your Crystal Keys. There's absolutely no difficulty here; set up on him whilst his Volcarona flails around ineffectively, then kill everything.
Chaser Bennett
| Sprite | Name | Level | Ability | Held Item | Moves | EVs |
|---|---|---|---|---|---|---|
|
|
Volcarona | 65 | Flame Body | -- |
|
0/252/252/0/0/4 |
|
|
Venomoth | 65 | Shield Dust | Leftovers |
|
0/0/0/0/0/0 |
|
|
Dustox | 65 | Compound Eyes | Leftovers |
|
0/0/0/0/0/0 |
|
|
Kleavor | 65 | Sharpness | -- |
|
0/0/0/0/0/0 |
|
|
Yanmega | 65 | Speed Boost | Life Orb |
|
0/0/0/0/0/0 |
|
|
Masquerain | 65 | Intimidate | Leftovers |
|
0/4/0/252/252/0 |
After beating him down, a teleporter appears that will take you back to the start of the valley, which saves you trekking through all of the caves. When you're ready, activate the purple crystal to switch to Luna's gym room and talk to her to fight her. This is a fairly middle of the road gym battle—not too hard, but not too easy, either. As usual, here's your tips:
- Her Grimmsnarl will set up screens for eight terms on you which massively reduces the damage all of her Pokémon take. As she has some relatively bulky ones which can heal and spread status, consider packing something with Brick Break, or stall it out with healing or setup moves.
- Her field gives a nice boost to her Dark-type moves, but you can break it easily with Earthquake to get the Cave field. The cave field amplifies Bug Buzz... which lets you easily dismantle her team of dark types.
- If you're relying on Fighting types, her Sinistcha is Ghost type and can hurt you bad. Just make sure something knows Knock Off or a Fire-type move to deal with it.
- Her Honchkrow is bulky, doesn't get taken down by Rock type moves easily (which the field would otherwise help with), and can do a lot of damage with Brave Bird, so make sure to kill it as soon as possible. Electric types can help.
- Her Umbreon knows Wish/Protect so it can heal itself very easily, Foul Play will use your buffs against you, Toxic can put your strong Pokémon on a timer, and Synchronise can ruin your day. Poison it using a Poison type, and use a special attacker, and it'll go down in no time.
- With the field being so easy to destroy it becomes mostly irrelevant, so this is a test of your teambuilding and strategy rather than countering her field. Keep calm, and don't be afraid to reset.
Dark Dreamer Luna
| Sprite | Name | Level | Ability | Held Item | Moves | EVs |
|---|---|---|---|---|---|---|
|
|
Grimmsnarl | 65 | Prankster | Light Clay |
|
252/0/4/0/0/252 |
|
|
White Rabbit | 65 | Pressure | Life Orb |
|
4/252/0/0/0/252 |
|
|
Jubjub Bird | 65 | Moxie | Charti Berry |
|
0/252/0/0/4/252 |
|
|
Sinistcha-Masterpiece | 65 | Heatproof | Magical Seed |
|
4/252/0/0/0/252 |
|
|
Bandersnatch | 65 | Unnerve | Magical Seed |
|
0/252/0/0/4/252 |
|
|
Cheshire | 65 | Synchronize | Leftovers |
|
252/0/252/0/4/0 |
Missed Events
Now that you have all four parts of the Crystal Key, there's a handful of optional events to do across the rest of the lower Reborn region before we proceed to Agate City. If you don't care for any of these Pokémon, you can go to the next chapter.
- In the Grand Hall, there will be an Old Man sitting on a sofa next to the middle left wall. Talk to him three times to get an egg for Bramblin, Wattrel, and Tatsugiri. (You could've done this before, but I didn't know this event existed until now.)
- Another starter is now available for you to get.
- Your first pseudo-legendary is available!