Badge #17, Pt 2: Operation Iskra
Route 4
When you're ready, return to the area of Route 4 outside Calcenon City and Rock Climb up to the upper area. Follow the path through the trees to find another Rock Climb point; keep going until you find a junction.
If you follow the route to the north, then find the Rock Climb point at the north of that area, you'll get another area which has a field effect related message: "A chill spreads through the air". This means that you need to use Blizzard in a battle; if you do so, you'll find an area with an Ice Stone. (Not worth it.) There's also a Rock Climb point at the southeast of that area, but it's currently empty. It'll lead to a postgame area soon, so remember how to get there.
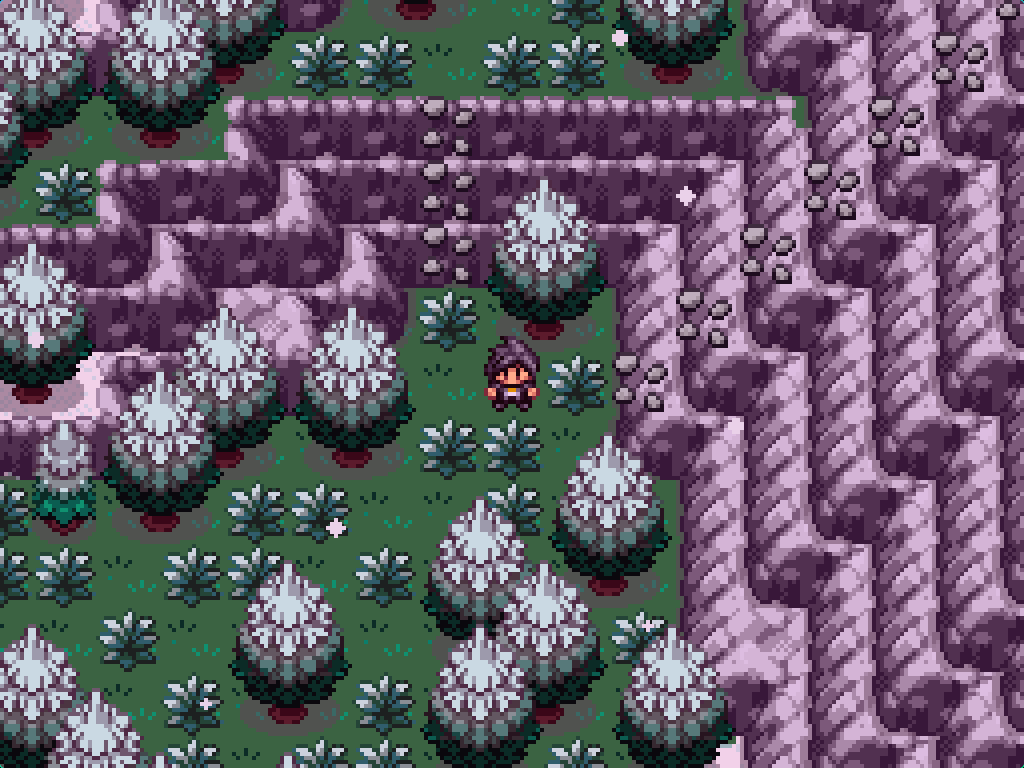
Return to the junction and go up the Rock Climb point to the east to find... a jumping puzzle. (Fuck! Seriously? This far into the game?)
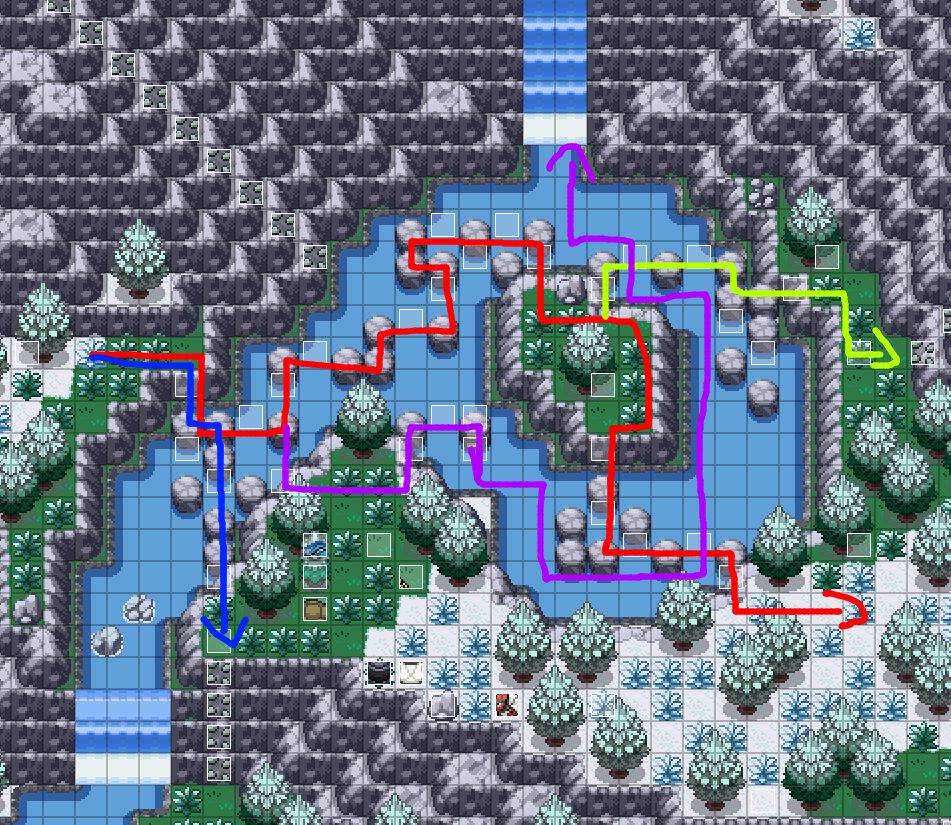
There's four routes you can follow here.
-
The yellow-green coloured arrow leads to a Rock Climb point that leads to an
snowed-over jumping puzzle. Use
Heat Wave to melt the snow and open the
puzzle up to the "cave" (it's actually part of
Charous Mountain, an
area you'll see soon.)
Use Heat Wave inside the cave again to melt it, and surf across to get the Heracronite. - The route from the purple arrow leads to a small outcrop that requires a Blizzard-based field change to create a Rock Climb point. This will take you to a shed that has TM73 Thunder Wave in it.
- The route from the blue arrow doesn't go anywhere yet.
- The red arrow is the one you actually want to follow.
Past the red arrow is an area with yet another fork in the road. If you follow the path to the right, and use Heat Wave to melt the ice, you'll find the Lycantium-Z.
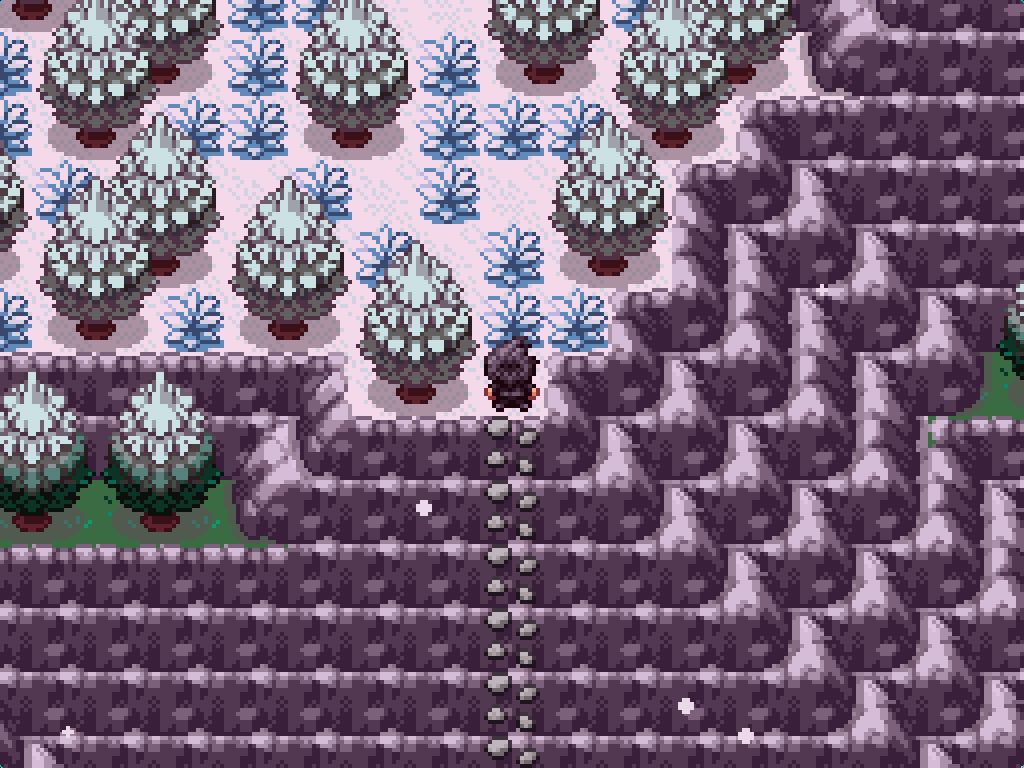
This leads to two more paths! To the south-east is a Rock Climb point that leads to a chain of field effect requirement areas. Use Blizzard to create a Rock Climb point, then Heat Wave again to find... nothing. Go back and follow the Rock Climb point to find ANOTHER jumping puzzle. This one is linear, at least; follow the rocks to find the Glass Workstation.
Talk to Hardy above the workstation for a long (and, interactive!) cutscene before you can enter the workstation itself. If you go behind the workstation's main building, you can find a secret path that will eventually lead to the Mimikyum-Z.
The Glass Workstation
Obviously, this was a trap, and this is a Team Hitler base. This is a very long dungeon so get a drink and some cyanide pills to prepare yourself.
FULL Glass Workstation Puzzle Walkthrough
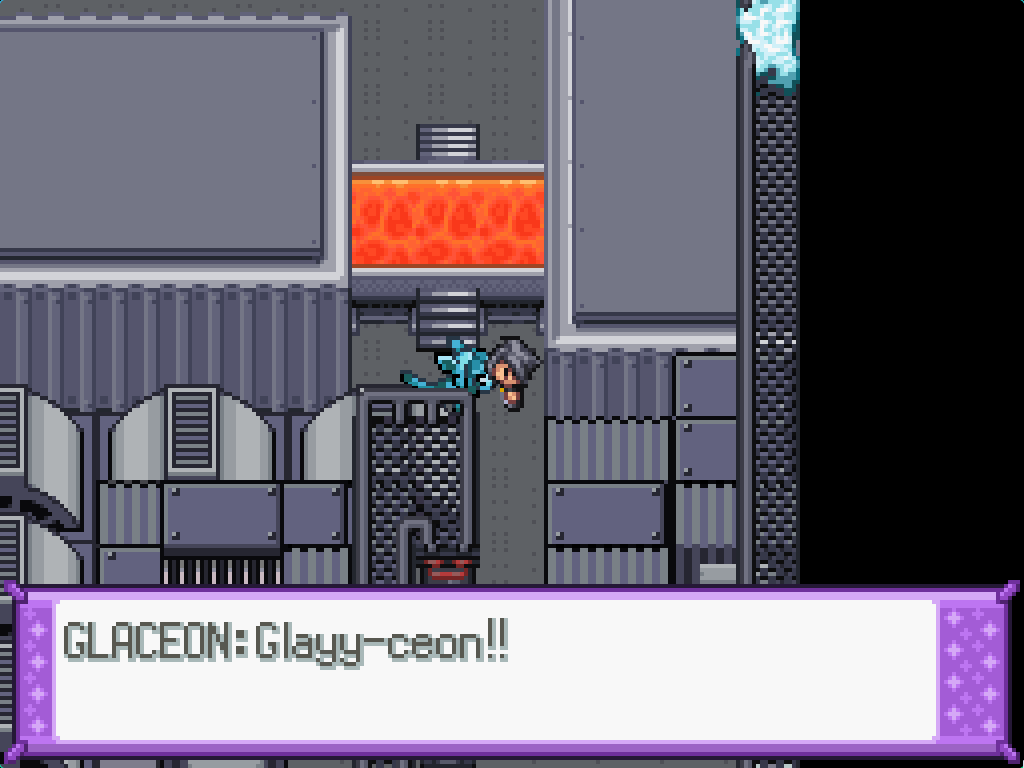
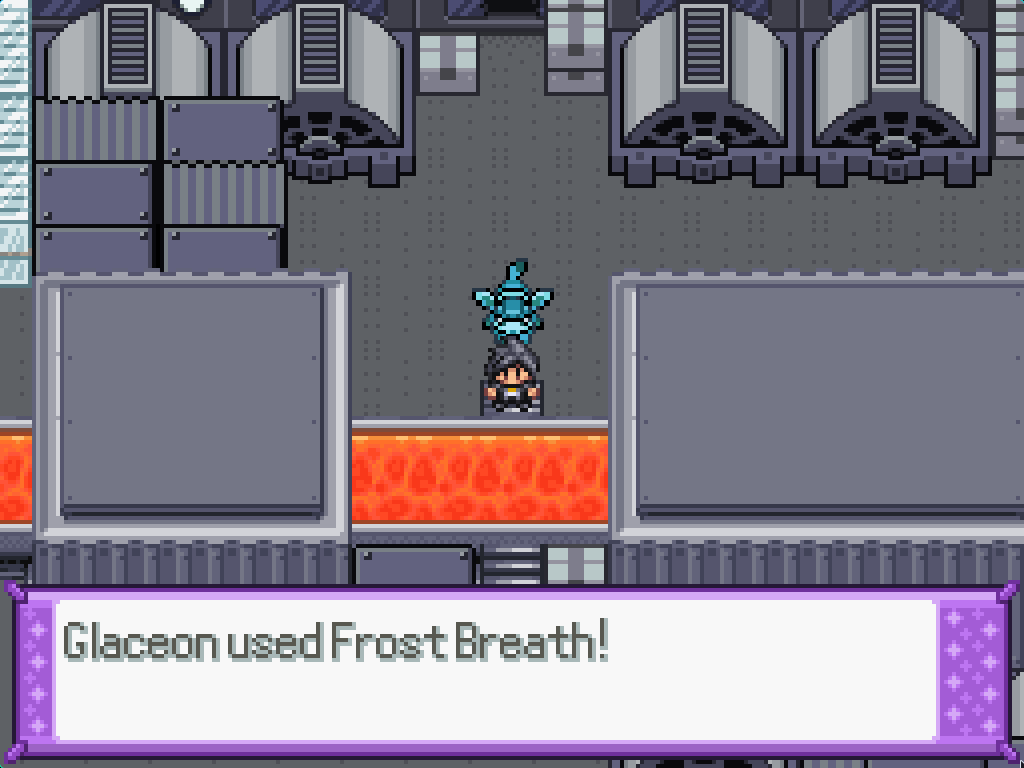
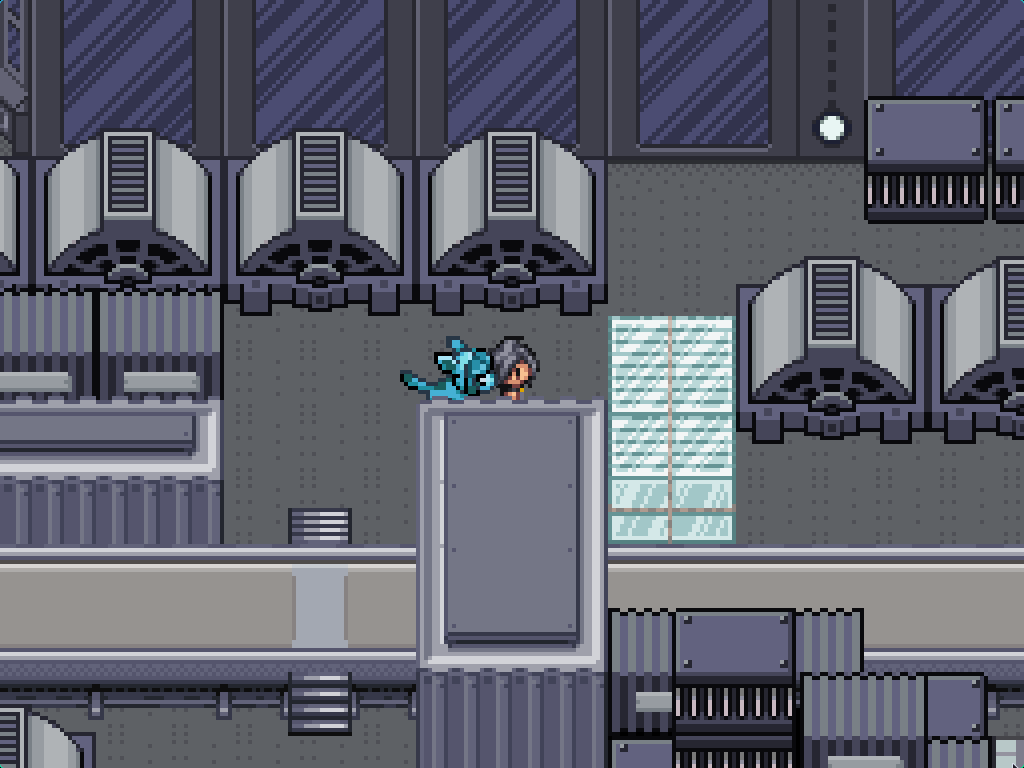
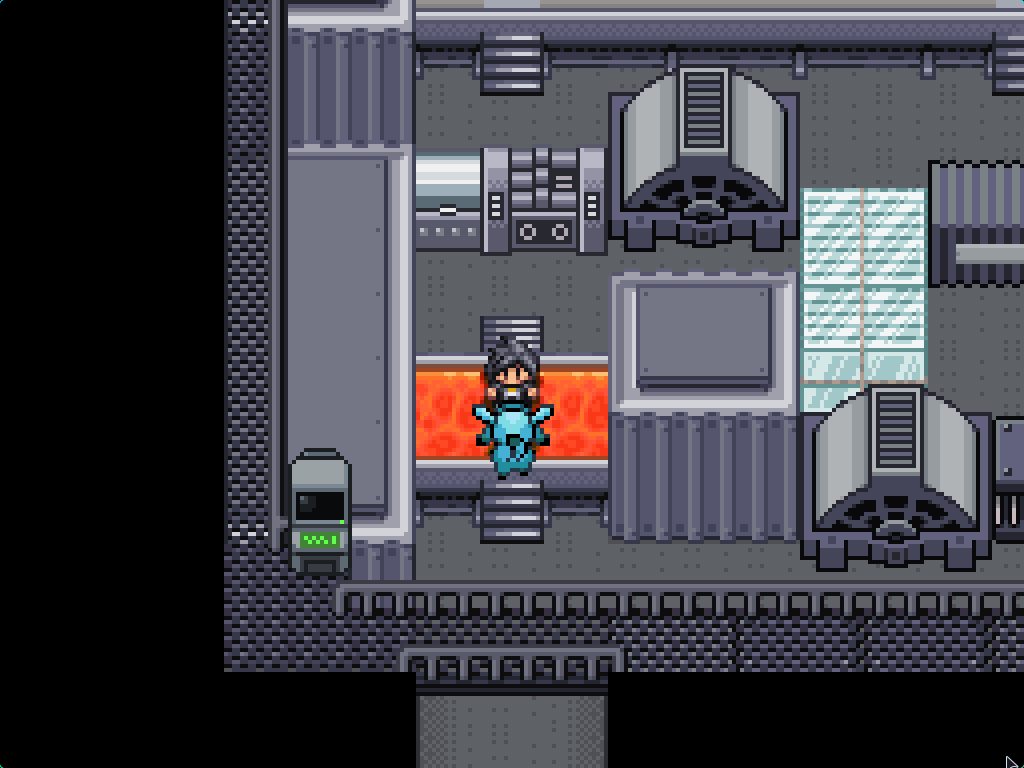
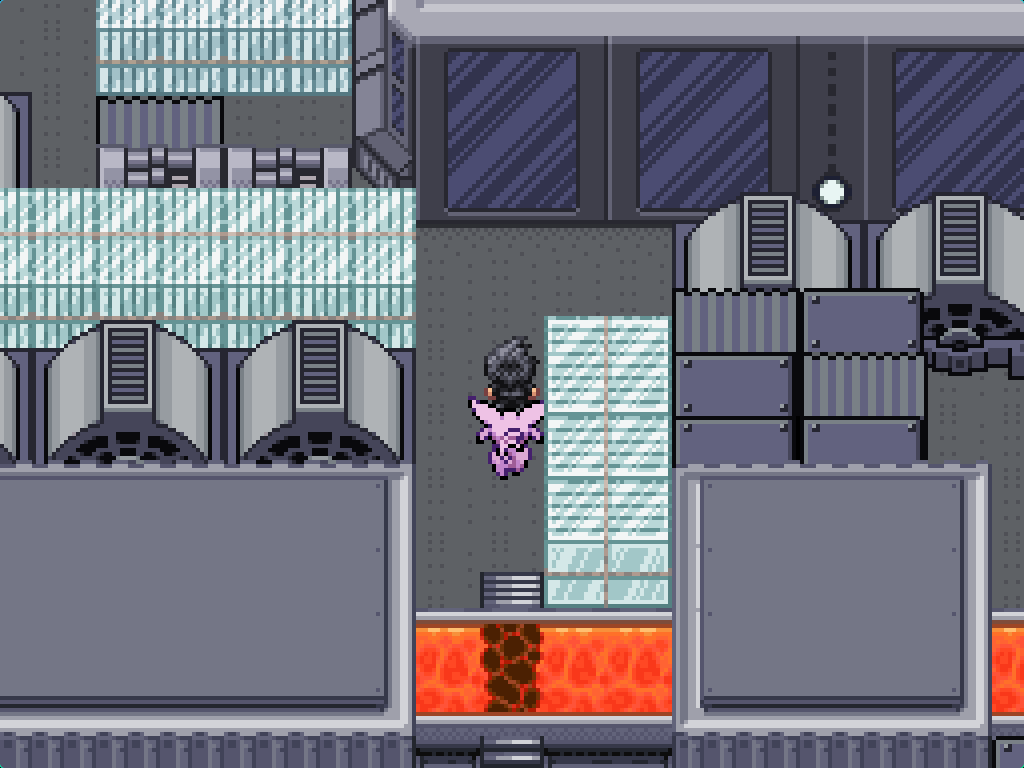
After a small cutscene with Bennett, you can leave the lift and climb up into a maintenance shaft, where you'll find a Glaceon to adopt. Follow it down to the molten glass section where it will freeze the path ahead for you and promptly get captured. Walk up and talk to the Team Hitler soldier who will lock you out of the room where the Glaceon has been captured. Walk around to the side and break the glass window to get inside.
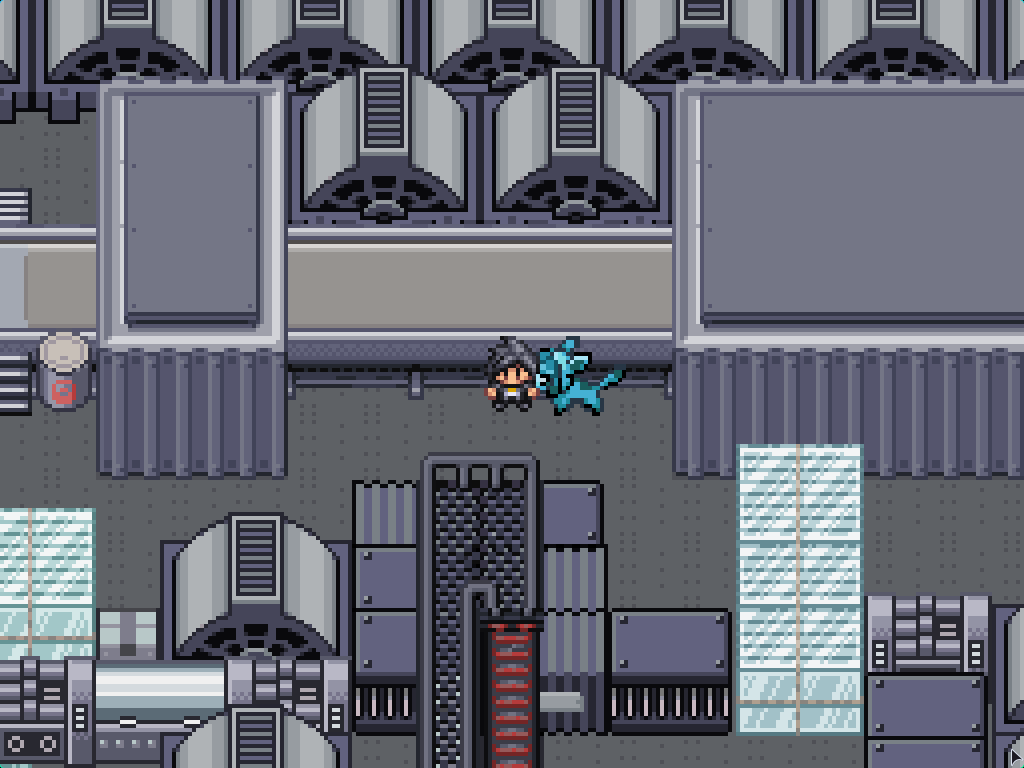
Once you battle the Schutzstaffel soldier, exit through the broken window and interact with the molten glass to create a bridge across. The lava immediately to the left is blocked off by a pallet of glass, so continue to the far left to find a stream of... molten concrete? Freeze all of them in sequence and then walk into the room you find.
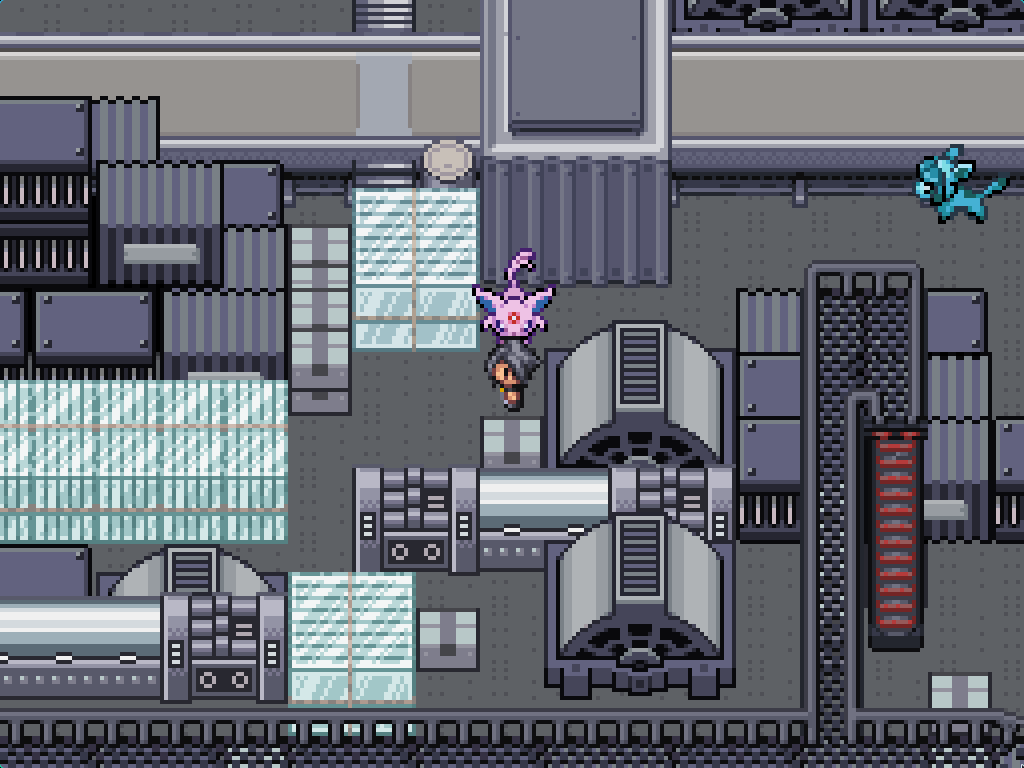
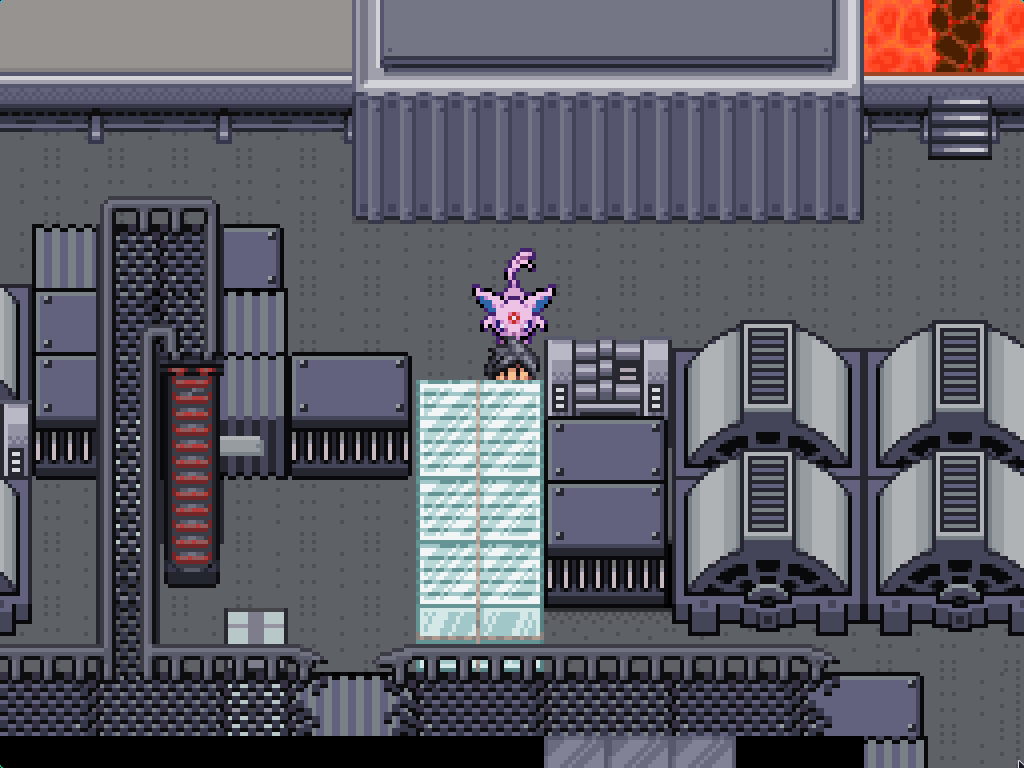
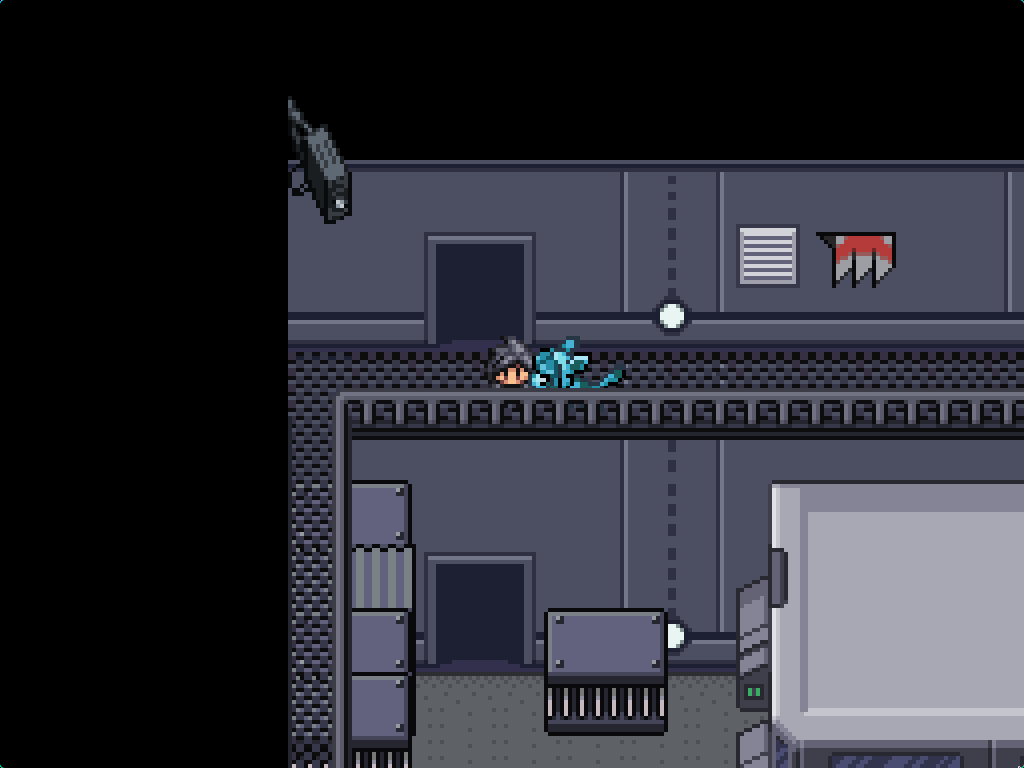
The door will get slammed in your face, and there's no path to a side window... or is there? If you go backwards, the glass that previously blocked you will be knocked out of the way and you can once again enter the side building. Once you battle the Schutzstaffel solder again, you'll find that the Espeon is locked in a cage, and you don't have the key; neither do the SS units inside.
Back outside and to the right is a set of stairs that goes up onto the railings above. Walk up onto them and all the way to another set of stairs. Walk over to the door at the south-west of the room to find the Cage Key being guarded by a Schutzstaffel soldier. Return back to free the Espeon; you'll now have two of them following you around.
You can switch between the two Eeeveelutions by interacting with them. Espeon can give you a poor quality vision of the future, or move the glass pallets around (but only either perpendicularly, or away from you).
This area is very long, with lots of interlocking parts; this is my best guess at the order of things you need to do.

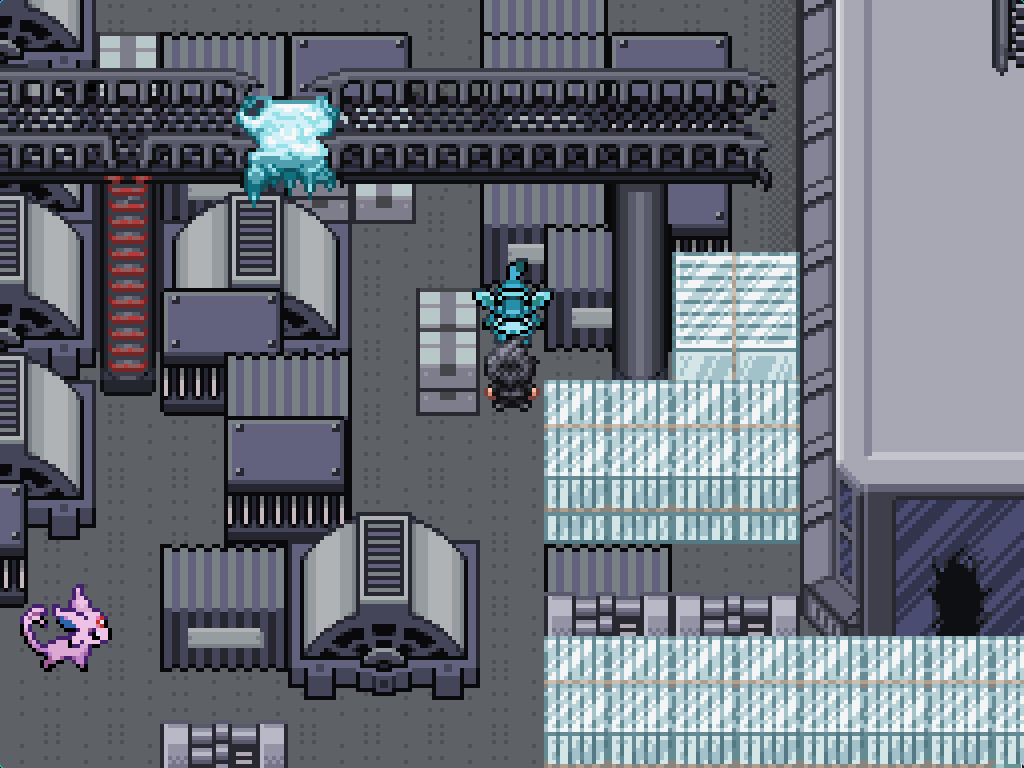
First, make Glaceon sit here so you don't accidentally make it inaccessible. (Glaceon is the less useful of the two Eevees.) Then, make Espeon follow you and move the glass block immediately to your right upwards so that the path is no longer blocked.
Grab Glaceon again and bring it down here. Make it sit here, then return to Espeon.
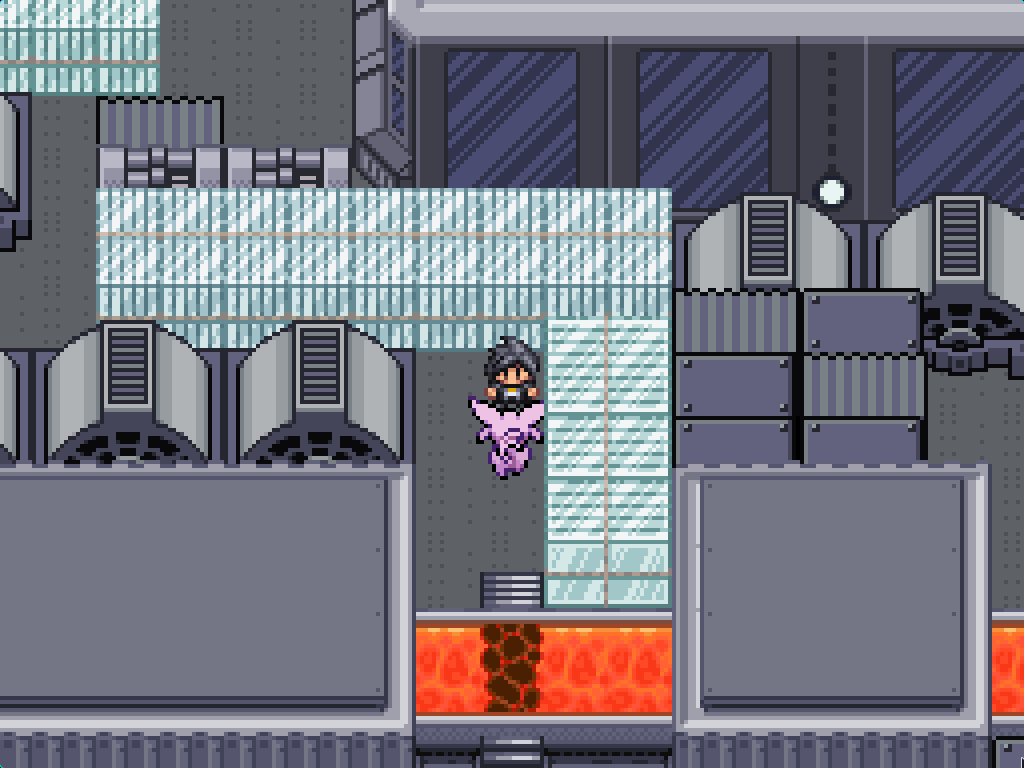
Move the glass blocks out of the way, then set Espeon down near the stairs. Grab Glaceon, bring it over to the stairs too, then use Espeon to move the glass block out of the way and open up the path.
Bring Glaceon over to this area, and freeze the molten glass. Retrieve Espeon and move the glass blocks around at other side of the lava to find the Gyradosite. If you do the same in the bottom room you can find TM29 Psychic.
If you didn't already, move this glass block down to unblock the path to the first two lava bridges.
Cross over the left-most bridge and move these blocks out of the way. You'll need to go back and retrieve Glaceon from where you left it if you left it at the bottom of the map, too.
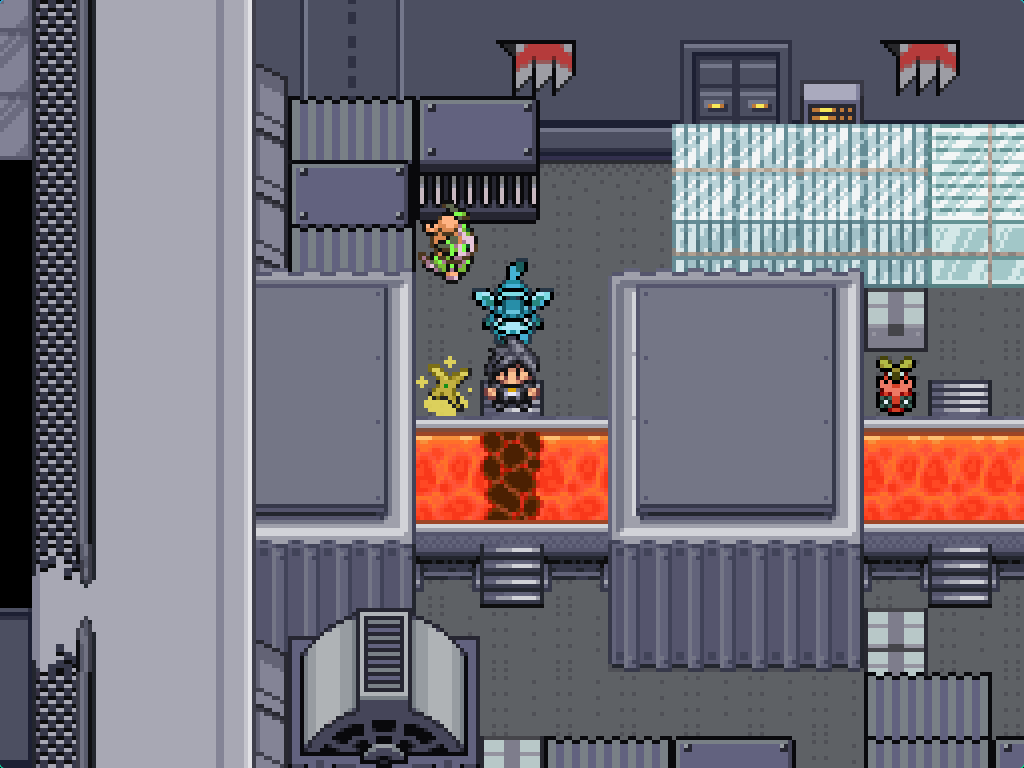
Use Glaceon to make a bridge across this part of the molten lava. You might want to talk to the Genie of Good Game Design next to it, too.
This is likely the point where you are - like me - going to get hard stuck with nowhere immediately obvious to go. You might have figured out that you need to get Glaceon onto the upper railings, but don't know how.
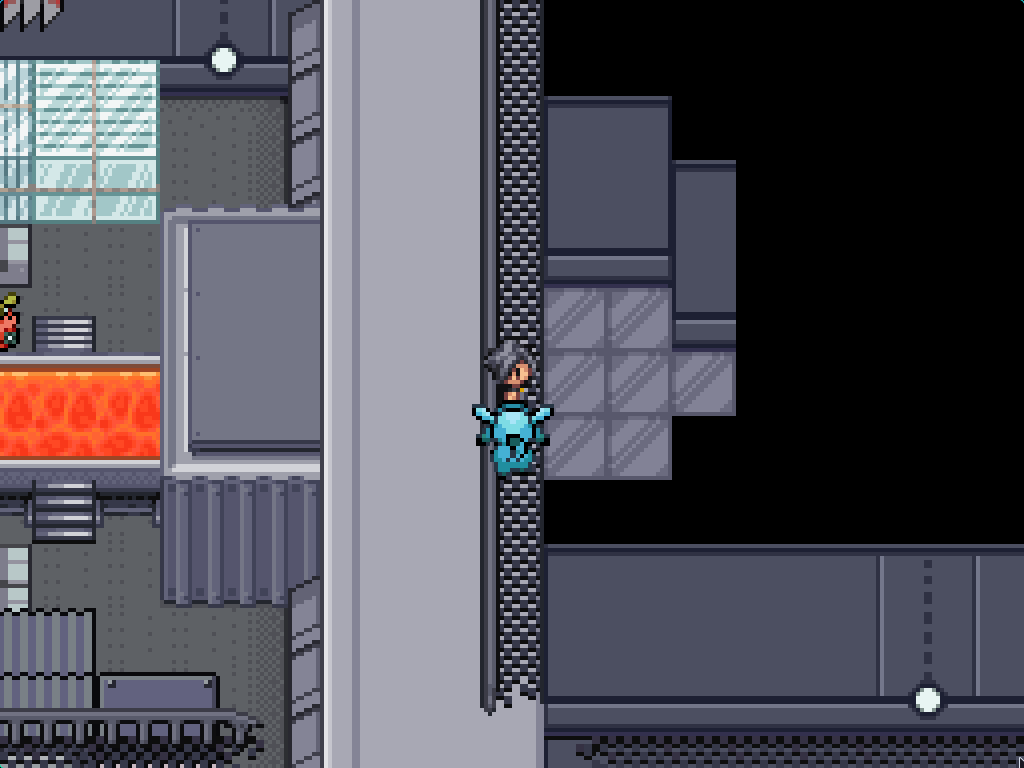
Luckily, there is a solution! Use Espeon to move this block to the left and break the glass. This will re-enable the lifts to the upper railings. It's a good thing that you left Glaceon up near the top lava bridges (you did.. right), as that way you can easily grab it.
Go into this lift and select B1F to get onto the railing with Glaceon. Walk down to the bottom of the railing to find a room with two Schutzstaffel agents in there, TM179 Nasty Plot, and an EV Tuner. Talk to the second agent (Simon) twice for him to wallow a bit (you don't get the option to kill him, but you should). (This is part of the Super Rod quest.)
On this railing are two rooms; one (on the left side) has the Master Ball (!!) in it but isn't accessible yet. The on the right has the Meteor Card in it, as well as two cryogenic storage units containing the bodies of Anna and Noel. If you gave the ring to Blake, then you get the Meteor Card by talking to Aster; if you didn't, it's just laying on a table.
Put Glaceon in this exact spot, then use Espeon to drag the glass box across. Put Espeon next to the molten glass where it won't block your path, then make a path across the glass with Glaceon. Move the box at the top out of the way of the computer, and scan the Meteor Card.
After that ordeal, it's time for the hardest fight in the game: you have to kill thirty Pokémon in a row (two sets of double battles, plus a single battle). If you talk to the Genie of Good Game Design next to the door, you can enable full heals between all three battles instead of just two, which makes the fight a bit easier. But not much.
Choose your team wisely.
As this is basically a superboss, here's some tips:
- You're about to fight Cain and Shelly in a double battle, then Luna in a single battle, and finally Radomus and Serra in a double battle. This means Ground, Dark, and Fire types are your friends.
- If you're quick enough, you can quicksave between the first double battle and the single battle.
- The Factory Field remains the entire time, but it's not especially helpful. Just don't break it when you're fighting Luna as she'll get a nice power boost from her attacks as a result.
- With the elevators enabled, you can easily fly out and catch things if you need to. Play around with your team composition a bit.
- To some degree, this battle is balanced around being able to use healing items. I don't think many people really play without them on. So, if the difficulty feels too absurd, just keep that in mind.
- Talk to the Genie! You'll get a full restore between Luna and the Double Battle! It's not cheating!
-
For that matter, neither is using the
litemodepassword. You can buy data chips all the way back at 7th Street. It's an unfair fight anyway.
Battle #1: Shelly & Cain
Bookworm Shelly
| Sprite | Name | Level | Ability | Held Item | Moves | EVs |
|---|---|---|---|---|---|---|
 |
Ribombee | 81 | Sweet Veil | Babiri Berry |
|
0/4/0/252/252/0 |
 |
Spidops | 80 | Stakeout | Synthetic Seed |
|
0/252/252/4/0/0 |
 |
Scolipede | 81 | Speed Boost | Muscle Band |
|
0/4/252/252/0/0 |
 |
Volcarona | 82 | Swarm | Leftovers |
|
0/4/0/252/252/0 |
 |
Yanmega | 83 | Speed Boost | Heavy-Duty Boots |
|
0/4/0/252/252/0 |
 |
Mothim | 83 | Swarm | Mothimite |
|
0/4/0/252/252/0 |
Pretty Boy Cain
| Sprite | Name | Level | Ability | Held Item | Moves | EVs |
|---|---|---|---|---|---|---|
 |
Espathra | 81 | Opportunist | Psychic Gem |
|
0/4/0/252/252/0 |
 |
Skeledirge | 81 | Unaware | Leftovers |
|
0/252/0/0/252/0 |
 |
Primarina | 82 | Berserk | Mystic Water |
|
0/128/0/128/252/0 |
 |
Obstagoon | 81 | Reckless | Chople Berry |
|
0/128/252/128/0/0 |
 |
Muk-Alola | 81 | Alchemy | Black Sludge |
|
0/252/252/0/0/4 |
 |
Nidoking | 83 | Rivalry | Leftovers |
|
0/4/0/252/252/0 |
Battle #2: Luna
??? ?????
| Sprite | Name | Level | Ability | Held Item | Moves | EVs |
|---|---|---|---|---|---|---|
 |
Weavile | 83 | Pickpocket | Focus Sash |
|
0/4/252/252/0/0 |
 |
Grimmsnarl | 83 | Prankster | Light Clay |
|
0/252/252/0/0/4 |
 |
Polteageist | 84 | Weak Armor | White Herb |
|
0/104/0/252/152/0 |
 |
Honchkrow | 84 | Moxie | Life Orb |
|
0/4/252/252/0/0 |
 |
Absol | 85 | Pressure | Absolite |
|
0/4/252/252/0/0 |
 |
Umbreon | 86 | Magic Guard | Leftovers |
|
0/252/0/0/0/252 |
Battle #3: Radomus & Serra
??? ?????
| Sprite | Name | Level | Ability | Held Item | Moves | EVs |
|---|---|---|---|---|---|---|
 |
Clefable | 81 | Magic Guard | Leftovers |
|
0/252/0/0/252/0 |
 |
Kingambit | 83 | Defiant | Life Orb |
|
0/252/252/0/0/0 |
 |
Metagross | 82 | Clear Body | Leftovers |
|
0/252/252/0/0/4 |
 |
Indeedee | 82 | Psychic Surge | Amplifield Rock |
|
0/4/0/252/252/0 |
 |
Espeon | 83 | Trace | Twisted Spoon |
|
0/4/0/252/252/0 |
 |
Gardevoir | 85 | Trace | Gardevoirite |
|
0/4/0/252/252/0 |
??? ?????
| Sprite | Name | Level | Ability | Held Item | Moves | EVs |
|---|---|---|---|---|---|---|
 |
Ninetales-Alola | 81 | Snow Warning | Light Clay |
|
0/4/0/252/252/0 |
 |
Sandslash-Alola | 82 | Slush Rush | Muscle Band |
|
0/4/252/252/0/0 |
 |
Bronzong | 82 | Levitate | Leftovers |
|
0/252/252/0/0/0 |
 |
Frosmoth | 82 | Ice Scales | Synthetic Seed |
|
0/4/0/252/252/0 |
 |
Glaceon | 83 | Ice Scales | Light Clay |
|
0/100/0/252/156/0 |
 |
Froslass | 84 | Ice Scales | Froslassite |
|
0/4/0/252/252/0 |
What's next?
Only this when you've beat the gauntlet!
For all my issues with Reborn's writing post-E16, I really like this segment. It's one of the best written parts of any game I've played. It's not Disco Elysium... but it doesn't need to be.
No words. Just enjoy it.
After going through all of that, exit the area to get an extremely long (and extremely poorly written) cutscene recapping everything that happened during your gauntlet battle. (tl;dr Radomus is Anna and Noel's dad. Bennett forged the Elite 4 resignation. Nothing else reeally matters, it's mostly just a ton of exposition in order to set up the ending. Great storytelling!)
If you say "Yes" at the end, you'll be teleported back to Calcenon City. If not, you can walk there yourself. It's finally time to liberate Agate City.