Badge #15/#16: Beautiful Princess Disorder
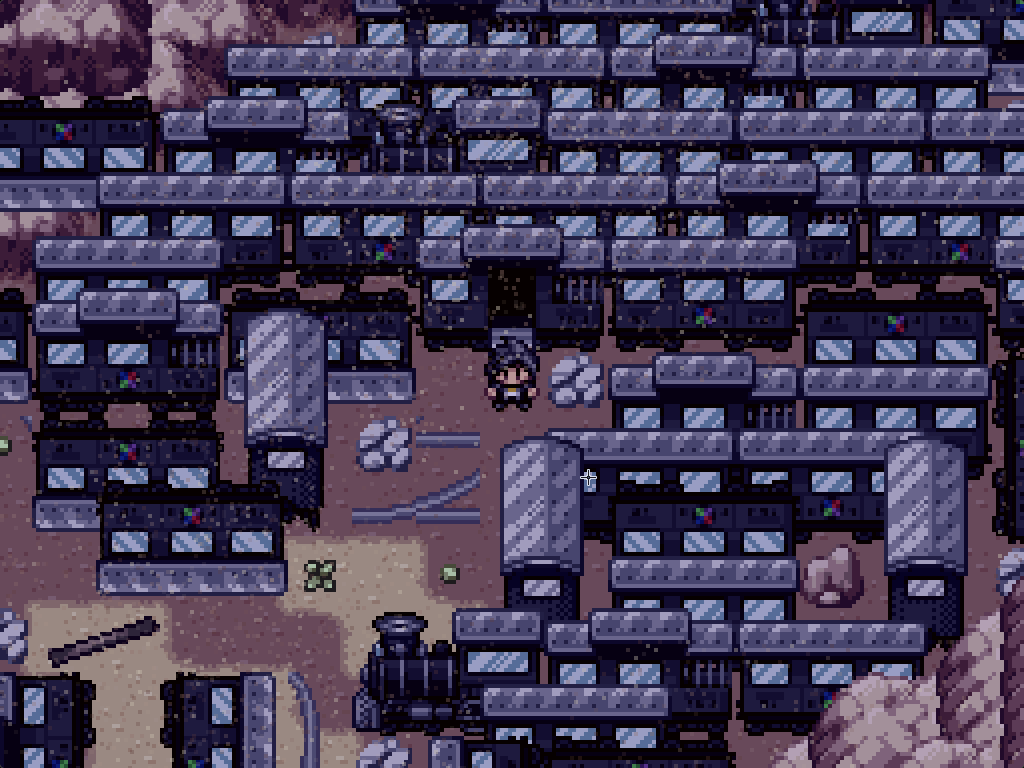
One of the carriages in the south of the village will lead you to a small area isolated from the rest of the desert. Once you walk through it, you'll find another carriage that eventually leads into the One Upon a Somewhere.
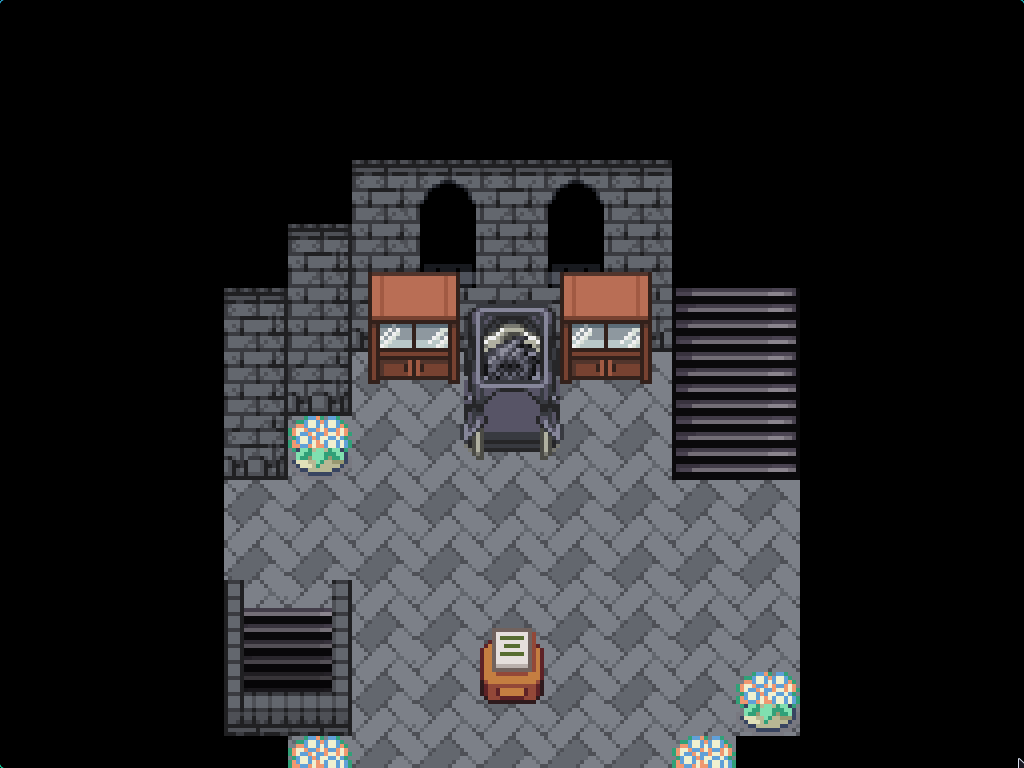
Wander randomly until you find the bridge to the sky and enter the castle. The Sky Castle. The NPC battles here all take place on the Fairy Tale field, which is definitely a troll field. All of the writing in the castle is very angsty and silly, so it's best to ignore it.
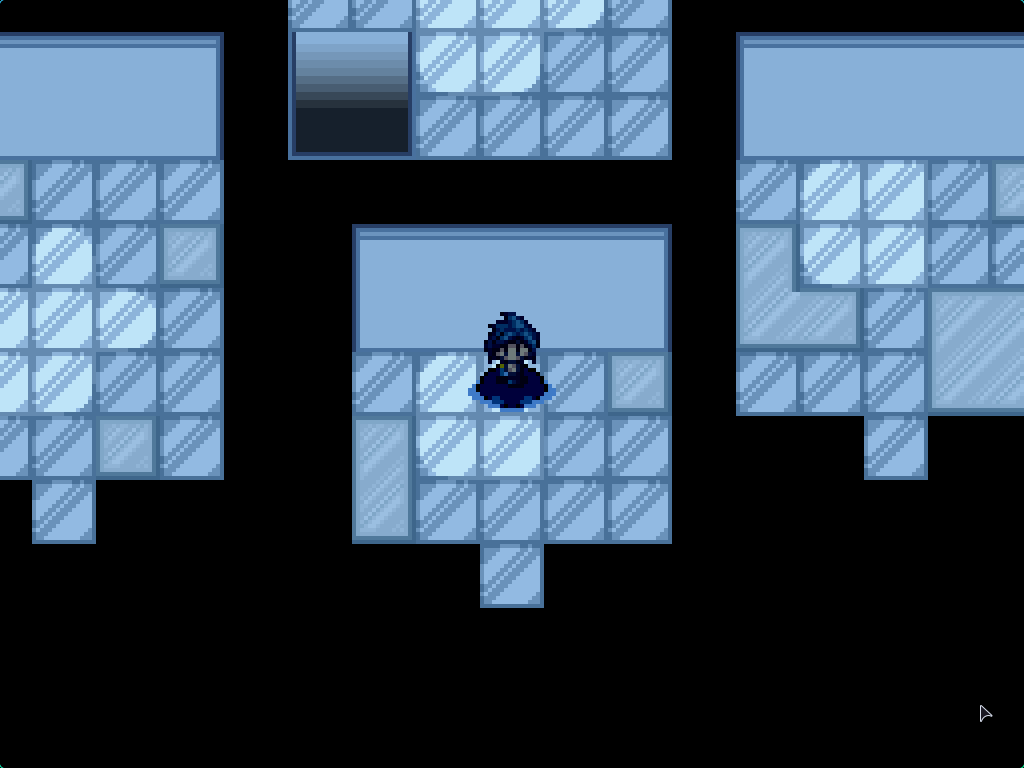
Just keep going through the castle until eventually you get teleported to a bed inside a tower. You can find TM176 Aura Sphere here. Read all four books on all the floors to find a path made of books, that lets you exit to the outside of the castle. You can "climb" up the vines on the outside of the castle (fuck man, no wonder the Reborn league has no challengers) and walk up through the sky bridge to find Titania; pick whichever option you like then proceed up into the cave.
Yeah, there's a fucking legendary guarding the way forward. One on an extremely advantageous field effect. There's no point fighting this one legitimately; just get your good old Murkrow out and Perish Song it. After getting through the cave, there's a small route-dependent cutscene where somebody might die. Finally, you can walk up into the castle to fight Titania.
As per usual, some tips:
- This is a HARD battle. It took me about ten tries to figure out a battle plan. Don't be ashamed of going back and catching something that hard counters her a bit harder.
- The field here makes Fire types useless, as their Dragon co-type means they're resisted by Steel. Instead, you need to rely on Ground or Fighting types.
- Corviknight will troll you with Bulk Up and Roost. Use a special attacker to dispatch of it, quickly.
- Aegislash is by far your biggest problem, with its broken moves, ability, and priority making it easy to fuck you. A strong Dark type can dispatch it, or substitutes can troll her pretty hard.
- On the alternative route, Kingambit can be a massive danger as it can sucker punch you to death with a Supreme Overlord boost. Dispatch it as quickly as possible.
Guardian Princess Titania
| Sprite | Name | Level | Ability | Held Item | Moves | EVs |
|---|---|---|---|---|---|---|
 |
Mawile | 83 | Huge Power | Mawilite |
|
0/252/4/0/0/252 |
 |
Excadrill | 86 | Sand Rush | Magical Seed |
|
0/4/252/252/0/0 |
 |
Archaludon | 84 | Stamina | Assault Vest |
|
248/0/52/84/0/124 |
 |
Corviknight | 86 | Mirror Armor | Rocky Helmet |
|
0/192/0/0/0/64 |
 |
Kingambit | 88 | Supr. Overlord | Chople Berry |
|
0/252/252/0/0/0 |
 |
Aegislash | 90 | Stance Change | Magical Seed |
|
0/252/4/0/0/0 |
Guardian Exile Titania
| Sprite | Name | Level | Ability | Held Item | Moves | EVs |
|---|---|---|---|---|---|---|
|
|
Mawile | 83 | Huge Power | Mawilite |
|
0/252/4/0/0/252 |
|
|
Excadrill | 86 | Sand Rush | Magical Seed |
|
0/4/252/252/0/0 |
|
|
Archaludon | 84 | Stamina | Assault Vest |
|
248/0/52/84/0/124 |
|
|
Corviknight | 86 | Mirror Armor | Rocky Helmet |
|
0/192/0/0/0/64 |
 |
Empoleon | 85 | Competitive | Petaya Berry |
|
0/252/252/0/0/0 |
|
|
Aegislash | 90 | Stance Change | Magical Seed |
|
0/252/4/0/0/0 |
After beating her, you get a small cutscene, and you can jump down the hole at the top of the arena and go down to find a shortcut back to the Scrapyard. (Topology?)
NO! NO! NO! FUCK!
Beating Titania doesn't unlock anything, so we'll go straight to the next gym: Amaria's Water gym.
OH YEAH BY THE WAY IT'S AN UNDERWATER MAZE. AN UNDERWATER MAZE! THAT YOU HAVE TO MAKE YOUR WAY THROUGH FOUR FUCKING TIMES.
This isn't even a puzzle! This is a test of willpower! Do you keep going? Do you quit? Do you send violent death threats to whoever came up with it?
Luckily, I am not without mercy. Bundled with this patch are two map overwrites that make this "puzzle" trivial: the first makes sure the teleporter to the arena is always activated. The second overwrite adds a Sharpedo of Good Game Design that will automatically teleport you to where Amaria is every single time, so you don't have to figure it out yourself. Good luck!
There's four combinations of battles here; Singles Z, Doubles Z, Singles R, Doubles R. I didn't care about rebalancing all of them, so enjoy the base All-Gen teams. This is a free gym anyway, with the field effect having a solid hard counter in Electric types. As usual, here's some tips:
- Troll her with Water Absorb. Rotom-Wash is pretty good for this purpose. If you go underwater, Seismitoad can still attack with Ground type moves and gains extra STAB from them.
- On her Singles team, Palafin is pretty scary, but it loves using single-turn Dive which is immediately cucked by Water Absorb.
- If you're having issues with speed, use Blizzard or poison attacks to turn the field into the Frozen/Murkwater fields respectively.
- Singles is a bit easier than Doubles in my opinion, but if you go with Doubles, make sure to bring Fake Out to control the battle's pace.
- Honestly... there's not much strategy involved here? The Water Surface and Underwater fields are both terrible; bulky Grass types will easily dispatch her, and some Electric types are useful as backup for if you get Ice Beam'd.
Z Route Singles
Flotsam Amaria
| Sprite | Name | Level | Ability | Held Item | Moves | EVs |
|---|---|---|---|---|---|---|
 |
Starmie-Mega Y | 86 | Dazzling | Light Clay |
|
0/4/0/252/252/0 |
 |
Palafin | 86 | Zero To Hero | Life Orb |
|
0/100/152/252/0/0 |
 |
Basculegion | 87 | Swift Swim | Choice Specs |
|
0/182/0/128/200/0 |
 |
Drednaw | 87 | Swift Swim | Assault Vest |
|
0/128/252/128/0/0 |
 |
Kingdra | 88 | Swift Swim | Dragonium-Z |
|
0/100/0/156/252/0 |
 |
Lapras | 92 | Hydration | Elemental Seed |
|
0/252/0/0/0/4 |
Z Route Doubles
Flotsam Amaria
| Sprite | Name | Level | Ability | Held Item | Moves | EVs |
|---|---|---|---|---|---|---|
 |
Vaporeon | 86 | Water Absorb | Assault Vest |
|
0/252/0/0/156/100 |
 |
Seismitoad | 86 | Water Absorb | Life Orb |
|
0/128/0/128/252/0 |
 |
Inteleon | 87 | Torrent | Choice Specs |
|
0/4/0/252/252/0 |
 |
Lanturn | 87 | Volt Absorb | Assault Vest |
|
0/252/0/0/200/56 |
 |
Milotic | 88 | Marvel Scale | Poisonium-Z |
|
0/252/0/0/158/100 |
|
|
Lapras | 92 | Hydration | Elemental Seed |
|
0/252/0/0/0/156 |
R Route Singles
Jetsam Amaria
| Sprite | Name | Level | Ability | Held Item | Moves | EVs |
|---|---|---|---|---|---|---|
|
|
Starmie-Mega Y | 86 | Dazzling | Light Clay |
|
0/4/0/252/252/0 |
|
|
Palafin | 86 | Zero To Hero | Wiki Berry |
|
0/100/152/252/0/0 |
|
|
Basculegion | 87 | Swift Swim | Choice Specs |
|
0/182/0/128/200/0 |
|
|
Drednaw | 87 | Swift Swim | Assault Vest |
|
0/128/252/128/0/0 |
|
|
Kingdra | 88 | Swift Swim | Kingdranite |
|
0/100/0/156/252/0 |
|
|
Lapras | 92 | Hydration | Elemental Seed |
|
0/252/0/0/0/4 |
R Route Doubles
Jetsam Amaria
| Sprite | Name | Level | Ability | Held Item | Moves | EVs |
|---|---|---|---|---|---|---|
|
|
Lanturn | 87 | Volt Absorb | Assault Vest |
|
0/252/0/0/200/56 |
|
|
Inteleon | 87 | Torrent | Choice Specs |
|
0/4/0/252/252/0 |
|
|
Vaporeon | 86 | Water Absorb | Assault Vest |
|
0/252/0/0/156/100 |
|
|
Seismitoad | 86 | Water Absorb | Life Orb |
|
0/128/0/128/252/0 |
|
|
Milotic | 88 | Marvel Scale | Miloticite |
|
0/4/0/252/252/0 |
|
|
Lapras | 92 | Hydration | Elemental Seed |
|
0/252/0/0/0/156 |
When you exit the gym, you'll get the shoehorned-in plot advancement cue: Julia will tell you that things aren't going so well at Calcenon City. Ignore that and go back to Reborn City to fund your third and final (or second, if you were silly and missed it) project.
Then, it's time to fly to Calcenon City.