Badge #17, Pt 1: Battle of Kursk
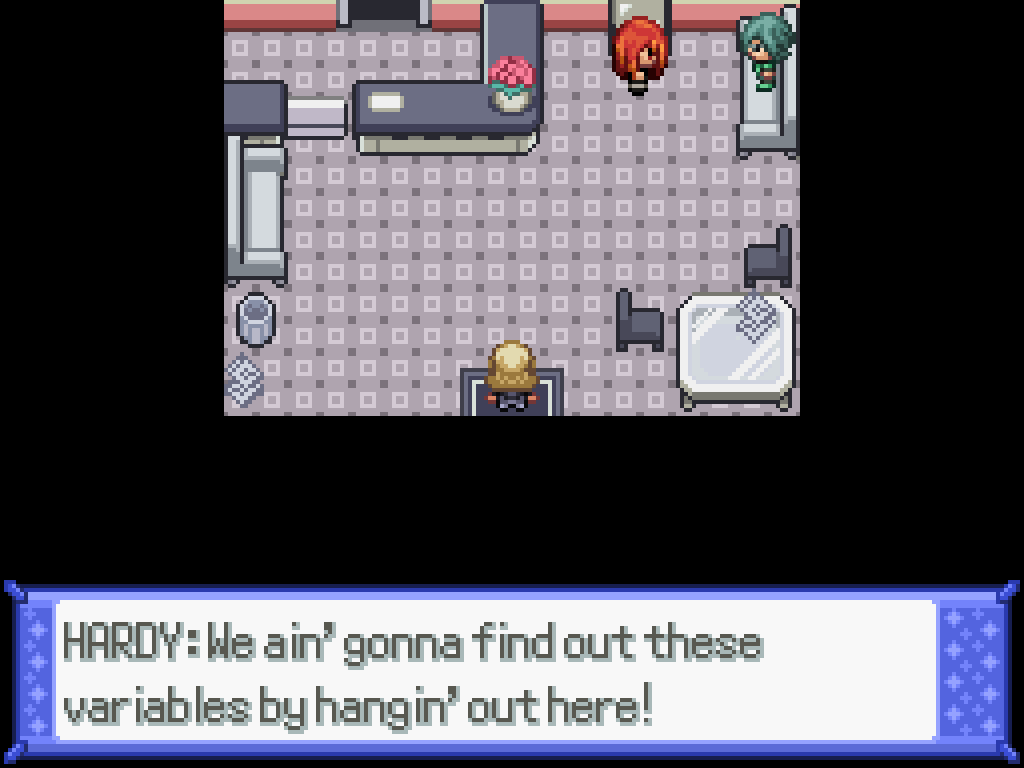
Enter this house to find Hardy and experience a very long (and very bad) cutscene. You might've noticed it a bit before now, but the story is taking a very weird turn about your character. More on that later.
Next stop is Route 4 again. Pass through the checkpoint (and talk to Charlotte), then find Hardy at the east side of Route 4. He'll give you the TMX for Rock Climb, which you unlocked with the 16th Badge already.
Rock Climbing
Instead of continuing onto the bulk of Route 4, there's a few locations we can revisit instead. There's one major one (the Teknite Ridge), but first let's investigate some minor locations.
- Next to the Fiore Mansion is the TM for Leech Life.
- You can get every single remaining pseudo-legendary Pokémon at this point.
- On Apophyll Beach you can get the TM for Focus Blast.
- You can get another starter, too.
- You can now access the Iolia Valley from Route 1.
- You can now access Celestrine Mountain from Route 1.
- You can now access the Celestrine Cascade from Beryl Ward.
If you wish, you can also get a Larvesta now. You already went to the Teknite Cave/Ridge in chapter 20, but now you can go to the other side, via Beryl Cave.
We have another set of these field change puzzles, but you can completely ignore it. Just walk straight to the back of the room and smash the wall to find the Larvesta Nest. Go to the back of the room to fight a Level 100 Volcarona, then interact with the weird orange thing to the right to find a Larvesta.
There's nothing else interesting here... so it's time to go back to Route 4. Sigh.
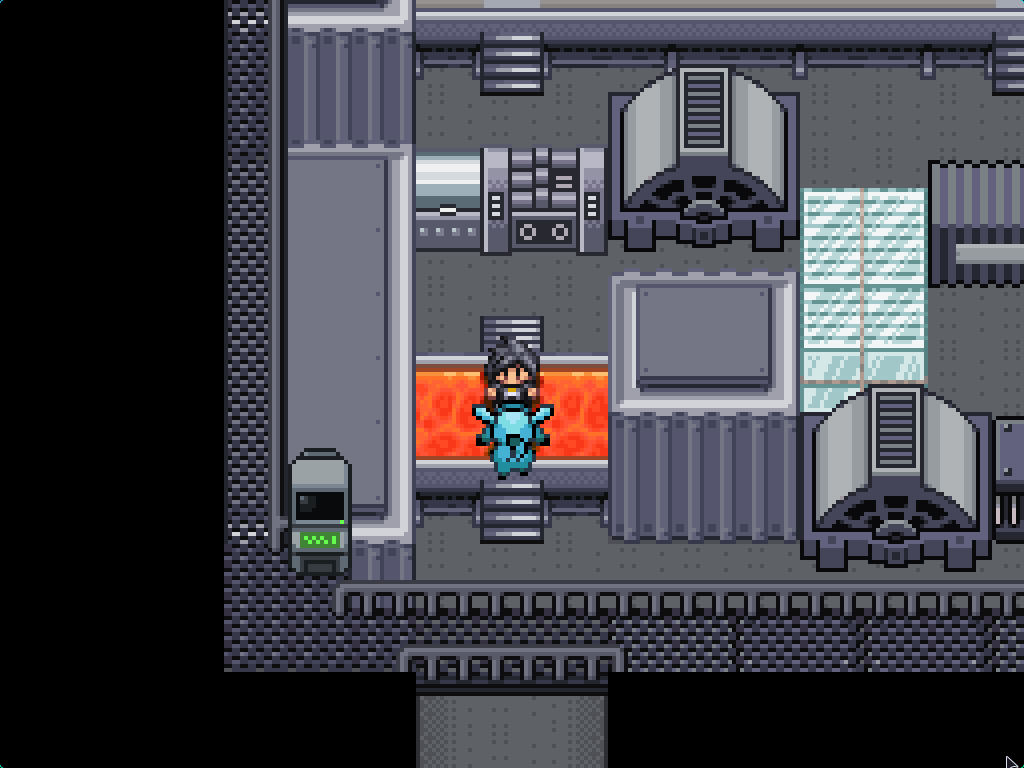
Route 4
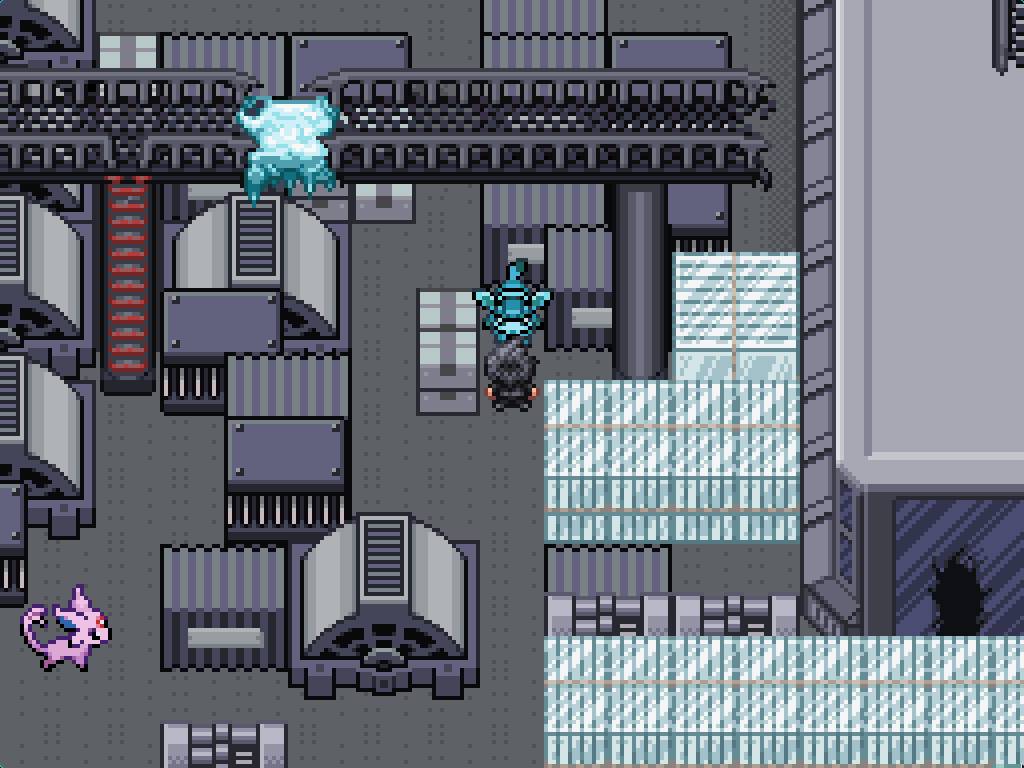
When you're ready, return to the area of Route 4 outside Calcenon City and Rock Climb up to the upper area. Follow the path through the trees (there's only one path) to find another Rock Climb point; keep going in the new area until you find a junction.
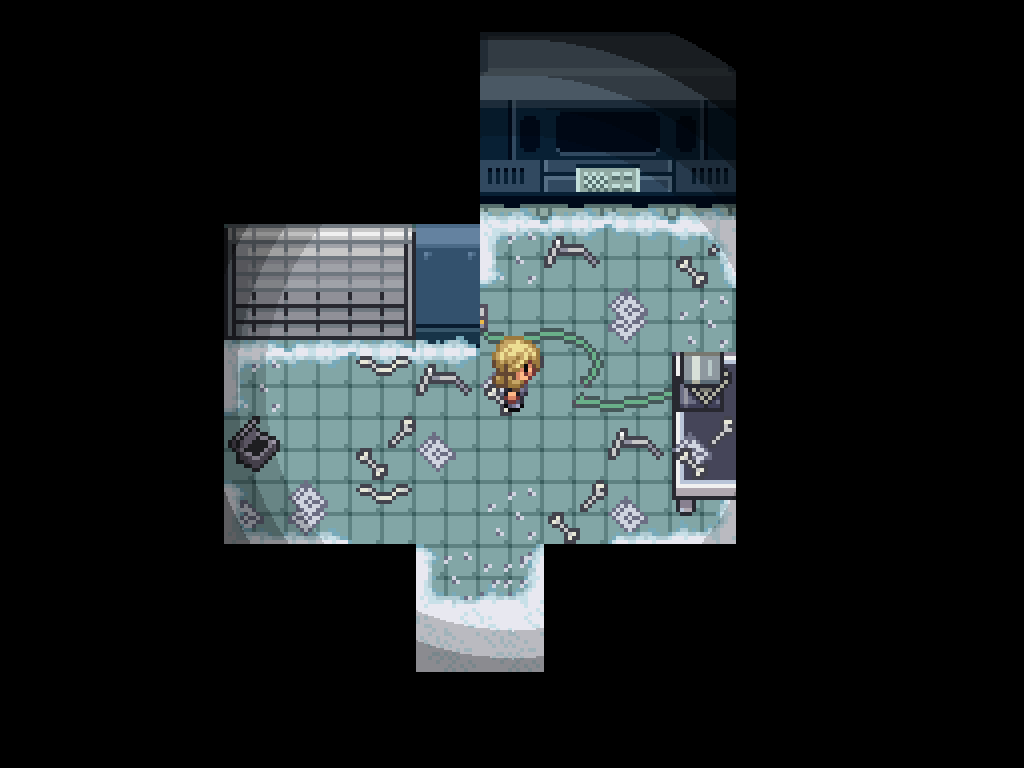
There's quite a few paths here. Follow the path directly north to find a small branching path; if you go on the rock climb area to the left, you'll find a single Full Restore on the ground eventually. This is also a postgame area, so keep it in your mind. If you go back and follow the path north, you'll find an area where you need to use Blizzard in a wild battle to cover the field in snow. This will give you an Ice Stone.
If you return to the junction and go up the Rock Climb point to the east you will find... a jumping puzzle. (Fuck! Seriously? This far into the game?)
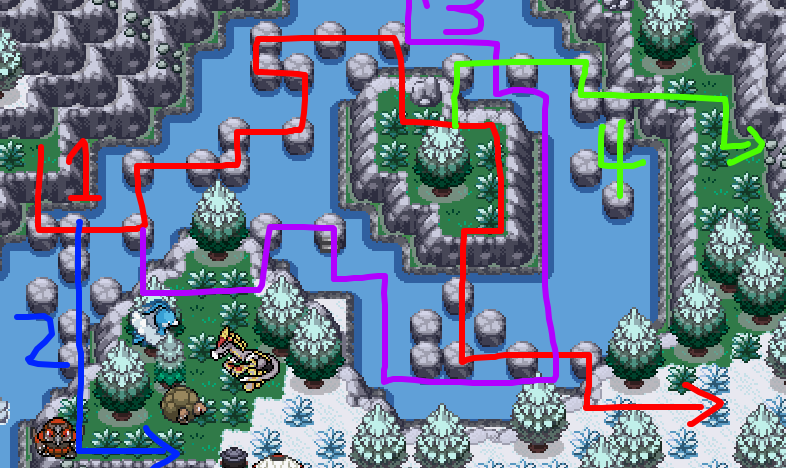
There's four routes you can follow here. We'll start with the Purple #3 arrow (I made a mistake when drawing it; it actually branches off of the Blue #2 arrow); swim up the waterfall and use Blizzard in a battle to switch the field to a snow, which opens up another Rock Climb route.
When you climb up, you'll find this shed building with the TM for Thunder Wave inside. There's also a broken wire on the floor; activate it to open a shutter with a special type of Breloom. Fight it and win to spawn a Gastly; chase it and activate it to catch it.
Returning back to the puzzle area, the Green #4 arrow leads to an area used for the Salamence quest. The Blue #2 arrow doesn't lead to anything yet, but keep an eye on it. Finally, the Red #1 arrow is the one you really want.
Past the red arrow is an area with yet another fork in the road. If you follow the path to the right, and use Heat Wave to melt the ice, you'll find the Lycantium-Z.
If you instead follow the path down below... this leads to two more paths! To the south-east is a Rock Climb point that leads to a chain of field effect requirement areas used for the Salamence quest. The one to the south-west leads to... ANOTHER jumping puzzle. This one is linear, at least; follow the rocks to find the Glass Workstation.
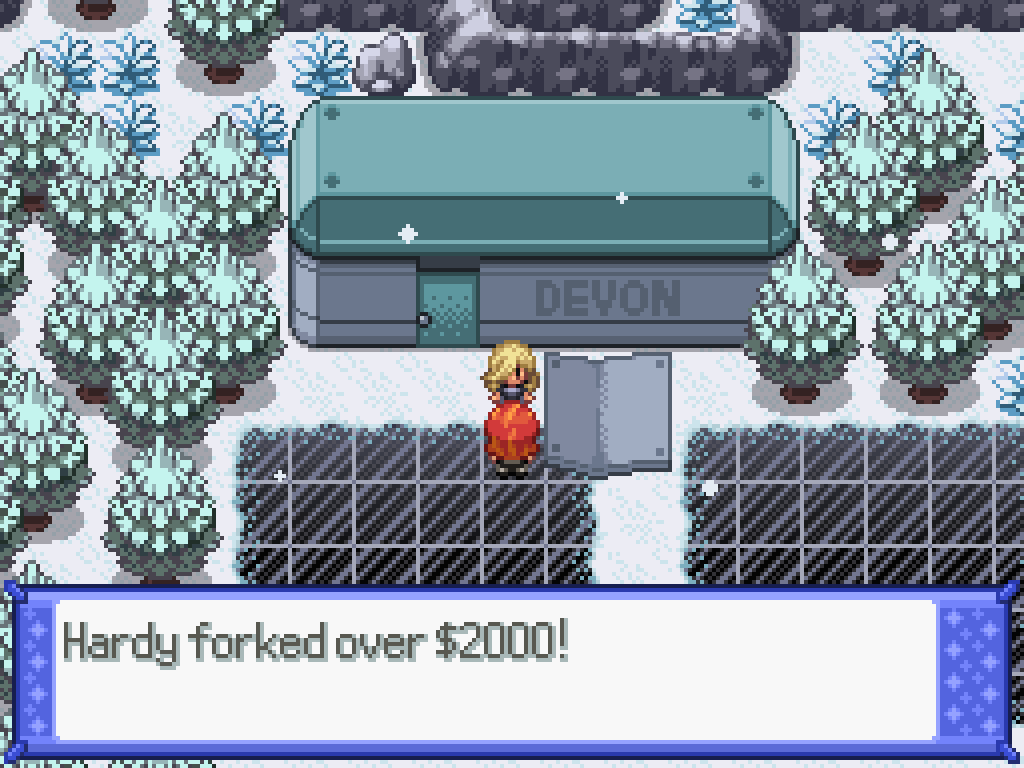
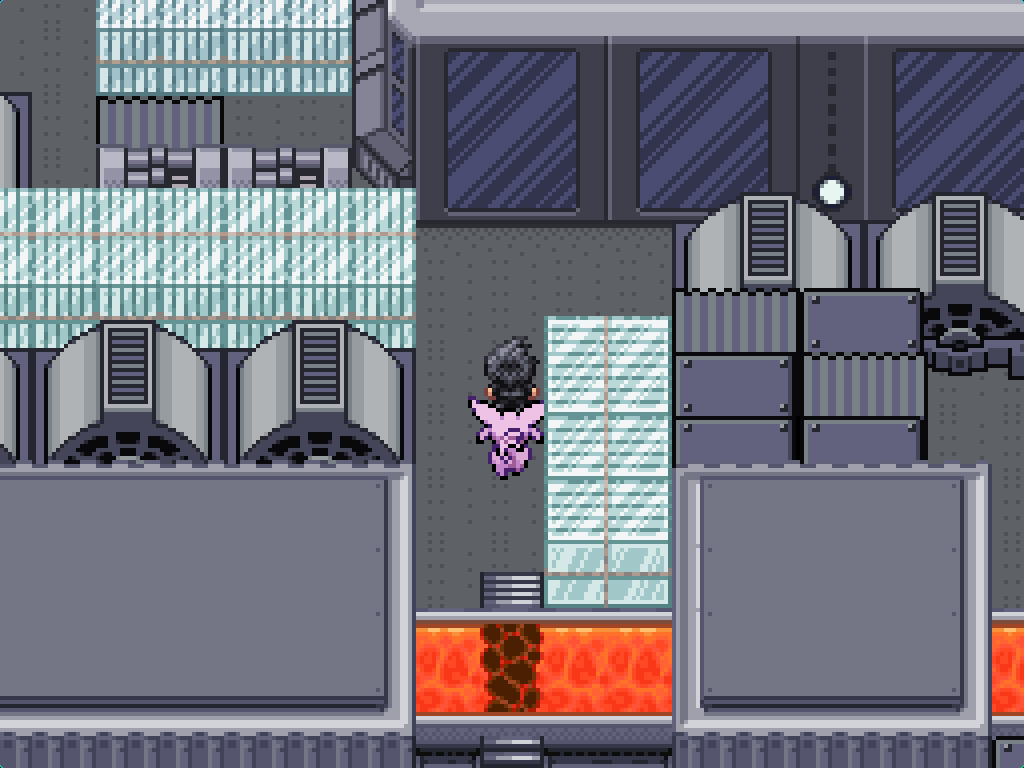
Talk to Hardy above the workstation for a long (and, interactive!) cutscene before you can enter the workstation itself. Make sure to bet 2000 yen If you go behind the workstation's main building, you can find a secret path that will eventually lead to the Mimikyum-Z.
The Glass Workstation
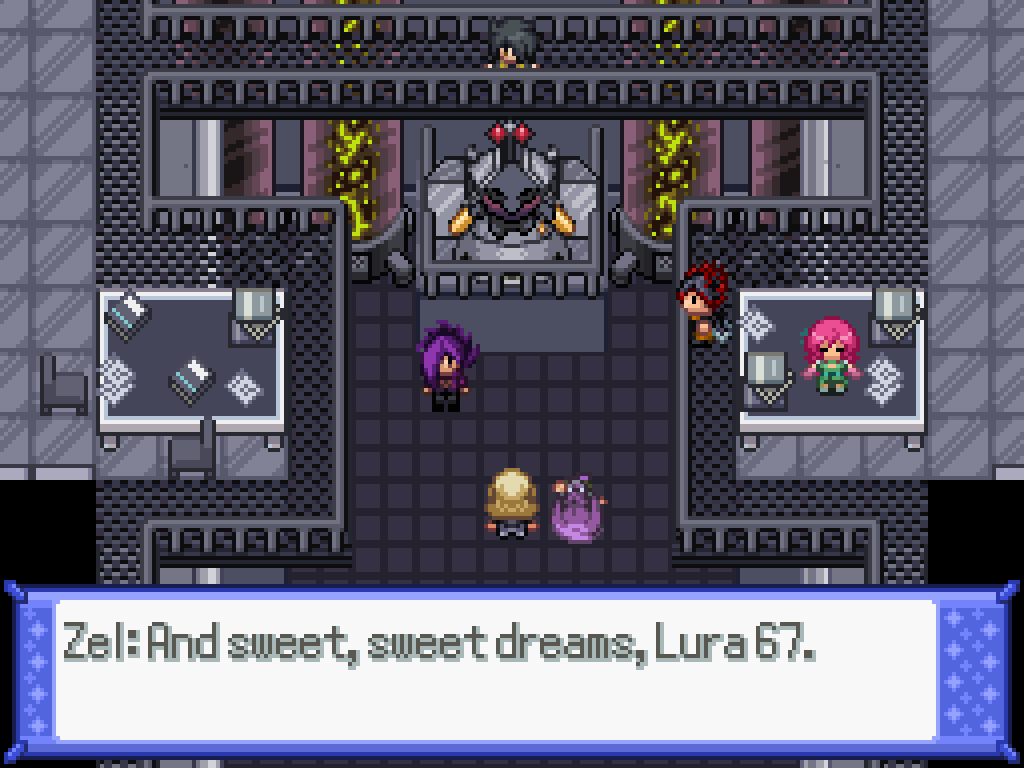
Obviously, this was a trap, and this is a Team Hitler base. This is a very long dungeon so get a drink and some cyanide pills to prepare yourself. When Bennett asks you about his so-called promise, say "To make things different" to get two relationship points.
FULL Glass Workstation Puzzle Walkthrough
No. Please. Don't make me do this. I don't deserve this. I don't want to do it!!!!!!
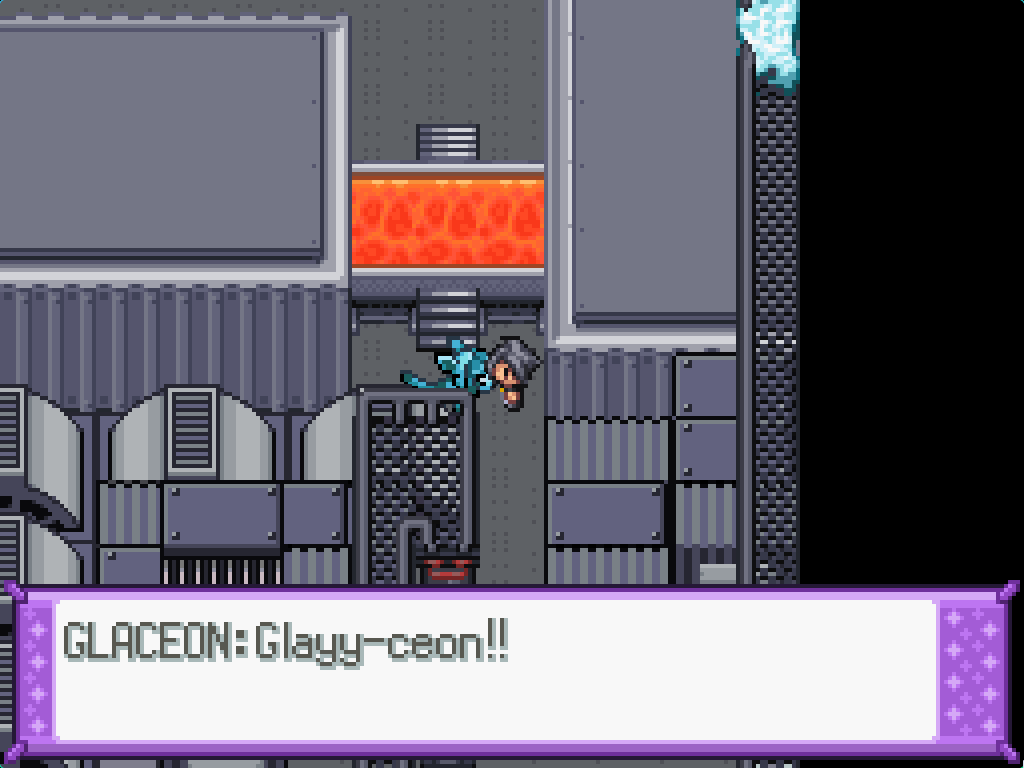
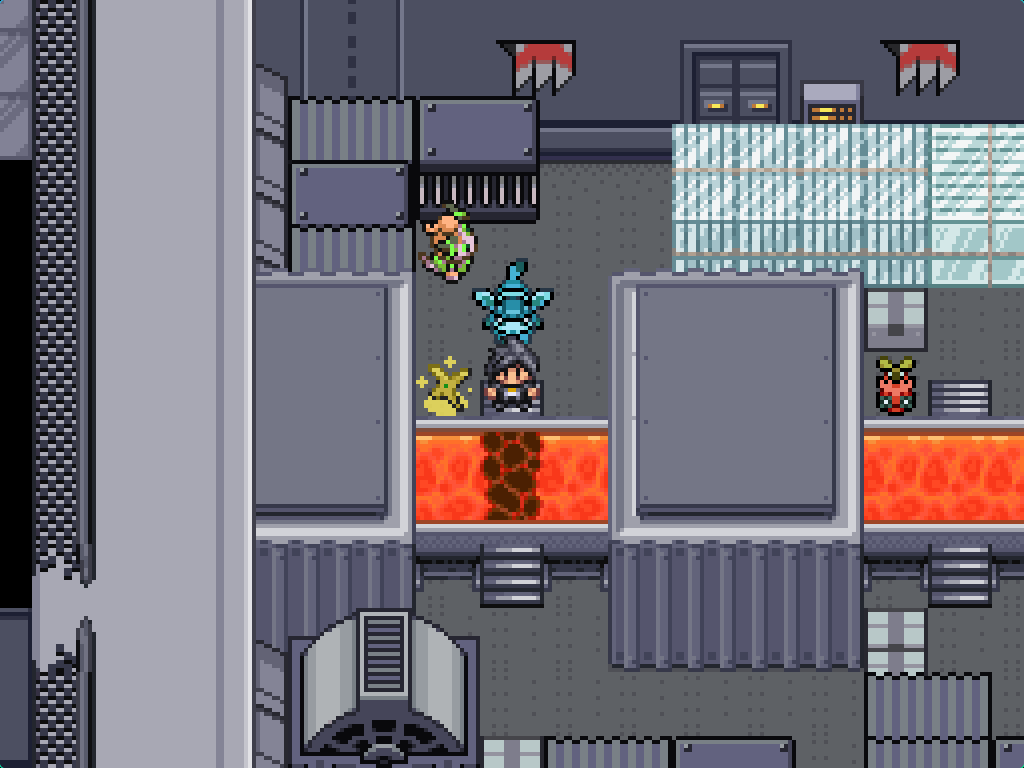
After some weird cutscene noises, you can leave the lift and climb up into a maintenance shaft, where you'll find a Glaceon to adopt. Follow it down to the molten glass section where it will freeze the path ahead for you and promptly get captured. Walk up and talk to the Team Hitler soldier who will lock you out of the room where the Glaceon has been captured. Walk around to the side and break the glass window to get inside.
Once you battle the Schutzstaffel soldier, exit through the broken window and interact with the molten glass to create a bridge across. The lava immediately to the left is blocked off by a pallet of glass, so continue to the far left to find a stream of... molten glass? (Duh... stupid past me...) Freeze all of them in sequence and then walk into the room you find.
The door will get slammed in your face, and there's no path to a side window... or is there? If you go backwards, the glass that previously blocked you will be knocked out of the way and you can once again enter the side building. Once you battle the Schutzstaffel solder again, you'll find that the Espeon is locked in a cage, and you don't have the key; neither do the SS units inside.
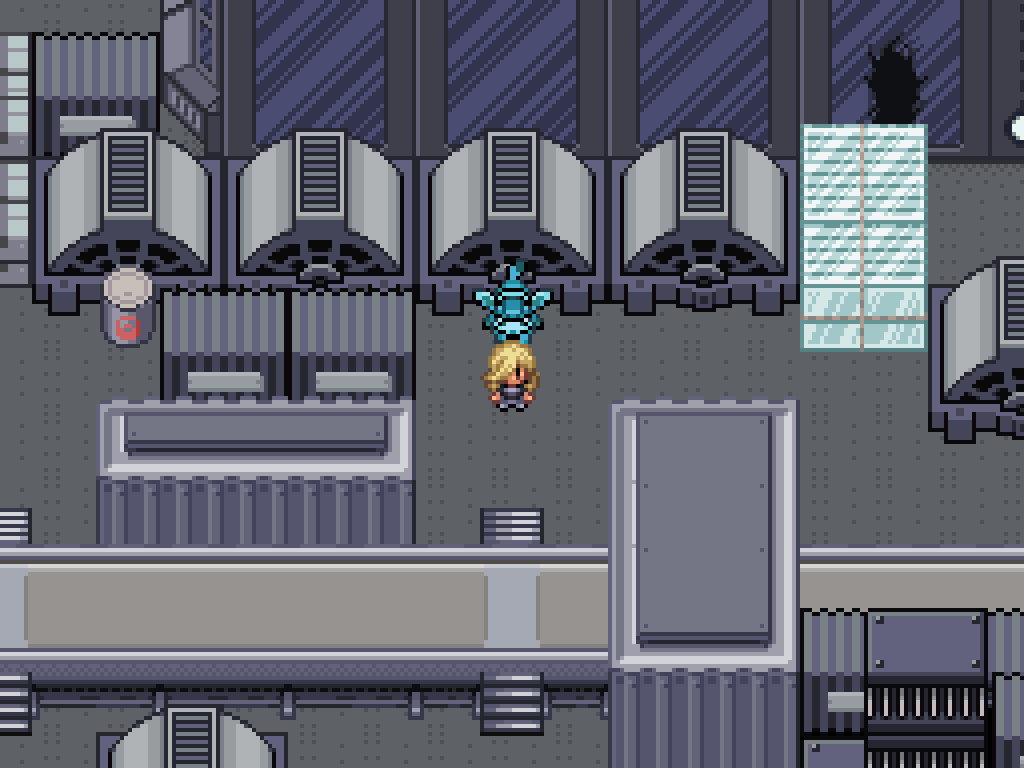
Back outside and to the right is a set of stairs that goes up onto the railings above. Walk up onto them and all the way to another set of stairs. Walk over to the door at the south-west of the room to find the Cage Key being guarded by a Schutzstaffel soldier. Return back to free the Espeon; you'll now have two of them following you around.
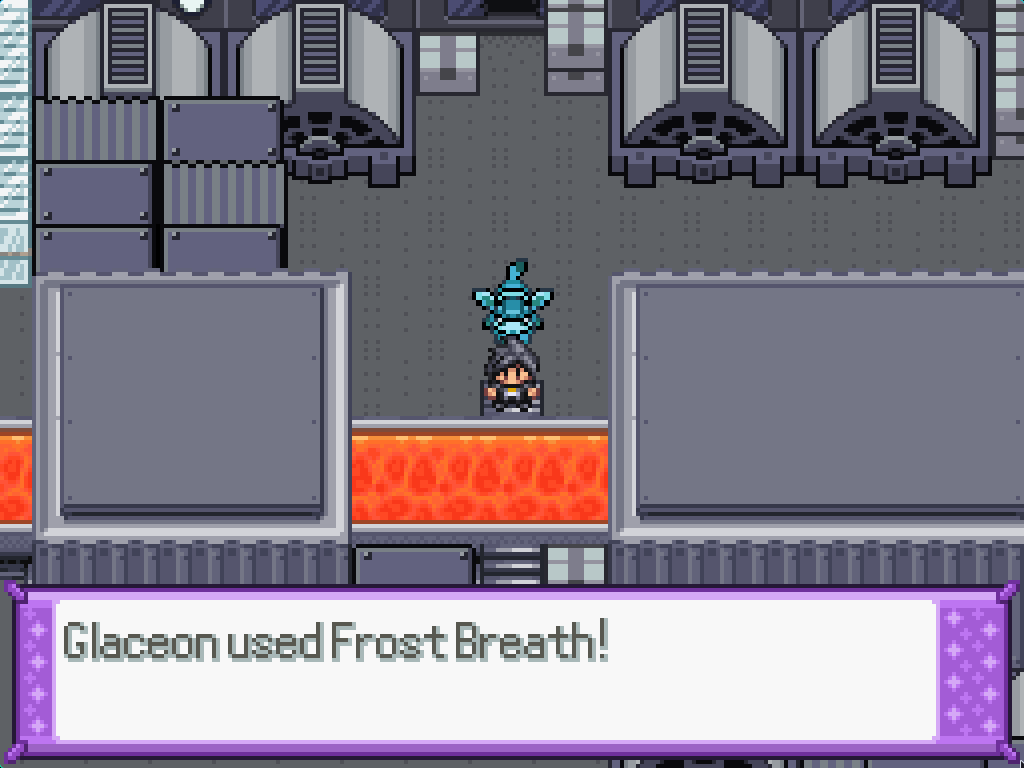
You can switch between the two Eeeveelutions by interacting with them. Espeon can give you a poor quality vision of the future, or move the glass pallets around (but only either perpendicularly, or away from you).
This area is very long, with lots of interlocking parts; this is my best guess at the order of things you need to do.
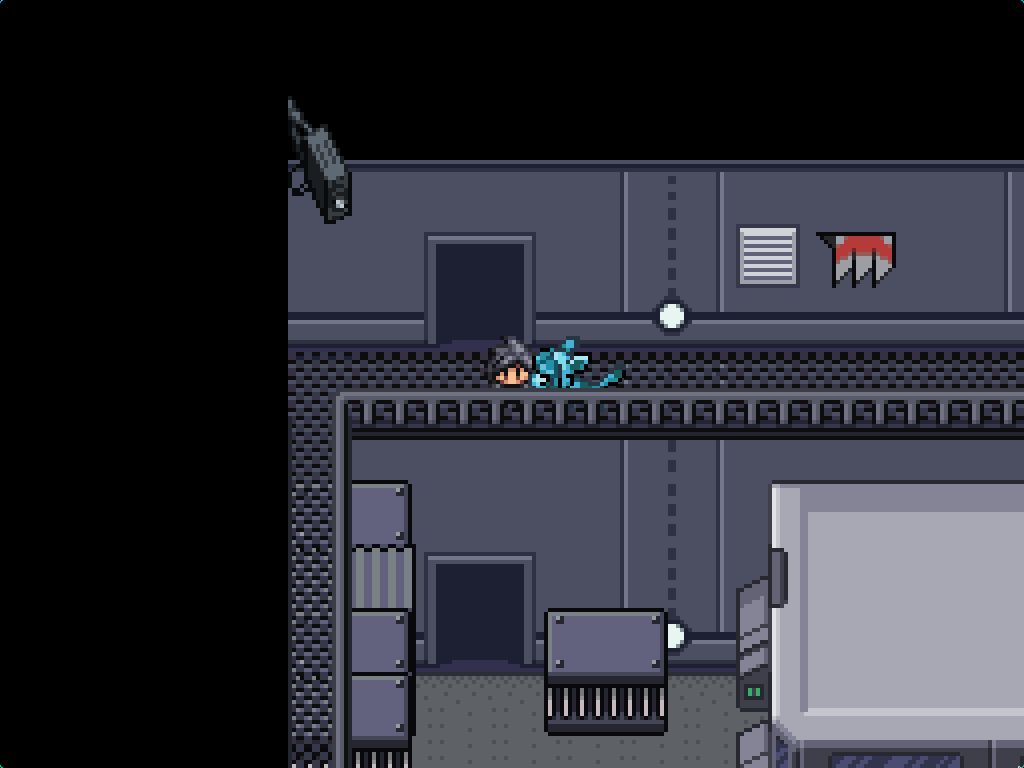
First, make Glaceon sit here so you don't accidentally make it inaccessible; if you talk to her, you'll have the option to make her sit. (Glaceon is the less useful of the two Eevees.) Then, make Espeon follow you and move the glass block immediately to the right here upwards so that the path is no longer blocked.
Grab Glaceon again and bring her down here, slightly to the right of the glass bridge. Make her sit here, then return to Espeon.
Move the glass blocks out of the way, then set Espeon down near the stairs. Grab Glaceon, bring it over to the stairs too, then use Espeon to move the glass block to the right upwards in order to access a second room with a single grunt and two EV boosters on the table.
Bring Glaceon over to this area, and freeze the molten glass. Retrieve Espeon and move the glass blocks around at other side of the lava to find the Gyradosite. If you do the same in the bottom room, where the cage key was, you can find the TM for Psychic. Return back upwards to the area above the stairs.
If this glass block is in the way, move it back down to get it out of the way.
Cross over one of the bridges and move these blocks out of the way of the path to the upper area.
Retrieve Glaceon and store her here, then use Espeon to move the glass block downwards. Walk to the right and move the two glass blocks blocking you out of the way.
Use Glaceon to make a bridge across this part of the molten lava, in the right of the room. You might want to talk to the Genie of Good Game Design here too.
This is likely the point where you are—like I did—going to get hard stuck with nowhere immediately obvious to go. You might have figured out that you need to get Glaceon onto the upper railings, but don't know how.
Luckily, there is a solution! Use Espeon to move this block to the left and break the glass. This will re-enable the lifts to the upper railings. It's a good thing that you left Glaceon up near the top lava bridges (you did.. right), as that way you can easily grab her.
Go into this lift and select B1F to get onto the railing with Glaceon. Walk down to the bottom of the railing to find a room with two (or maybe one) Schutzstaffel agents in there, some EXP Candies, and an EV tuner. If there's two, talk to Simon (the other one) and he'll mope about; this lets you do the Super Rod quest if you missed talking to him in the Tanzan base.
On this railing are two rooms; one (on the left side) has the Master Ball (!!) in it but isn't accessible yet. The on the right has the Meteor Card in it, as well as two cryogenic storage units containing the bodies of Anna and Noel. If you gave the ring to Blake, then you get the Meteor Card by talking to Aster; if you didn't, it's just laying on a table.
Put Glaceon in this exact spot, then use Espeon to drag the glass box across. Put Espeon next to the molten glass where she won't block your path, then make a path across the glass with Glaceon. Move the box at the top out of the way of the computer, and scan the Meteor Card. Then you need to walk all the way back around to move the box out of the way of the doorway.
After that ordeal, it's time for the hardest fight in the game: you have to kill thirty Pokémon in a row (two sets of double battles, plus a single battle). If you talk to the Genie of Good Game Design next to the door, you can enable full heals between all three battles instead of just two, which makes the fight a bit easier. But not much.
Choose your team wisely.
As this is basically a superboss, here's some tips:
- So. As I said. This is the hardest fight in the game by a massive margin. I've been careful about buffing here; the two double battles are below the level cap by around ten (!) levels or so, as to make it a bit fairer.
- You will want to carry Ground, Dark, and Fire types here. Garchomp Mega, Vikavolt with Discharge, and Salamence all do extremely well here.
- The Luna battle will have her use Earthquake to break the field and boost her Dark type moves immediately. You can counter with Discharge (once you've taken out Krook) to restore it.
-
If you get hard filtered here, try using the
litemodepassword in the computer up above. This removes all of the enemy EVs and sets their IVs to zero too, which gives you a sizable advantage. It's definitely possible without it. - If you spoke to the Genie of Good Game Design, you'll get a full party heal between both battles. Otherwise, you only get a partial heal of your alive Pokémon.
- Partnering something with Discharge (and an Air Balloon or Levitate) alongside a Ground type will let you do constant boosted damage to every enemy; just be aware of Cain's Marowak with Lightning Rod, as it can exploit this.
- The third fight has lots of Steel types and Fairy types, so something like the Charcadet evolutions will do extremely well here, especially if you make the field dark.
Battle #1: Shelly & Cain
Bookworm Shelly
| Sprite | Name | Level | Ability | Held Item | Moves | EVs |
|---|---|---|---|---|---|---|
|
|
Anna | 81 | Sweet Veil | Babiri Berry |
|
0/4/0/252/252/0 |
|
|
Noel | 81 | Levitate | Synthetic Seed |
|
0/4/0/252/252/0 |
|
|
Cain | 81 | Speed Boost | Muscle Band |
|
0/4/252/252/0/0 |
|
|
Cal | 82 | Flame Body | Leftovers |
|
0/4/0/252/252/0 |
|
|
Heather | 83 | Speed Boost | Wise Glasses |
|
0/4/0/252/0/252 |
|
|
Player | 83 | Overcoat | Assault Vest |
|
0/4/252/252/0/0 |
Pretty Boy Cain
| Sprite | Name | Level | Ability | Held Item | Moves | EVs |
|---|---|---|---|---|---|---|
|
|
Marowak-Alola | 82 | Lightning Rod | Thick Club |
|
0/252/252/0/0/4 |
|
|
Goodra-Kalos | 81 | Poison Heal | Toxic Orb |
|
0/4/0/252/252/0 |
|
|
Primarina | 82 | Berserk | Mystic Water |
|
0/128/0/128/252/0 |
|
|
Mimikyu-Disguised | 81 | Disguise | Leftovers |
|
0/128/0/128/252/0 |
|
|
Espathra | 81 | Opportunist | Life Orb |
|
0/252/252/0/0/4 |
|
|
Nidoking | 83 | Rivalry | Life Orb |
|
0/4/0/252/0/252 |
Battle #2: Luna
??? ?????
| Sprite | Name | Level | Ability | Held Item | Moves | EVs |
|---|---|---|---|---|---|---|
|
|
Krookodile | 89 | Intimidate | Focus Sash |
|
0/252/4/0/0/252 |
|
|
Gothitelle | 89 | Competitive | Leftovers |
|
0/252/0/0/0/252 |
|
|
Mismagius | 88 | Infiltrator | Mismagiusite |
|
0/4/0/252/252/0 |
|
|
Honchkrow | 88 | Moxie | Life Orb |
|
0/4/252/252/0/0 |
|
|
Sinistcha-Masterpiece | 90 | Heatproof | Life Orb |
|
4/0/0/252/0/252 |
|
|
Umbreon | 86 | Magic Guard | Leftovers |
|
0/252/0/0/0/252 |
Battle #3: Radomus & Serra
??? ?????
| Sprite | Name | Level | Ability | Held Item | Moves | EVs |
|---|---|---|---|---|---|---|
|
|
Clefable | 81 | Magic Guard | Leftovers |
|
0/252/0/0/252/0 |
|
|
Kingambit | 82 | Defiant | Leftovers |
|
0/252/252/0/0/0 |
|
|
Metagross | 81 | Clear Body | Metagrossite |
|
0/252/252/0/0/4 |
|
|
Alakazam | 82 | Magic Guard | Amplifield Rock |
|
0/4/0/252/252/0 |
|
|
Iron Valiant | 81 | Quark Drive | Life Orb |
|
252/252/0/0/0/4 |
|
|
Gardevoir | 85 | Trace | Leftovers |
|
0/4/0/252/252/0 |
??? ?????
| Sprite | Name | Level | Ability | Held Item | Moves | EVs |
|---|---|---|---|---|---|---|
|
|
Ninetales-Alola | 81 | Snow Warning | Light Clay |
|
0/4/0/252/252/0 |
|
|
Sandslash-Alola | 82 | Slush Rush | Shuca Berry |
|
0/4/252/252/0/0 |
|
|
Bronzong | 82 | Levitate | Leftovers |
|
0/252/252/0/0/0 |
|
|
Baxcalibur | 80 | Ice Body | Synthetic Seed |
|
252/252/0/0/0/4 |
|
|
Glaceon | 82 | Slush Rush | Light Clay |
|
0/100/0/252/156/0 |
|
|
Froslass | 84 | Ice Scales | Froslassite |
|
0/4/0/252/252/0 |
In this new area, just keep walking for one of the only earnestly written sections in the game, albeit suffering a bit too hard from people stating their feelings out loud constantly. You'll eventually find PULSE Hypno; defeat it, whereupon it'll spit out the Abyssal Core.
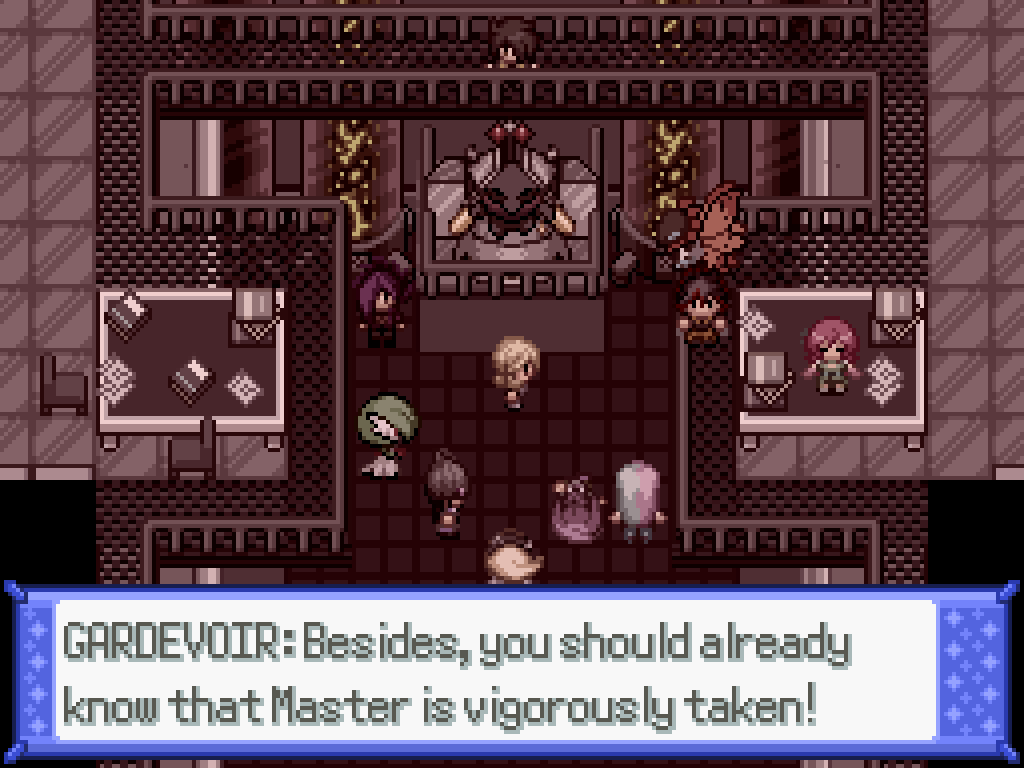
Soon after that you'll be returned to the real world, where you'll get an extremely long, terribly written, and overly quippy cutscene recapping everything that h appened during your gauntlet battle. (tl;dr Radomus is Anna and Noel's dad. Bennett forged the Elite 4 resignation. Nothing else really matters, it's mostly just a ton of exposition in order to set up the ending. reat storytelling!)
If you say "Yes" at the end, you'll be teleported back to Calcenon City. If not, you can walk there yourself. It's finally time to liberate Agate City.