Badge #15, Pt 1: Birmingham
I tried to interject less snarky comments up until now, but I genuinely fucking hate this desert.
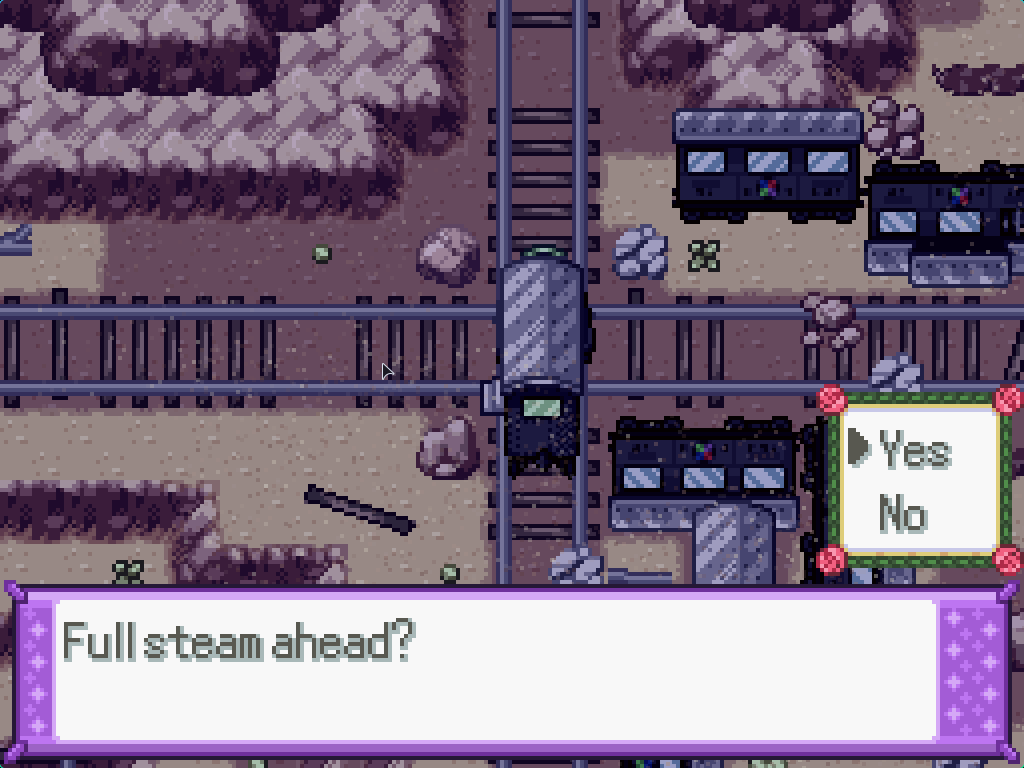
When you're ready, make your way to Grandview Station in the Peridot Ward. The left computer can be activated to get your ticket to the desert; then walk through the turnstile at the top to get to the desert.

If you did not fight Taka at the Water Treatment Plant, then he will appear here and force you into a battle.
Meteor Admin Taka
| Sprite | Name | Level | Ability | Held Item | Moves | EVs |
|---|---|---|---|---|---|---|
 |
Klefki | 76 | Prankster | Leftovers |
|
0/252/0/0/0/252 |
 |
Mabosstiff | 78 | Stakeout | Choice Scarf |
|
0/252/0/0/0/4 |
 |
Flapple | 77 | Hustle | Wide Lens |
|
0/4/252/252/0/0 |
 |
Snorlax | 77 | Immunity | Snorlaxite |
|
0/12/252/0/0/244 |
 |
Minior | 78 | Shields Down | White Herb |
|
0/4/252/252/0/0 |
 |
Chatot | 83 | Soundproof | Normalium-Z |
|
0/4/0/252/252/0 |
From here, a very important choice opens up, which will determine your final game route.
| # | Let him follow you | Don't let him follow you |
|---|---|---|
| Fought in Water Treatment Plant | Zekrom Route | |
| Didn't Fight in Water Treatment Plant | Reshiram Route | "Zero" Route |
Let him follow you to complete the second to last task for the good route (if you're intending to get it). In exchange for lugging around Hitler's repentant son, he'll heal you after every battle out here... and given that this area is fucking massive, that's a pretty nice bonus.
Mirage Tower
There's three major areas out here in the desert: the Scrapyard, the handful of caves, and the Mirage Tower. The tower is the most annoying one of the three, so let's get it out of the way now. It's a mandatory post-game area (for one of the worse quests...) too.
Finding the Mirage Tower
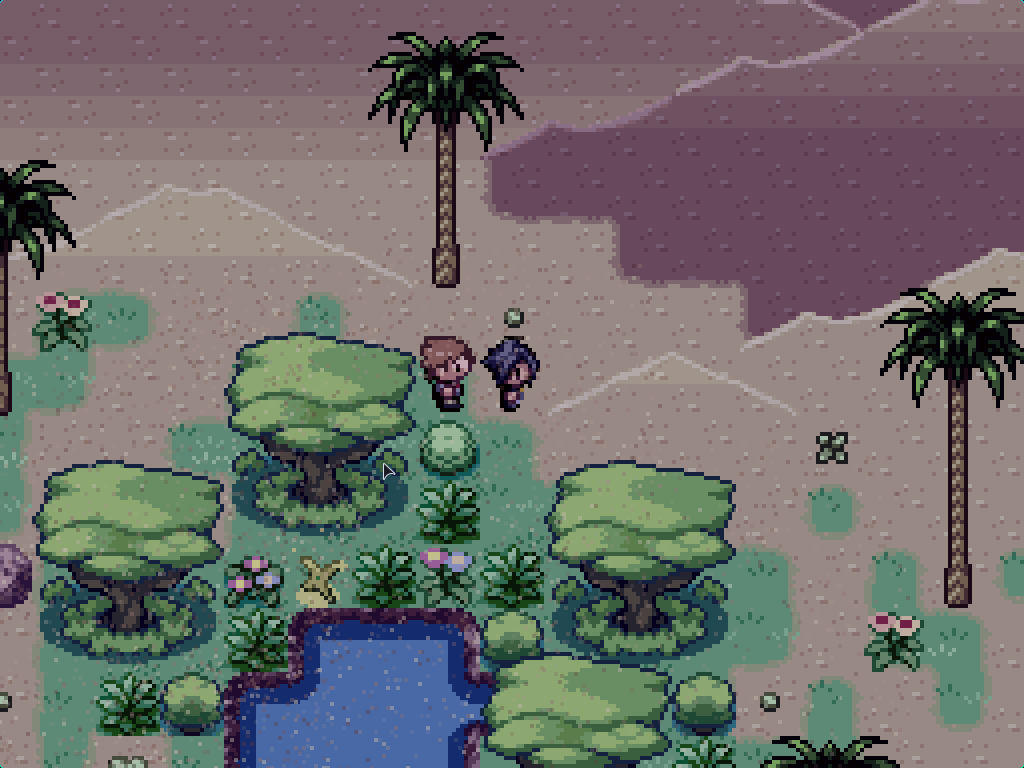
By default, you can't actually get to the Mirage Tower as you're on the wrong map. The path to it doesn't spawn until you get teleported over to the right map. In order to get to the right map you need to activate four oasises, which are found in various corners of the map.
Oh, and the order of the oasises is random! Surprise. This is how to find each one, but you'll need to specifically search all four areas to find it. If you're running the game from a console window, then it helpfully prints out the map IDs which you can cross-reference here.
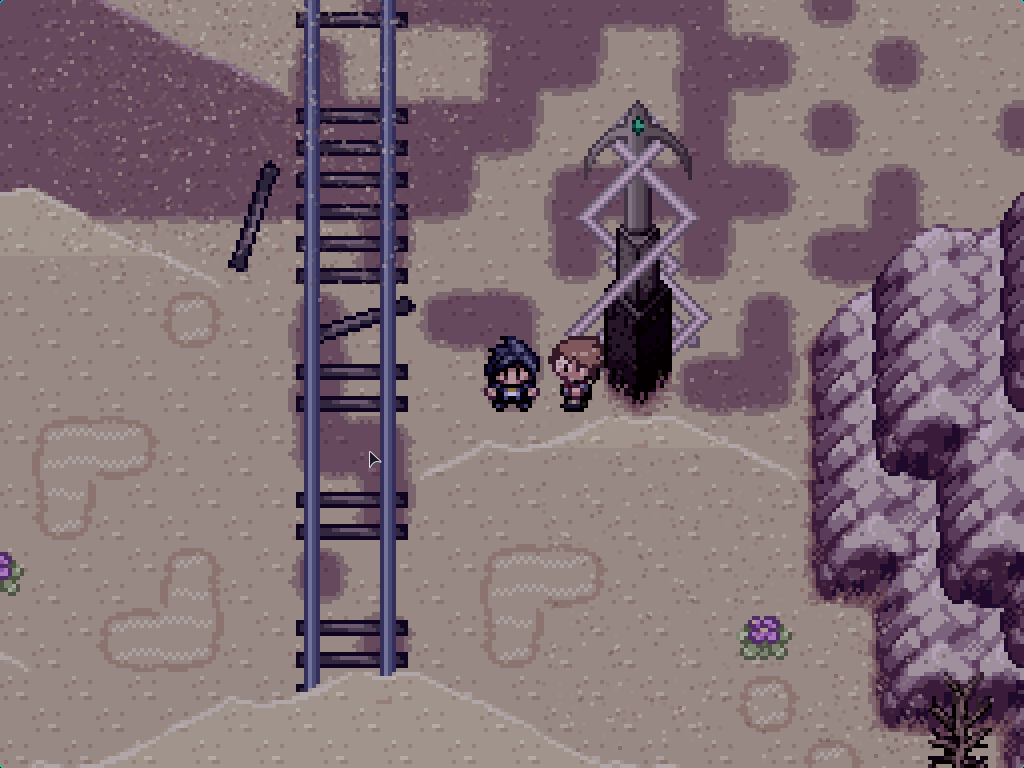
By this set of train tracks (to the right and upwards from your starting station) there is an indicator tower. If this exists, then the Mirage Tower has spawned; do not activate any other oasises after it as it'll despawn and you'll have to go to all of them again.
This oasis is found on Map 694.
The easiest way to do this is to start from the train station you spawned at. Hug the left cliff wall of the desert and keep going upwards until you find the first oasis; activate the Light Shard to change map.

This oasis is found on Map 705.
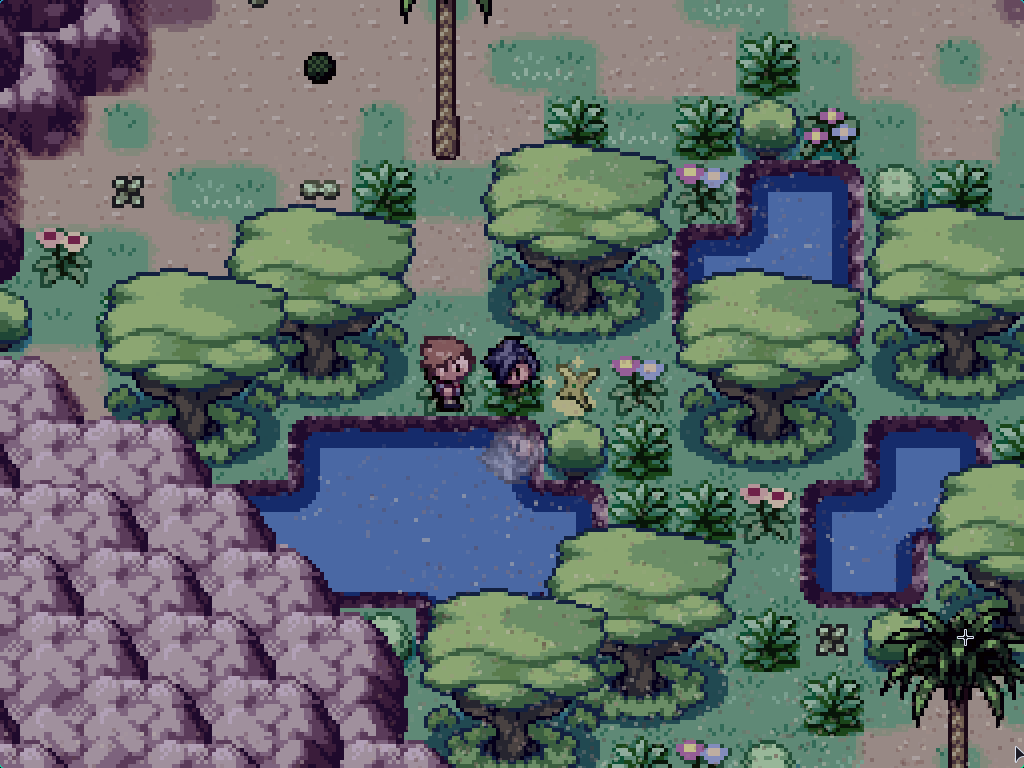
Similar to before, start at the train station you spawned at; go to the right cliff wall and go down until you find the second oasis.
This oasis is found on Map 703.
This one can be found by hugging the right cliff wall and going upwards instead. There's an Ace Trainer here too who gets vaporised when you switch map.
This oasis is found on Map 704.
This oasis is found literally one screen to the left of the train station you spawn at.
After all of that, hug the right cliff wall of the desert and keep going up until you find an area with normal sand; if you go through and into the subarea you'll find the Mirage Tower.
After all of that work, you can enter the Mirage Tower. Ignore the puzzle and start smashing the back walls of the tower instead; the very last tile that you break will open up a hole to a secret area underneath. There's no puzzle here; just walk around to find some Generation 8 TMs as well as a Mimikyu.
Solving the Mirage Tower
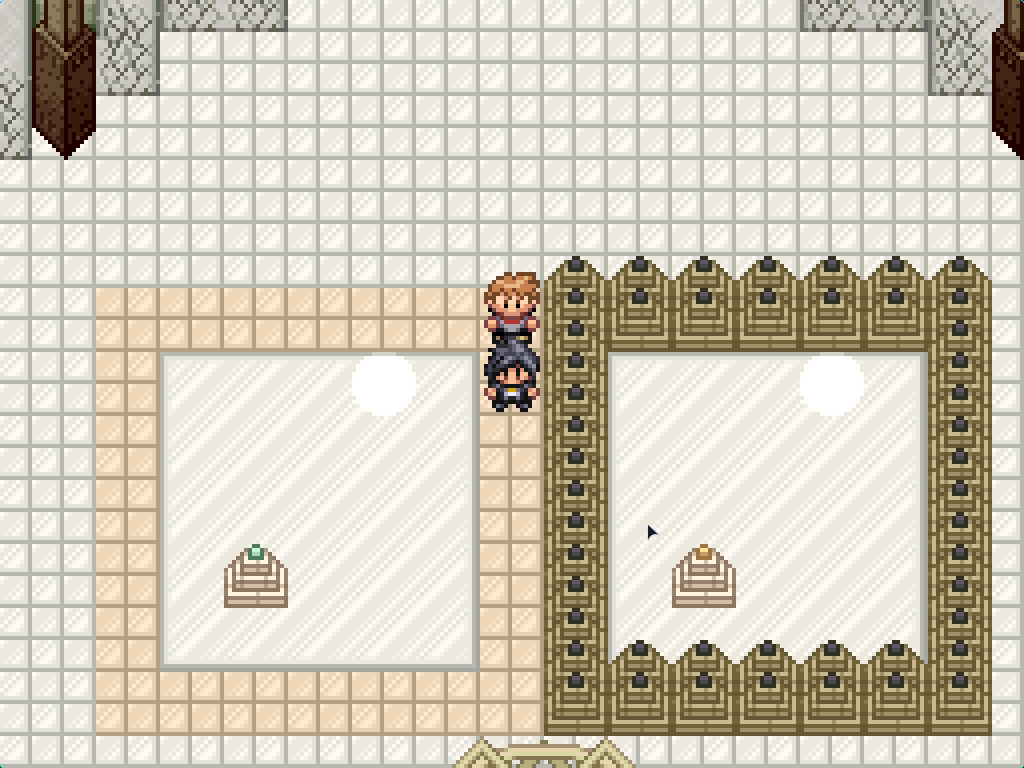
In this puzzle, both of the blocksd are linked together; but you can only move one. Your goal is to get both blocks into the lighter square to unlock the path to the next room. The first room is obviously trivial; once you solve it, it'll open the stairs to the next room. (Also, it exposes the map shenanigans by deleting all your broken glass.)
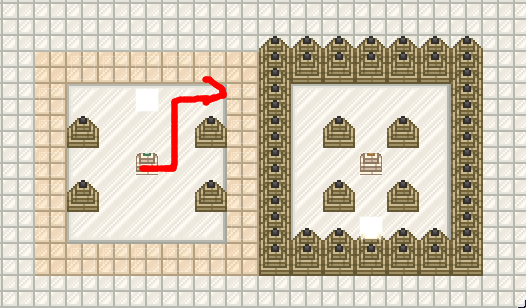
The shenanigans begin in the second floor with the goal square being on different tiles. Luckily, this one is relatively simple; move the block along the path of the red arrow then activate the block downwards three times. Even if the block on the left side is stuck, the block on the right side will still move (and vice-versa). From there you can push both blocks into their positions.

(These are hard to draw arrows for.)
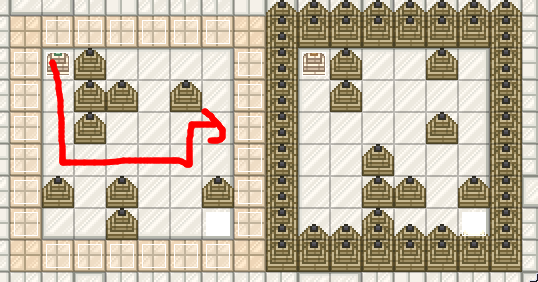
This one is deceptively simple; the mirror images means that the left block can be manuevered into its spot whilst getting the right block stuck. Move it in the same way as the red arrow, then maneuver the right block by simply pressing on the left block whilst the left block is stuck in its spot.
First, maneuver the block along the red arrow. Once it's stuck behind the block, you can repeatedly activate it to move the right block into position, which will get it stuck on the bottom row. Then, maneuver the left block into position by only moving it down.
There's no good way to represent this with arrows, so here's the steps for the fifth puzzle.
- Move the block down one tile, right one tile, up one tile, and then all the way to the right to align it with the hole. (This one does have an arrow.)
- Move the block down two spaces. The right-hand block should be two tiles from the left, and three tiles from the top.
- Move the block one tile to the right, and activate it again to move the right-hand block one tile to the right of the opening on the right side.
- Move the block one tile to the left to align it with the upper hole again. Both blocks should be aligned to the hole now; push the block down three times to align the right block with its spot.
- Move the block left one tile, and up one tile to align the left block with its spot. Both spots are the same distance away from the left edge with nothing blocking them; move the block all the way to the left edge, then push it into the spot.
Solving that one will open a hole in the glass at the back of the room.
I don't want to do this one. It's actually made way harder by virtue of not being able to see the other side. I'll just steal what the Wiki says.
- Push right 5 times. Push left once.
- Push down 6 times. Push left 5 times.
- Push up 4 times. Push right once.
- Push up 4 times. Push down twice.
Thanks, Wiki editor, for that one.
When you go through the door, it'll spit you out at a fake exit. Go straight south to find the terrain corrupting a bit; if you keep going, you'll find a door that leads to the top floor of the Mirage Tower. Here you can find the Normalium-Z, TM04 Calm Mind, and a Honedge. Once you exit, it'll take you all the way outside.
The real advantage of this is that you don't have to worry about solving this puzzle when you come back here in the post-game again.
1R253 Scrapyard
After that diversion, let's set our eyes on actually making some progress. At the north of the desert is the 1R253 Scrapyard (what does that number mean? I don't know!) which is a collection of broken down trains. The puzzle here mostly revolves around crashing trains into other trains to make your way to the scrapyard village. (How did they get in there?)
1R253 Scrapyard Walkthrough, Part 1
All the puzzle on the first map.

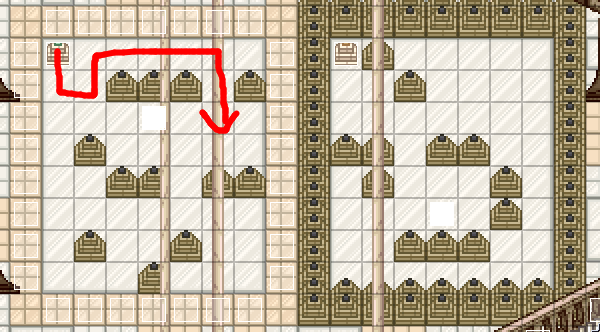
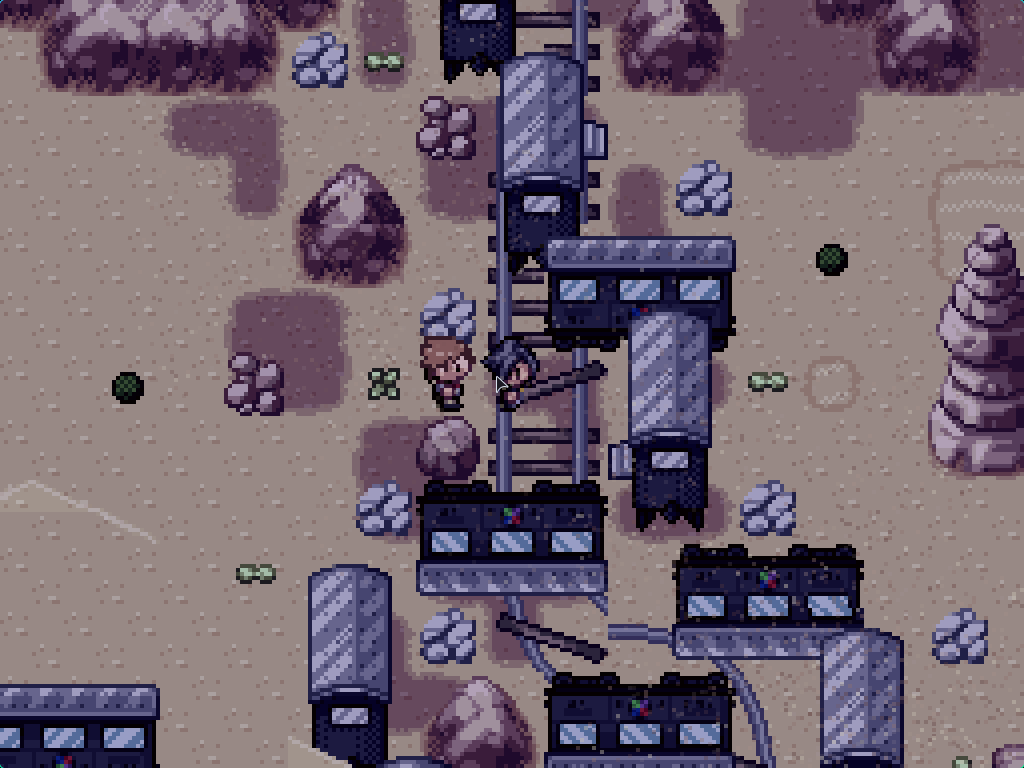
There's a few entrances to the Scrapyard, but this is the one we want to take for now. This place is difficult but not impossible to navigate through.
Go straight upwards and enter this train to get it off of the train tracks. It'll lead you to an area with a ledge; jump off and loop back around.
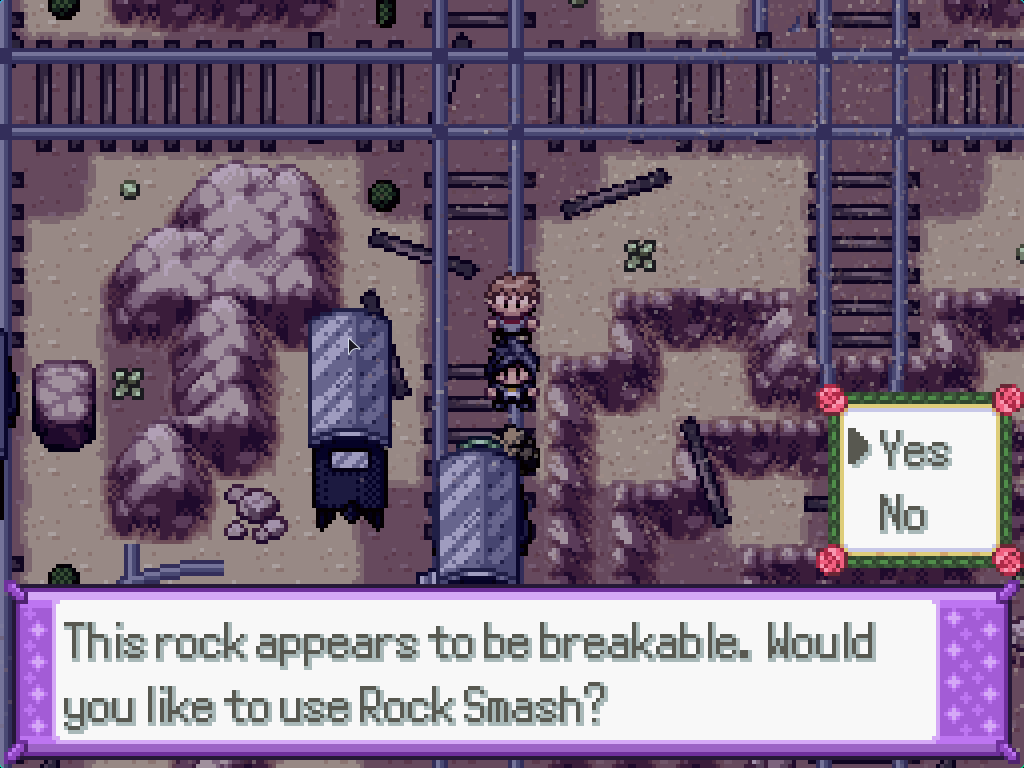
Walk to the right and break this rock in front of the locomotive. Walk back up and to the right again and break the rock in front of that locomotive too. Enter both locomotives to drive them forwards and break a handful of rocks; they don't go anywhere useful just yet.
Walk back around and up to break this rock in front of this locomotive. The path to enter this one was opened up by the actions you just did (actually, it might help if you did these steps the other way around. Oops) which will punt one of the dead carriages on the tracks away.
With the carriage out of the way, you can jump down several ledges to make it to this rock. Break it, then jump down the ledge to return to the entry point. Exit the Scrapyard and then walk slightly over to the right to find another entrance, then walk right and upwards to find the locomotive you just unblocked which will punt a broken carriage off of the tracks again.
There's nothing to do in this part anymore, so you need to find the side entrance to the Scrapyard. Go outside and follow the railway up until you find this side entrance in a bit of a cove in the cliff wall.
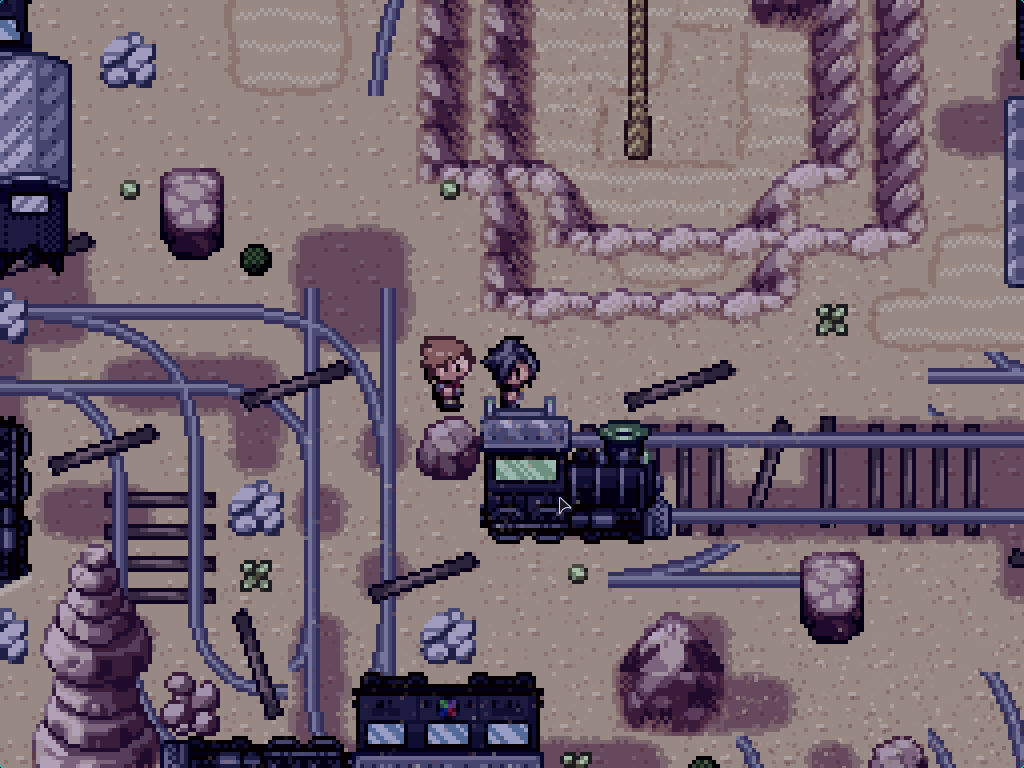
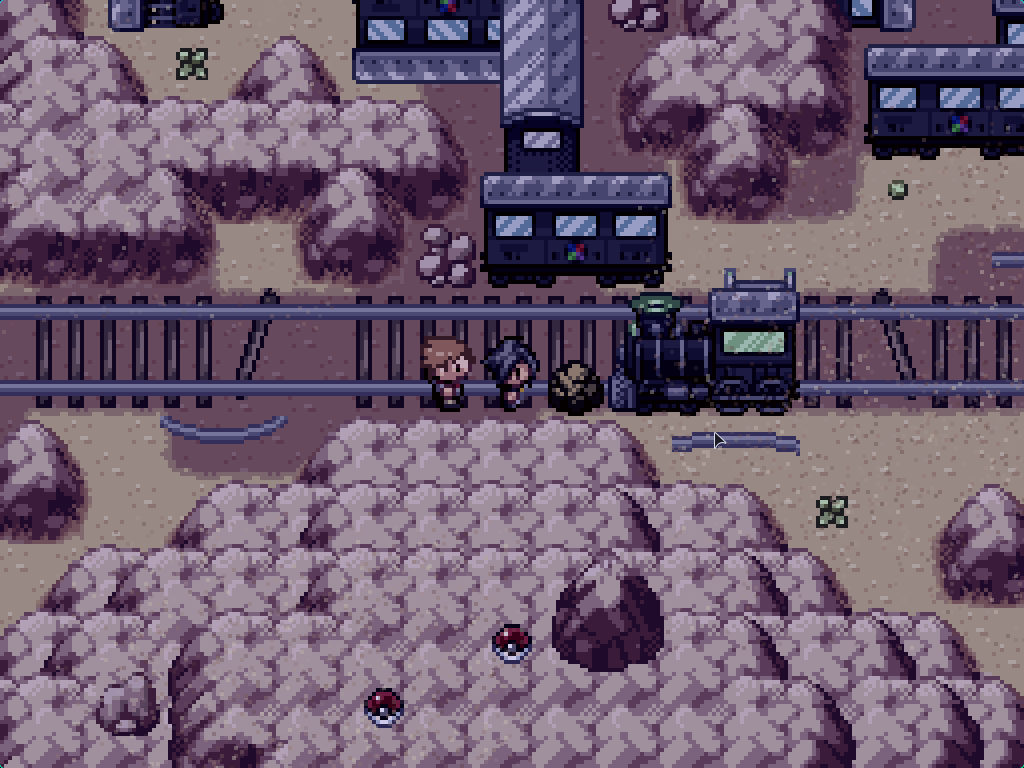
Walk south to this locomotive and enter it. This will punt the final locomotive onto the track.
Walk north to find an overturned carriage you can enter. Proceed along it to find this rock and then walk all the way back around to enter the locomotive. This will join back to the first area of the scrapyard, and clear the track for final approach.
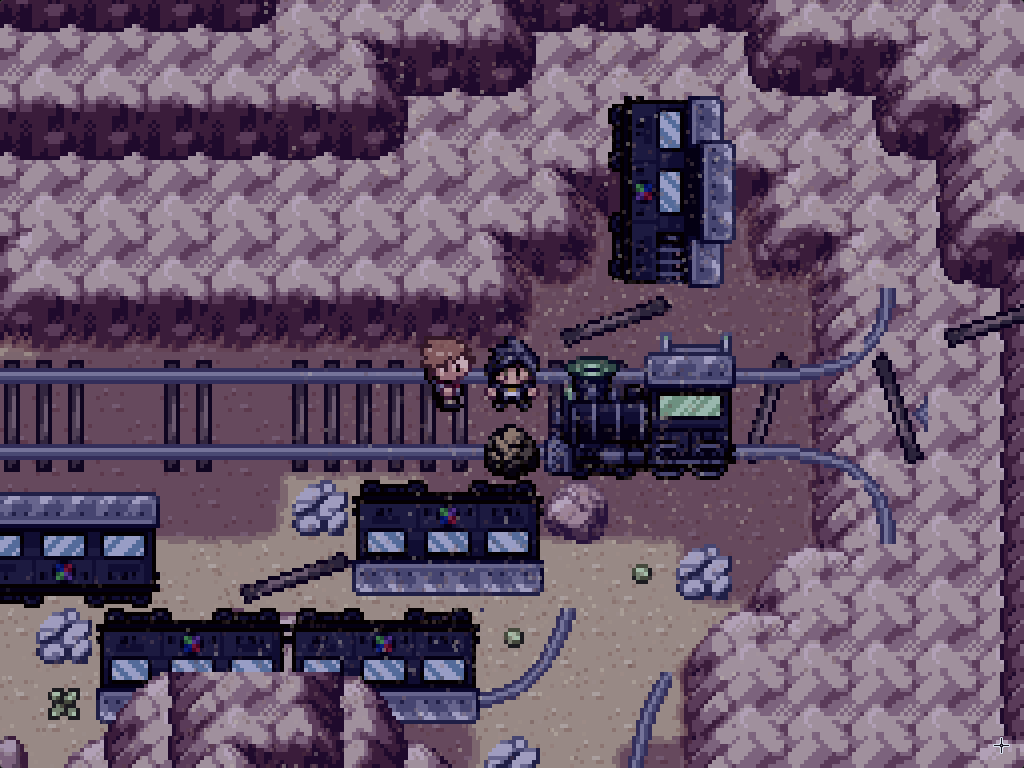
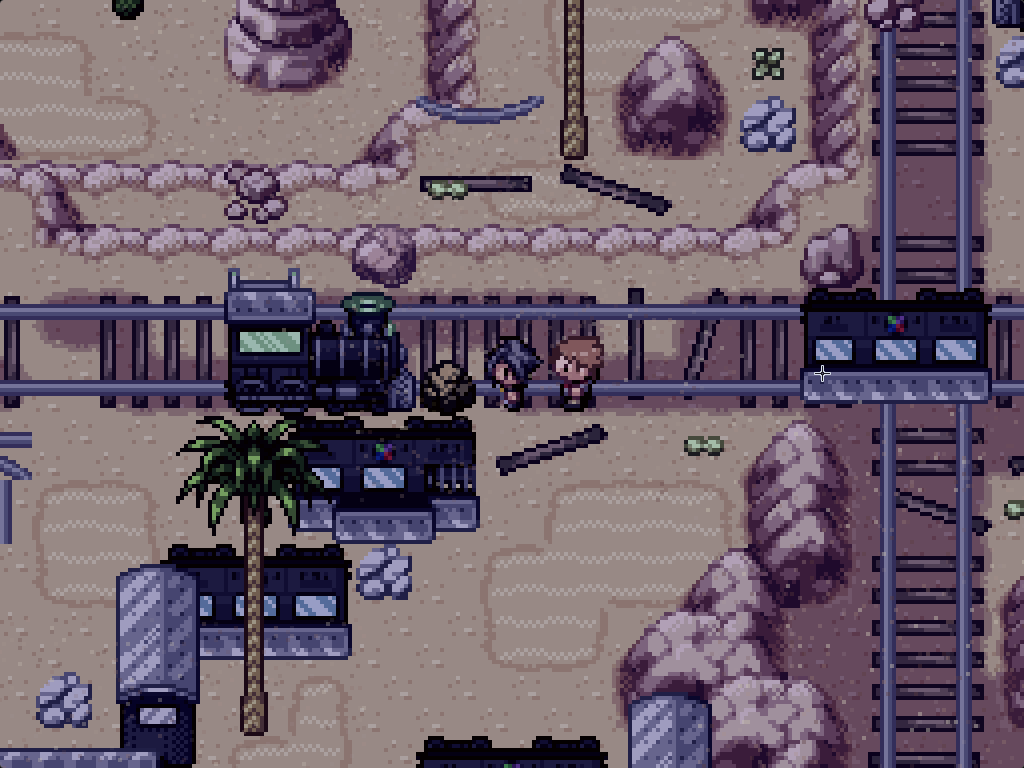
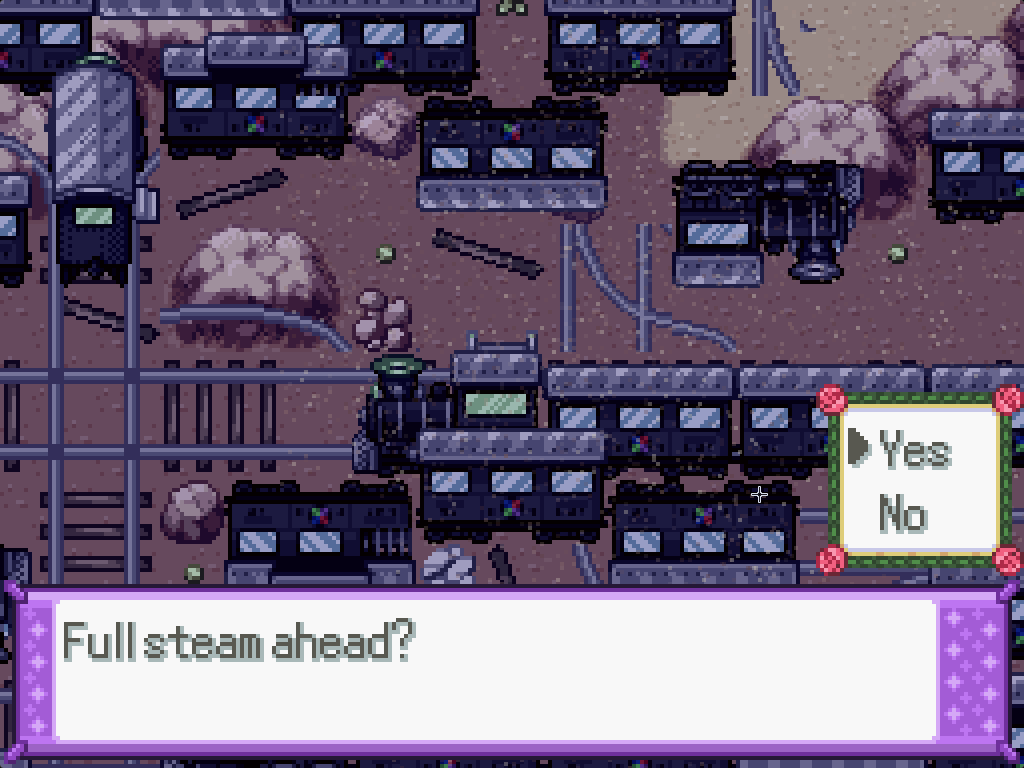
Finally, enter this locomotive and enjoy the carnage. This will take you to the second area of the scrapyard.
Oh, but there's more. The scrapyard is divided into two maps; luckily, the second one is a lot shorter.
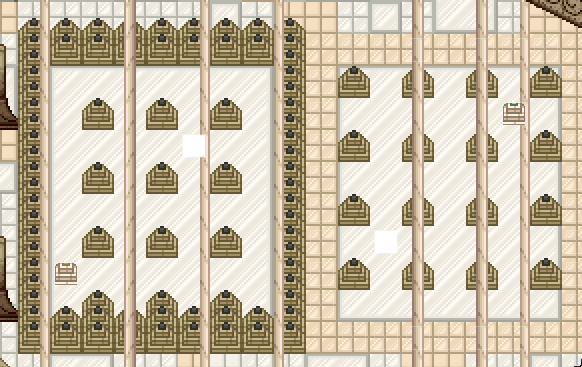
1R253 Scrapyard Walkthrough, Pt 2
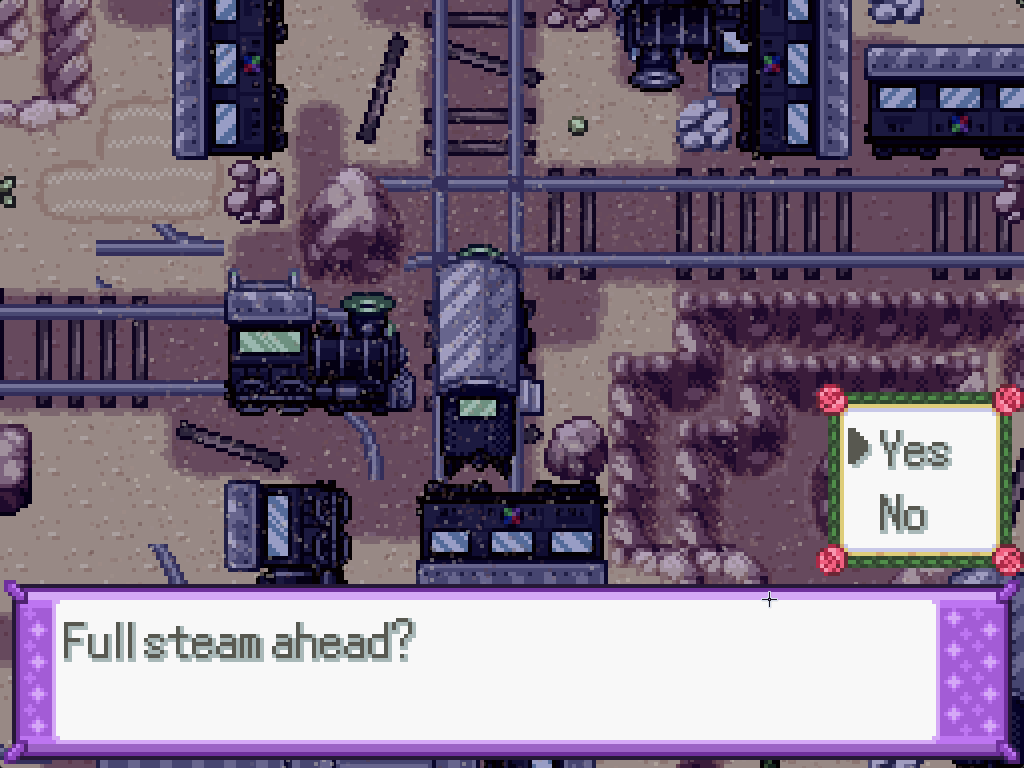
There's only one real option here, and it's going in this locomotive. It'll move a bunch of carriages out of the way; walk up and over the ledges to find another locomotive. If you enter it now, it'll get blocked by some more carriages further down.
There's only one more locomotive available; enter it to open the path up again. You can re-enter the second locomotive from before to find an area with a ledge (and now the engine is truly FUBAR'd).

Directly next to you is a carriage that leads to a series of rooms. Follow through the rooms and exit out into the desert to findd the Scrapyard Village.
Once in the village, if you still have Taka hanging around, then he will take up accommodations in the south east. Talk to him there and enter his carriage to progress. If he's not hanging around, you don't need to do anything.
The village itself is not very interesting; there's a Move Tutor in one of the northern buildings that will teach a handful of Galarian moves. There's an orderly you beat before who's on the run, and is looking for a water source. You can't tell her about the water source yet, but when you do she will give you the Houndoomite. There's a teleporter to the Mirage Tower of all places in one of the carriages (this will come in handy in the post-game, at least).
With all that done, it's time to get down to business: your fifteenth badge!