Badge #17, Pt 1: Operation Husky
Back to Calcenon City. If you traded something (anything, literally) to this guy at the bottom corner before, then he'll turn into a vendor selling custom Mega stones. You probably already have some custom mega stones (due to All-Gen changing them from being in-world to here after I overwrote the maps) but this is where you will find the rest.

Enter this house to find Hardy and experience a very long (and very bad) cutscene. You might've noticed it a bit before now, but the story is taking a very weird turn about your character. More on that later.
Next stop is Route 4 again. Pass through the checkpoint (and talk to Charlotte), then find Hardy at the east side of Route 4. He'll give you the TMX for Rock Climb, which you unlocked with the 16th Badge already.
Rock Climbing
Instead of continuing onto the bulk of Route 4, there's a few locations we can revisit instead. There's one major one (the Teknite Ridge), but first let's investigate some minor locations.
- Next to the Fiore Mansion is a cliff with TM28 Leech Life.
- At the back of Luna's gym is a Dark Material. If you didn't get it already, there's a second one up the waterfall in the back of the Iolia Valley, and another one in the side room of the Subseven Sanctum. Having a Soul Candle in your inventory and returning to the table in the Sanctum with all three Dark Materials will summon a Deino instead of a Litwick.
- In the area leading up to Pyrous Mountain near the Apophyll Academy, there's a cliff with TM52 Focus Blast.
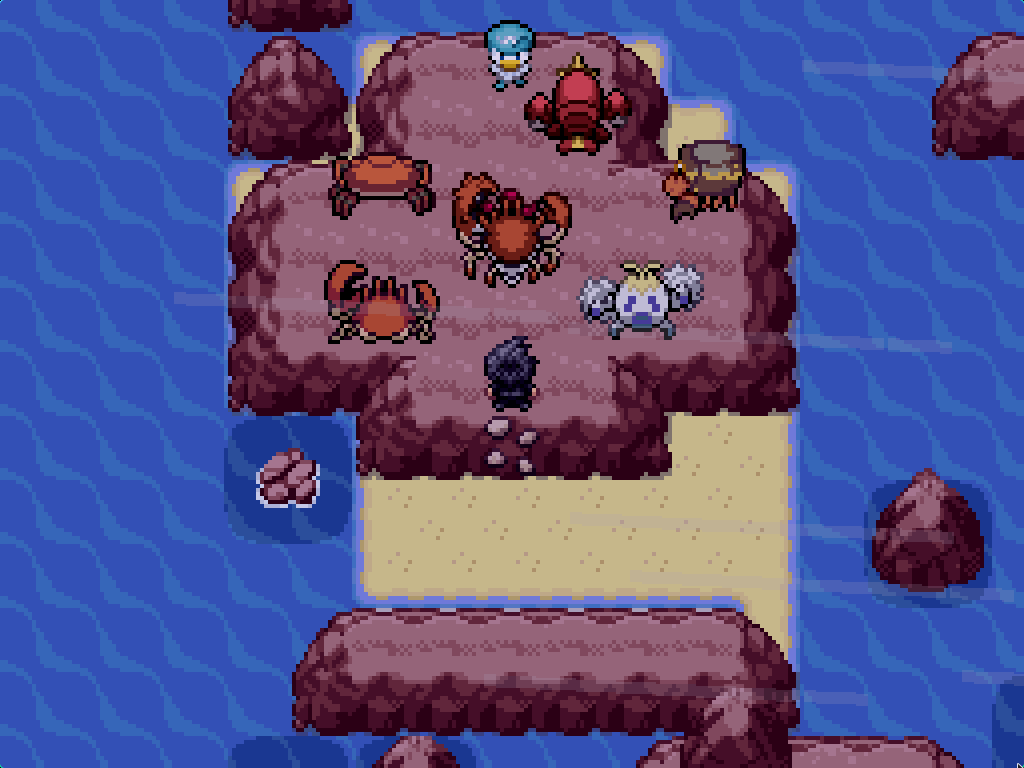
- In the north part of Peridot Ward, theree's a group of Crab Pokémon harassing a Quaxly. Defeat the Crab raid to obtain it.
- If, for whatever reason, you wanted to get between Beryl Ward and the Celestine Cascade (ignoring the topological impossibility of that) then there's a rock climb route now available inside Citrine Mountain.
- Likewise, you can now pass through the path from Route 1 to Celestrine Mountain.
- If you really want, you can go into the Tanzan Cove and surf into the newly accessible cave to start the Larvitar special encounter. I'm not walking you through that; see the wiki for more information. It's a extremely stupid puzzle.
Teknite Ridge
I really like the Teknite Ridge. It's this small, nearly entirely optional side area (it's not actually optional. you have to solve the puzzle in the postgame) with a bunch of catchable rare Pokémon.
There's two entrances to the Ridge; from Teknite Cave in the Toumaline Desert, and from Beryl Cave in the Beryl Ward. We'll focus on the Beryl Cave entrance first. When you go in there, there's two rock climbable sections at the back that will lead up to the Teknite Ridge.
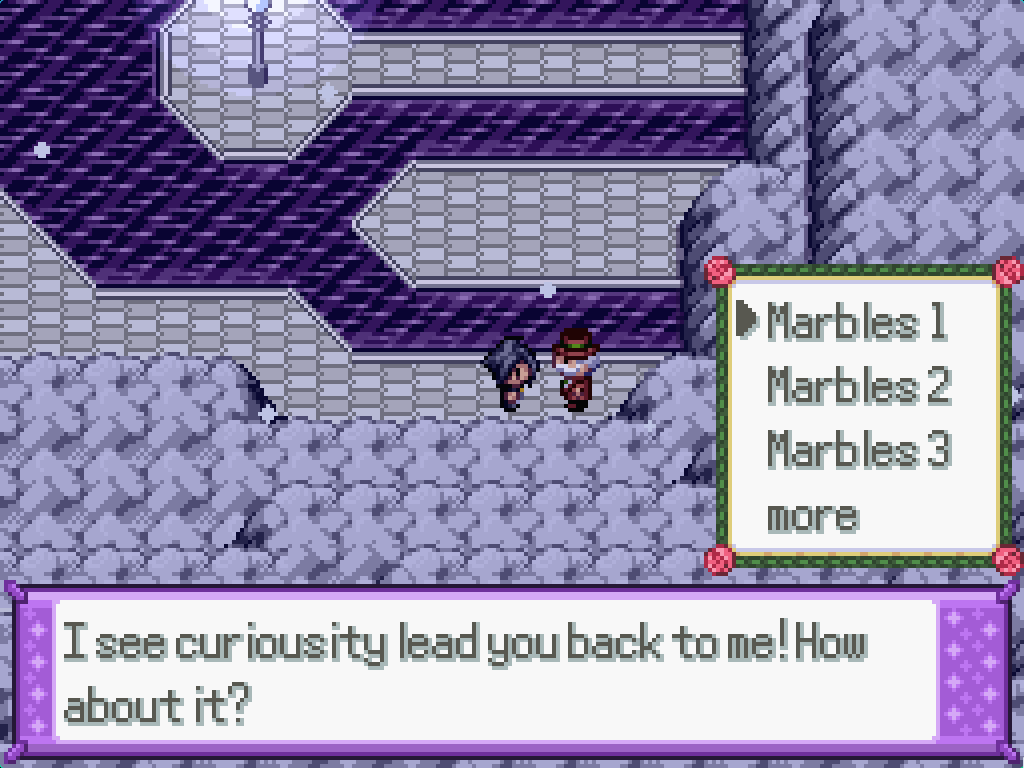
This is a good time to introduce you to a small mechanic Reborn adds after the 16th Badge. Sometimes, when entering an area, you'll see a popup with a cryptic message about the surrounding area; this is a hint from the game tthat if you use a specific move to change the field effect in a battle with a wild Pokémon, it will affect the outside map too.
The message in this case is not very helpful; it's telling you to use Dark Pulse to switch to the Dark Crystal Cavern field. But we don't need to do that. If you walk over to the back of the room and interact with the centre wall tile, you can smash the wall to find the Larvesta Nest. Go to the back of the room to fight a Level 100 Volcarona, then interact with the weird orange thing to the right to find a Larvesta.
Sadly... that's all there is to see on this side of the ridge.
Teknite Ridge, Again
This time, we're going to approach from the Teknite Cave instead of the Beryl Cave. There's no convenient Fly spot out to the desert, which means that you need to go through the cutscene at Grandview Station again, then find the cave by hugging the left cliff wall of the map.
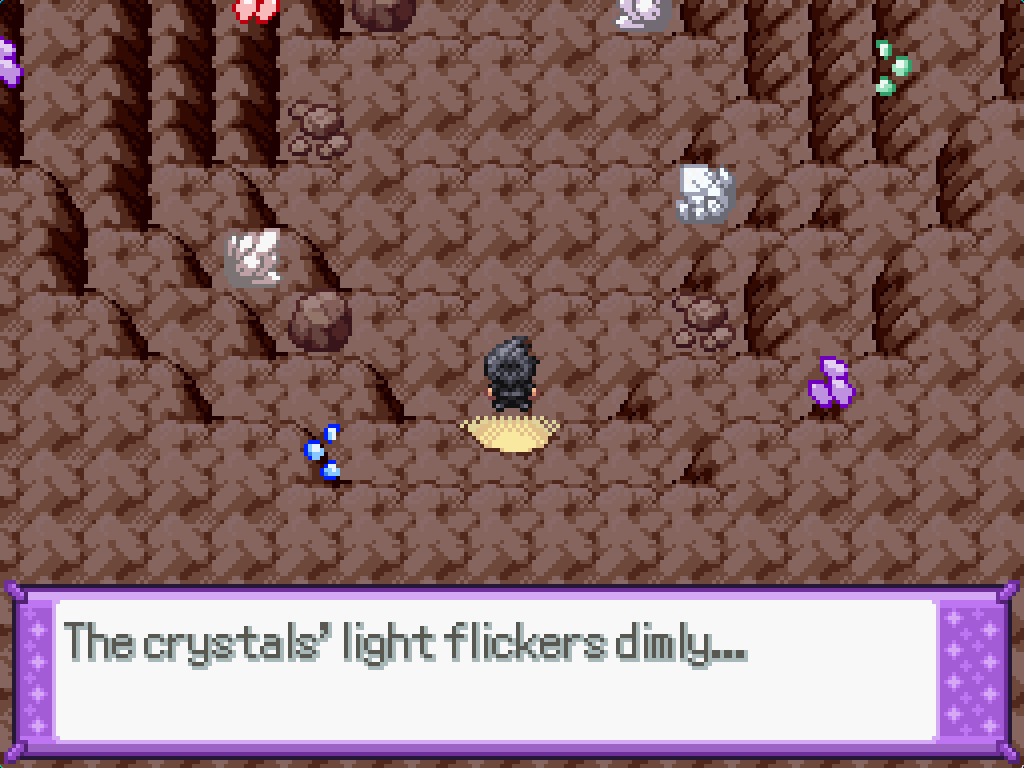
Upon finding the cave and entering the second room, you'll get this message. Get an encounter with a wild Pokémon and use Power Gem to create crystals in the room, then activate the crystal up the stairs to make a breakable door at the back of the room.
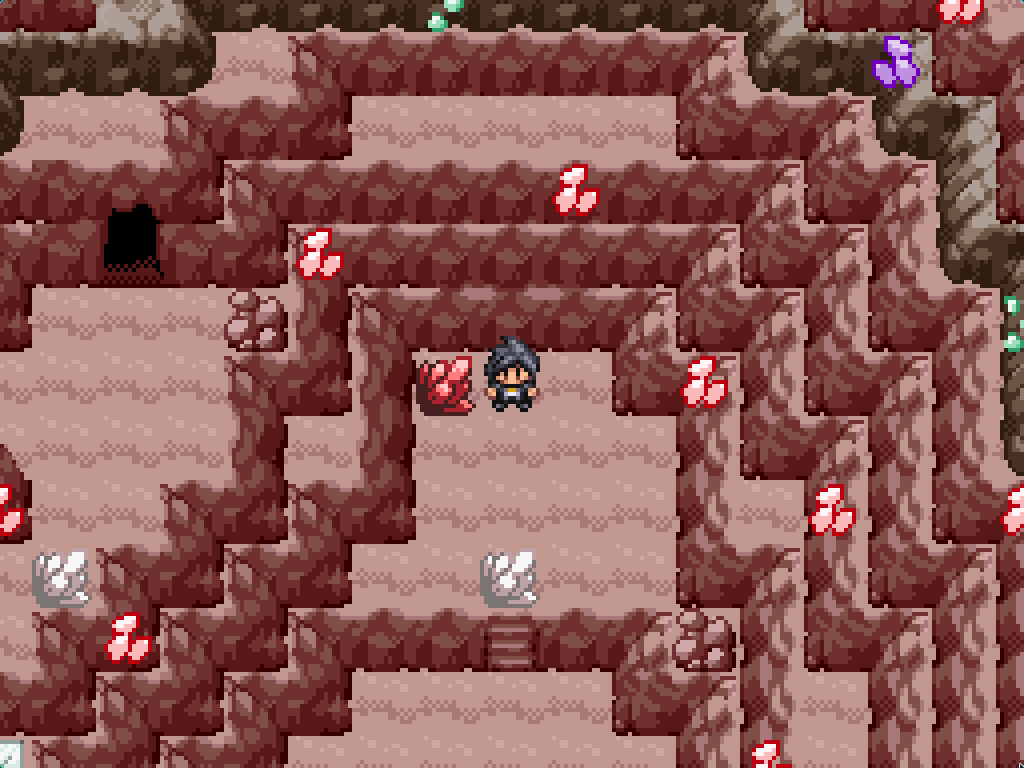
In the next room, use Power Gem again and activate the green crystal at the bottom of the room; then use Earthquake to destroy the crystal blocking you at the top of the room. You need to stay in the area up the stairs and use Power Gem once again to create a red crystal that will activate a breakable door.
In the fourth room of the cave, use Power Gem again and activate the newly created green crystal which will unblock the path up. This room has three possible exits; we'll focus on the door at the bottom left of the room first. If you go in it, and into the next door, you'll find a room with some water. You can't surf across; you need to make a bridge using a Blue Crystal using Power Gem. This will lead to a room with the Buginium-Z.
Teknite Ridge, Right Exit
(This is a cool little mechanic. I wish Reborn did more with it.)
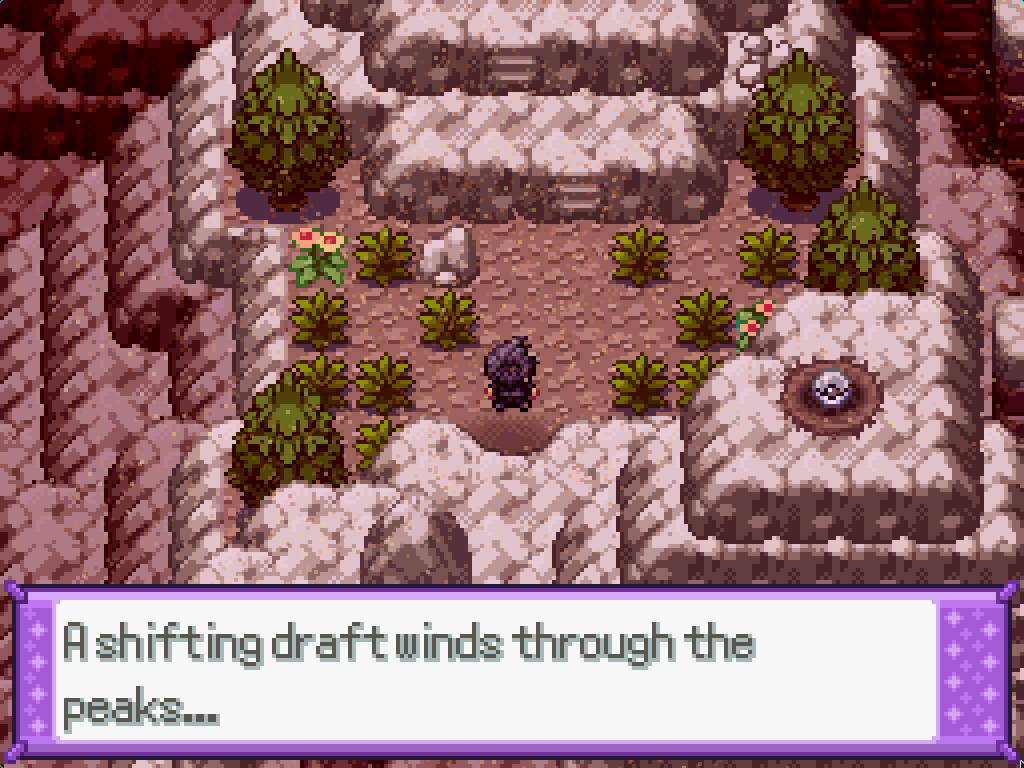
The upper right exit of the fourth room of the cave leads to an area with a lot of jumping puzzle blocks, as well as a message about wind. Get into a wild battle and use Tailwind to switch the field to the "Strong Winds" field. With this field active, you can jump two whole blocks apart, not just one!
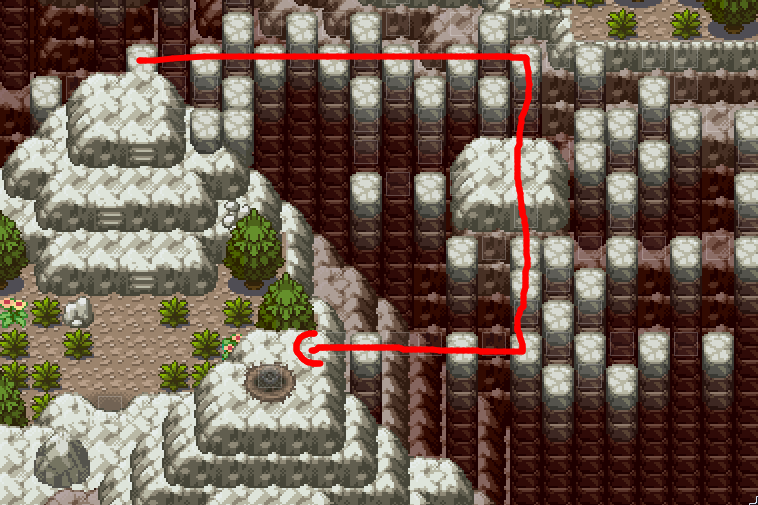
With this knowledge in hand, you can follow the red arrow to get the Pidgeotite.
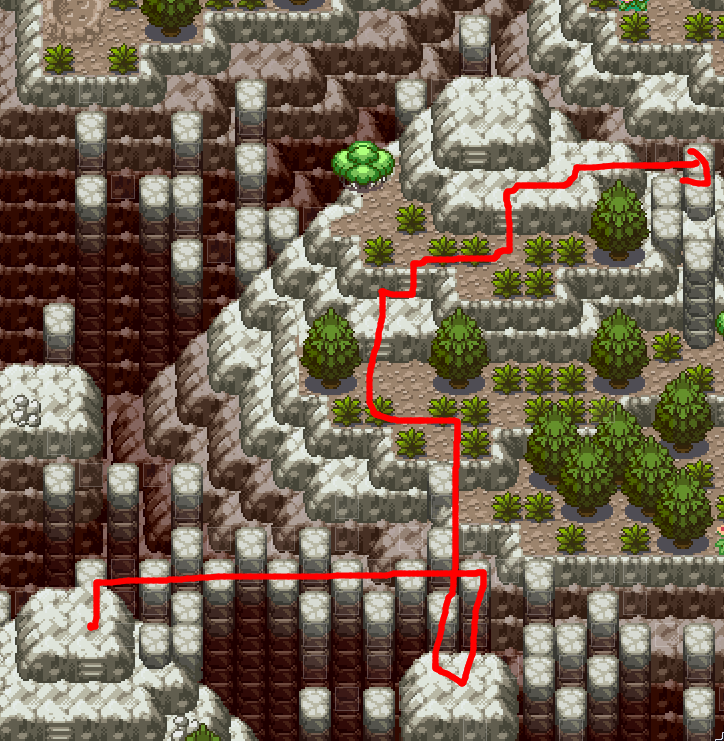
Next, we need to climb the hill. Follow the red arrow to get to the top of the first hill and jump on these blocks.
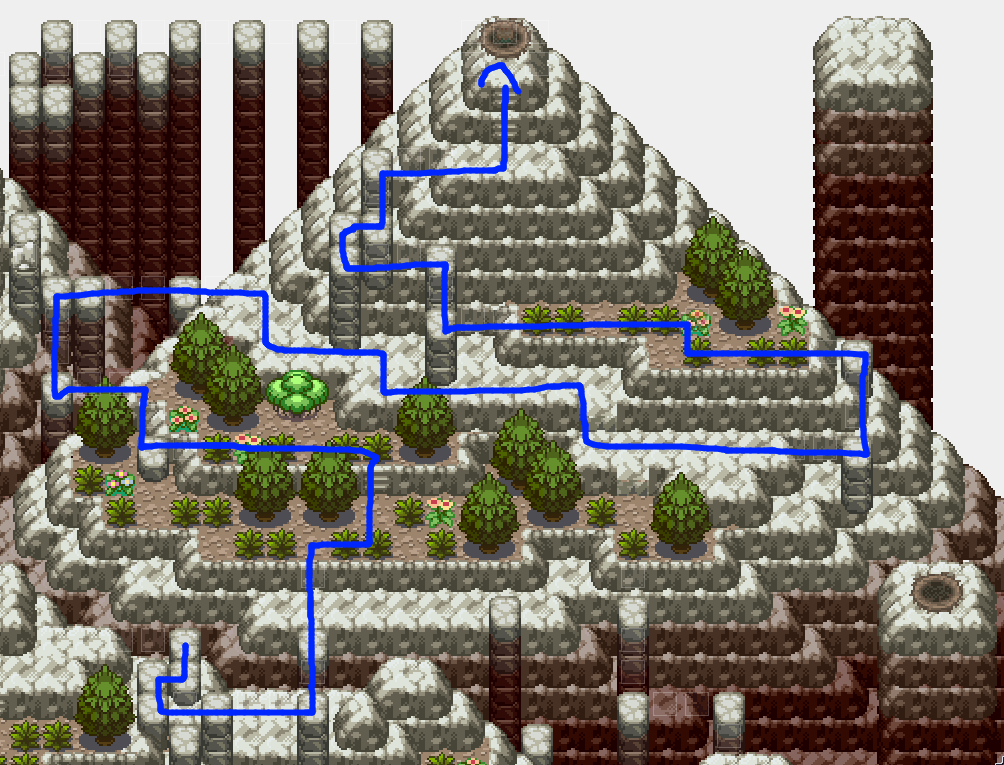
Follow the blue arrow to make it to the top of the hill, picking up TM159 Brave Bird on the way. At the top will be a Rowlet egg.
The other side of this map has nothing interesting in it, sadly.
Teknite Ridge, Left Exit
Remember these steps, as you'll have to come back here in the postgame.
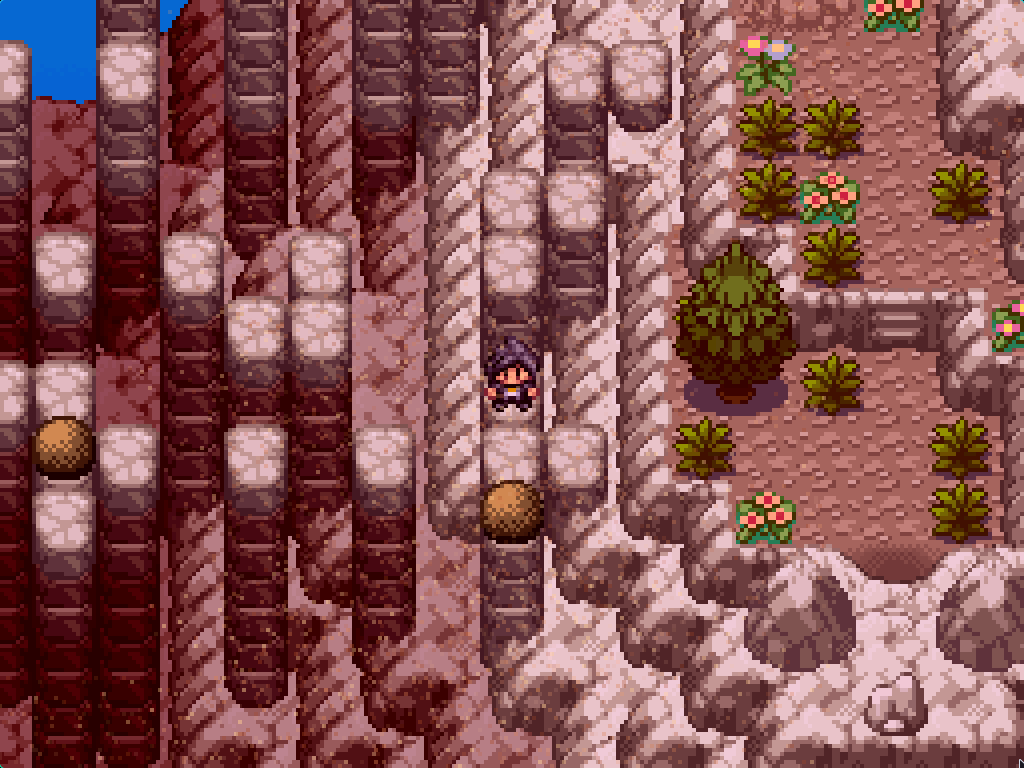
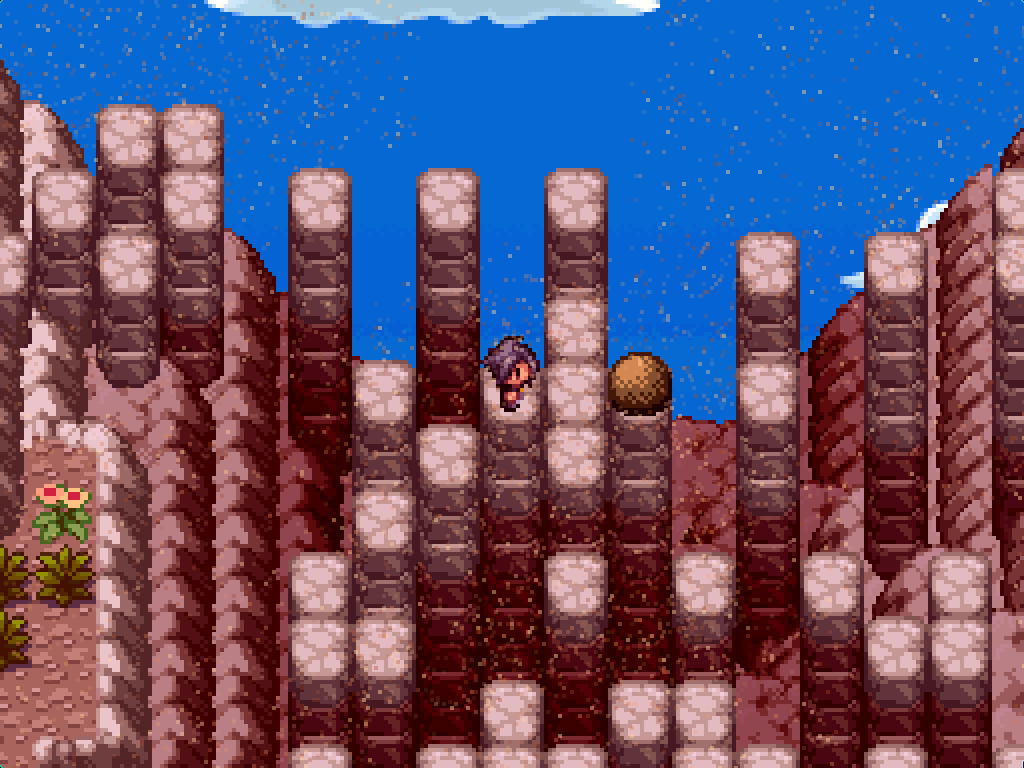
This one is a more traditional Reborn bastard puzzle. Jump over to the rocks and push this boulder down. (This doesn't really achieve anything.)

Jump up and bush both boulders downwards, not to the side.
Push this boulder to the right. It does block off a path, but that path was just the ledge area where you came in from.
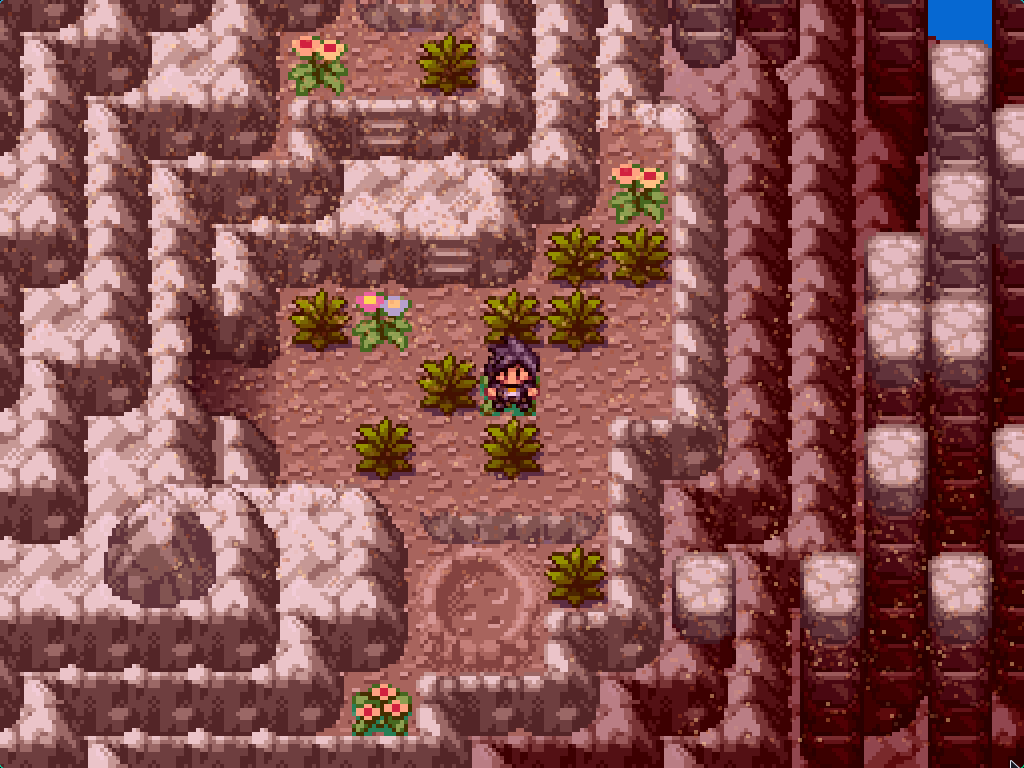
With that done, you can jump over to this area that you just opened a path to. Don't jump down the ledge below as it's just the exit path to the other cave. Instead, go through the door twice.
Acquaint yourself with the familiar sight of nonsense, and then go up the stairs at the top of the map to find TM75 Swords Dance.
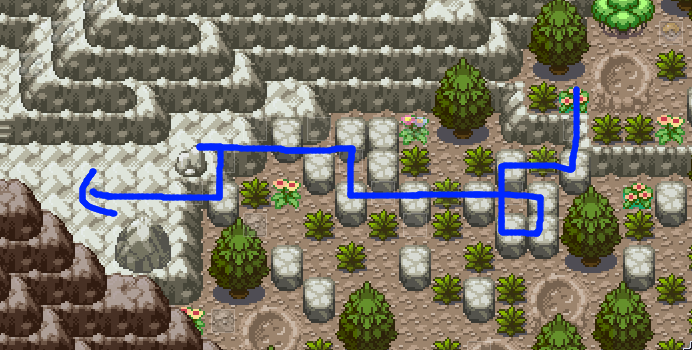
From there, you can follow the blue arrow to find an area with the Mawlite (ooh, that's a good one!), then use Rock Climb twice to find a Jangmo-o egg.
There's nothing else interesting here... so it's time to go back to Route 4. Sigh.