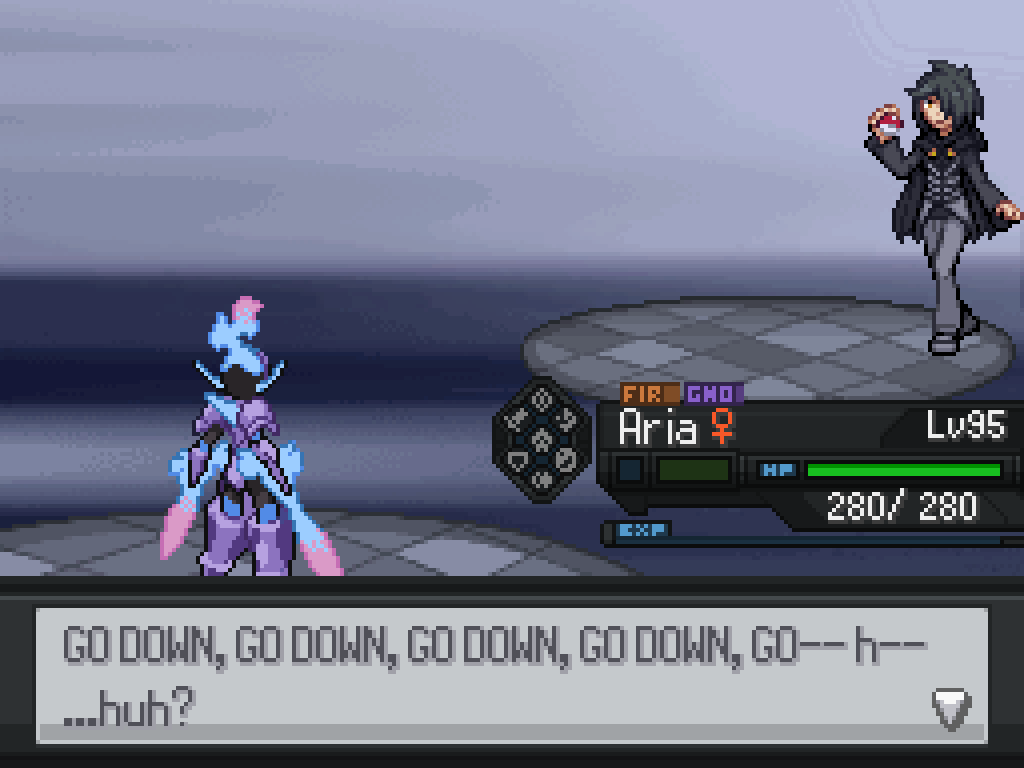
The writing starts to get really bad from here on out. Be warned, anyone who isn't a millenial.
Badge #18: Operation Overlord
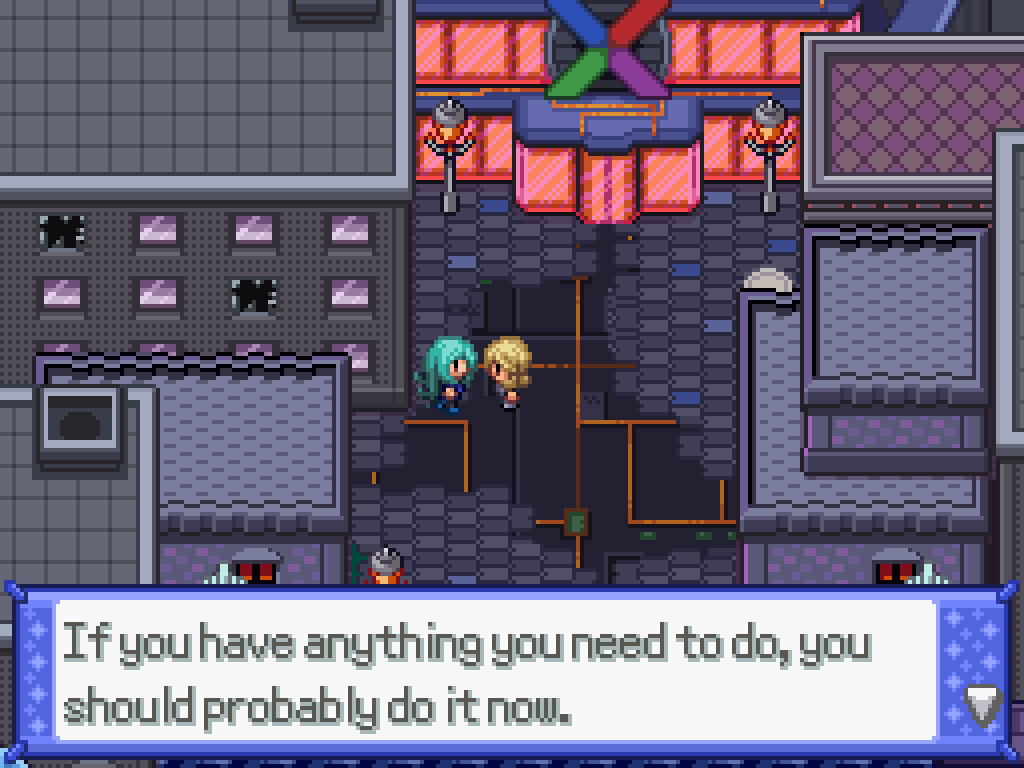
It's time to finally liberate Labadorra City. When you've done everything you wanted to do
at Agate City and beyond, return to Calcenon City. There's a few NPCs to talk to for some
story; then, talk to Hardy in front of the barrier for a long cutscene.
The plan is thus: Let Bennett carry the body of Mengele through the barrier and then
deactivate it from the other side. Talk to every character here (except for Amaria, if
she's here) for some bonus cutscenes too.
Glemy vs Haman?
For some bonus cutscenes, go into the house with Julia outside to find the sisters. Talk to
Charlotte for some exposition, then cancel the dialogue option for +1 relationship
point with her. (Or say Yes/No to piss off one of the sisters instead). The writing seems
to have swerved at the last minute to imply the psychiatrist is also a child rapist, which
makes a certain postgame scene much worse for no real reason.
When you're ready, talk to Bennett and say yes for him to cross the barrier and
free the Underground disable the barrier.
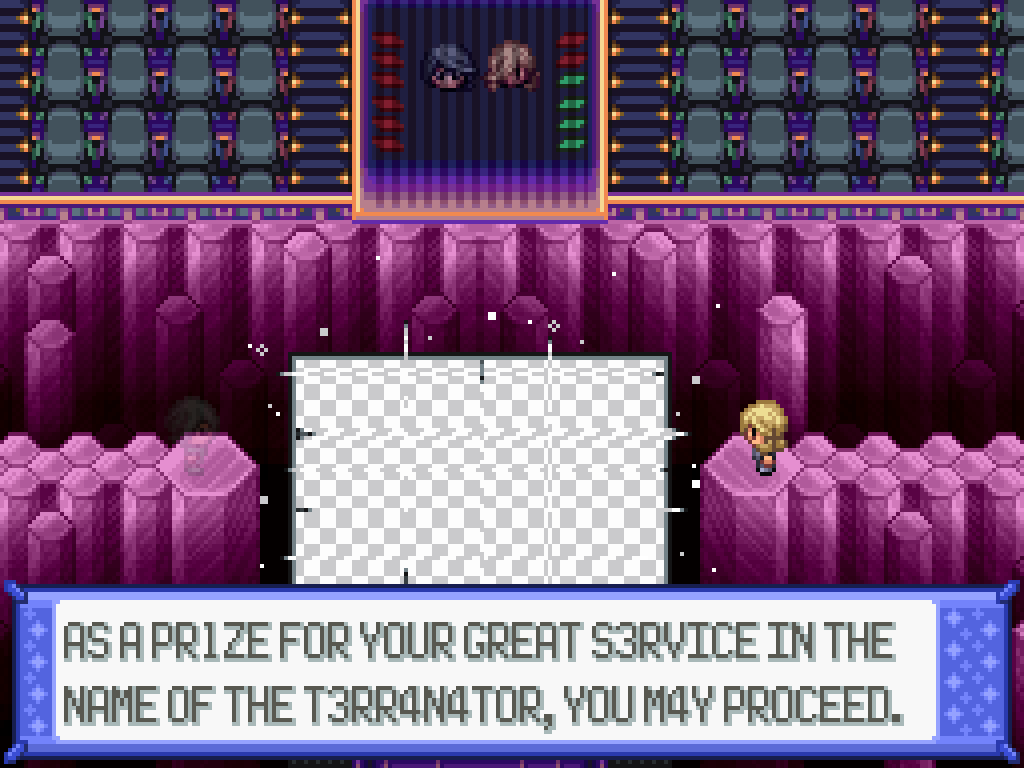
Enjoy the horrifically cringy Marvel-esque cutscene then walk up the stairs to finally
enter Labadorra City.
Battle of Normandy
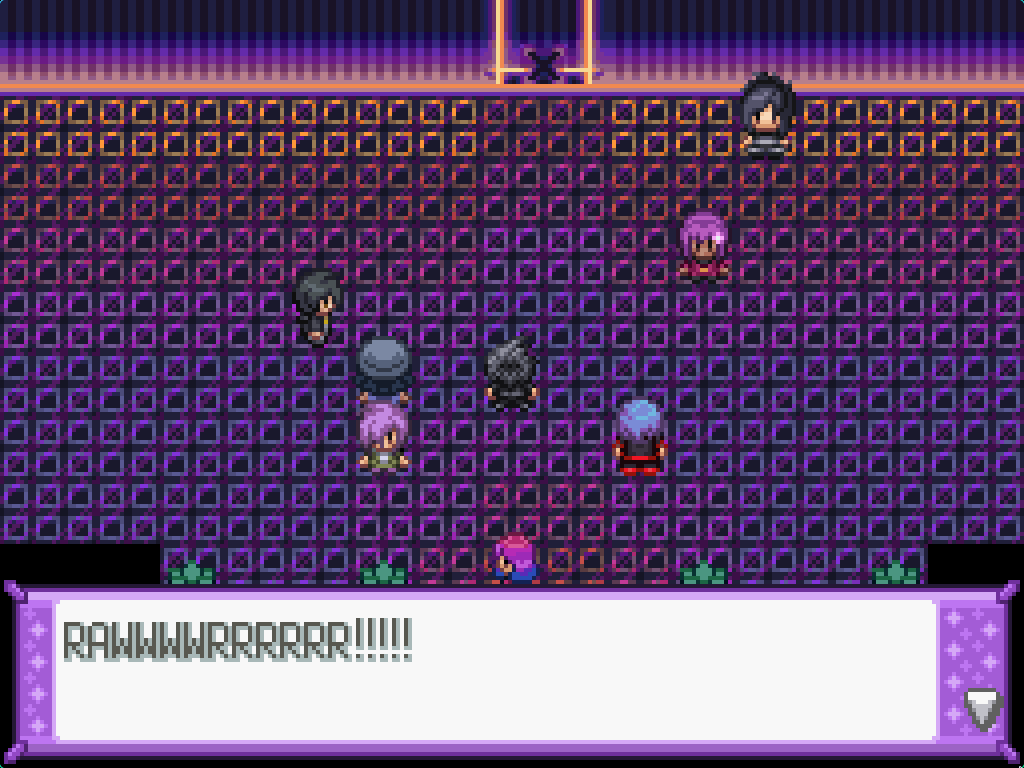
Just a fair warning: the grunts here are more dangerous than usual due to PULSE2. All of
their Pokémon have 252 EVs in everything but HP, unless you have Litemode enabled. Proceed
to the south to fight a single Schutzstaffel agent, then slip through the area next to
Victoria to find a second Schutzstaffel guarding the path forward.
After defeating them, move upwards for a small cutscene; you're blocked from going any
further as you need to go and defeat the PULSE Clawitzer. The space where Victoria was
battling before is now clear, and leads to a room where you will find two Schutzstaffel
who will double battle you alongside Victoria.
It's very clear how his sprite is a recoloured official one.
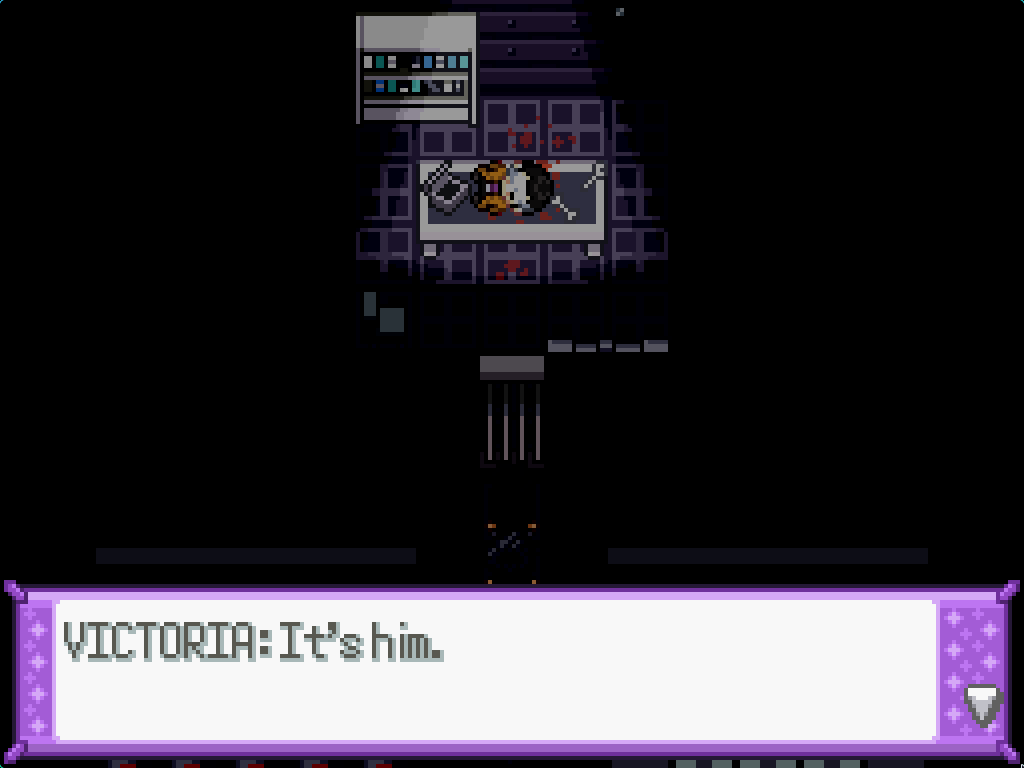
Inside, you'll find... either Solaris (on the R route) or Taka (on any other route), with
his eye cut out. Enjoy the cutscene, then walk outside and down the stairs to the left to
get ambushed by one more Schutzstaffel agent. The door at the bottom is locked, so walk up
to the door at the top here (from the side!!!) In it, you'll find... Sigmus, who will run
away as soon as you approach.
Walk up through the corridor next to said building to get ambushed by two more Schutzstaffel
agents. On the Z route, you'll need to fight them alone; on the R route, Amaria (of all
people) will be your Doubles partner.
Get ready. Walk into the building up above you and traverse all of the floors. You'll get
ambushed by two Schutzstaffel scientists before you can exit out onto the roof.
Save before the ladder.
No, he got vaporised.
After you get up there, you'll get a cutscene - and then a fight against Zero and the
PULSE Clawitzer.
This thing has 252 Speed, 252 HP, four extremely strong moves, Contrary, and is
Water/Dragon. It will outspeed you. Zero is hardcoded to always send it out last,
so you need to keep at least something healthy in order to one-hit kill it, maybe with a
Focus Sash, some strong sucker-punch users, or Focus Sash Trick Room.
It's not that hard, I promise!
😳
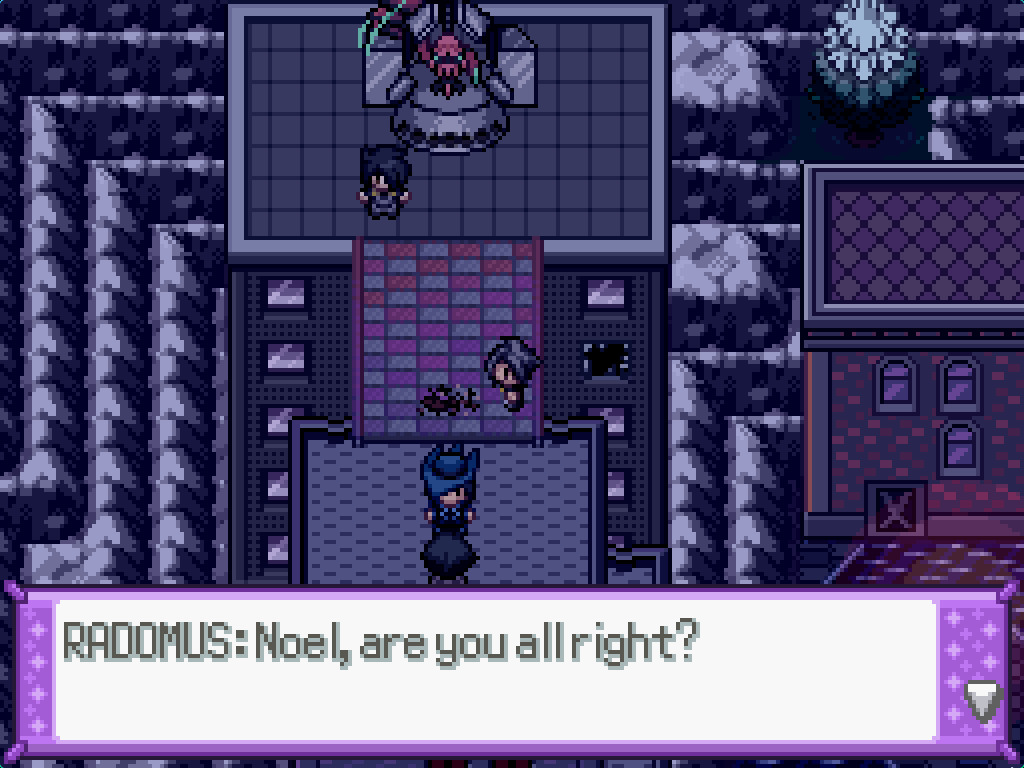
After taking down Zero (and the first of the two ridiculous PULSEs), make your way back to
the upper area of Labadorra for some more cutscenes. Return back to that locked door to
finally return to the LCCC (imagine how much shorter this game would be if anyone could,
you know, move rubble out of the way?)
Help! I've disappeared!
You'll eventually find this area of the LCCC. Make sure to save here. You'll be
fighting a double battle against Sigmund's corpse and PULSE Mr Mime, a troll Pokémon that
is Dark/Ghost, has Wonder Guard, and knows exclusively Entrainment and Instruct. It also has
252 speed. There's like six hidden Fairy gems further up too.
Luckily, there's a handful of easy strategies for this one. Something with Mold Breaker
will ignore Wonder Guard and can hit the entrained Pokémon for neutral or resisted hits,
and Fairy type moves will still kill Mr Mime. You can also use passive damage such as Toxic
or Sandstorm, and once you've killed the PULSE it's a 2v1.
You can get the final sticker,
giving you access to the penthouse.
As soon as you enter the arena, you'll be greeted by a long cutscene. It starts off bad,
then gets really funny.
This is a gigantic tournament. You'll be paired up with somebody as your battle partner
and forced to fight for your survival. Who your partner actually is depends on the route;
on the R route, your partner will be Cal. On the Z route, your partner will be Florinia.
You'll be facing Lumi and Eve in your first round no matter what. All the fields here
are specifically designed to be as irritating as possible, for bonus effect.
Oh yeah, and all the cutscenes are like ten minutes long. We needed another Vietnam War to
thin out the millenial generation a bit.
Round #1
There's some issues with the Depth Buffer!
Let's get straight into it. Here's your partner teams:
Partner Cal uses Fire, Fighting, and Psychic types. Partner Florinia uses Ground, Grass,
and Steel types. On the other side, Lumi uses mostly Ice types, and Eve is simply trying
to fucking kill you. Don't get too excited by Cal's team...
Also, you'll be fighting on an Inverse Field. Wonderful. When you're ready, enter the door
on the left side of the room to begin the battle. You'll want to bring some Grass, Dragon,
and Psychic types here to win.
Round #2
Why is she suddenly using therapy speak in Annoying Tumblr Voice?
After the silly siblings die, leave the arena to find out the next round. Entirely
predictably, you will be fighting the person you just partnered with.
The field effect here differs depending on opponent. When fighting Florinia, it's the
Glitch Field; when fighting Cal, it's the Dragon's Den field. When you're ready,
enter the door on the right side this time.
Round #3
This one is really funny as the Steel-type trainer lost to a Grass-type trainer on a
favourable field. That's one hell of a fucking choke. (Or, alternatively, she loses very
quickly to Cal instead). Talk to Hardy in the main room to continue the cutscene.
No surprises here; you now have to fight Florinia/Cal; whoever you didn't fight before.
Likewise, you'll be on the field effect that you didn't use last time
(so Glitch/Dragon's Den). Very creative.
The Final Gym
If you exit the gym after Saphira mutes Terra, you can exit out the front door and
catch any Pokémon you need to face her, just in case you get softlocked because you
can't beat her.
After that, only one more battle remains: it's against Saphira. She tells Terra to load
up her gym, making this your final gym fight and your final badge. Of course, being
a gym, it has to have a gym puzzle. Right? Right??
No. This is not a puzzle. This is a test of your sanity. You're surely not going to drop
the game now, after all of that work, right? Right?? If you walk into the left side
and talk to Saphira, she'll beckon you to meet her at the top of the gym.
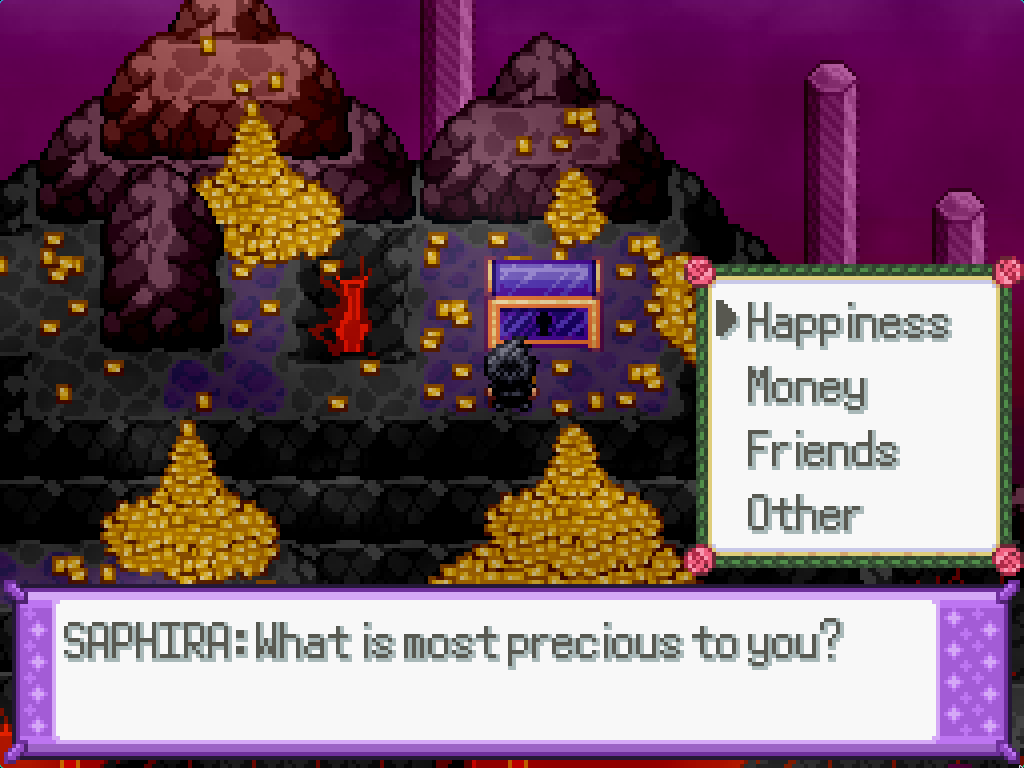
Oh, money. Money! Money!!!
Find your way to this giant treasure chest at the topo and interact with it to begin the
struggle session. Answer the question in any way you want, really; you're pretty much
guaranteed to lose relationship points.
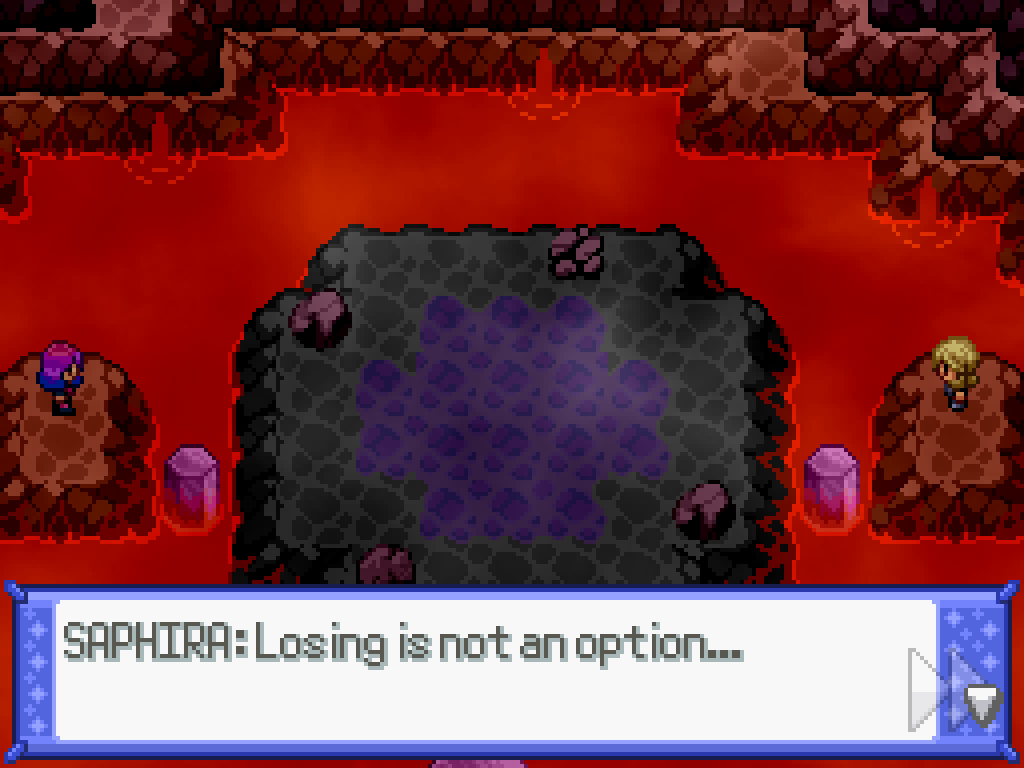
After that, the "gym puzzle" begins. You need to kill every enemy that appears on-screen
before it gets to your chest. There is no guide or walkthrough I can give to you here;
you will have to take things as they come.
Turn on Debug mode and heal your party after every battle. Quick-save after every battle.
That is the best you can do. The only other advice I can give you:
Don't try and go to things; you'll be caught out by something faster moving.
Let them come to you.
The exception to this is the Magneton, which you have to go to (when it starts lifting
the chest away). You have to go all the way to the bottom and up the left-most pillar.
Didn't expect my Misty Terrain, huh?
After, like, a good ten minutes of that, you'll fight the Ultra Steelix
from before (I guess the devs really wanted to use that set piece again) and the path to
Saphira opens up. Take your place on the right side of the arena to begin the final
gym battle. As per usual, some tips and advice:
This is the joint-hardest single Gym fight in the game, next to Charlotte, and it's
entirely down to the disgustingly overpowered field. It boosts Dragon attacks, but it
also boosts fire attacks and massively nerfs Ice attacks. This means that
she hits INCREDIBLY fucking hard and has no real weaknesses.
Whilst nominally the only way to get rid of the field is to use Surf twice, it actually
gets overridden by the four vanilla terrains (Grassy, Electric, Misty, Psychic). The one
you specifically want is Misty Terrain, which shuts her down completely, but the other
three may also be viable—they all make sure the Dragon's Den field is gone.
Florges is bulky, has Misty Surge, and can hit back hard with Moonblast.
Keep a Amplifield rock on it and you'll get eight turns to dismantle her.
Musharna has Psychic Surge, so it's similar as above.
Togekiss has
Aura Sphere which is handy against her Archaludon,
and Moonblast as your main STAB. It's just too slow to fish for flinches with Air Slash,
sadly.
Primarina is bulky enough to survive a hit that will activate Berserk,
from which you can then Moonblast away. You might even be able to activate Recover to
get multiple Berserk hits in, which will surely let you get off a one-hit kill.
If your field effect runs out, or you're trying one of the other fields, you may want
to try
Klefki with prankster Thunder Wave. It can also use prankster Misty
Terrain to get the field back up.
All the while Dragon's Den is up, steel types are useless because they will take extra
damage from fire type moves. Once your own terrain is up, however, they can tank Dragon
type hits.
The AI is smart enough to switch out from the Choice Scarf locked items, but that does
give you a free turn for set up.
Mega Z
Garchomp is fast, and can hit her Dragons super-effectively when
using its own Dragon Rush.
Whilst the field is up,
Vanilluxe can do massive damage—and it can finish
off her Salamence with the chip damage from hail. Same for
Baxcalibur and
its ice attacks.
Flash Fire and a fast Fire type can let you muscle straight through her, especially
her Archaludon which is neutral to fire. The resistance is counteracted by
Dragonite has exactly one weakness thanks to Multiscale and the Dragon's Den field,
which is Dragon itself. It is also unbelievably bulky, has a boosting move, and
has Extreme Speed, so if you can't kill it under your own terrain it's game over.
You finally get your last badge, and the level cap is increased to one hundred. You'll also
have to suffer through another AO3 Therapy Session. I recommend getting out your normal
team (or, some ice types) before exiting.
Return to the lower area of the arena and go through the exit door... then
talk to Florinia for a LONG cutscene. Make sure you healed your Pokémon before this, as you
have the FINAL battle coming up.
Terra deletes your fonts, so you have to fight her without any text available. Cool,
whatever. This is an easy battle if you kept your Misty/Psychic Surge Pokémon from before