Victory Road, Part #2: Vistula-Oder Offensive

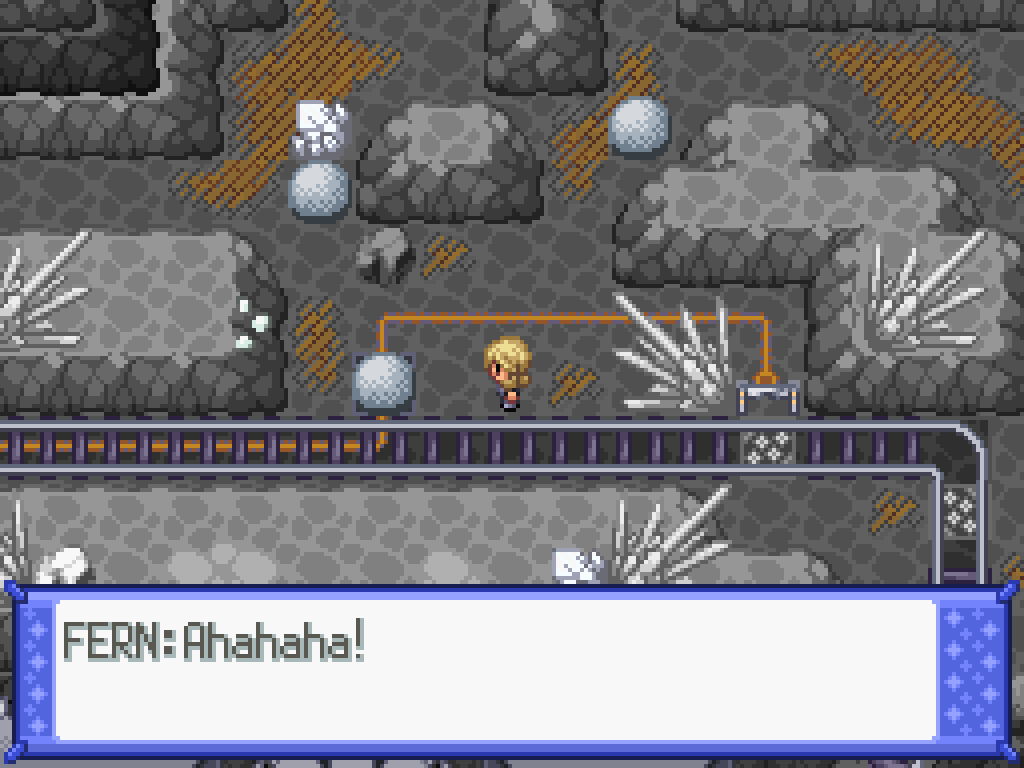
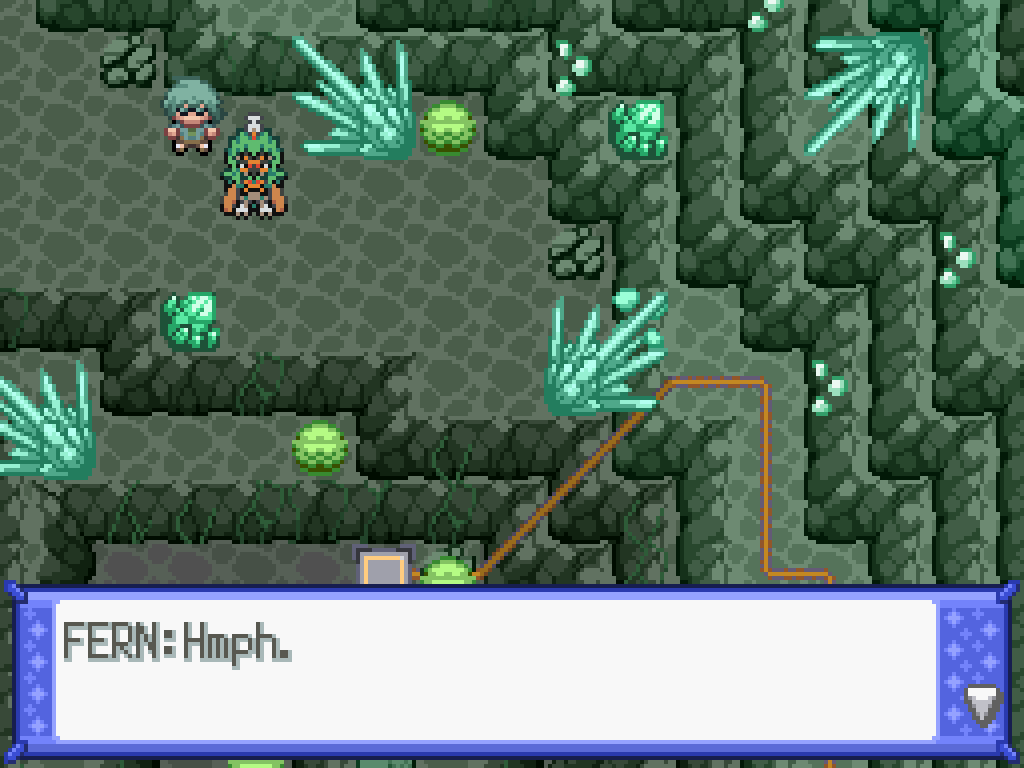
Yeah, this room has the same stupid gimmick as the other room, except this time Fern is firing arrows at you instead. He's also way faster. Fun!
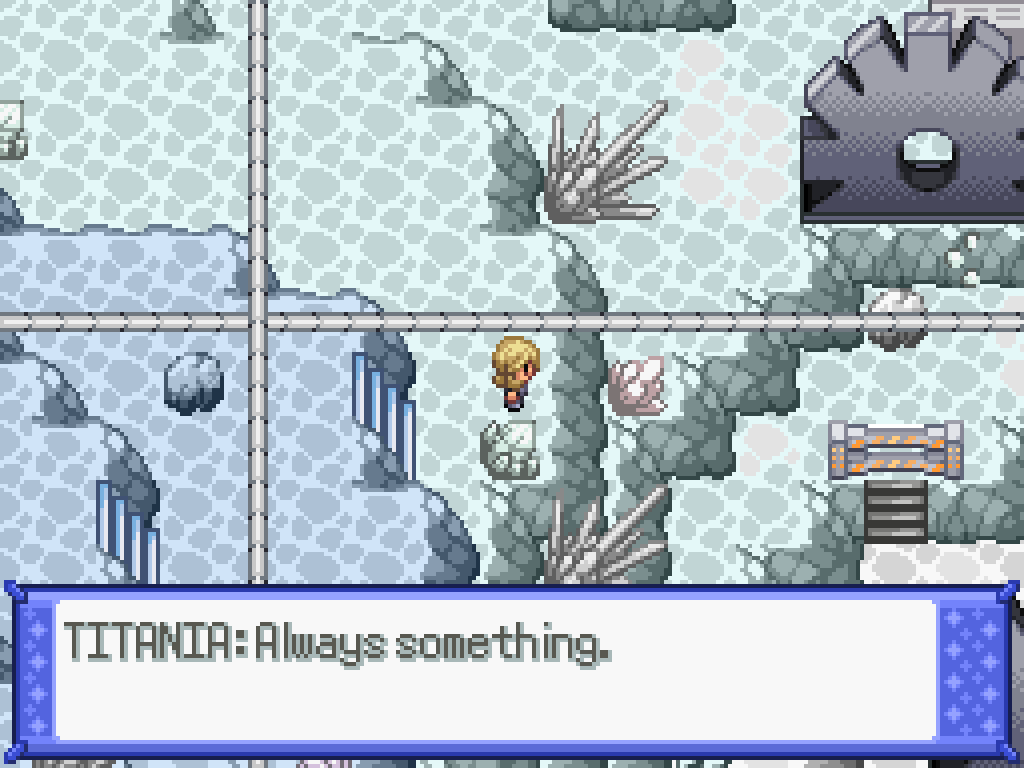
Just walk directly upwards to find the next damn logic puzzle. Talk to Hardy and he'll correctly realise this is too hard; I'll once again show you the solution.
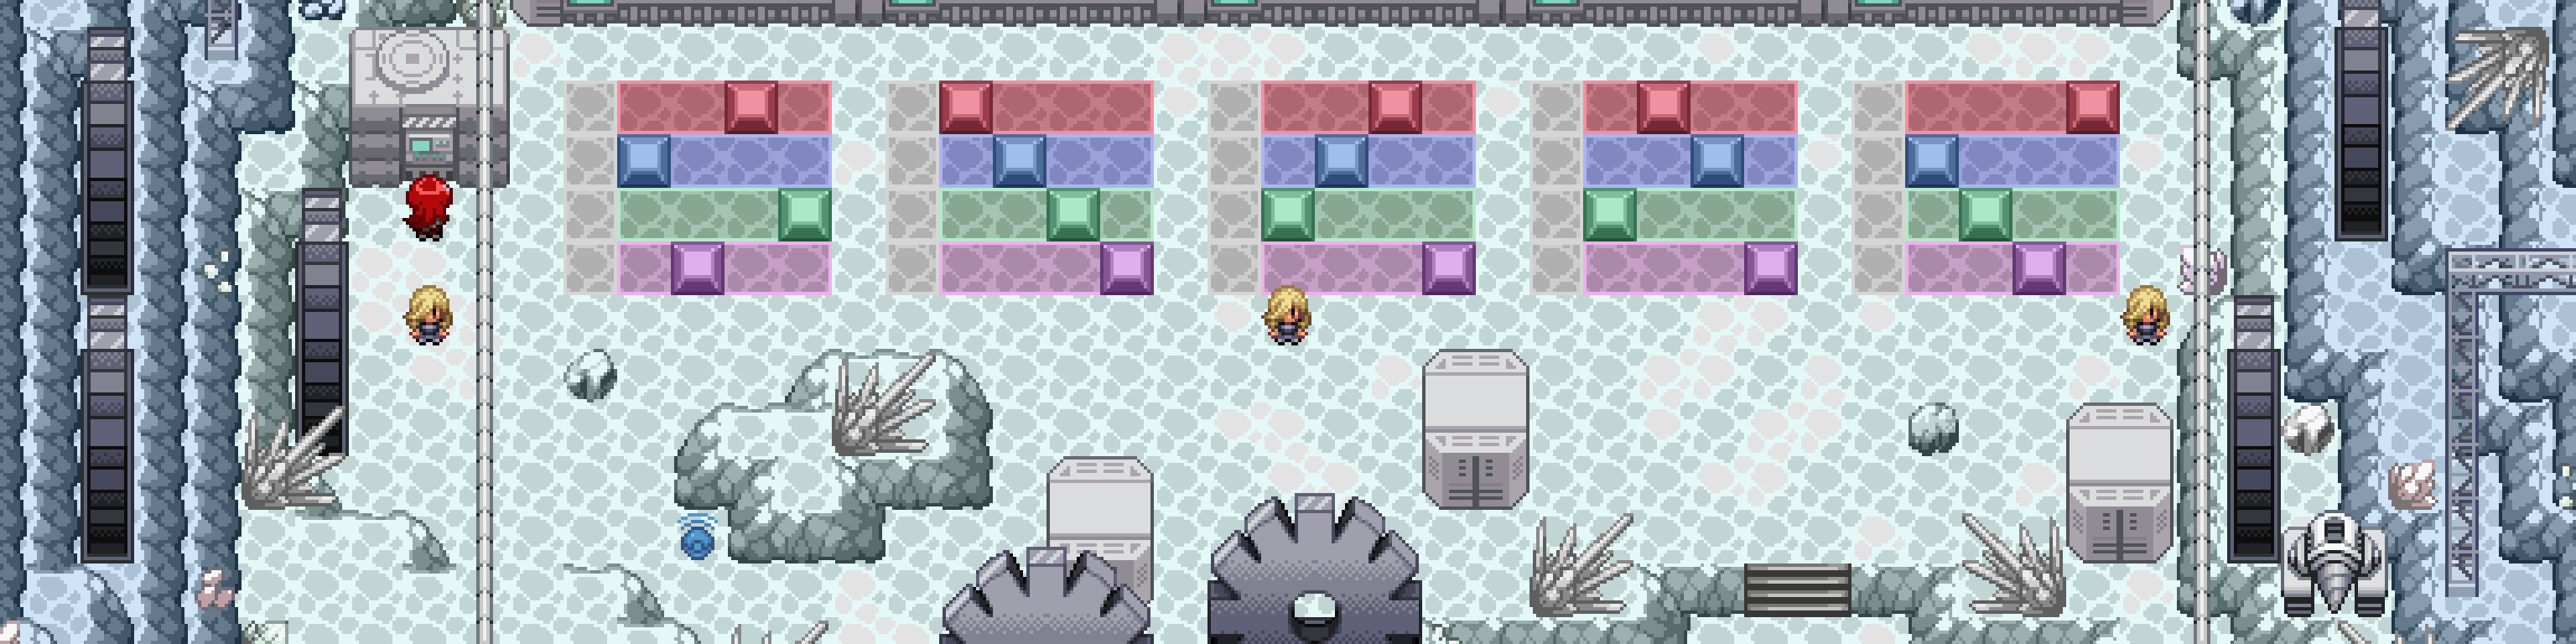
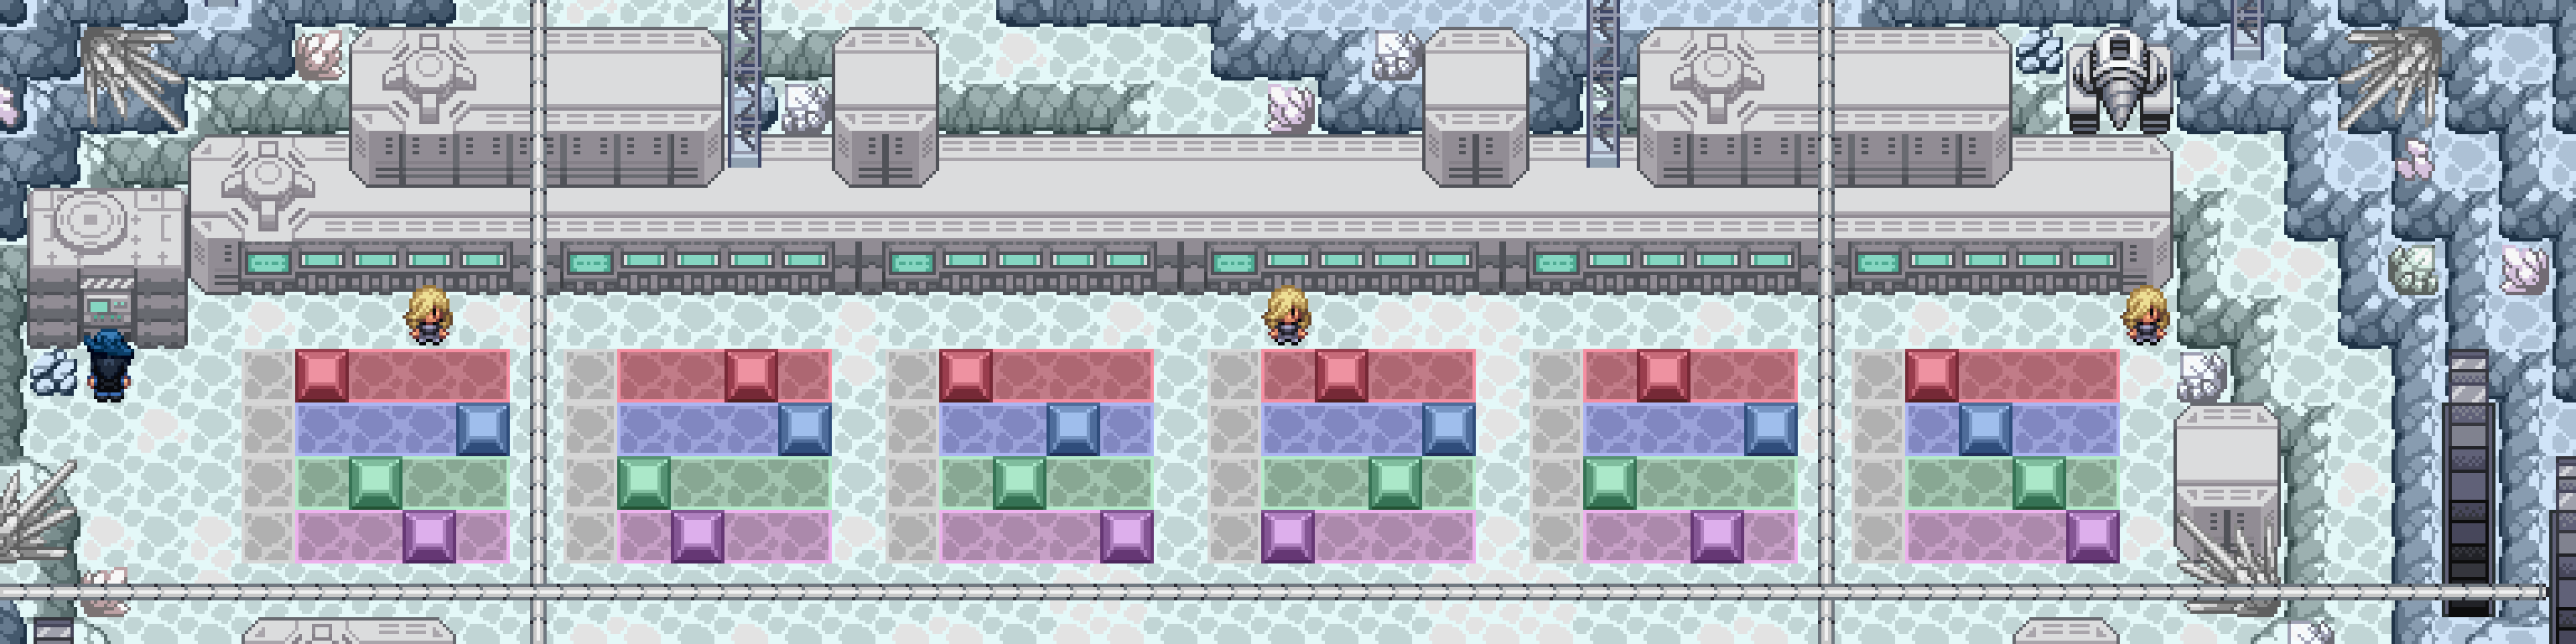
So-Called Logic Puzzle #2
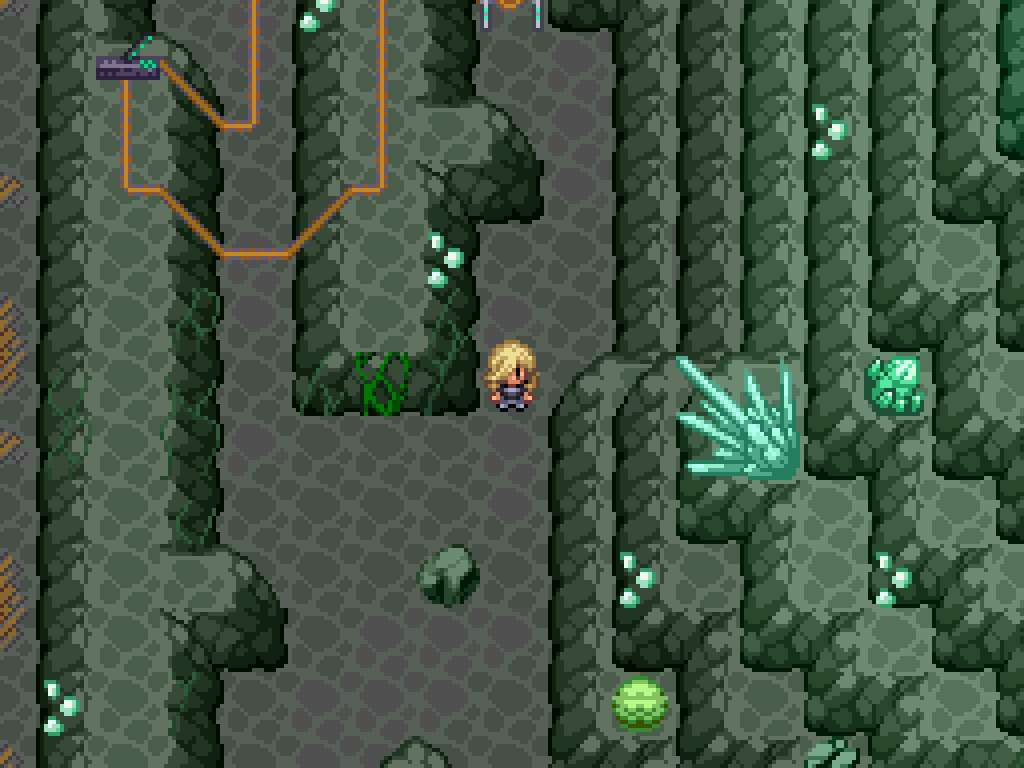
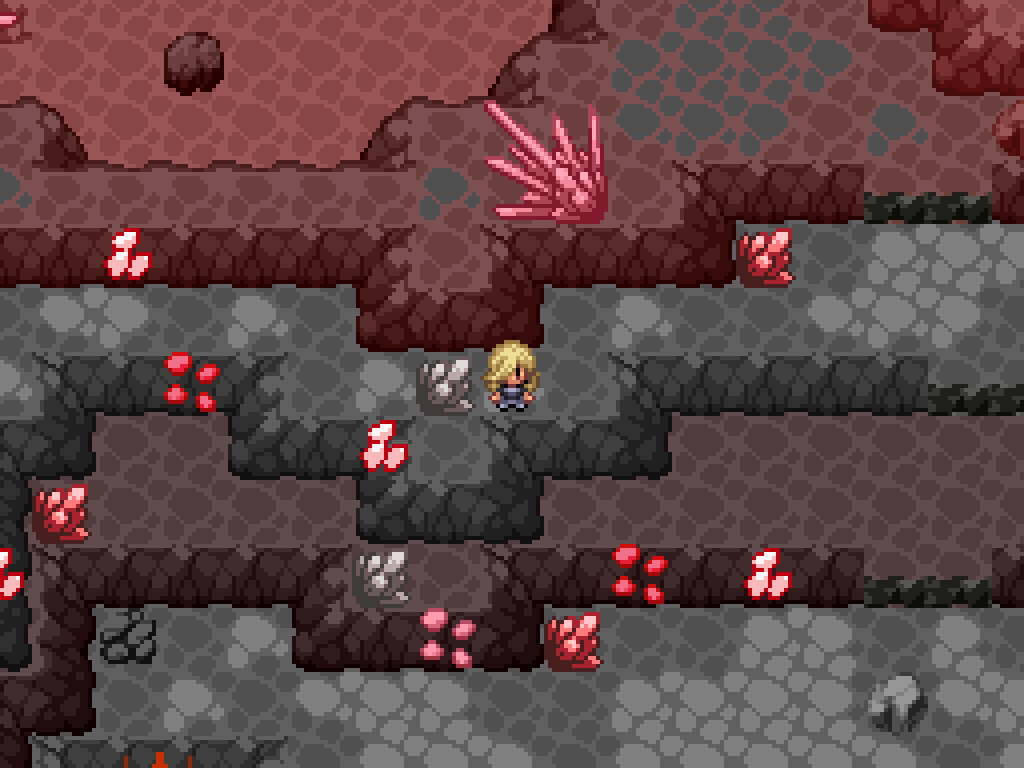
After that, exit the room with the new southern exit. There's nothing interesting in the "puzzle" room for you either. Try not to get instantly sniped by an arrow and pushed back into the puzzle room, too. To the left are some stairs with a minor strength "puzzle" in it.
- Push the first rock up one tile, then Rock Smash the breakable rock.
- Rock smash the lower rock, then push the strength rock to the right (not down).
- Push the strength rock downwards (not left).
- Push the next strength rock upwards (again, not left).
- You'll find a section with a pressure pad. Push the rock onto the pad, and go through the open gate to the right.
- Smash the rock above it, then push the boulder back on the lower pad to open the gate to the left.
- Push this next rock all the way to the left, then down the stairs, then to the right; keep going until it gets stuck.
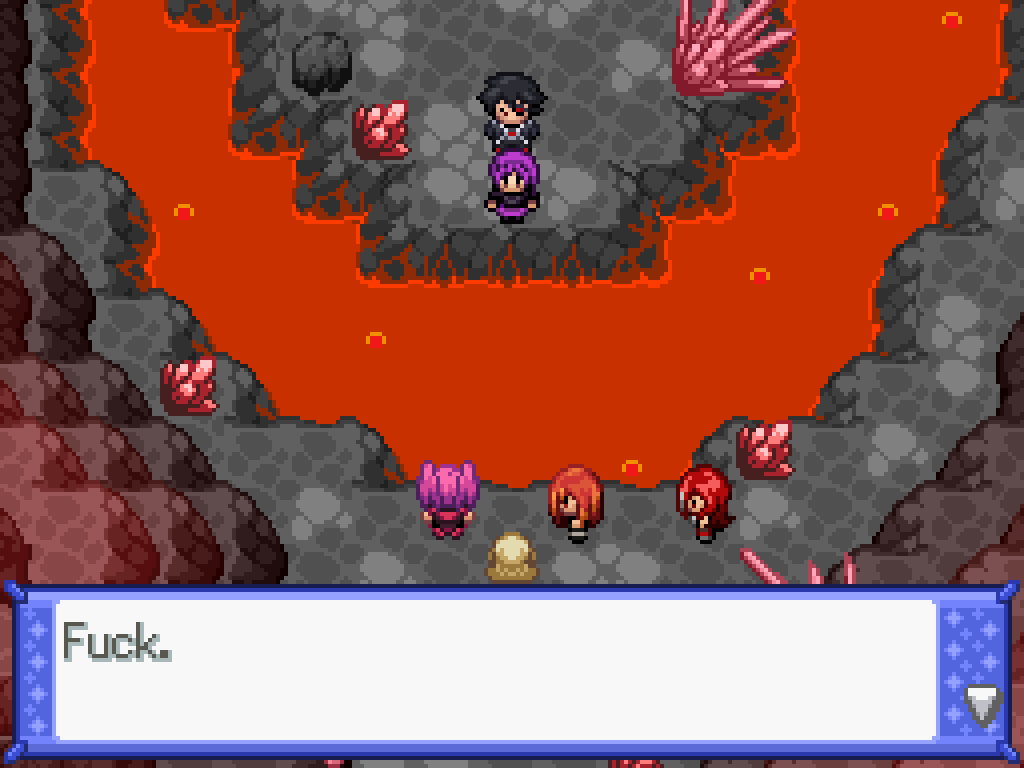
- Push the other rock out of the way; walk down and cross the tracks to find a trap. Fall for the obvious trap for a cutscene.
You'll get rescued by either Titania or Victoria, depending on route, and sent to a new area slightly underground.
More More Minecarts
For the record, the hardest part of this area for me is not in fact the puzzles, but actually writing down all the steps in the right order.
There's two main steps here; first, you need to make a Rock Climb point up to where the explosives are. Then, you use the explosives to blow a hole in the wall. Simple, right?
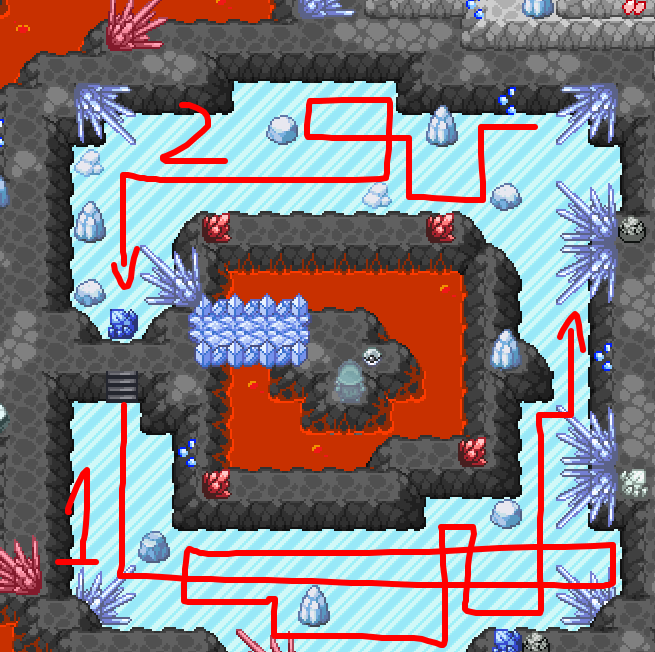
Luckily for you, dearest reader, I have a map renderer and can draw directly onto the output images. I've labelled every possible minecart "point" with a red number, and every track-changing switch with a blue letter. Notice that points one and two always connect to eachother, and so do points three and four. The first thing we want to do is to open the gate blocking access to the main area, so follow these steps:
- Take the minecart from point 5 to point 6; then take the next one from point 2 to point 1.
- Smash the rock, and return back to point five.
- Take the minecart from point 3 to point 4.
- Move the rock down onto the panel.
To fill up the minecart with rocks, activate switch A, then return to point 3 and travel from point 5 to point 6. Use the minecart at point 11 to get on top of the rock climb area, and then activate the pile to fill it with rocks. Activate it to move it back to point 11; the return to the bottom by going from point 2 to point 1. Flip switch A back whilst you're here, but don't move the rock-filled minecart just yet.
Next, you can walk across the gaps in the track to reach switch B; flip it and return to the filled minecart at point 11. Push it to add a rock climb point directly above point 9. You can now reach the explosives by walking along the path to switch B and climbing up both Rock Climb points. Activate the explosives for a cutscene.
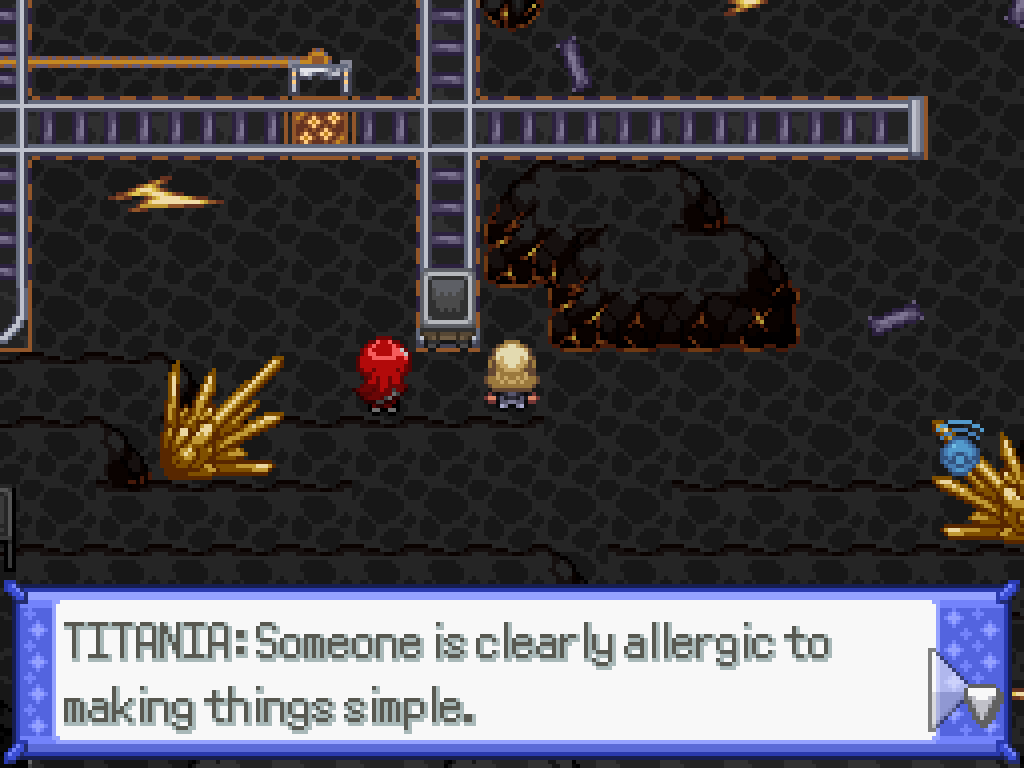
The goal now is to get the explosives from point 9 to point 8. First, just shove it back to point 11 (there's no path from 9 to 8 directly), then flip switch B back so it points to the right. Return to point 5 and walk up through the now-unblocked gate to activate switch D. Get back in the minecart at point 5, then flip switch C to have it point directly upwards. Return back to the bottom, flip switch D for a second time, then use the minecart at point 5 to finally reach the explosives cart. Send it flying to bust open an entrance! You can make it there by flipping switch D and walking up through where the now-destroyed rock is; you can also fight another spirit here.
Wandering Spirit Carrie
| Sprite | Name | Level | Ability | Held Item | Moves | EVs |
|---|---|---|---|---|---|---|
|
|
Leavanny | 100 | Sharpness | Telluric Seed |
|
0/252/4/0/0/252 |
|
|
Ampharos | 100 | Plus | Ampharosite |
|
4/0/0/252/0/252 |
|
|
Gastrodon-West Sea | 100 | Storm Drain | Telluric Seed |
|
132/0/120/252/0/0 |
|
|
Gardevoir | 100 | Trace | Life Orb |
|
4/0/0/252/0/252 |
|
|
Espeon | 100 | Magic Bounce | Leftovers |
|
4/0/0/252/0/252 |
|
|
Altaria | 100 | Natural Cure | Leftovers |
|
4/0/0/252/0/252 |
The Bridge of Tears
You're in the home stretch now! There's no more minecart puzzles! Just a few more rooms to walk through. (Despite my complaints, I actually do like the puzzles here. Except the logic puzzles.)
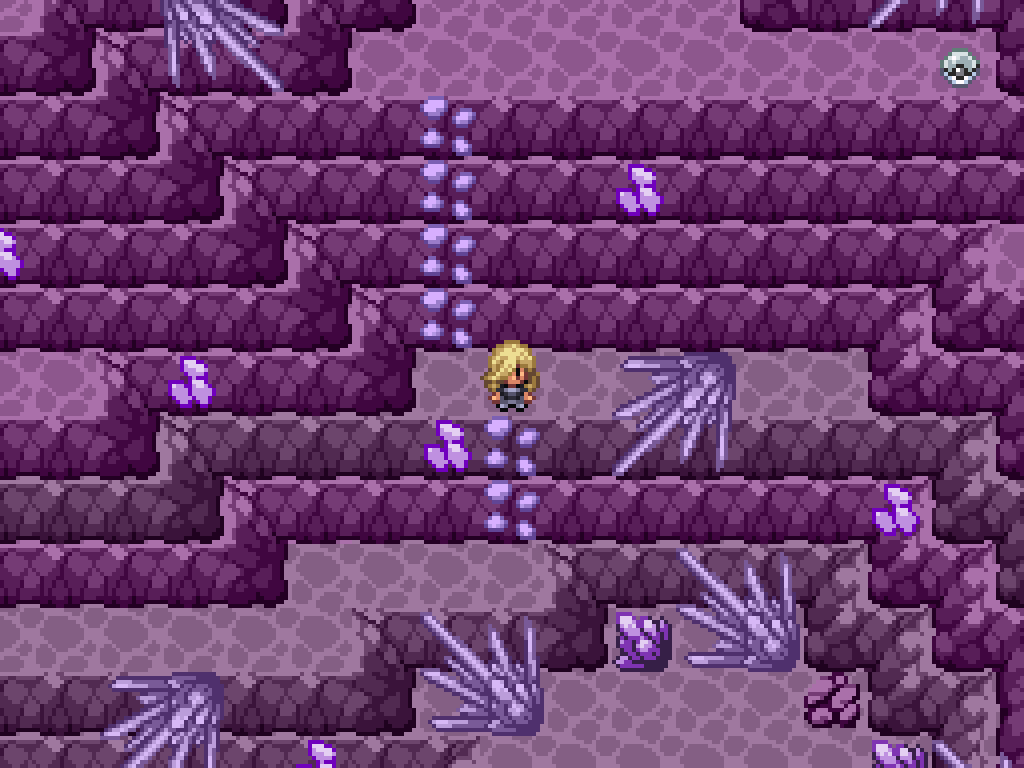
In the next room, you'll have a small cutscene with the NPC from before and Hardy. The path forwards is at the south but it's blocked entirely by several ledges; so instead take the rock climb route to the left and enter the Sapphire room. The top path is blocked, so activate the crystal rock on the platform and walk downwards to find... an ice puzzle. Yeah.
Slide in a spiral pattern here to make it to the exit to the Emerald room. The path to the south is blocked, so activate the crystal rock and break the green crystals to proceed. Once back in the main B2F room, solve the left strength puzzle to open the gate. Climb up the rock climb points and jump down the ledges, then proceed to the right side of the room to enter the Ruby room.
Once again, activate the crystal rock to swap the Rock Climb points around, then proceed to the south to enter the Amethyst room. The crystal rock in this room does nothing, so return to the main room from the left side. Solve the right-sided strength puzzle to unblock the other gate; then, climb up the Rock Climb points past the pair of ledges to reach the gate. Rock Climb up to the left, then keep following the entirely linear route through both areas to reach the Charous Path.
And it's another logic puzzle. Lovely. This one was a real pain to stitch together because it takes three screenshots but they awkwardly overlap.
"Logic" Puzzle #3 Solution
You might want to Right Click -> Open in New Tab this one, it's quite long.
Once again, there's nothing interesting in this room, so exit out of the south to return to the upper part of Charous Mountain. There's two spirits available here, and their paths are so directly obvious you'd struggle to miss these. The first one is directly to the south as you follow the rock climb path:
Wandering Spirit Mary
| Sprite | Name | Level | Ability | Held Item | Moves | EVs |
|---|---|---|---|---|---|---|
|
|
Tinkaton | 100 | Mold Breaker | Leftovers |
|
0/252/4/0/0/252 |
|
|
Luxray | 100 | Guts | Flame Orb |
|
4/252/0/0/0/252 |
|
|
Toxtricity-Aevian | 100 | Galvanize | Elemental Seed |
|
4/0/0/252/0/252 |
|
|
Lucario | 100 | Steadfast | Lucarionite |
|
0/252/0/0/4/252 |
|
|
Mimikyu-Disguised | 100 | Disguise | Leftovers |
|
4/252/0/0/0/252 |
|
|
Zoroark-Hisui | 100 | Illusion | Assault Vest |
|
4/0/0/252/0/252 |

The path forks here slightly; follow the rock climb route to the east to find the next spirit.
Wandering Spirit Tolly
| Sprite | Name | Level | Ability | Held Item | Moves | EVs |
|---|---|---|---|---|---|---|
|
|
Electrode-Hisui | 100 | Soundproof | Focus Sash |
|
0/0/4/252/0/252 |
|
|
Tolly | 100 | Rock Head | Assault Vest |
|
4/252/0/0/0/252 |
|
|
Trevor | 100 | Chlorophyll | Magical Seed |
|
4/0/0/252/0/252 |
|
|
Ernie | 100 | Sharpness | Assault Vest |
|
4/252/0/0/0/252 |
|
|
Lura | 100 | Soul-Heart | Assault Vest |
|
4/0/0/252/0/252 |
|
|
Pidgeot | 100 | No Guard | Pidgeotite |
|
4/0/0/252/0/252 |
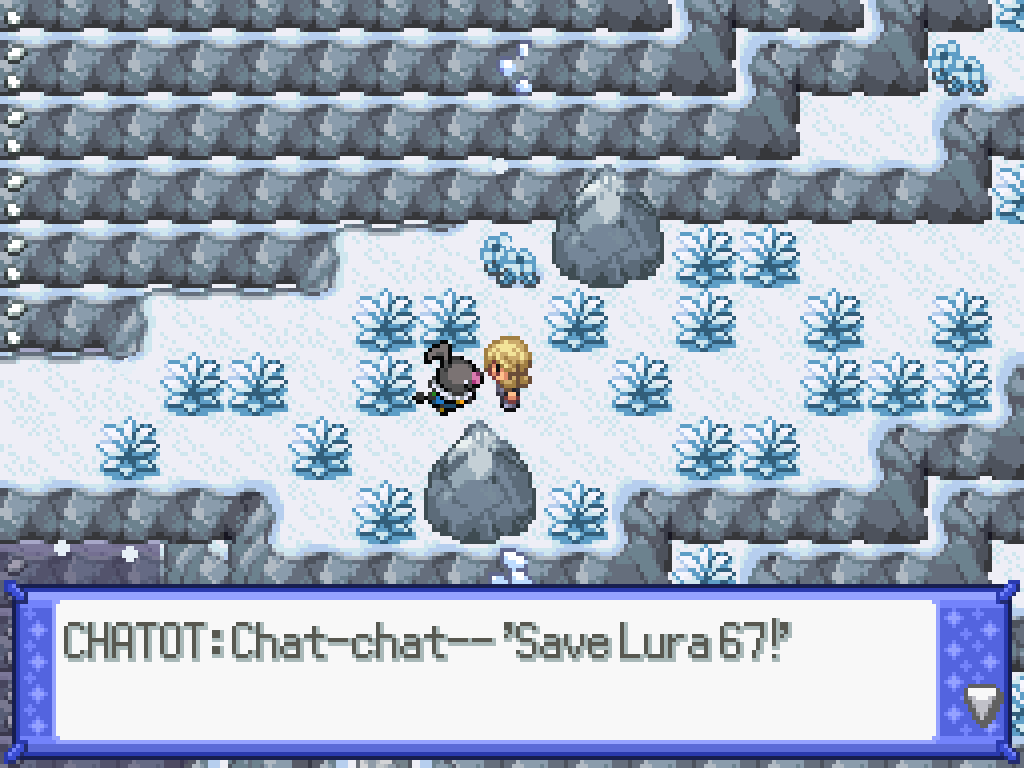
Walk to the west and follow the rock climb routes to get to the outside of Charous Path. You'll eventually reach a fork with two paths, an upwards and a downwards one. Take the downwards one to find yet another spirit. Don't worry about the Mega Stone you saw; you'll be able to get it soon enough.
Wandering Spirit Reggie
| Sprite | Name | Level | Ability | Held Item | Moves | EVs |
|---|---|---|---|---|---|---|
|
|
Feraligatr | 100 | Strong Jaw | Life Orb |
|
4/252/0/0/0/252 |
|
|
Klefki | 100 | Prankster | Leftovers |
|
252/0/252/0/4/0 |
|
|
Trevor | 100 | Rough Skin | Sharpedonite X |
|
0/252/0/0/4/252 |
|
|
Haxorus | 100 | Strong Jaw | Elemental Seed |
|
4/252/0/0/0/252 |
|
|
Yanmega | 100 | Speed Boost | Elemental Seed |
|
4/252/0/0/0/252 |
|
|
Alomomola | 100 | Hydration | Leftovers |
|
4/0/252/0/252/0 |
Return back to the fork and go upwards to make it to a doorway that takes you to—that's right—the final logic puzzle of the area! Ignore the puzzle for a minute and walk on top of the... mainframe? to find yet another spirit. This area is just full of the bastards. You'll also find the Gengarite directly next to him.
Wandering Spirit Trev
| Sprite | Name | Level | Ability | Held Item | Moves | EVs |
|---|---|---|---|---|---|---|
|
|
Roserade | 100 | Technician | Synthetic Seed |
|
4/0/0/252/0/252 |
|
|
Ninetales-Kanto | 100 | Drought | Synthetic Seed |
|
200/0/0/252/0/56 |
|
|
Trevor | 100 | Chlorophyll | Assault Vest |
|
4/0/0/252/0/252 |
|
|
Amoonguss | 100 | Effect Spore | Leftovers |
|
252/0/180/0/76/0 |
|
|
Slither Wing | 100 | Protosynth. | Synthetic Seed |
|
4/252/0/0/0/252 |
|
|
Reggie | 100 | Intimidate | Arcanite |
|
4/252/0/0/0/252 |
And what's that? Another logic puzzle? How very generous! This time there are SIX categories to deduce. Also, it does that funny Ace Attorney thing where it pauses between the answer submission and giving the correct jingle, so it makes you think you got it wrong.
"Logic" Puzzle #4 Positions
I've forgotten the actual scheme I'm using for the words up above now.
Climb down and talk to Hardy or Radomus for a cutscene, whereupon the rocks will be dropped on the area where Fern was. When you return to the left you'll notice that a new Rock Climb path will have opened up to the left; go down to meet yet another spirit.
Wandering Spirit Emory
| Sprite | Name | Level | Ability | Held Item | Moves | EVs |
|---|---|---|---|---|---|---|
|
|
Staraptor | 100 | Intimidate | Staraptite |
|
4/252/0/0/0/252 |
|
|
Mandibuzz | 100 | Overcoat | Leftovers |
|
252/0/252/0/4/0 |
|
|
Talonflame | 100 | Gale Wings | Telluric Seed |
|
4/252/0/0/0/252 |
|
|
Decidueye-Alola | 100 | Long Reach | Life Orb |
|
4/252/0/0/0/252 |
|
|
Noctowl | 100 | Tinted Lens | Choice Scarf |
|
4/0/0/252/0/252 |
|
|
Bombirdier | 100 | Rocky Payload | Leftovers |
|
4/252/0/0/0/252 |
Before walking into the newly available area, take the Rock Climb route to the area just below the minecart tracks, and walk down into the south area to find the final spirit for this area.
Wandering Spirit Pebbles
| Sprite | Name | Level | Ability | Held Item | Moves | EVs |
|---|---|---|---|---|---|---|
|
|
Liepard | 100 | Prankster | Focus Sash |
|
252/0/4/0/0/252 |
|
|
Ninetales-Alola | 100 | Snow Warning | Sitrus Berry |
|
252/0/0/4/0/252 |
|
|
Baxcalibur | 100 | Thermal Exch. | Elemental Seed |
|
4/252/0/0/0/252 |
|
|
Lura | 100 | Soul-Heart | Leftovers |
|
4/0/0/252/0/252 |
|
|
Chimecho | 100 | Levitate | Chimechite X |
|
4/0/0/252/0/252 |
|
|
Mamoswine | 100 | Oblivious | Choice Band |
|
4/252/0/0/0/252 |
With that done, you should've beaten a total of fourteen spirits! That's a lot, actually. Exit out of the right side of the room, past where Fern died, to make it to the outside of the mountain. There's a route-dependent cutscene here; on the Z route, you'll obtain an Chatot. On the other route, it'll be a scene between Victoria and Solaris. Carry on up the mountain to reach the final part of Victory Road.
Masterminds and Mastermindettes
There's two spirits and a mega stone available immediately here. First, you can fight the first spirit by walking up two sets of stairs, and then along the path on the right ledge of the room.
Wandering Spirit Rean Schwarzer
| Sprite | Name | Level | Ability | Held Item | Moves | EVs |
|---|---|---|---|---|---|---|
|
|
Lilligant-Hisui | 100 | Chlorophyll | Life Orb |
|
4/252/0/0/0/252 |
|
|
Kartana | 100 | Beast Boost | Telluric Seed |
|
4/252/0/0/0/252 |
|
|
Ceruledge | 100 | Flash Fire | Power Herb |
|
4/252/0/0/0/252 |
|
|
Honchkrow | 100 | Moxie | Telluric Seed |
|
4/252/0/0/0/252 |
|
|
Medicham | 100 | Pure Power | Medichamite |
|
4/252/0/0/0/252 |
|
|
Samurott-Hisui | 100 | Sharpness | Telluric Seed |
|
4/252/0/0/0/252 |
Next, walk slightly upwards from him to find a Rock Climb path; climb up it and enter the next room for (ugh) an ice puzzle.
There's a bit of trickery going on here; the solution isn't immediately obvious.
- Follow arrow 1 and then arrow 2 to get to the blue crystal rock; activate it to form a bridge on the other side of the room.
- Walk up to the red crystal rock and activate it; climb down the rock climb point and across the bridge.
- Completely ignore the ice puzzle; instead, push the strength rock in the bottom left downwards. Return to the red crystal rock and activate it again.
- Climb back down the rock climb point next to the strength boulder, then walk around to where the ice bridge is. There will be a new rock climb point to a dead spot in the ice.
- Slide upwards to reach the second blue crystal rock; this makes an ice bridge in the first half of the room.
From there, you can reach the Lucarionite, and another spirit—the first bearing one of my names. Sixteen down, nine to go.
Wandering Spirit Loris
| Sprite | Name | Level | Ability | Held Item | Moves | EVs |
|---|---|---|---|---|---|---|
|
|
Emory | 100 | Iron Fist | Life Orb |
|
0/252/0/0/4/252 |
|
|
Maya | 100 | Serene Grace | Leftovers |
|
4/0/0/252/0/252 |
|
|
Lapis | 100 | Dazzling | Magical Seed |
|
4/0/0/252/0/252 |
|
|
Plasty | 100 | Rough Skin | Rocky Helmet |
|
4/252/0/0/0/252 |
|
|
Carrie | 100 | Iron Fist | Metagrossite |
|
4/252/0/0/0/252 |
|
|
Lime | 100 | Berserk | Throat Spray |
|
4/0/0/252/0/252 |
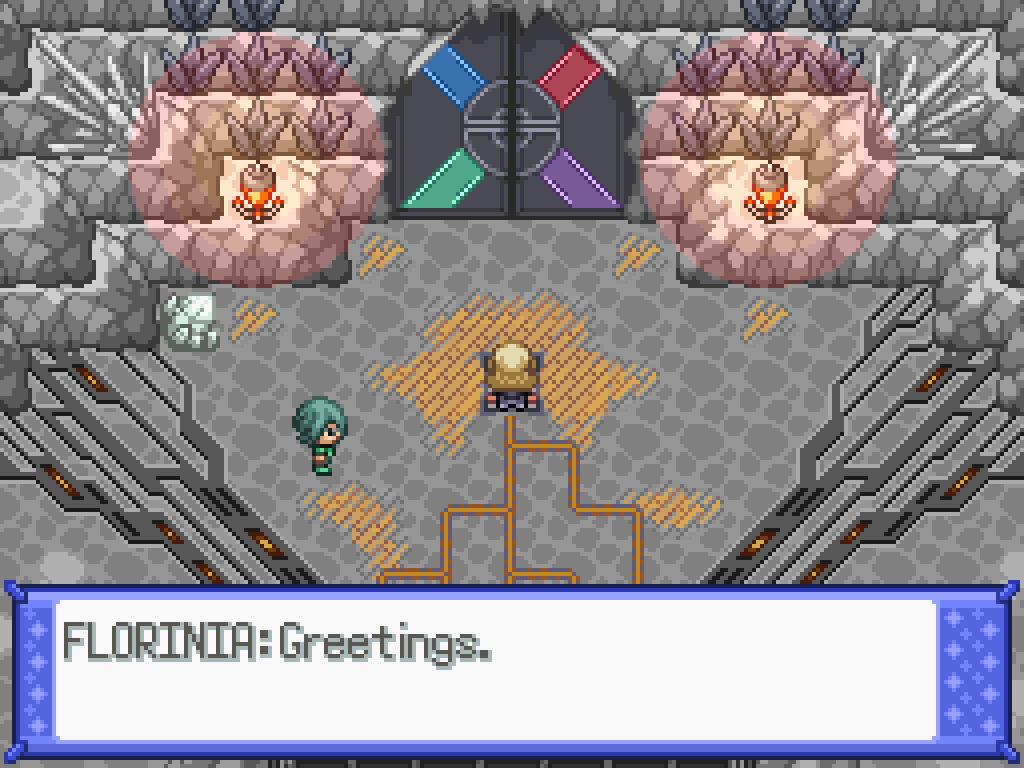
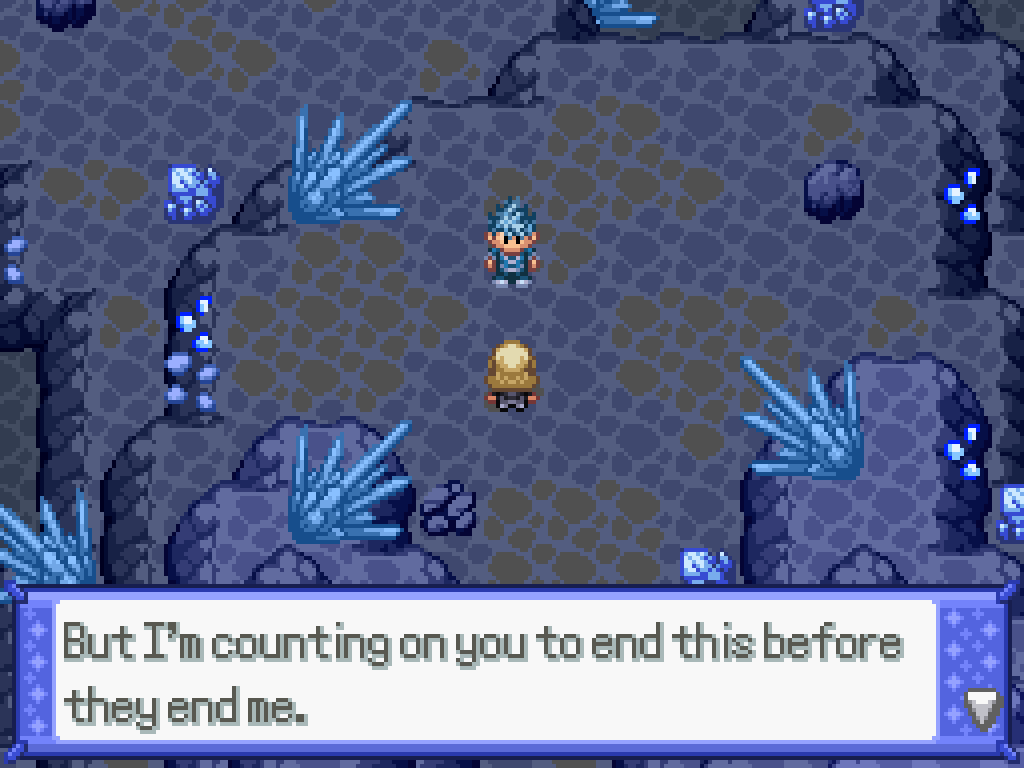
Walk up past the ominous looking machine and step on the pressure pad, and Florinia will appear. This is the final puzzle of Victory Road; you've got three major battles left and about thirty minutes worth of walking until you make it to the end. You've got this.
The combination here is unique per-save. I can't tell you the combination because the combination for my test save will be different. Nevertheless, I'll guide you through bruteforcing it once you've collected the twelve stars.
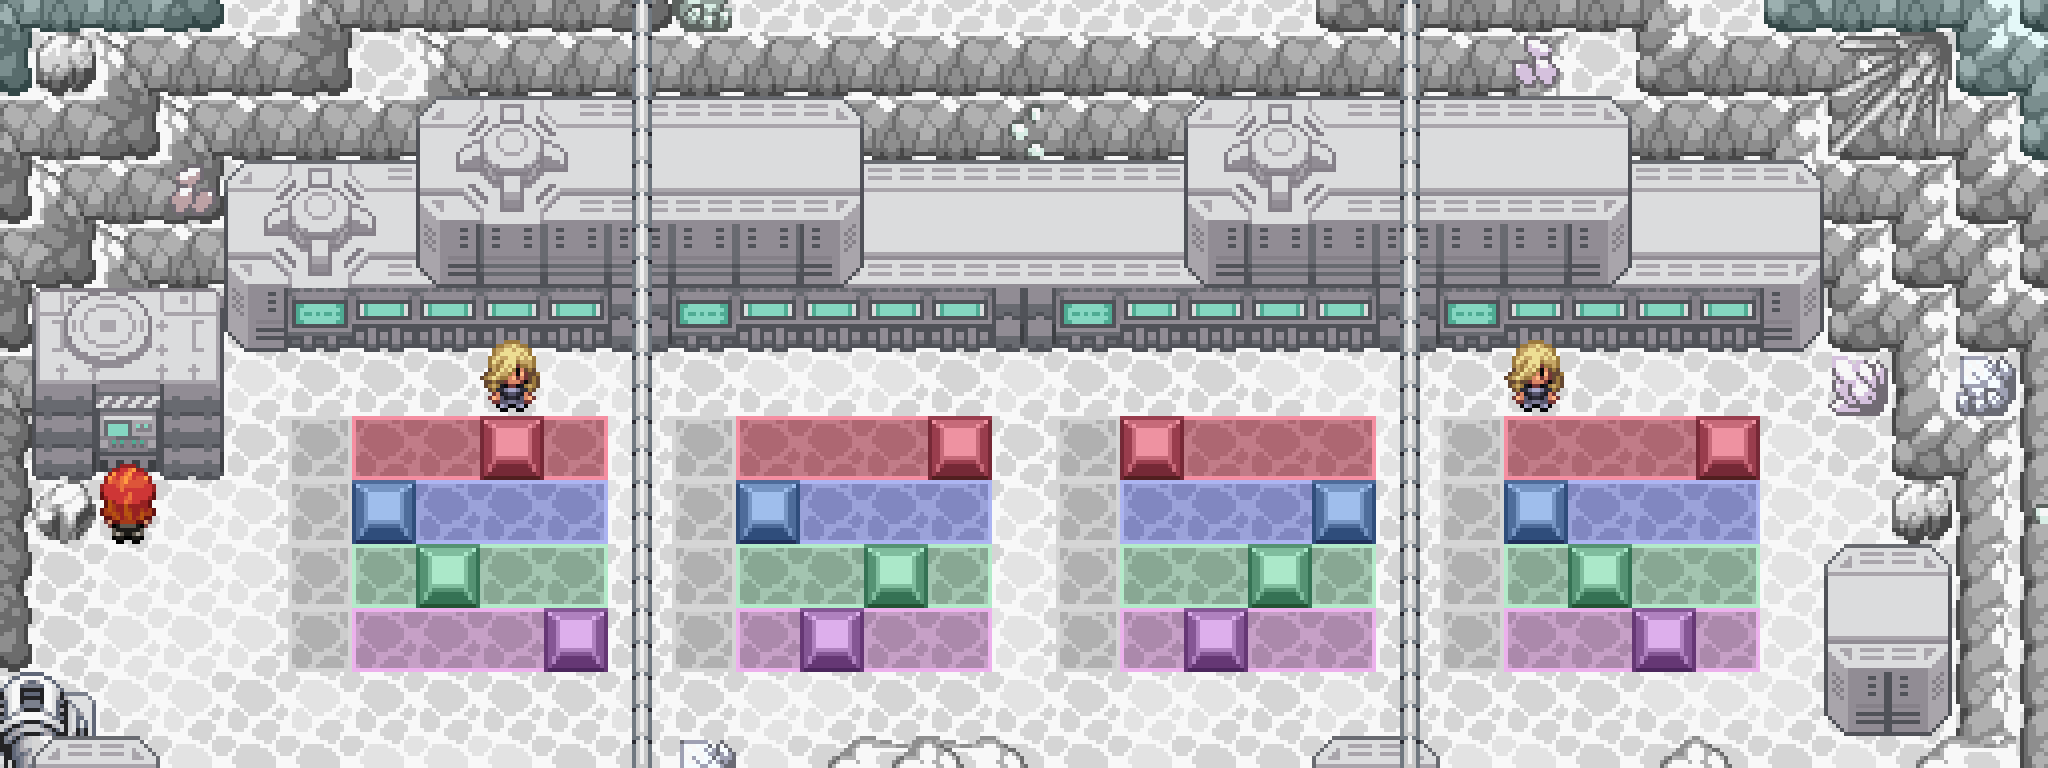
If you walk directly down, you'll find a teleporter to the room that branches into the four crystal colour rooms. The path through them previously keywas blocked off but the obstacles here have been removed, so teleport back and walk up to the North or South of the desired room to begin your final quest. I recommend doing them in the "most annoying" to "least annoying" order I've provided below.
Emerald Room
The gimmick of this room is that Fern will constantly shoot arrows at you whilst you try and Rock Climb up to him. It's difficult to express how much I detest this one. Cliimb down the ledges and activate the green crystal rock for a small cutscene. It's kinda hard to take the fucking screenshots when constantly being fired at, so I do apologise if any of these kinda suck.
Emerald Room Shitty Puzzle Solution
I'll number the corridors from right to left, and letter the vine cliffs from A to F. (The F cliff is the one above the lower vine cliff, with the strength rock.) Corridor 3 is the one that leads to the upper area, but it's too long; if you try walking down there you'll just get hit.
First, walk up corridor 1 and flip the switch. Then, climb up cliff B and flip that switch.
You need to push this strength rock ALL the way from the left side of the room, up corridor 3, and onto the pad. After that, climb up on cliff A and pass through both gates to find a green crystal rock; activate it, then wait behind the pillar to reflect the arrow back at Fern's Decidueye. Flip the switch below too.
The next switch is up corridor 5; once activated, climb up cliff D and flip the switch up there, which toggles the gates between corridor 5 and 4. Walk up corridor 4 and activate the switch.
It's actually not at all obvious, but you need to push this strength boulder on cliff F up so that you can manuever it up to the next pressure pad. This unblocks the path up cliff E, so walk all the way to the top and activate the next crystal rock, as well as flipping the switch here.
Finally, run all the way up cliff C and activate the crystal rock to actually kill his Decidueye for good.
After you've solved that, you can get the two spirits left in this room too. I kinda ran out of people by this point, so these are just placeholders... The first one is found to the right of the upper room's platform, past a slightly hidden rock climb point.
Wandering Spirit Unknown Champion
| Sprite | Name | Level | Ability | Held Item | Moves | EVs |
|---|---|---|---|---|---|---|
|
|
Tyranitar | 100 | Sand Stream | Smooth Rock |
|
4/252/0/0/0/252 |
|
|
Crustle | 100 | Rock Head | Life Orb |
|
4/252/252/0/0/0 |
|
|
Vanilluxe | 100 | Weak Armor | Magical Seed |
|
4/0/252/252/0/0 |
|
|
Camerupt | 100 | Solid Rock | Cameruptite |
|
252/0/4/252/0/0 |
|
|
Flygon | 100 | Levitate | Magical Seed |
|
0/0/0/252/4/252 |
|
|
Garganacl | 100 | Purifying Salt | Leftovers |
|
252/252/4/0/0/0 |
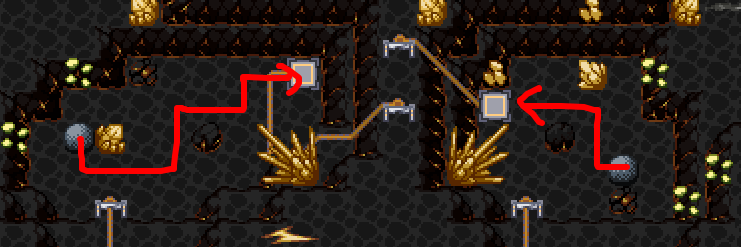
The second one is found in two steps. First, walk behind the area that the arrows dropped you into (don't pretend you didn't get hit) and rock climb up to reach a green crystal rock. Activate it, then climb down and break the crystal it converted on the far left of the room. Climb up to fight the next spirit.
Wandering Spirit Unknown Champion
| Sprite | Name | Level | Ability | Held Item | Moves | EVs |
|---|---|---|---|---|---|---|
|
|
Clefable | 100 | Unaware | Normal Gem |
|
4/0/0/252/0/252 |
|
|
Linoone | 100 | Gluttony | Leftovers |
|
4/252/0/0/0/252 |
|
|
Braviary-Unova | 100 | Sheer Force | Choice Scarf |
|
4/252/0/0/0/252 |
|
|
Audino | 100 | Regenerator | Audinite |
|
4/0/0/252/0/252 |
|
|
Wugtrio | 100 | Rattled | Life Orb |
|
4/252/0/0/0/252 |
|
|
Bronzong | 100 | Heavy Metal | Magical Seed |
|
0/0/4/252/0/252 |
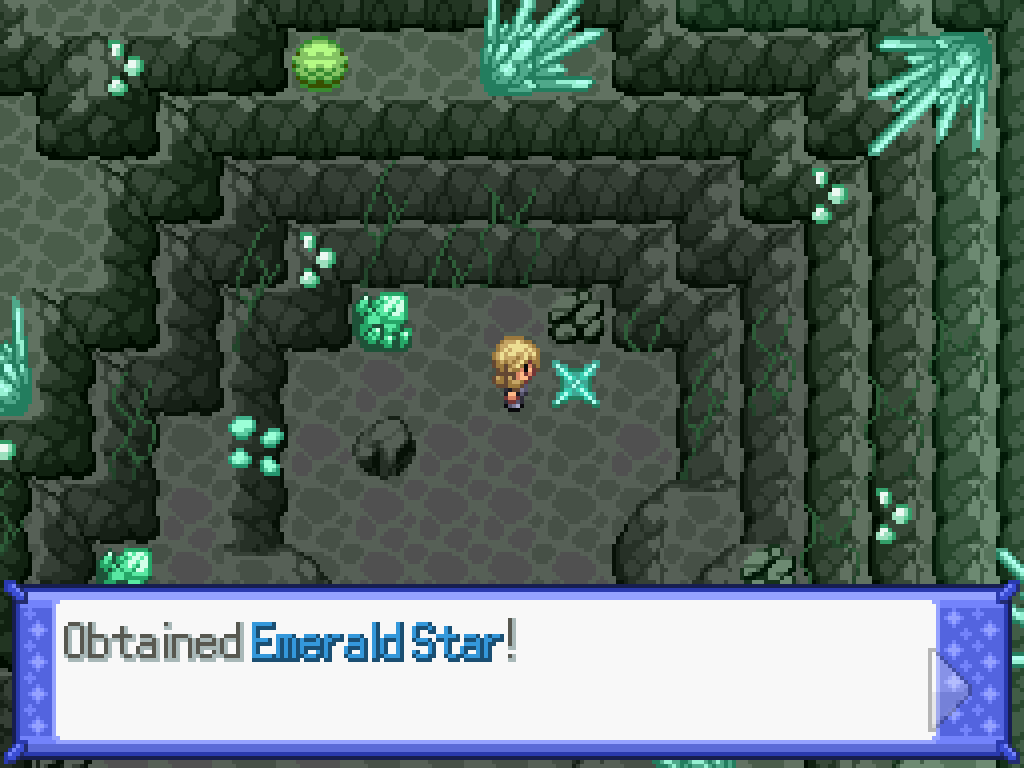
In the next room, there are three Emerald Star items placed on the floor. Pick each one up to get a teleporter back to the branch room; but before you enter it, you can fight the spirit here. Take the Rock Climb point slightly on a ledge near the northern star to activate a green crystal rock; you can then walk up the vines next to the teleporter to find another one of my alter egos to fight. Nineteen spirits down!
Wandering Spirit Marisa
| Sprite | Name | Level | Ability | Held Item | Moves | EVs |
|---|---|---|---|---|---|---|
|
|
Toxapex | 100 | Toxic Debris | Leftovers |
|
252/0/4/0/252/0 |
|
|
Goodra-Kalos | 100 | Poison Heal | Elemental Seed |
|
4/0/0/252/0/252 |
|
|
Palossand | 100 | W. Compaction | Assault Vest |
|
4/0/0/252/0/252 |
|
|
Breloom | 100 | Poison Heal | Elemental Seed |
|
4/252/0/0/0/252 |
|
|
Mawile | 100 | Huge Power | Mawilite |
|
4/252/0/0/0/252 |
|
|
Masquerain | 100 | Adaptability | Life Orb |
|
4/0/0/252/0/252 |
Amethyst Room
This room is fairly simple. You'll be chased by an Evil Orb in this room; the purple crystal rocks don't do anything when you directly interact with them. Instead, you need to move the Evil Orb over the white flashing crystals to make progress. If you get hit by the Evil Orb, you'll get reset to the start of the room. I can't say I enjoy this one, but it's very easy and you should beat it first try.
Once you've gotten all four crystal stars, return to the Evil Orb room for another spirit battle and another mega stone. The Salamencite can be found on top of the cliff above where the Evil Gardevoir started, and the spirit can be found by rock climbing up along the ledges at the bottom of the room; you can find the entrance to the ledge at the bottom-left of the room.
Wandering Spirit Unknown Champion
| Sprite | Name | Level | Ability | Held Item | Moves | EVs |
|---|---|---|---|---|---|---|
|
|
Vikavolt | 100 | Levitate | Life Orb |
|
0/0/4/252/0/252 |
|
|
Crobat | 100 | Inner Focus | Crobatite |
|
160/0/0/252/0/92 |
|
|
Corviknight | 100 | Mirror Armor | Leftovers |
|
252/0/252/0/0/4 |
|
|
Goodra-Hisui | 100 | Gooey | Heavy-Duty Boots |
|
4/252/0/0/0/252 |
|
|
Seismitoad | 100 | Swift Swim | Life Orb |
|
4/0/0/252/0/252 |
|
|
Mantine | 100 | Water Veil | Leftovers |
|
252/0/0/252/0/4 |
Spirit number twenty. Only five more.
Sapphire Room
You get absolutely no points for predicting what's about to play out here. Before going into the room, you can find another spirit to fight! She's up on the Rock Climb ledge at the left of the main room; you might've already fought this one when you made it to this room originally.
Wandering Spirit Ao
| Sprite | Name | Level | Ability | Held Item | Moves | EVs |
|---|---|---|---|---|---|---|
|
|
Scyther | 100 | Technician | Eviolite |
|
0/252/0/0/4/252 |
|
|
Flutter Mane | 100 | Protosynth. | Booster Energy |
|
252/0/0/252/0/4 |
|
|
Hina | 100 | Justified | Galladite |
|
0/252/4/0/0/252 |
|
|
Rena | 100 | Magic Guard | Magical Seed |
|
4/0/0/252/0/252 |
|
|
Shiho | 100 | Trace | Leftovers |
|
4/0/0/252/0/252 |
|
|
Uta | 100 | Contrary | Life Orb |
|
0/92/0/160/0/252 |
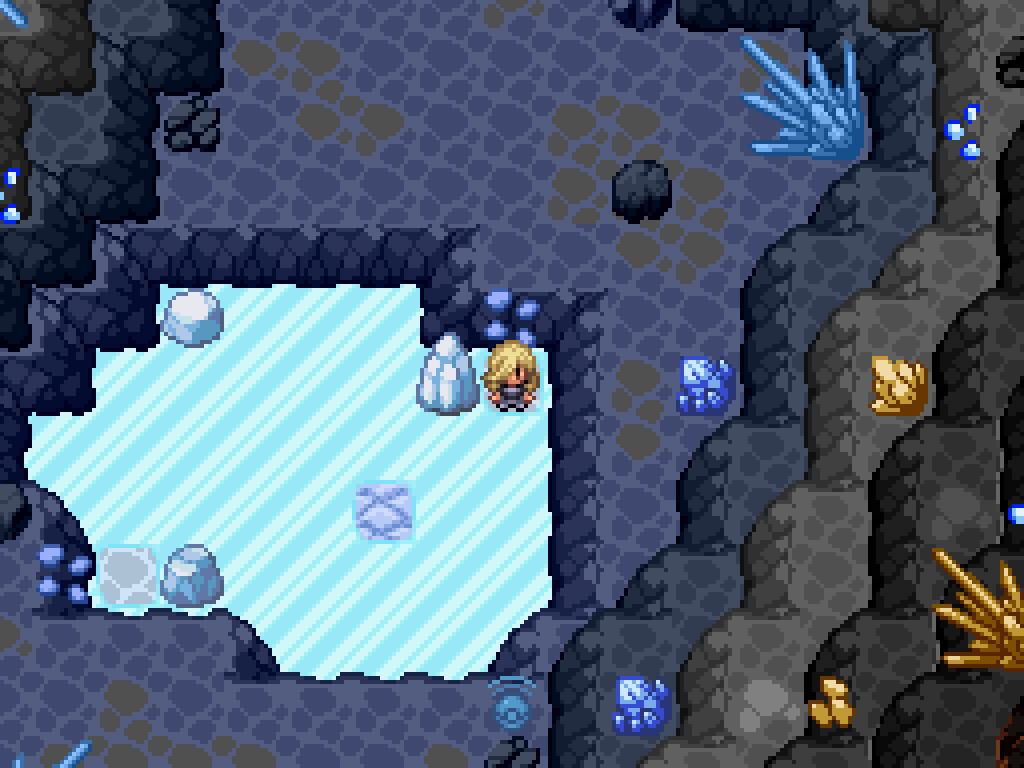
Anyway, this is obviously an ice puzzle. The first one is so trivial that if you really need a screenshot to solve it, I have to wonder how you even made it that far. The second one is a bit trickier; follow the red arrow to get to the blue crystal rock, which will make a clean spot on the ice. Instead of going back onto the ice, walk to the right and up the rock climb points to find another spirit. With that spirit and the one in the previous room done, that brings your total up to twenty-two; only three more left.
Wandering Spirit Plasty
| Sprite | Name | Level | Ability | Held Item | Moves | EVs |
|---|---|---|---|---|---|---|
|
|
Druddigon | 100 | Rough Skin | Telluric Seed |
|
4/252/252/0/0/0 |
|
|
Leavanny | 100 | Sharpness | Life Orb |
|
4/252/0/0/0/252 |
|
|
Lurantis | 100 | Contrary | Telluric Seed |
|
198/56/0/252/0/0 |
|
|
Serperior | 100 | Contrary | Serperiorite |
|
0/0/4/252/0/252 |
|
|
Glastrier | 100 | Chilling Neigh | Telluric Seed |
|
252/252/4/0/0/0 |
|
|
Corsola-Johto | 100 | Hustle | Leftovers |
|
252/0/252/4/0/0 |
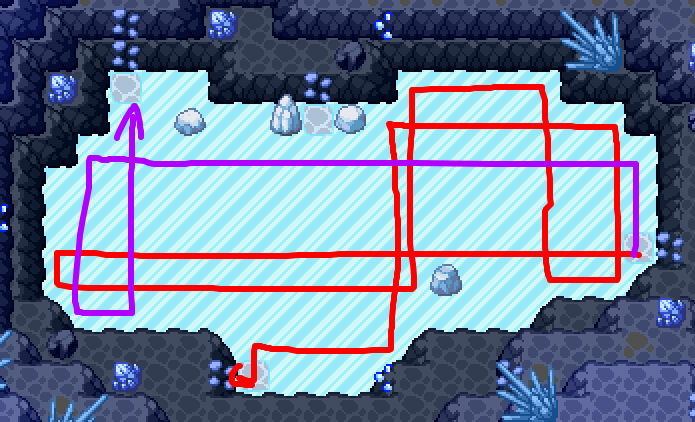
After that, slide to the blue crystal rock at the top (this is trivial) to make a second clean spot, then follow the purple arrow to get to the next area.
The image for the next area is just too big to draw arrows on reasonably; so, once you've found the Rock Climb point at the far right of the map, follow these sets of steps:
- Slide directly left, then up, and then left to get to a clean patch.
- Slide down, right, down, right, up, and then left to get to the first blue crystal rock. This creates a new clean patch above you.
- Repeat these steps in reverse to get back to the first clean patch. Slide up and left until you're all the way at the other side of the room.
- Slide down and then right to get to the new clean patch.
- Slide all the way down, left once, up, left, up, left, down, and then left to get to the second blue crystal rock. This creates a third clean patch.
- Go back on the ice and slide down, then right, and then up to get to the new clean patch.
- Slide right and then down to get to the third blue crystal rock. This creates the fourth clean patch.
- Follow all of these steps in reverse to get back to the start patch... from there, slide up, left, down, left, and up to get to the fourth clean patch.
- From here, slide right, up, left to get to the left wall. Slide up, right, down, and then left, up, and right to get to the fourth blue crystal rock. This creates the fifth clean patch. One more to go.
- Once again, you need to return to the starting patch, then get to the fourth clean patch. Slide directly to the left to make it to the fifth clean patch.
- Slide up, left, then up and left again, and then down to get to the fifth and final blue crystal rock.
- Finally, slide up, right, down, left, down, then right to make it to the final clean patch. Slide directly upwards to make it to the fucking exit.

What lies in wait for you at the bottom of the puzzle? A boss fight with Blake. If you've been keeping up with your spirits, this is pitifully easy; you've far outran the AI's ability to do monotype teams by this point.
Agent Blake
| Sprite | Name | Level | Ability | Held Item | Moves | EVs |
|---|---|---|---|---|---|---|
|
|
Starmie | 100 | Natural Cure | Light Clay |
|
4/0/0/252/0/252 |
|
|
Walrein | 100 | Ice Body | Leftovers |
|
252/252/4/0/0/0 |
|
|
Mamoswine | 100 | Thick Fat | Elemental Seed |
|
4/252/0/0/0/252 |
|
|
Gyarados | 100 | Intimidate | Elemental Seed |
|
0/252/4/0/0/252 |
|
|
Weavile | 100 | Sharpness | Life Orb |
|
4/252/0/0/0/252 |
|
|
Baxcalibur | 100 | Thermal Exch. | Baxcalibrite |
|
0/252/0/0/4/252 |
After an ominous premonition of what's going to happen to the rest of Team Meteor, you can go and collect the Sapphire Stars from the rest of this room, then take the teleporter back after collecting the Baxcalibrite. I recommend picking up one of the light shards here too, as the final room also has a major battle in it.
Ruby Room
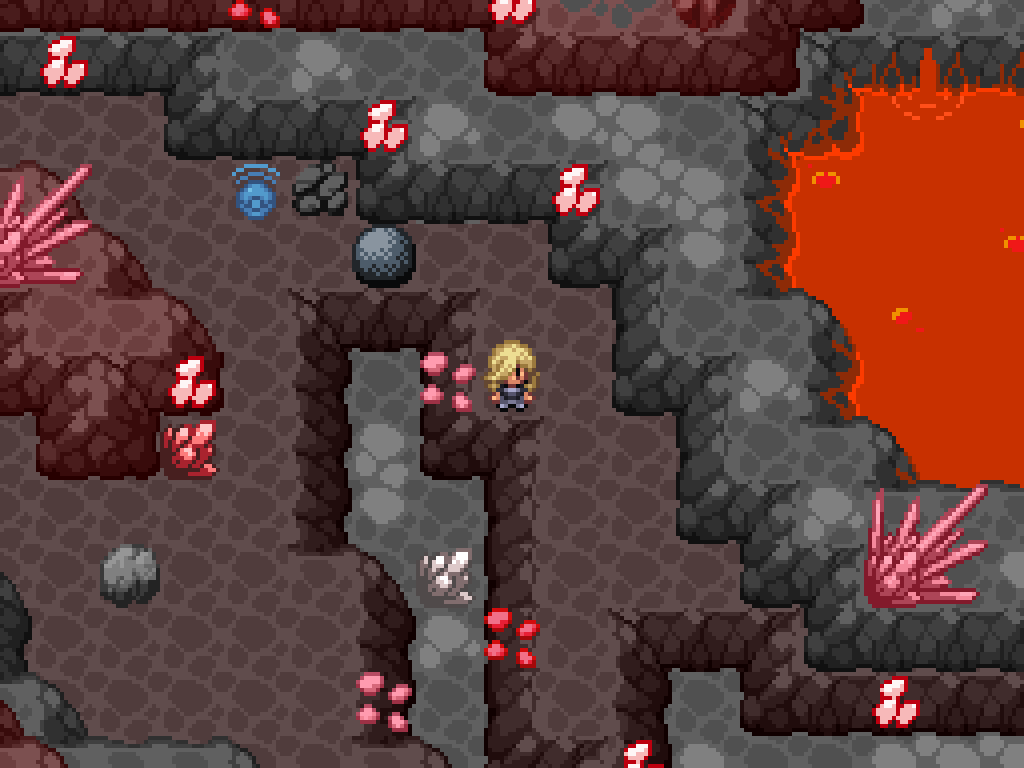
Climb down and up again, then climb down above the red crystal rock to swap the rock climb points. Push the strength rock out of the way so that you can make it through here a bit later. Walk around the lava pool to get to this silly area.
Swap the rock climb points repeatedly all around here until you make it to the top area. Look, do you really need me for this?
Leave that top rock the fuck alone, and swap the rock climb points to climb up here. Eventually, you'll reach a rock climb point that goes to the left; climb up there and walk all the way to the bottom (rather than continuing up the cliff) to reach yet another spirit.
Wandering Spirit Karolin
| Sprite | Name | Level | Ability | Held Item | Moves | EVs |
|---|---|---|---|---|---|---|
|
|
Tinkaton | 100 | Mold Breaker | Leftovers |
|
4/252/0/0/0/252 |
|
|
Togekiss | 100 | Serene Grace | Leftovers |
|
4/0/0/252/0/252 |
|
|
Lumineon | 100 | Dazzling | Elemental Seed |
|
252/0/0/4/0/252 |
|
|
Flutter Mane | 100 | Protosynth. | Booster Energy |
|
4/0/0/252/0/252 |
|
|
Altaria | 100 | Natural Cure | Altarianite |
|
4/252/0/0/0/252 |
|
|
Houndstone | 100 | Rock Head | Focus Sash |
|
4/252/0/0/0/252 |
After that, the route is much more of a straight shot. Eventually, you'll make it to the door to the next room; instead of going in, walk down on the right-most ledge for your penultimate spirit battle.
Wandering Spirit Unknown Champion
| Sprite | Name | Level | Ability | Held Item | Moves | EVs |
|---|---|---|---|---|---|---|
|
|
Eelektross | 100 | Levitate | Life Orb |
|
4/252/0/0/0/252 |
|
|
Revavroom | 100 | Overcoat | Leftovers |
|
4/252/0/0/0/252 |
|
|
Klinklang | 100 | Levitate | Life Orb |
|
0/252/4/0/0/252 |
|
|
Lanturn | 100 | Volt Absorb | Lanturnite |
|
4/0/0/252/0/252 |
|
|
Porygon2 | 100 | Download | Eviolite |
|
56/0/0/200/0/252 |
|
|
Orthworm | 100 | Earth Eater | Leftovers |
|
4/252/252/0/0/0 |
Walk down into the final room for a truly terrible cutscene before a (double) battle with Sirius.
Meteor Admin Sirius
| Sprite | Name | Level | Ability | Held Item | Moves | EVs |
|---|---|---|---|---|---|---|
|
|
Manectric | 100 | Lightning Rod | Manectite |
|
4/0/0/252/0/252 |
|
|
Marowak-Alola | 100 | Lightning Rod | Thick Club |
|
4/0/0/252/0/252 |
|
|
Minior-Violet | 100 | Shields Down | White Herb |
|
4/252/252/0/0/0 |
|
|
Iron Jugulis | 100 | Quark Drive | Booster Energy |
|
252/0/0/252/0/4 |
|
|
Seviper | 100 | Shed Skin | Flame Orb |
|
4/0/0/252/0/252 |
|
|
Chandelure | 100 | Flash Fire | Elemental Seed |
|
4/0/0/252/0/252 |
There's more awful "saying your emotions and feelings out loud" cutscenes after that. Once it's all over, collect all the stars then take the teleporter back to the branch room. Take the second teleporter back to the contraption. You're almost done with Victory Road.