
Postgame Tier #5: The Box Legendaries
Another day, another set of crummy legendaries to catch. This is normally where you would get your first box legends, but since you already have Miraidon/Koraidon it's a bit of a moot point.
Actually, the first Boss Rush challenge is now available. If you speak to the attendant to the other side of the MixnMatch area, as long as every gym leader is available you can start the Boss Rush. This should be very very easy.
Darkrai
Just a fair warning—this one traps you in a rather annoying area for a while. This is a second crossover quest, this time with Pokémon Desolation, and it's somewhat better written that the total dogshit godawful Flora crossover.
The New World gate is in the Iolia Valley, at the top of the waterfall; use the purple crystal in that room to find it. When you walk up to the top of the area, you'll find... PULSE Hypno? Sure, whatever.
PULSE Hypno
| Sprite | Name | Level | Ability | Held Item | Moves | EVs |
|---|---|---|---|---|---|---|
|
|
Swoobat | 130 | Simple | Wise Glasses |
|
4/0/0/252/0/252 |
|
|
Golisopod | 130 | EmergencyExit | Assault Vest |
|
4/252/0/0/252/0 |
|
|
Hydreigon | 130 | Dark Aura | Magical Seed |
|
0/0/4/252/0/252 |
|
|
Hypno-PULSE | 130 | No Guard | Lum Berry |
|
252/0/4/252/0/0 |
|
|
Rhyperior | 130 | Solid Rock | King's Rock |
|
4/252/0/0/252/0 |
|
|
Chimecho | 130 | Levitate | Chimechite Y |
|
0/0/4/252/0/252 |
Bluntly: Fuck this. I genuinely have no idea why this quest is like this. Why do you have to fight every PULSE again? Who puts three Trick Room setters that have 200/160 bulk, fucking SLEEP POWDER, as well as sending them out next to something with 255/255 Solid Rock bulk too. Not to mention having to fight fucking Pulse Clawitzer again in a team of the other stupid ass busted PULSE Pokémon. No. I refuse. I'm using my dev powers to simply override the quest. In the next area, watch the cutscene, then talk to my vengeful spirit to skip to the next part of the quest; talk to the guy again to continue.
Once you go through the gate, you'll be put... back in the area. Talk to the chaser guy again to be put in a stupid ass battle where you're set to level 1. This is unwinnable by any account, so just forfeit and move on. The game """resets""", so talk to the guy for a THIRD time and move on even more. You'll get a Darkrai... or, well, no. You won't get a Darkrai, and you'll get spat back out into the Iolia Valley. Fly back to the nightclub... and you'll find the Smeargle manning the quest area who gives you a totally nonsensical instruction.
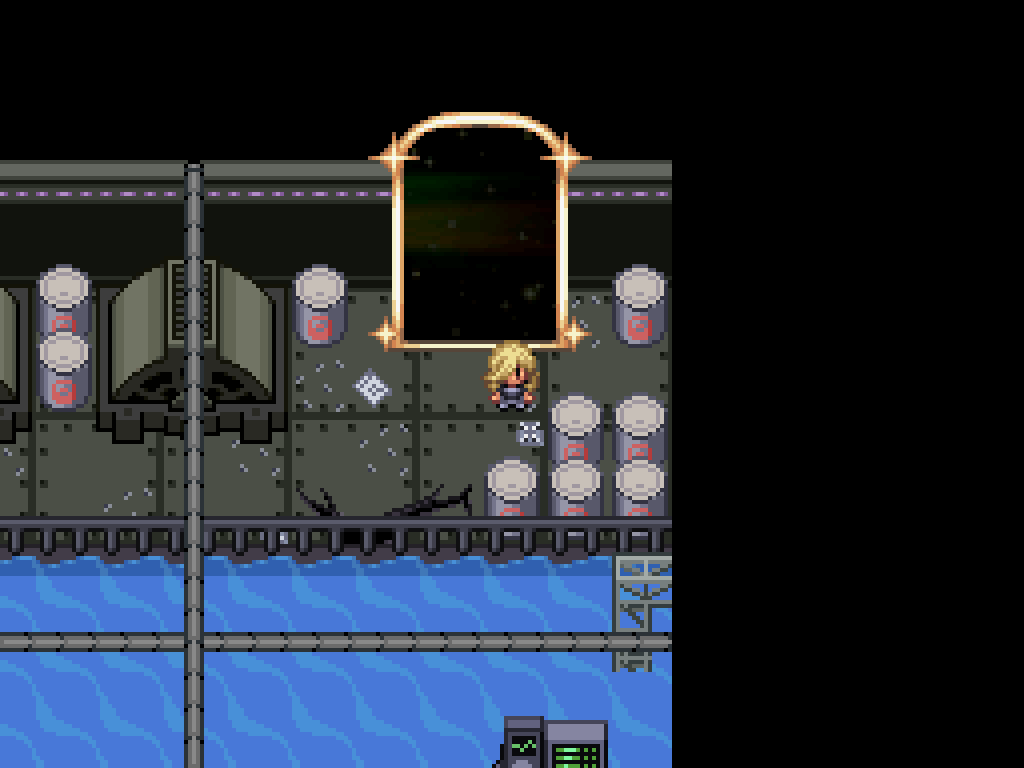
The next gate is in the fucking Water Treatment Centre, in the Onyx Room. Once you go through it, you'll be sentenced to a fight with Umbral Corey.
Umbral Corey
| Sprite | Name | Level | Ability | Held Item | Moves | EVs |
|---|---|---|---|---|---|---|
|
|
Nidoqueen | 135 | Sheer Force | Life Orb |
|
4/0/0/252/0/252 |
|
|
Crobat | 135 | Infiltrator | Life Orb |
|
0/252/4/0/0/252 |
|
|
Toxapex | 135 | Merciless | Black Sludge |
|
252/0/252/0/4/0 |
|
|
Dragalge | 135 | Adaptability | Dragalgite |
|
252/0/4/252/0/0 |
|
|
Skuntank | 135 | Aftermath | Life Orb |
|
4/252/0/0/0/252 |
|
|
Toxicroak | 130 | Dry Skin | Choice Band |
|
4/252/0/0/0/252 |
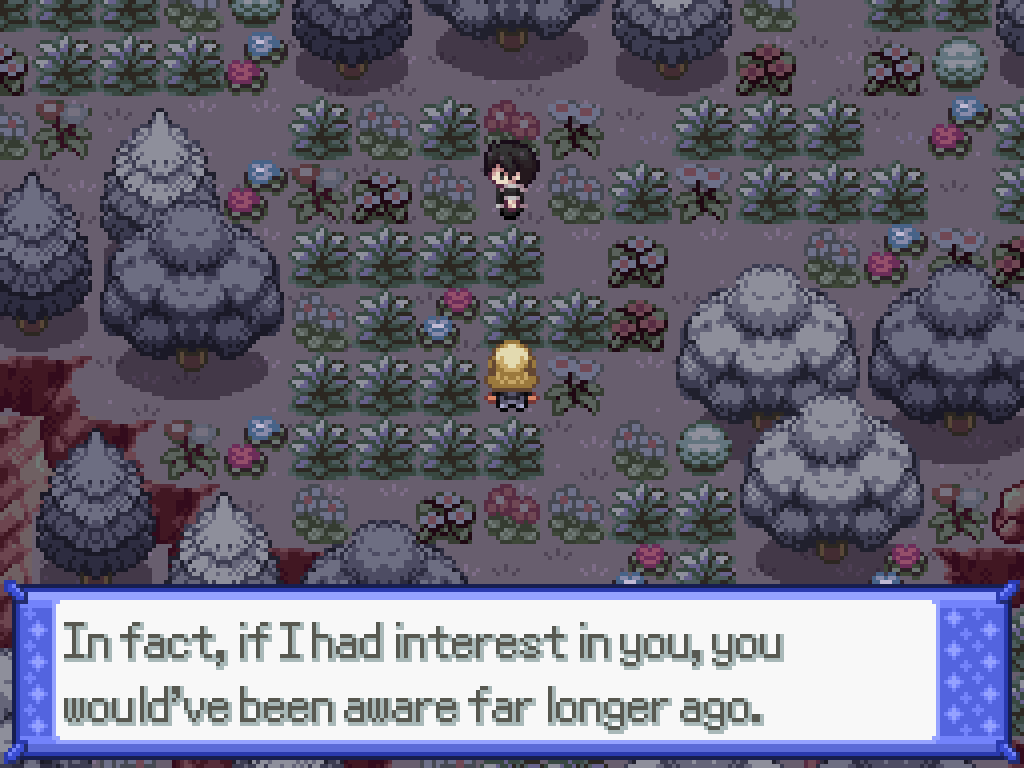
After all that, you'll be sent back to the Peridot Ward. Return to the nightclub for another small cutscene, and you'll be warped into another map. Walk down from here until you find Luna again, then walk straight back up for another cutscene, before a fight with... the guy from before.
Dreamer Shiv
| Sprite | Name | Level | Ability | Held Item | Moves | EVs |
|---|---|---|---|---|---|---|
|
|
Roserade | 130 | Natural Cure | Focus Sash |
|
4/0/0/252/0/252 |
|
|
Charizard | 130 | Blaze | Magical Seed |
|
4/0/0/252/0/252 |
|
|
Weavile | 130 | Pickpocket | Dark Gem |
|
4/252/0/0/0/252 |
|
|
Metagross | 130 | Clear Body | Metagrossite |
|
4/252/0/0/0/252 |
|
|
Gyarados | 130 | Moxie | Darkinium-Z |
|
4/252/0/0/0/252 |
|
|
Aipom | 130 | Skill Link | King's Rock |
|
1000/1252/0/0/0/252 |
After ALL that fucking around, you're finally face to face with Umbral Darkrai. Fight it, catch it, and so on.
Anomaly Darkrai
| Sprite | Name | Level | Ability | Held Item | Moves | EVs |
|---|---|---|---|---|---|---|
|
|
Darkrai | 135 | Bad Dreams | Air Balloon |
|
4/0/0/252/0/252 |
|
|
Breloom | 135 | Poison Heal | Toxic Orb |
|
252/252/0/0/4/0 |
|
|
Sableye | 135 | Prankster | Sablenite |
|
252/0/252/0/4/0 |
|
|
Darkrai | 135 | Bad Dreams | Magical Seed |
|
All 252 |
|
|
Meloetta-Pirouette | 135 | Serene Grace | Magical Seed |
|
0/252/4/0/0/252 |
|
|
Hypno-PULSE | 135 | No Guard | Sitrus Berry |
|
252/252/4/0/0/0 |
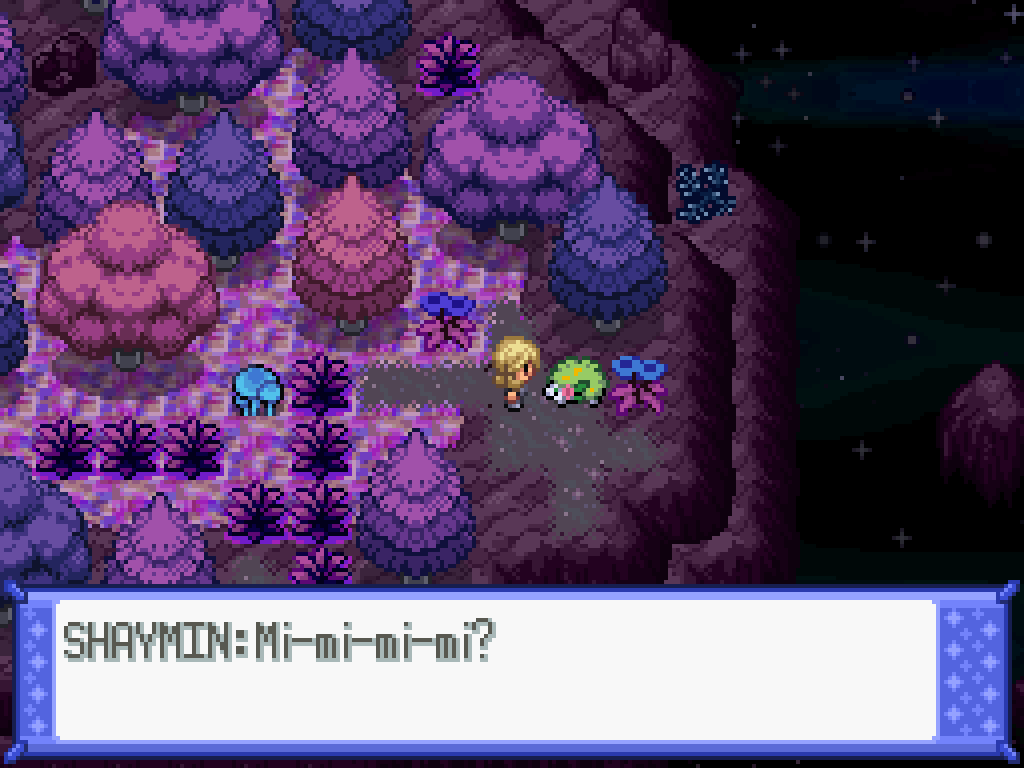
Shaymin
The gate to this area can be found in Lower Peridot Ward, in the garden of the building at the far left. The real benefit to this area is that you can catch Spectrier and Calyrex here; you can buy the Reins of Unity at the top of the Obsidia Department Store and get Calyrex-Shadow, which is obviously just disgustingly busted. It's fair to say that Calyrex-Shadow is one of the strongest single Pokémon in the entire game on every single field barring the Holy Field, an honour only shared with Zacian, Mega Rayquaza, and Miraidon (on any field that lets it get Electric Terrain).
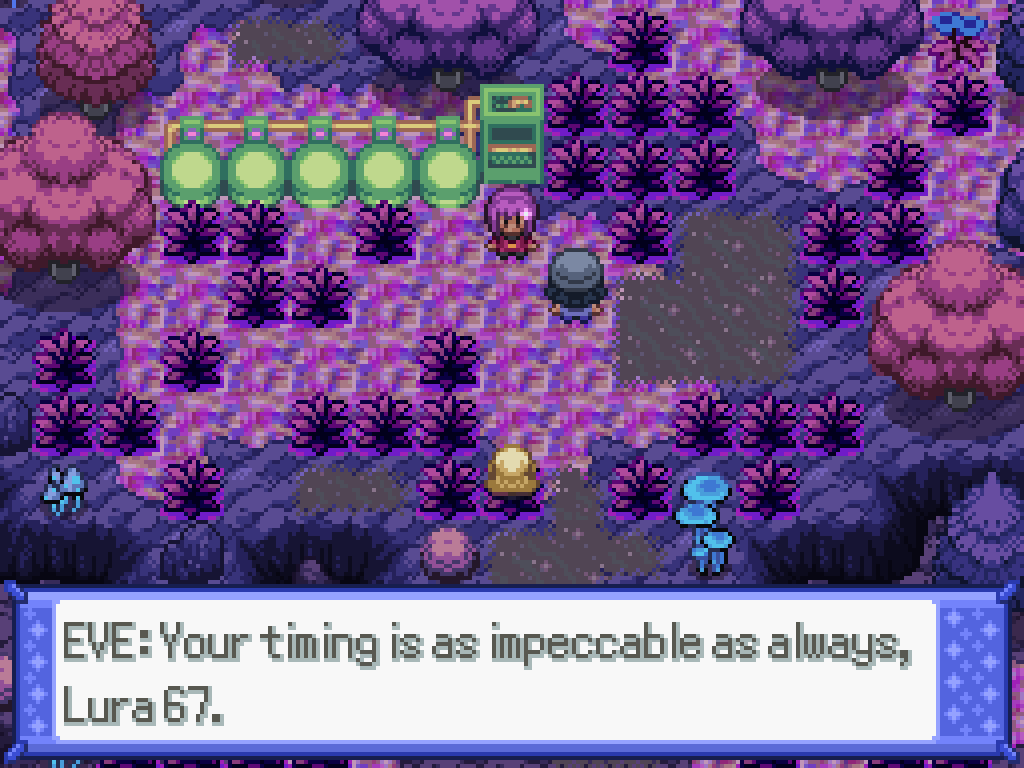
Make your way to the highest point at the centre of the map to find Eve and Lumi around a machine of questionable design. She'll ask if you trust her or not, and then a battle; you'll fight Lumi if you say you do, and Eve if you don't. You'll also lose a relationship point with whoever you fought, if that matters to you. I don't really know why you have to fight.
Snow Angel Lumi
| Sprite | Name | Level | Ability | Held Item | Moves | EVs |
|---|---|---|---|---|---|---|
|
|
Ninetales-Alola | 135 | Snow Warning | Light Clay |
|
0/0/0/252/4/252 |
|
|
Glaceon | 135 | Serene Grace | Life Orb |
|
0/0/252/0/4/252 |
|
|
Vanilluxe | 135 | Ice Body | Focus Sash |
|
4/0/0/252/0/252 |
|
|
Baxcalibur | 135 | Thermal Exch. | Choice Band |
|
0/252/0/0/4/252 |
|
|
Articuno-Kanto | 135 | Ice Scales | Choice Scarf |
|
4/0/0/252/0/252 |
|
|
Latias | 130 | Levitate | Telluric Seed |
|
4/0/0/252/0/252 |
Sunray Eve
| Sprite | Name | Level | Ability | Held Item | Moves | EVs |
|---|---|---|---|---|---|---|
|
|
Flutter Mane | 135 | Protosynth. | Booster Energy |
|
4/0/0/252/0/252 |
|
|
Espeon | 135 | Synchronize | Life Orb |
|
4/0/0/252/0/252 |
|
|
Iron Crown | 135 | Quark Drive | Booster Energy |
|
4/0/0/252/0/252 |
|
|
Xatu | 135 | Magic Bounce | Xatuite |
|
0/0/4/252/0/252 |
|
|
Sigilyph | 135 | Wonder Skin | Telluric Seed |
|
4/0/0/252/0/252 |
|
|
Latios | 135 | Levitate | Telluric Seed |
|
4/0/0/252/0/252 |
After ruining two more lives, you need to go and collect five Shaymin. You need to activate some bouncy grass to get to them; we'll do this clockwise.
- There's a fairly easy jumping puzzle at the north-northeast of the map; you'll find a white orb that spawns some bouncy grass for you elsewhere on the map. Then, walk south to find some pre-existing bouncy grass; this sends you to an island with a grass bush (the Shaymin) on it. Return to the main area from the west side.
- The southeast of the map has a maze. You can't quite solve it yet, so instead just make it to the white orb and activate it to spawn... a mushroom.
- At the west of the map, you'll find a forest with some glowing mushrooms in it. The path here is linear; walk into the mushroom to teleport some stuff out of the way. Keep going until you reach the third Orb, then take the shortcut back through to activate the final mushroom which gives you access to the Shaymin.
- At the north-west you find... a bouncy grass "maze". Can't say I'm a fan of this. The solution to this is trivial, you should be able to figure it out with no difficulty. In addition to getting the stray Shaymin, you want to get the orb which unblocks the regular maze.
- Return to the regular maze and walk to the south-east of it to find the fourth shaymin.
Talk to Eve to progress; it'll be a double battle with you and her against the Shaymins.
Anomaly Shaymin
| Sprite | Name | Level | Ability | Held Item | Moves | EVs |
|---|---|---|---|---|---|---|
|
|
Registeel | 135 | Clear Body | Telluric Seed |
|
252/252/0/0/0/4 |
|
|
Skuntank | 135 | Aftermath | Choice Band |
|
4/252/0/0/0/252 |
|
|
Archaludon | 135 | Stamina | Leftovers |
|
0/4/252/0/0/252 |
|
|
Scrafty | 135 | Intimidate | Scraftinite |
|
0/252/4/0/0/252 |
|
|
Skarmory | 135 | Sturdy | Red Card |
|
4/0/252/0/252/0 |
|
|
Shaymin-Sky | 135 | Serene Grace | Life Orb |
|
All 252 |
Gracidea Friends
| Sprite | Name | Level | Ability | Held Item | Moves | EVs |
|---|---|---|---|---|---|---|
|
|
Klefki | 135 | Prankster | Sitrus Berry |
|
252/0/4/0/252/0 |
|
|
Roserade | 135 | Technician | Telluric Seed |
|
4/0/0/252/0/252 |
|
|
Scizor | 135 | Swarm | Red Card |
|
252/252/0/0/4/0 |
|
|
Cresselia | 135 | Levitate | Red Card |
|
252/0/0/4/0/252 |
|
|
Revavroom | 135 | Overcoat | Focus Sash |
|
252/252/0/0/0/4 |
|
|
Dragalge | 130 | Toxic Debris | Dragalgite |
|
252/0/0/252/4/0 |
After this, you need to go and collect five Gracidea flowers. They're all found in the previous areas, although there's a bit of spice added now—but nothing you shouldn't be able to handle. There are two dependencies, though:
- You have to get the white orb at the north-east of the map to activate the western forest puzzle.
- Once you've done the forest, you need to activate a red mushroom then leave for the bouncy grass puzzle at the north-west to work.

Once that's done, talk to Eve for a cutscene; Craudberry of all people shows up. The puzzle here is that you have to battle her and grow the flower field in-battle to maximum before killing her. I really like this as a puzzle, there's a few strategies you can try; here's some tips and ideas:
- Synthetic Seed obviously grows the garden by one, but it stops you from switching out, so you have to sac it to get out (or use U-Turn).
- Growth on a specially defensive user with Giga Drain and Leftovers can work, like Roselia.
- I recommend leading with a Rain setter so that she can't erase the field with fire moves. Her Amoongus can still erase it with Z-Acid though.
- Her Qwilfish can Taunt but it usually doesn't as the AI is stupid. You can set up with Growth in front of it, then sweep with Giga Drain.

After this, you'll get a heart-warming cutscene, and then you can talk to the Shaymin next to you to catch it.
Dialga & Palkia
The left-most room of the Subseven Sanctum has a New World gate in it. Talk to Luna first, then enter the gate to be put in a double battle against two orderlies. This game is addicted to deadnaming. Anyway, activate the Arceus statue to enable walk-through-walls; walk into Luna's cell to let both of em out. After the cutscene, walk through the walls up to the blue Arceus directly above you to activate the first switch.
This is fairly simple if you consult the map of the area; you can't mess up as you can press A/X to reset back to the statue. Just make it to each of the four coloured Arceus switches to progress. You might see the Anomaly Dialga just hanging there; you can't reach it from where you are, so don't worry about it. Once you make it to the top, you'll find the Anomaly Palkia:
Anomaly Palkia
| Sprite | Name | Level | Ability | Held Item | Moves | EVs |
|---|---|---|---|---|---|---|
|
|
Arcanine-Kanto | 135 | Intimidate | Arcanite |
|
4/252/0/0/0/252 |
|
|
Magearna | 135 | Soul-Heart | Magical Seed |
|
252/0/0/252/4/0 |
|
|
Meloetta-Aria | 135 | Serene Grace | Magical Seed |
|
0/0/4/252/0/252 |
|
|
Jirachi | 135 | Serene Grace | Magical Seed |
|
4/0/0/252/0/252 |
|
|
Garchomp | 135 | Rough Skin | Choice Scarf |
|
4/252/0/0/0/252 |
|
|
Palkia-Altered | 135 | Pressure | Magical Seed |
|
All 252 |
After beating it, the Sanctum will return to normal. You can then fight Dialga in the right-most room:
Anomaly Dialga
| Sprite | Name | Level | Ability | Held Item | Moves | EVs |
|---|---|---|---|---|---|---|
|
|
Dragonite | 135 | Inner Focus | Dragoninite |
|
4/252/0/0/0/252 |
|
|
Hoopa-Unbound | 135 | Magician | Sitrus Berry |
|
4/252/0/0/0/252 |
|
|
Raging Bolt | 135 | Protosynth. | Booster Energy |
|
0/0/0/252/252/252 |
|
|
Meloetta-Pirouette | 135 | Serene Grace | Fightinium-Z |
|
0/252/4/0/0/252 |
|
|
Keldeo-Resolute | 135 | Justified | Magical Seed |
|
4/0/0/252/0/252 |
|
|
Dialga-Altered | 135 | Pressure | Magical Seed |
|
All 252 |
If you're on the good route, then Taka will come back to life (okay) and you'll have to fight him again. This one has no break so his team is a lil weaker as not to be too annoying.
Umbral Taka
| Sprite | Name | Level | Ability | Held Item | Moves | EVs |
|---|---|---|---|---|---|---|
|
|
Tapu Bulu | 130 | Grassy Surge | Eject Button |
|
4/0/0/252/0/252 |
|
|
Charizard | 130 | Blaze | Charizardite Y |
|
0/0/0/252/4/252 |
|
|
Infernape | 130 | Blaze | Elemental Seed |
|
4/252/0/0/0/252 |
|
|
Heatran | 130 | Flash Fire | Sitrus Berry |
|
0/0/0/252/4/252 |
|
|
Blacephalon | 130 | Beast Boost | Elemental Seed |
|
4/0/0/252/0/252 |
|
|
Volcarona | 130 | Swarm | Elemental Seed |
|
4/0/0/252/0/252 |
Additionally, if you're on the good route or the route where Taka didn't die, then the Sanctum will be destroyed, permanently making any items you didn't pick up inaccessible. Luckily both event Pokémon (Chandelure and Hydreigon) are available elsewhere.
Genesect
Your destination is Blacksteam Shelter, in Peridot Ward. It's where the Klefki quest is, or where you fought PULSE... I don't even remember, at the start of the game. Make your way to the biggest room (where the PULSE was before) and talk to all the "band" members to start the quest. Once you suffer through the very awesome reddit gold-worthy dialogue it's up to you to go find Ayaya; she's just outside looking over at the water.

After you talk to her, she'll run away to the rehearsal room where everyone will have disappeared. Everyone in the building has disappeared, too, but a New World gate will have appeared in the B2F basement. There's a lot of double battles here, so be warned. They're not too hard, though, with your very strong partners.
Anomaly Genesect
| Sprite | Name | Level | Ability | Held Item | Moves | EVs |
|---|---|---|---|---|---|---|
|
|
Klefki | 130 | Prankster | Light Clay |
|
0/0/0/0/0/0 |
|
|
Ferrothorn | 130 | Iron Barbs | Rocky Helmet |
|
252/4/252/0/0/0 |
|
|
Genesect | 130 | Download | Choice Band |
|
4/252/0/0/0/252 |
|
|
Probopass | 130 | Sturdy | Synthetic Seed |
|
0/0/0/0/0/0 |
|
|
Klinklang | 130 | Motor Drive | Air Balloon |
|
4/252/0/0/0/252 |
|
|
Jellicent | 130 | Cursed Body | Rocky Helmet |
|
4/0/0/252/0/252 |
Anomaly Genesect
| Sprite | Name | Level | Ability | Held Item | Moves | EVs |
|---|---|---|---|---|---|---|
|
|
Dhelmise | 130 | Steelworker | Life Orb |
|
0/0/0/0/0/0 |
|
|
Skarmory | 130 | Keen Eye | Skarmorite |
|
0/0/0/0/0/0 |
|
|
Kingambit | 130 | Supr. Overlord | Chople Berry |
|
0/0/0/0/0/0 |
|
|
Genesect | 130 | Download | Life Orb |
|
4/0/0/252/0/252 |
|
|
Bronzong | 130 | Levitate | Synthetic Seed |
|
4/252/252/0/0/0 |
|
|
Rotom-Heat | 130 | Levitate | Leftovers |
|
4/0/0/252/0/252 |
After you move forward, Ayaya helpfully locks you both in. Find her again and you'll find a whole bunch of extra Genesect. It falls to you to solve the puzzle. So! Here's the solution and ALL of the double battles.
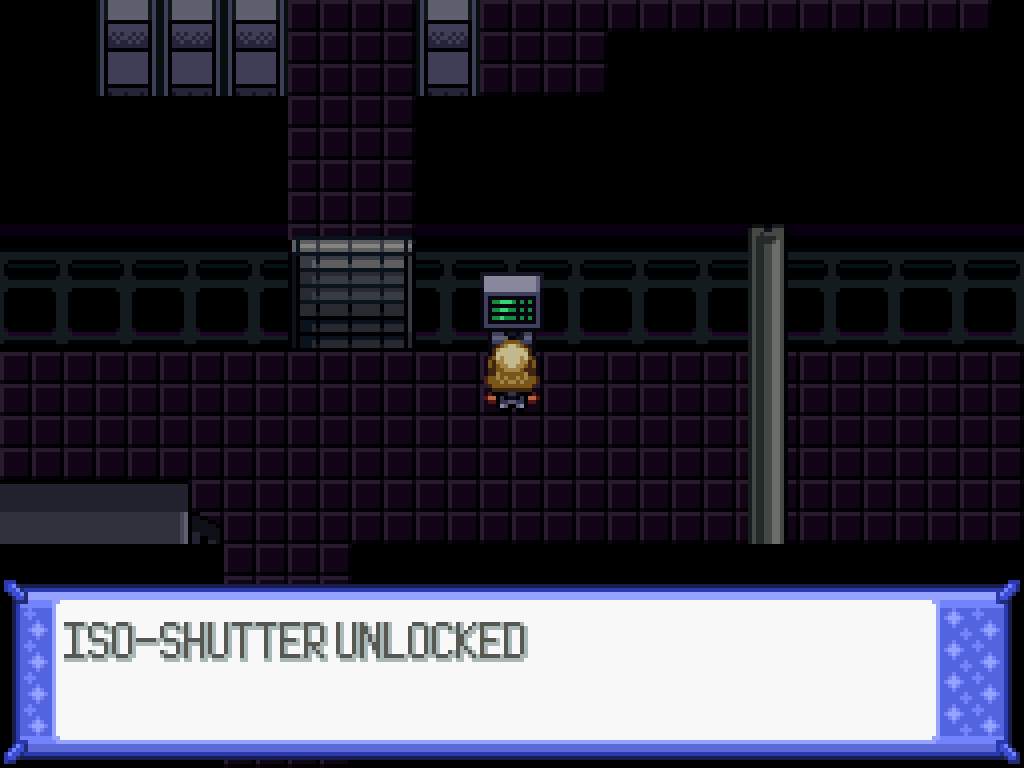
First, this computer to the right of the main area will be active. Interact with it to remove the shutter immediately above; you'll be put in a double battle with Arclite as your partner.
Anomaly Genesect
| Sprite | Name | Level | Ability | Held Item | Moves | EVs |
|---|---|---|---|---|---|---|
|
|
Ampharos | 130 | Plus | Wide Lens |
|
0/0/0/0/0/0 |
|
|
Eelektross | 130 | Levitate | Life Orb |
|
0/0/0/0/0/0 |
|
|
Vikavolt | 130 | Levitate | Choice Scarf |
|
0/0/0/0/0/0 |
|
|
Zapdos-Kanto | 130 | Electromorph. | Leftovers |
|
0/0/0/0/0/0 |
|
|
Genesect-Shock Drive | 130 | Download | Shock Drive |
|
4/0/0/252/0/252 |
|
|
Rotom-Mow | 130 | Levitate | Assault Vest |
|
4/0/0/252/0/252 |
Anomaly Genesect
| Sprite | Name | Level | Ability | Held Item | Moves | EVs |
|---|---|---|---|---|---|---|
|
|
Klinklang | 130 | Motor Drive | Wide Lens |
|
0/0/0/0/0/0 |
|
|
Manectric | 130 | Static | Manectite |
|
0/0/0/0/0/0 |
|
|
Golem-Alola | 130 | Galvanize | Custap Berry |
|
0/0/0/0/0/0 |
|
|
Raikou | 130 | Inner Focus | Choice Specs |
|
0/0/0/0/0/0 |
|
|
Genesect-Shock Drive | 130 | Download | Shock Drive |
|
4/0/0/252/0/252 |
|
|
Orthworm | 130 | Earth Eater | Leftovers |
|
252/4/252/0/0/0 |
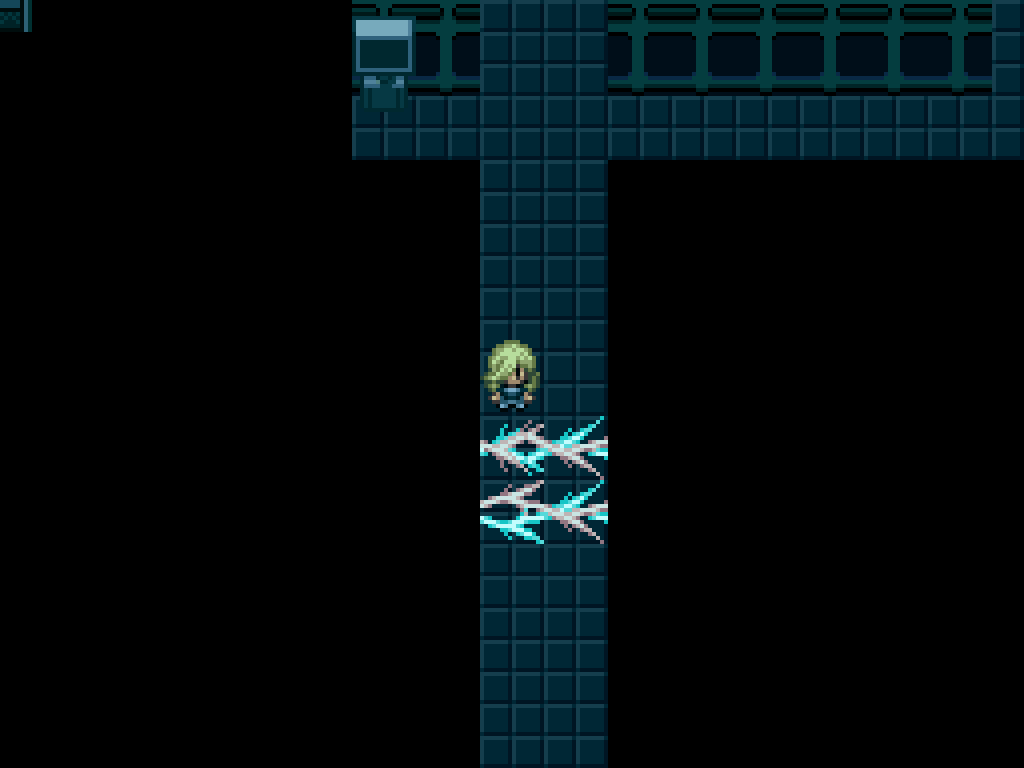
This gives you the Shock Drive. Insert it into the furthest left segment of the central computer to power up the system, then activate the computer now available at the left. Remove the Shock Drive and pass through where the force-gates were to find a second computer; this gives you access back to the New World gate. If you return and flip the main switch, it'll remove the shutter at the bottom you; pass through the passage you just created to get to the left area, where you'll have another double battle with Cain as your partner.
Anomaly Genesect
| Sprite | Name | Level | Ability | Held Item | Moves | EVs |
|---|---|---|---|---|---|---|
|
|
Sandslash-Alola | 130 | Slush Rush | Life Orb |
|
0/0/0/0/0/0 |
|
|
Porygon2 | 130 | Download | Eviolite |
|
0/0/0/0/0/0 |
|
|
Aurorus | 130 | Snow Warning | Synthetic Seed |
|
0/0/0/0/0/0 |
|
|
Froslass | 130 | Cursed Body | Life Orb |
|
0/0/0/0/0/0 |
|
|
Regice | 130 | Clear Body | Leftovers |
|
0/0/0/0/0/0 |
|
|
Genesect-Chill Drive | 130 | Download | Chill Drive |
|
4/0/0/252/0/252 |
Anomaly Genesect
| Sprite | Name | Level | Ability | Held Item | Moves | EVs |
|---|---|---|---|---|---|---|
|
|
Ninetales-Alola | 130 | Snow Warning | Light Clay |
|
0/0/0/0/0/0 |
|
|
Aegislash-Shield | 130 | Stance Change | Leftovers |
|
0/0/0/0/0/0 |
|
|
Rotom-Frost | 130 | Levitate | Electrium-Z |
|
0/0/0/0/0/0 |
|
|
Weavile | 130 | Pressure | Life Orb |
|
0/0/0/0/0/0 |
|
|
Articuno-Galar | 130 | Pressure | Choice Scarf |
|
0/0/0/0/0/0 |
|
|
Genesect-Chill Drive | 130 | Download | Chill Drive |
|
4/0/0/252/0/252 |
This gets you the Chill Drive. Insert both the Chill Drive and the Shock Drive and activate the computer available on the right side. This isn't immediately useful, but let's do it now. Walk up north to have a cutscene with Ayaya, then to the new pathway at the top-left to activate the computer there. Switch the shutters around and then walk all the way up to find a fight with Titania as your partner.
Anomaly Genesect
| Sprite | Name | Level | Ability | Held Item | Moves | EVs |
|---|---|---|---|---|---|---|
|
|
Infernape | 130 | Iron Fist | Infernite |
|
0/0/0/0/0/0 |
|
|
Ninetales-Kanto | 130 | Drought | Heat Rock |
|
0/0/0/0/0/0 |
|
|
Incineroar | 130 | Intimidate | Synthetic Seed |
|
0/0/0/0/0/0 |
|
|
Blacephalon | 130 | Beast Boost | -- |
|
0/0/0/0/0/0 |
|
|
Moltres-Kanto | 130 | Pressure | Life Orb |
|
0/0/0/0/0/0 |
|
|
Genesect-Burn Drive | 130 | Download | Burn Drive |
|
4/0/0/252/0/252 |
Anomaly Genesect
| Sprite | Name | Level | Ability | Held Item | Moves | EVs |
|---|---|---|---|---|---|---|
|
|
Darmanitan-Galar | 130 | Gor. Tactics | Choice Band |
|
0/0/0/0/0/0 |
|
|
Marowak-Alola | 130 | Cursed Body | Thick Club |
|
0/0/0/0/0/0 |
|
|
Skeledirge | 130 | Blaze | Fire Gem |
|
0/0/0/0/0/0 |
|
|
Victini | 130 | Victory Star | Synthetic Seed |
|
0/0/0/0/0/0 |
|
|
Entei | 130 | Pressure | Synthetic Seed |
|
0/0/0/0/0/0 |
|
|
Genesect-Burn Drive | 130 | Download | Burn Drive |
|
4/0/0/252/0/252 |
It's fairly cruel to use the fire-focused team against Titania. This gives you the Burn Drive.

Return to the central computer and insert the Burn Drive; take out the Chill Drive too whilst you're there. Walk straight upwards for another cutscene with Ayaya; walk to the right to find an open gate, which leads to a computer; this opens the passage to the top-right area in a bit. Next, walk to the right of the main computer and down the passage you created earlier to find another computer, which opens up the path to the bottom-right area fully.
Flip the shutters again, then walk from the bottom right to the top-right area to find yet another computer that opens the gate from where you fought next to Arclite. Insert the Shock Drive, flip the shutters again, and walk up to the top-right area to activate the Combustion Generator; this opens the gate up next to it. This leads to Hardy and your final double battle.
Anomaly Genesect
| Sprite | Name | Level | Ability | Held Item | Moves | EVs |
|---|---|---|---|---|---|---|
|
|
Greninja | 130 | Protean | Life Orb |
|
4/0/0/252/0/252 |
|
|
Seismitoad | 130 | Swift Swim | Life Orb |
|
252/0/4/252/0/0 |
|
|
Clawitzer | 130 | Mega Launcher | Choice Specs |
|
252/0/4/252/0/0 |
|
|
Lanturn | 130 | Volt Absorb | Lanturnite |
|
252/0/252/0/0/4 |
|
|
Suicune | 130 | Inner Focus | Synthetic Seed |
|
252/0/0/252/0/4 |
|
|
Genesect-Douse Drive | 130 | Download | Douse Drive |
|
All 252 |
Anomaly Genesect
| Sprite | Name | Level | Ability | Held Item | Moves | EVs |
|---|---|---|---|---|---|---|
|
|
Politoed | 130 | Drizzle | Damp Rock |
|
252/0/0/252/4/0 |
|
|
Escavalier | 130 | Shell Armor | Synthetic Seed |
|
252/252/4/0/0/0 |
|
|
Empoleon | 130 | Torrent | Synthetic Seed |
|
0/56/0/252/0/200 |
|
|
Rotom-Wash | 130 | Levitate | Electrium-Z |
|
252/0/0/252/0/4 |
|
|
Forretress | 130 | Sturdy | Synthetic Seed |
|
252/0/252/4/0/0 |
|
|
Genesect-Douse Drive | 130 | Download | Douse Drive |
|
All 252 |
Again, it's very mean to use a water-focused team against Hardy. This finally gives you the Douse Drive. Remove all the drives from the system; then, insert the Douse and Frost drive and walk to the bottom-left area to activate the hydroelectric generator. This gives you a Z-Cell; do the same for the bottom-right area for another Z-Cell. With both of these activated, you can finally enter the very top area of the factory to find a regular fucking Genesect. Leave the New World and talk to Ayaya in the basement for a shitty cutscene where you openly terrorise a citizen that finalises the quest.
Marshadow

This is a very simple one. Once you get to Apophyll Academy, Victoria will start pointing out unfocused students; talk to them for small battles. You'll need to talk multiple times for it to work.
After that, you'll be roped into a battle with Umbral "Kiki".
Umbral Kiki
| Sprite | Name | Level | Ability | Held Item | Moves | EVs |
|---|---|---|---|---|---|---|
|
|
Palossand | 130 | Sand Spit | Leftovers |
|
4/0/0/252/0/252 |
|
|
Garchomp | 130 | Rough Skin | Choice Scarf |
|
4/252/0/0/0/252 |
|
|
Suicune | 130 | Inner Focus | Leftovers |
|
All 252 |
|
|
Armarouge | 130 | Weak Armor | Telluric Seed |
|
252/0/0/252/4/0 |
|
|
Gallade | 130 | Justified | Galladite |
|
0/252/0/0/4/252 |
|
|
Marshadow | 130 | Technician | Marshadium-Z |
|
All 252 |
Catch the Marshadow in the back room to finish the quest.
Mew Pt 1
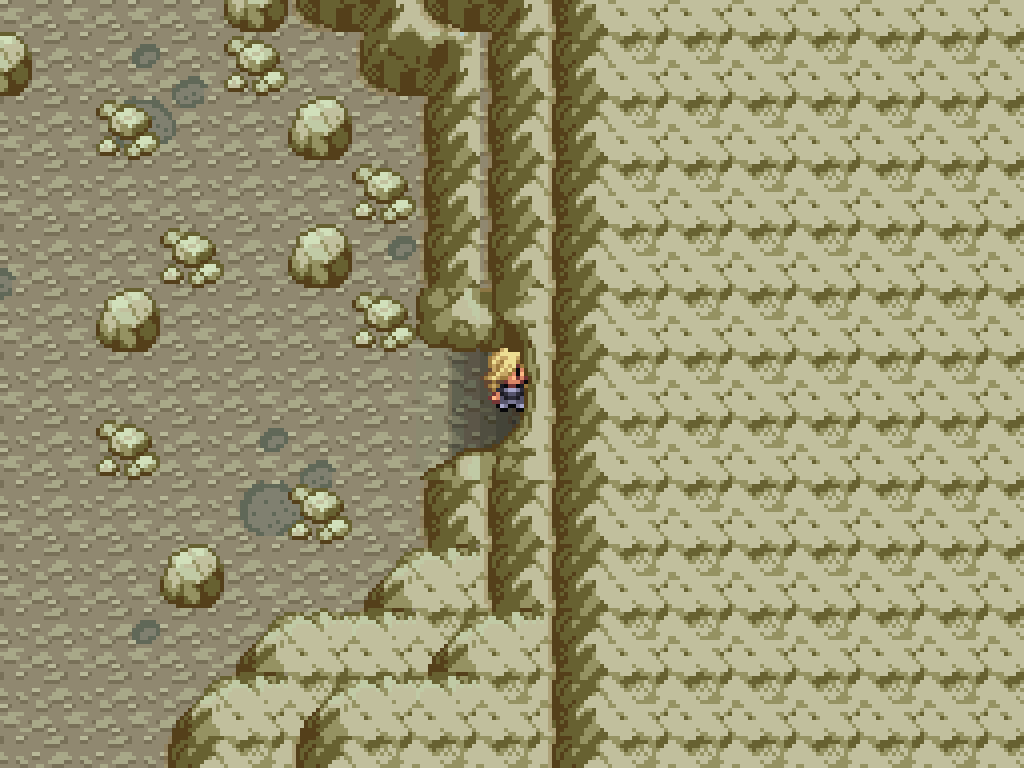
Remember the area Saphira burst from in Tanzan Mountain? You need to go there and enter the room to the right. There's a green crystal rock in there that opens up some stairs. (Oops, the devs forgot the sound effect); walk past the ledge and then down to the south to find an exit to the top of the Wasteland Wall. This leads to... a strength rock puzzle. Haha. No. You can use the Light Shard to delete the rocks, then activate the three tubes to open a new doorway to the top-right. Walk across the top of the bridge and then enter the "hidden" doorway behind the tube.
Once you enter, you'll have a battle against Neo Fern.
Swag Jockey Fern
| Sprite | Name | Level | Ability | Held Item | Moves | EVs |
|---|---|---|---|---|---|---|
|
|
Haxorus | 130 | Sharpness | Loaded Dice |
|
56/200/0/0/0/252 |
|
|
Baxcalibur | 130 | Thermal Exch. | Baxcalibrite |
|
4/252/0/0/0/252 |
|
|
Roaring Moon | 130 | Protosynth. | Booster Energy |
|
4/252/0/0/0/252 |
|
|
Krookodile | 130 | Intimidate | Choice Scarf |
|
4/252/0/0/0/252 |
|
|
Sneasler | 134 | Unburden | Air Balloon |
|
0/252/4/0/0/252 |
|
|
Decidueye-Alola | 134 | Overgrow | Decidium-Z |
|
4/252/0/0/0/252 |
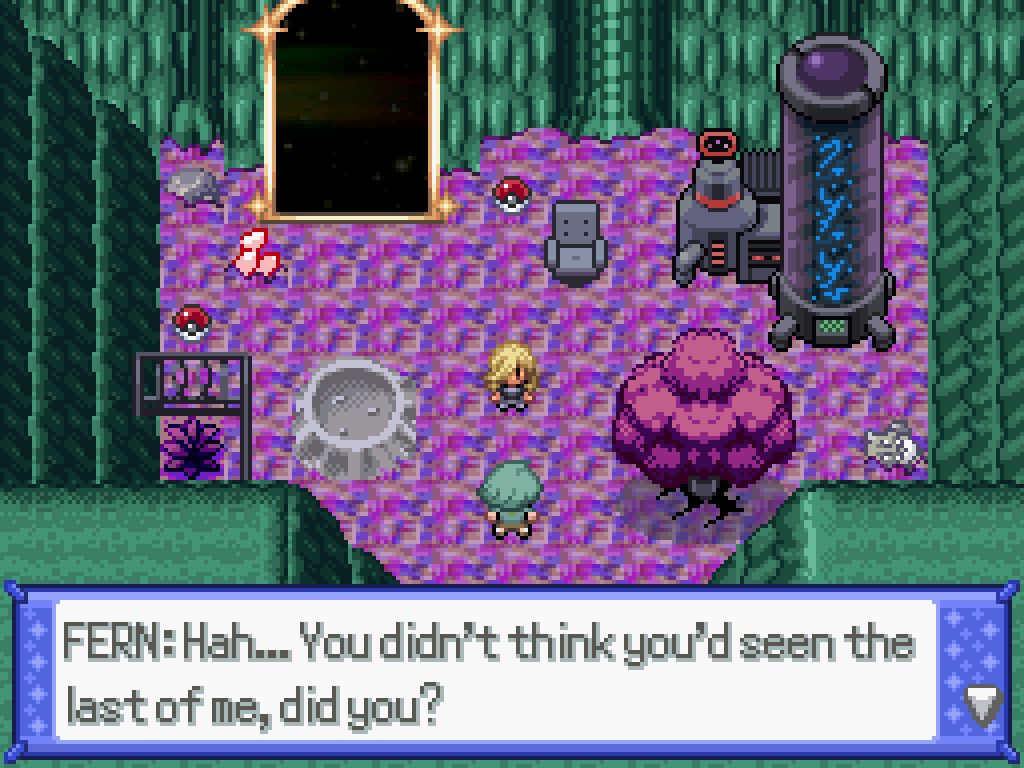
Then you can enter the New World gateway to make it to the Triskeline Toybox. The goal is right at the very back; talk to Fern to battle the anomaly. It turns out it's actually a Mew, not a Mewtwo. You can also open some of the accessible chests by interacting with them here.
Anomaly Mewtwo
| Sprite | Name | Level | Ability | Held Item | Moves | EVs |
|---|---|---|---|---|---|---|
|
|
Lanturn | 135 | Illuminate | Lanturnite |
|
4/0/0/252/0/252 |
|
|
Tapu Fini | 135 | Telepathy | Magical Seed |
|
4/0/0/252/0/252 |
|
|
Moltres-Galar | 135 | Bad Dreams | Leftovers |
|
0/0/0/252/4/252 |
|
|
Chi-Yu | 135 | Beads of Ruin | Life Orb |
|
4/0/0/252/0/252 |
|
|
Scream Tail | 135 | Protosynth. | Booster Energy |
|
252/0/248/0/0/8 |
|
|
Mewtwo | 135 | Pressure | Magical Seed |
|
All 252 |
After this, it'll run away and you have to find it a few times. Here's the locations and disguises:
- It's a Cubone plushie on the mid-left island.
- It's a Jigglypuff plushie on the top right island. This one actually moves slightly.
- Finally, a Chikorita plushie at the very bottom-right of the map.
After this, the Mew will make a portal to the Chrysolia Deepwoods, at the previously inaccessible top level. Jump down the ledge and walk onto the structure and Fern will get himself trapped; talk to him through the door repeatedly if you want to humilate him, or just flip the switch for a positive relationship point. Once that's done, the quest is finished with a fairly unsatisfying resolution.
With Tier 5 done, your level cap goes up to 135 (and the enemy level cap goes up to 142). That's by far the worst of the quests FINALLY done. Onto Tier 6 !